- Kernel parameters
- Configuration
- Syslinux
- systemd-boot
- GRUB
- GRUB Legacy
- LILO
- rEFInd
- EFISTUB
- dracut
- Hijacking cmdline
- Parameter list
- See also
- UEFI не видит установленный Linux (РЕШЕНО)
- Что делать если в UEFI (БИОС) отсутствуют настройки добавления опций загрузки
- Переименование файлов и папок на EFI разделе в Linux
- Переименование файлов и папок на EFI разделе в Windows
Kernel parameters
There are three ways to pass options to the kernel and thus control its behaviour:
- When building the kernel—in the kernel’s config file. See Kernel#Compilation for details.
- When starting the kernel—using command line parameters (usually through a boot loader).
- At runtime—through the files in /proc/sys/ (see sysctl) and /sys/ .
Note: The options of loadable modules can be set via .conf files in /etc/modprobe.d/ . See Kernel module#Using files in /etc/modprobe.d/.
Between the three methods, the configurable options differ in availability, their name and the method in which they are specified. This page only explains the second method (kernel command line parameters) and shows a list of the most used kernel parameters in Arch Linux.
Most parameters are associated with subsystems and work only if the kernel is configured with those subsystems built in. They also depend on the presence of the hardware they are associated with.
Kernel command line parameters either have the format parameter or parameter=value .
Configuration
- You can check the parameters your system was booted up with by running cat /proc/cmdline and see if it includes your changes.
- The Arch Linux installation medium uses Syslinux for BIOS systems, and GRUB for UEFI systems.
Kernel parameters can be set either temporarily by editing the boot entry in the boot loader’s boot selection menu, or permanently by modifying the boot loader’s configuration file.
The following examples add the quiet and splash parameters to Syslinux, systemd-boot, GRUB, GRUB Legacy, LILO, and rEFInd.
Syslinux
linux /boot/vmlinuz-linux root=UUID=0a3407de-014b-458b-b5c1-848e92a327a3 rw initrd=/boot/initramfs-linux.img quiet splash
- To make the change persistent after reboot, edit /boot/syslinux/syslinux.cfg and add them to the APPEND line:
APPEND root=UUID=0a3407de-014b-458b-b5c1-848e92a327a3 rw quiet splash
For more information on configuring Syslinux, see the Syslinux article.
systemd-boot
initrd=\initramfs-linux.img root=UUID=0a3407de-014b-458b-b5c1-848e92a327a3 rw quiet splash
- If you have not set a value for menu timeout, you will need to hold Space while booting for the systemd-boot menu to appear.
- If you cannot edit the parameters from the boot menu, you may need to edit /boot/loader/loader.conf and add editor 1 to enable editing.
- To make the change persistent after reboot, edit /boot/loader/entries/arch.conf (assuming you set up your EFI system partition) and add them to the options line:
options root=UUID=0a3407de-014b-458b-b5c1-848e92a327a3 rw quiet splash
For more information on configuring systemd-boot, see the systemd-boot article.
GRUB
linux /boot/vmlinuz-linux root=UUID=0a3407de-014b-458b-b5c1-848e92a327a3 rw quiet splash
- To make the change persistent after reboot, you could manually edit /boot/grub/grub.cfg with the exact line from above, or if using grub-mkconfig:
GRUB_CMDLINE_LINUX_DEFAULT
# grub-mkconfig -o /boot/grub/grub.cfg
For more information on configuring GRUB, see the GRUB article.
GRUB Legacy
kernel /boot/vmlinuz-linux root=UUID=0a3407de-014b-458b-b5c1-848e92a327a3 rw quiet splash
- To make the change persistent after reboot, edit /boot/grub/menu.lst and add them to the kernel line, exactly like above.
For more information on configuring GRUB Legacy, see the GRUB Legacy article.
LILO
image=/boot/vmlinuz-linux . quiet splash
For more information on configuring LILO, see the LILO article.
rEFInd
- Press + , F2 , or Insert on the desired menu entry and press it again on the submenu entry. Add kernel parameters at the end of the string:
root=UUID=0a3407de-014b-458b-b5c1-848e92a327a3 rw initrd=\boot\initramfs-linux.img quiet splash
- To make the change persistent after reboot, edit /boot/refind_linux.conf and append them between the quotes in all required lines, for example
"Boot using default options" "root=UUID=0a3407de-014b-458b-b5c1-848e92a327a3 rw quiet splash"
- If you have disabled auto-detection of OSes in rEFInd and are defining OS stanzas instead in esp/EFI/refind/refind.conf to load your OSes, you can edit it like:
For more information on configuring rEFInd, see the rEFInd article.
EFISTUB
dracut
dracut is capable of embedding the kernel parameters in the initramfs, thus allowing to omit them from the boot loader configuration. See dracut#Kernel command line options.
Hijacking cmdline
Even without access to your bootloader it is possible to change your kernel parameters to enable debugging (if you have root access). This can be accomplished by overwriting /proc/cmdline which stores the kernel parameters. However /proc/cmdline is not writable even as root, so this hack is accomplished by using a bind mount to mask the path.
First create a file containing the desired kernel parameters
root=UUID=0a3407de-014b-458b-b5c1-848e92a327a3 ro console=tty1 logo.nologo debug
Then use a bind mount to overwrite the parameters
# mount -n --bind -o ro /root/cmdline /proc/cmdline
The -n option skips adding the mount to /etc/mtab , so it will work even if root is mounted read-only. You can cat /proc/cmdline to confirm that your change was successful.
Parameter list
This list is not comprehensive. For a complete list of all options, please see the kernel documentation.
- The kernel uses rw if neither ro or rw are explicitly set on kernel command line (see bootparam(7) § General non-device-specific boot arguments ). However, mkinitcpio uses ro as the default value overriding the kernel’s default (see mkinitcpio(8) § EARLY INIT ENVIRONMENT ). Boot loaders may also have their own configured default, for example, grub-mkconfig uses rw (see FS#36275 as a reference).
Note: rw is required when using mkinitcpio’s fsck hook (see [1]) or when using F2FS as the root file system.
See also
UEFI не видит установленный Linux (РЕШЕНО)
UEFI обычно автоматически обнаруживает загрузчики операционных систем на носителях, подключённых к компьютеру. Но иногда UEFI показывает не все доступные опции. Рассмотрим, как добавить новую опцию в загрузочное меню UEFI.
Например, я подключил флешку с двумя операционными системами — Windows 11 и Kali Linux — к компьютеру, нажал во время загрузки ESC для выбора опций загрузки. На скриншоте представлены две опции:
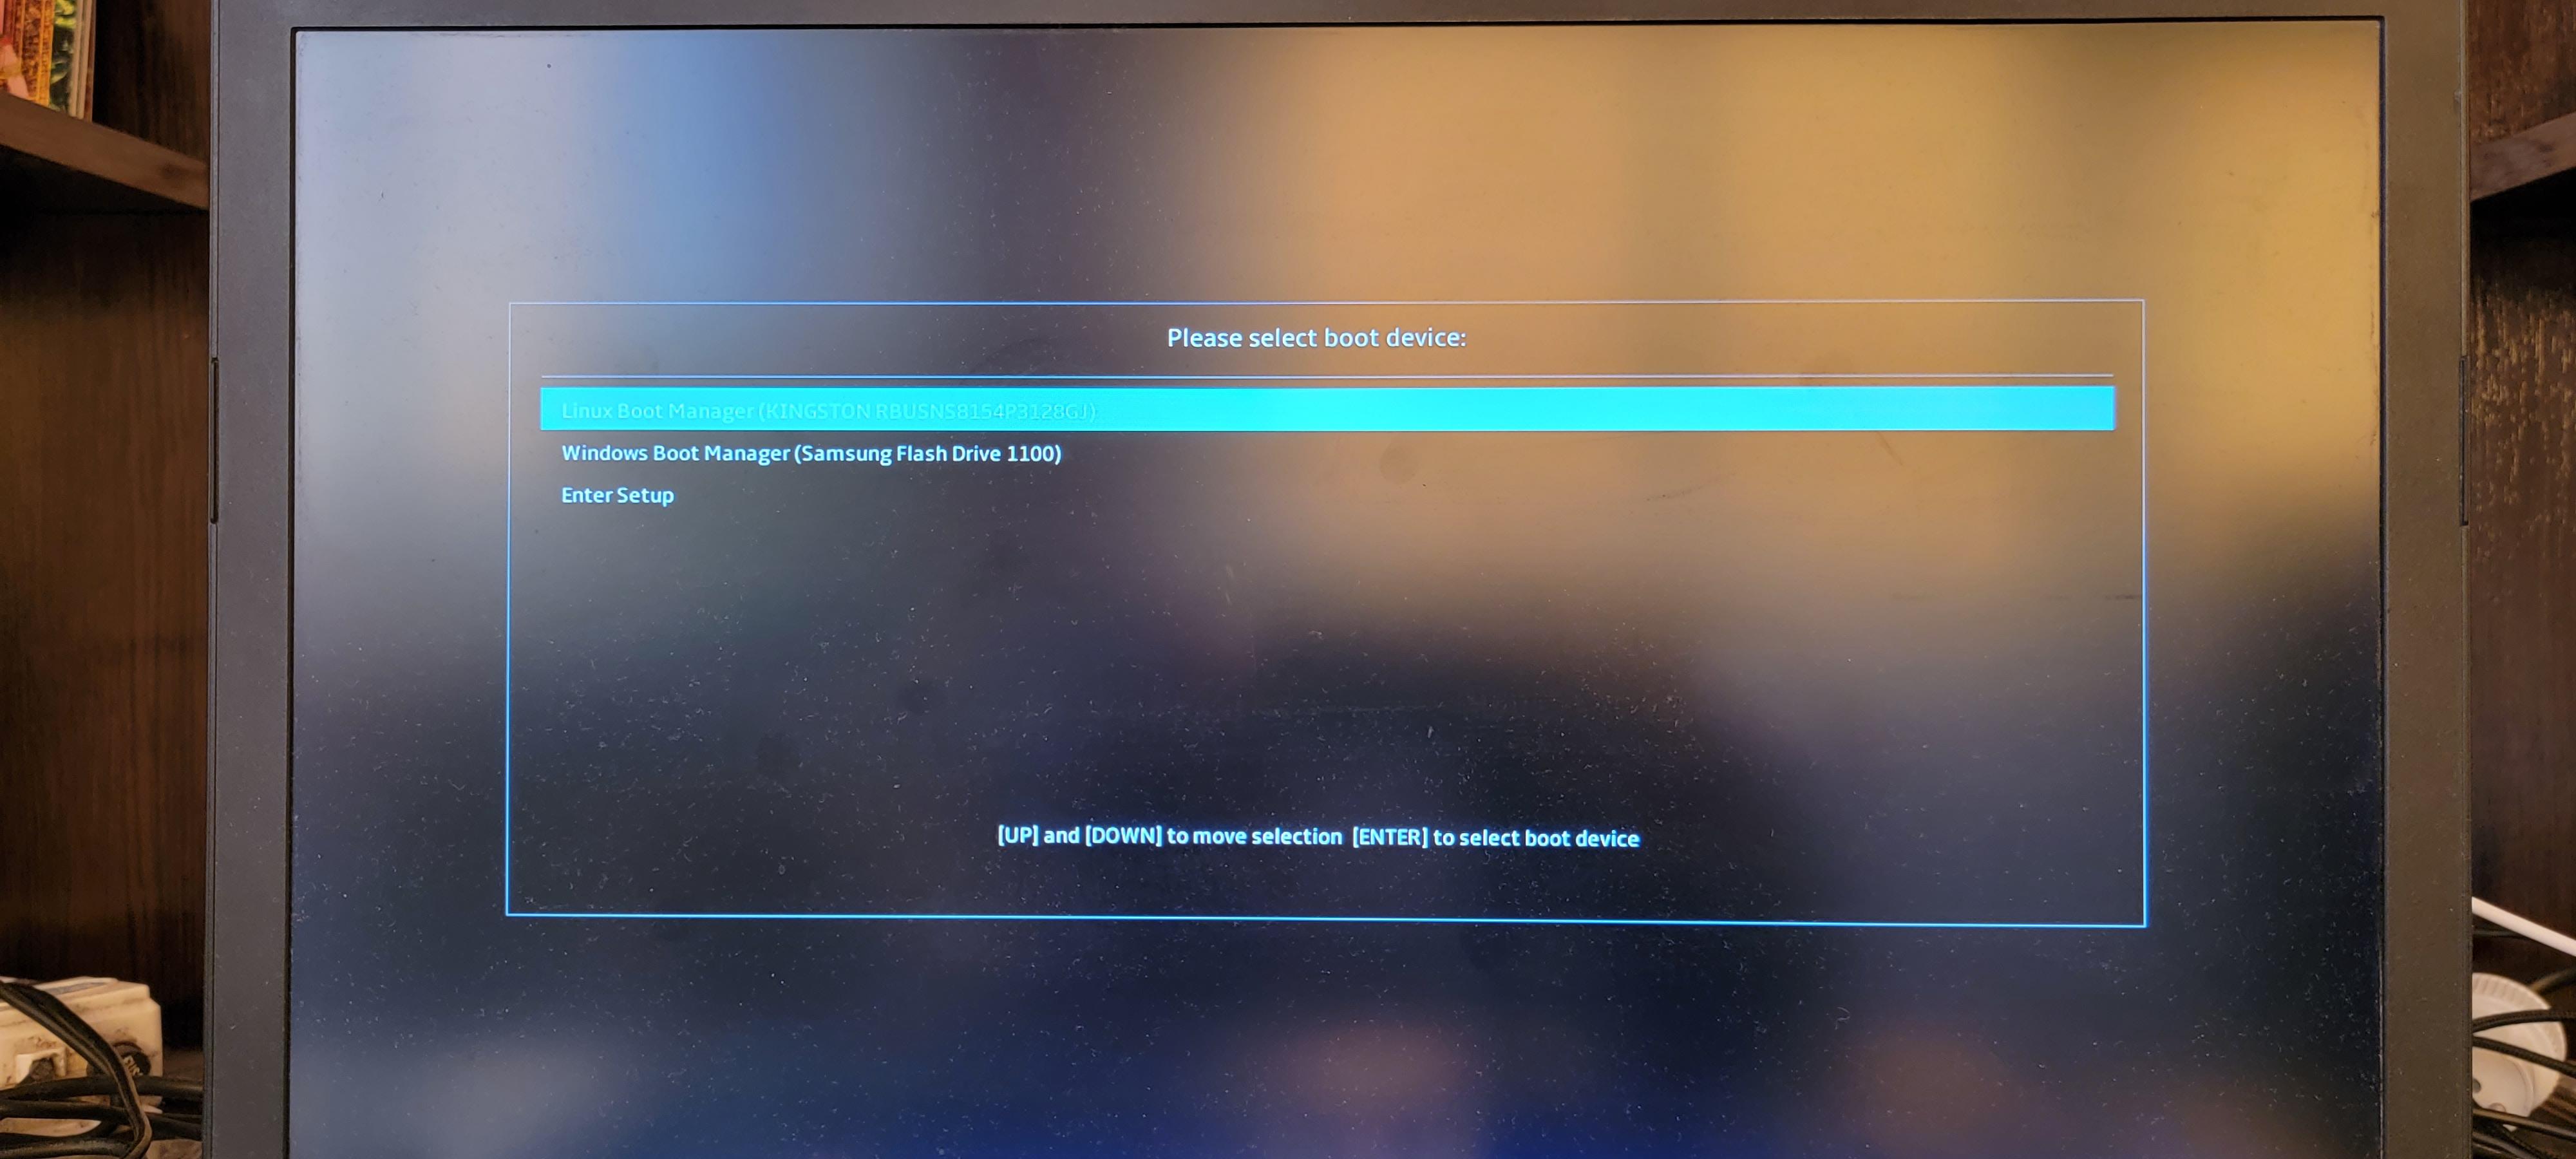
Если выбрать первую опцию, то произойдёт загрузка с внутреннего диска, если вторую — то загрузится Windows. Возможности загрузить Kali Linux с флешки нет.
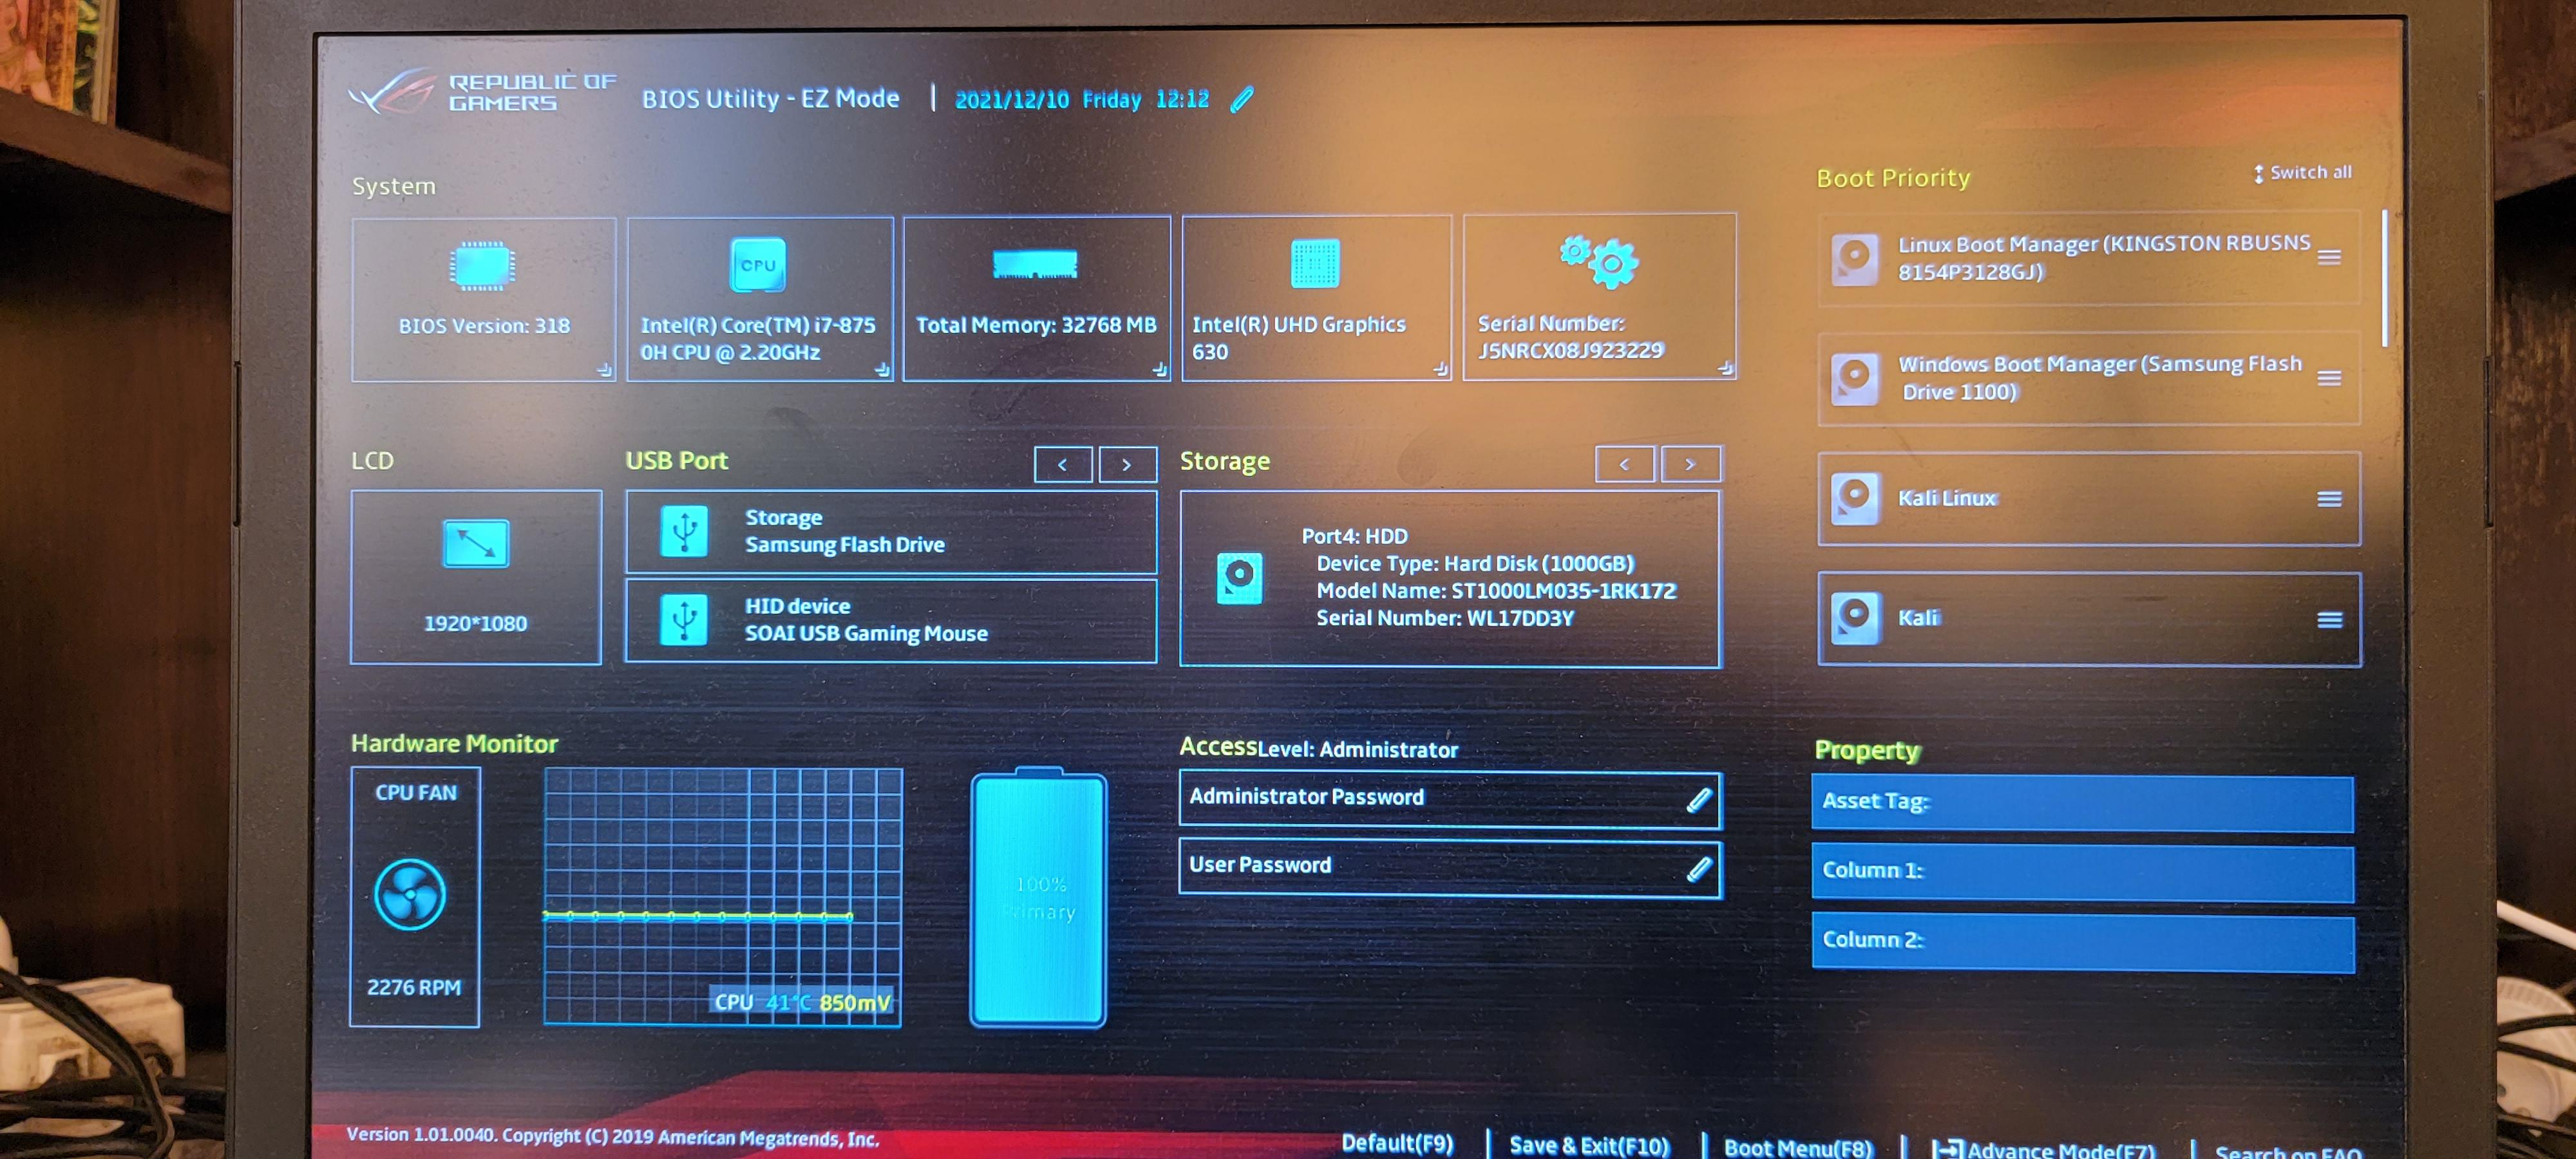
Переходим в настройки UEFI.
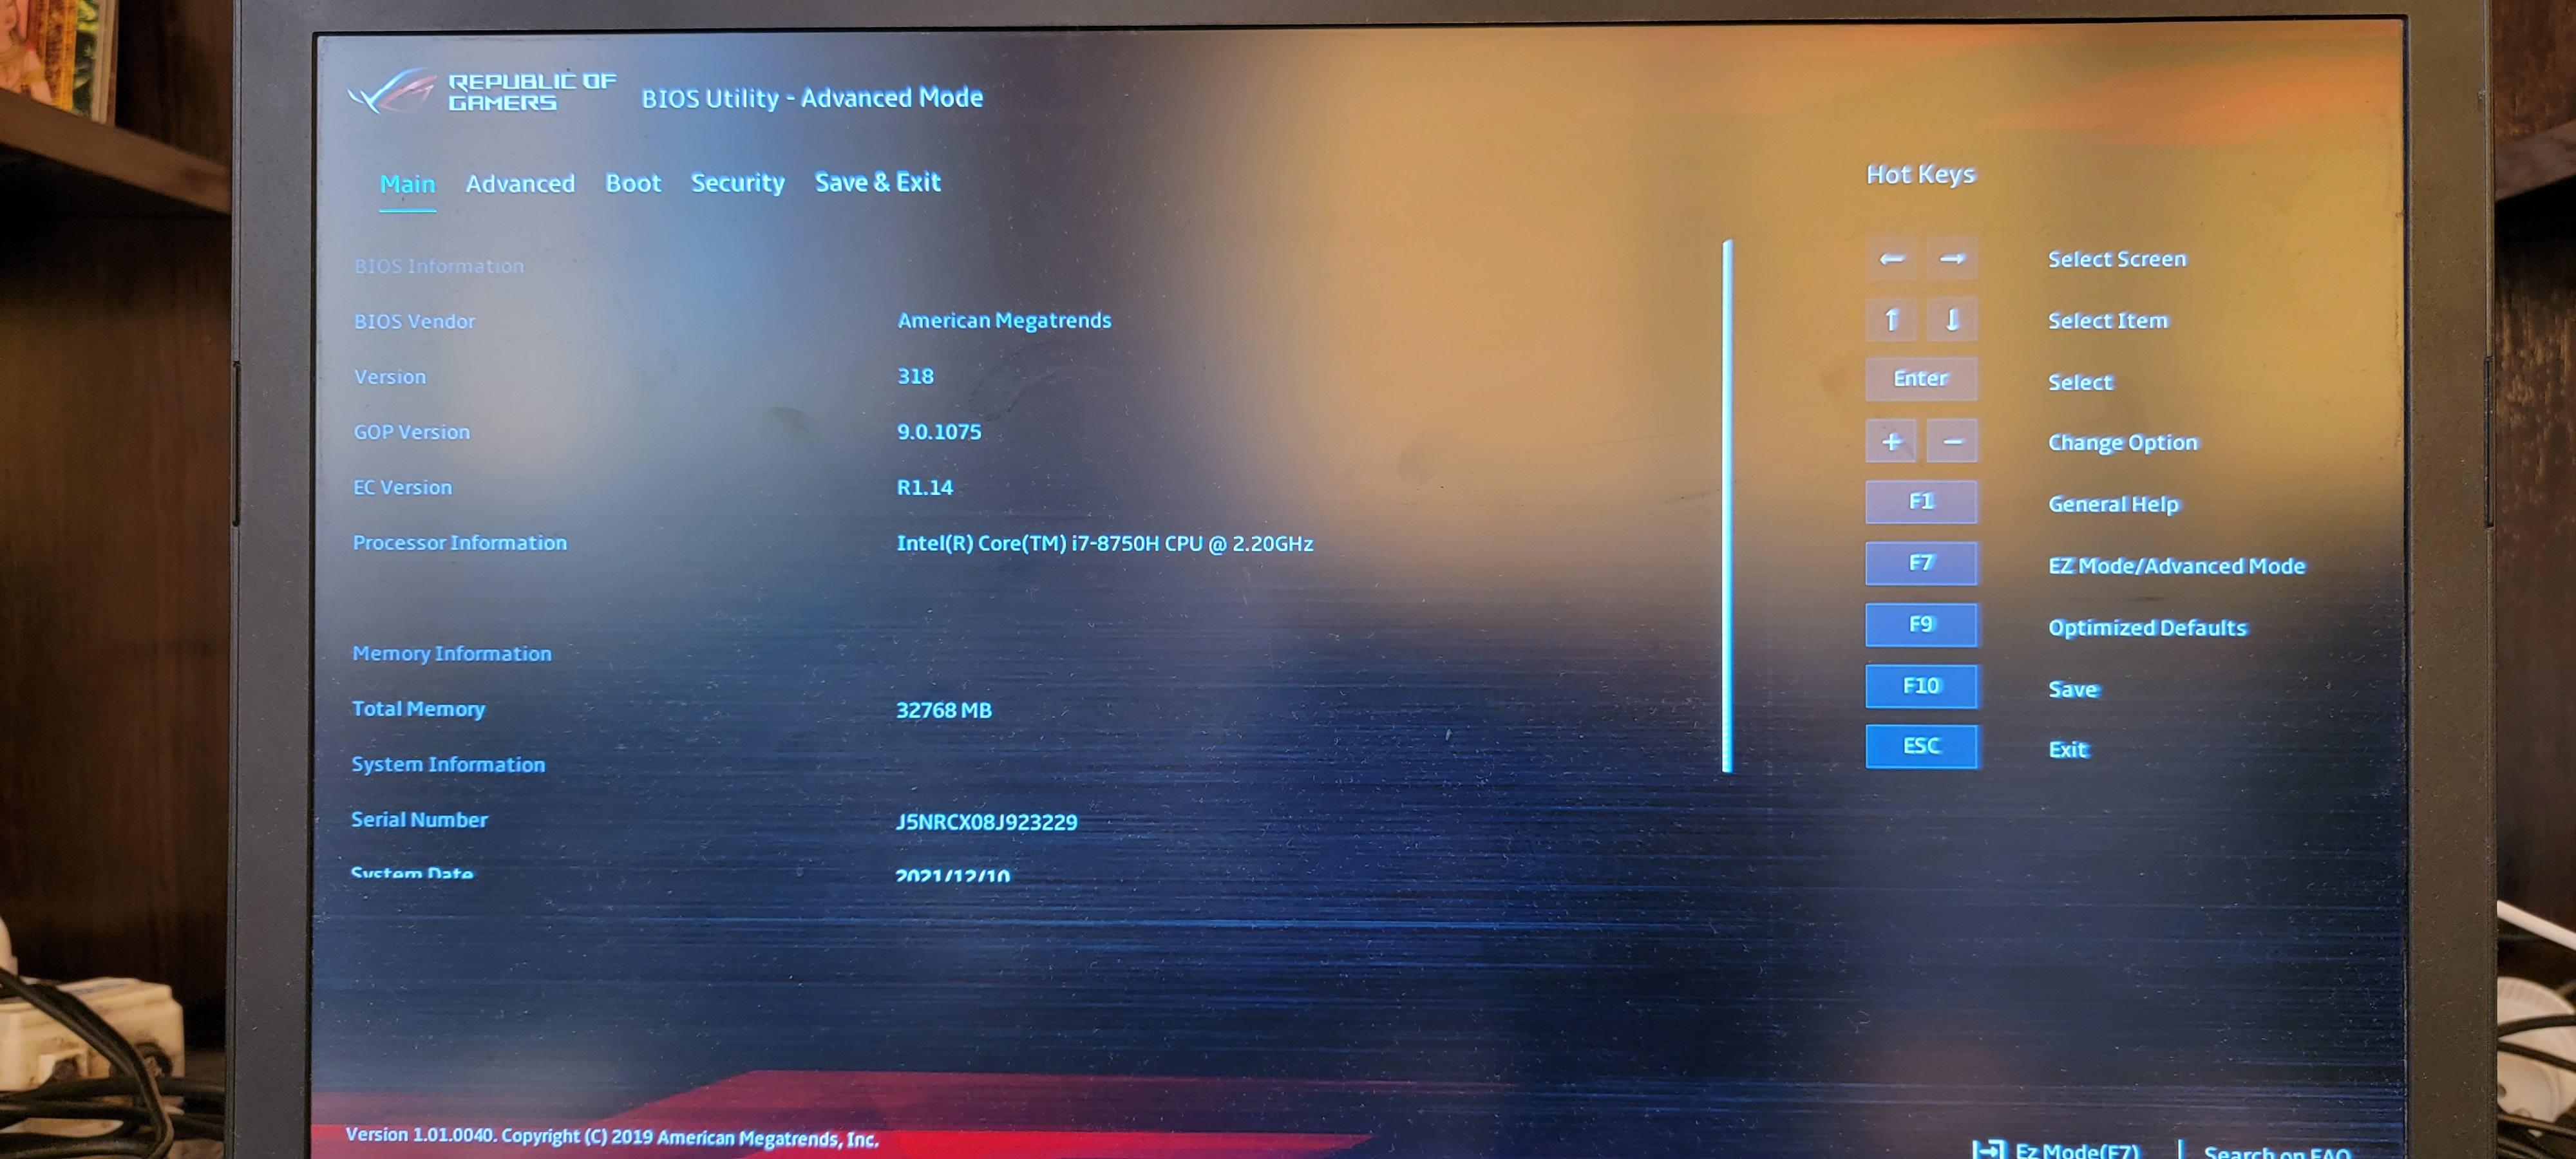
Переходим в продвинутые настройки UEFI, на моём ноутбуке это клавиша F7.
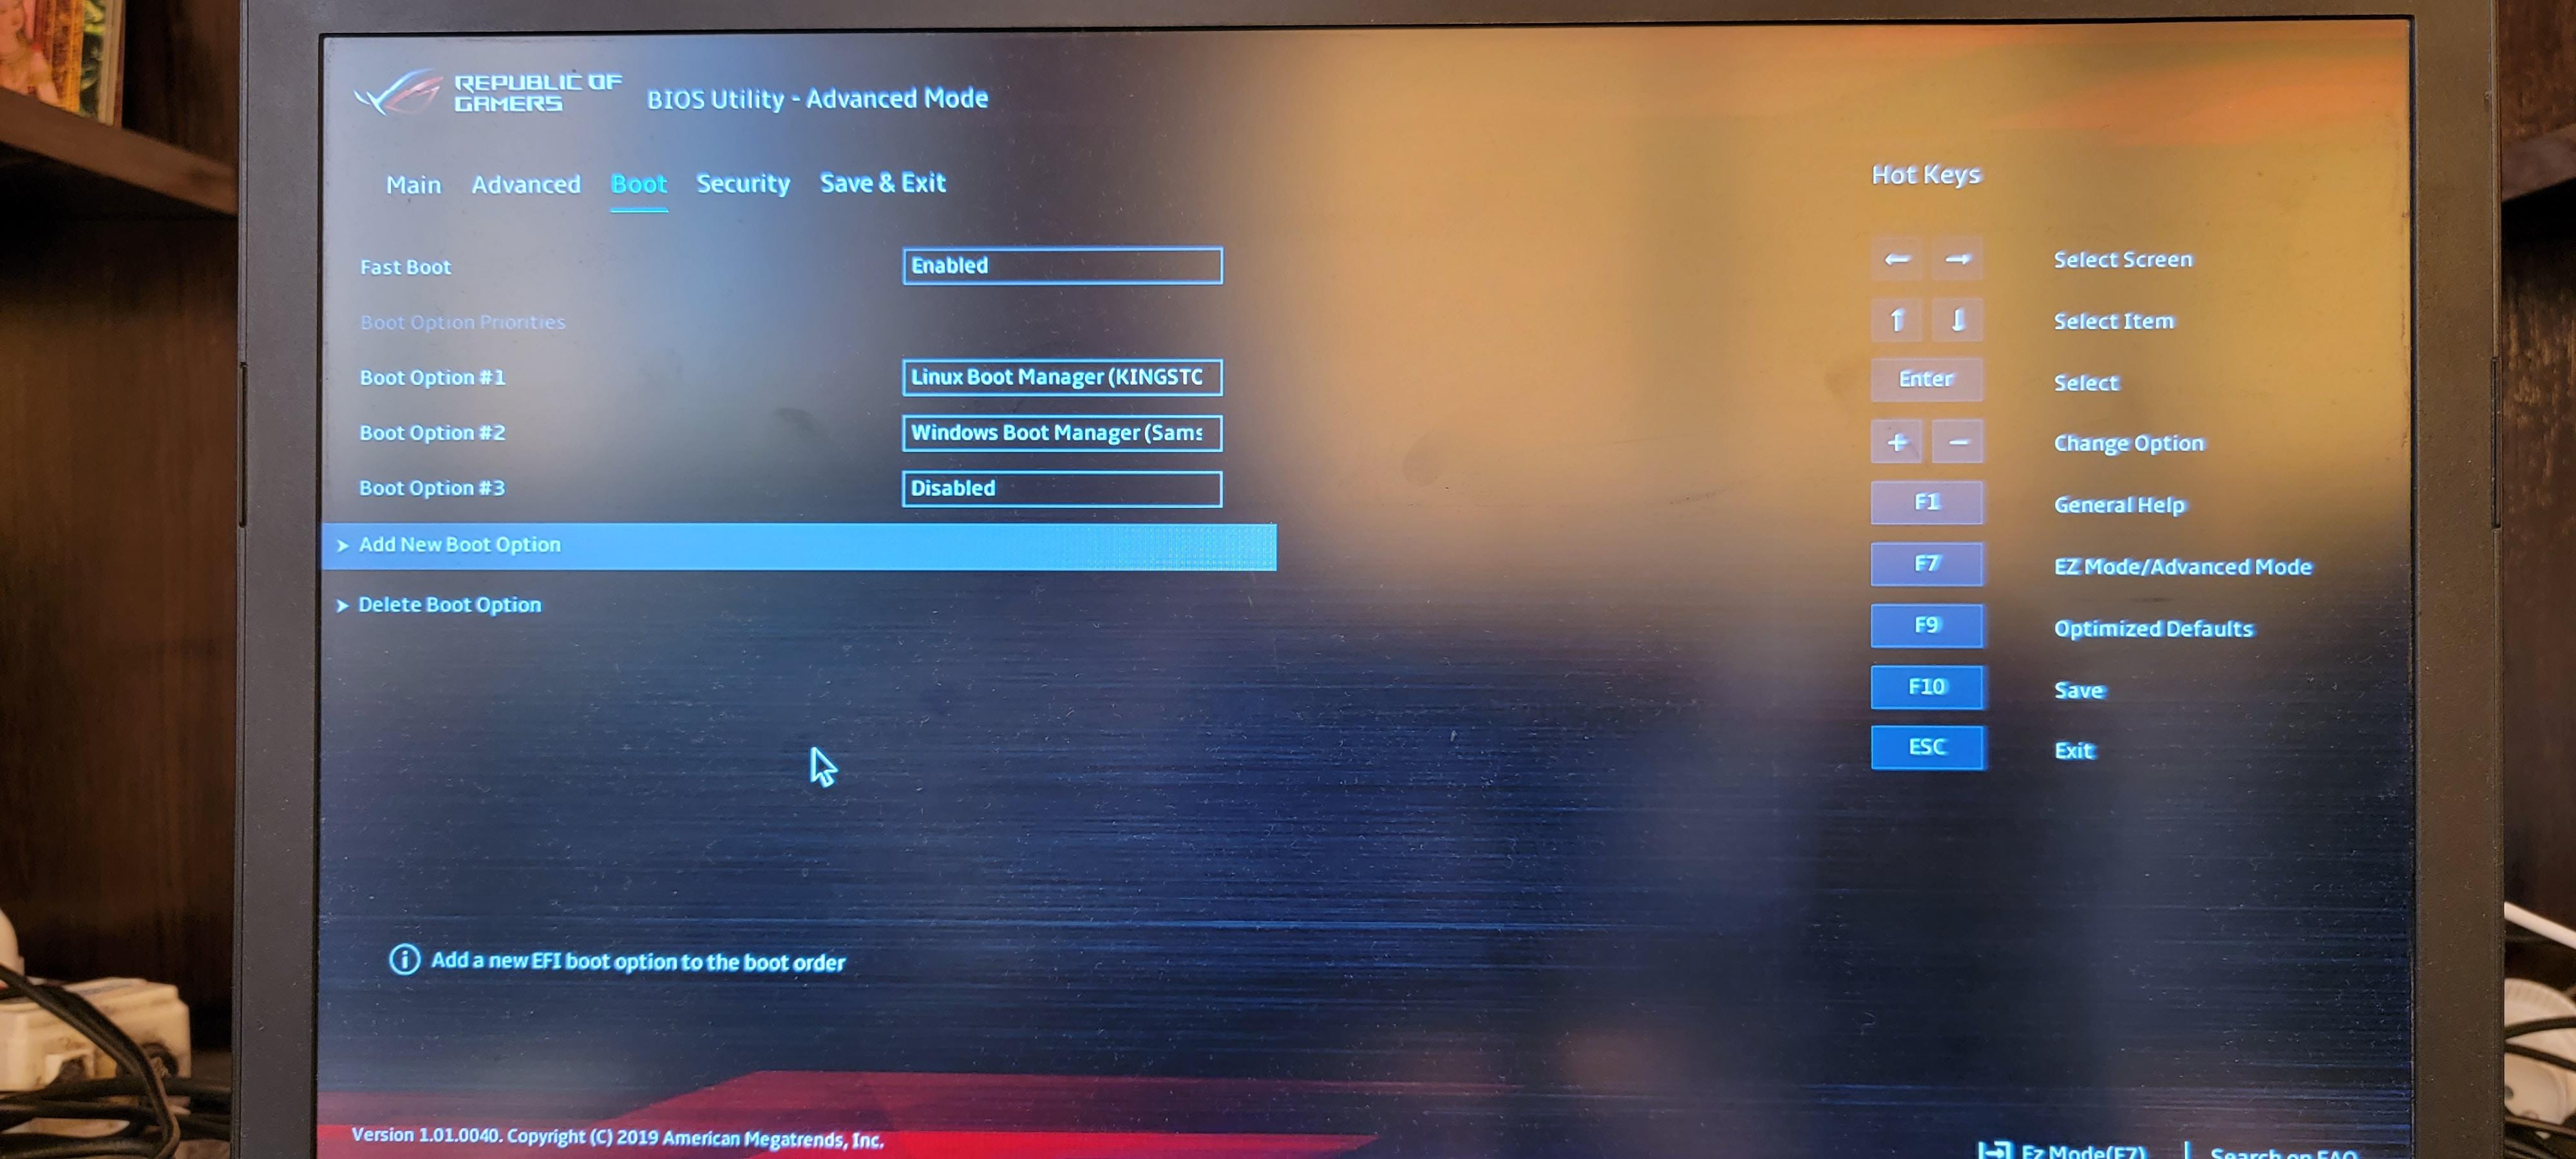
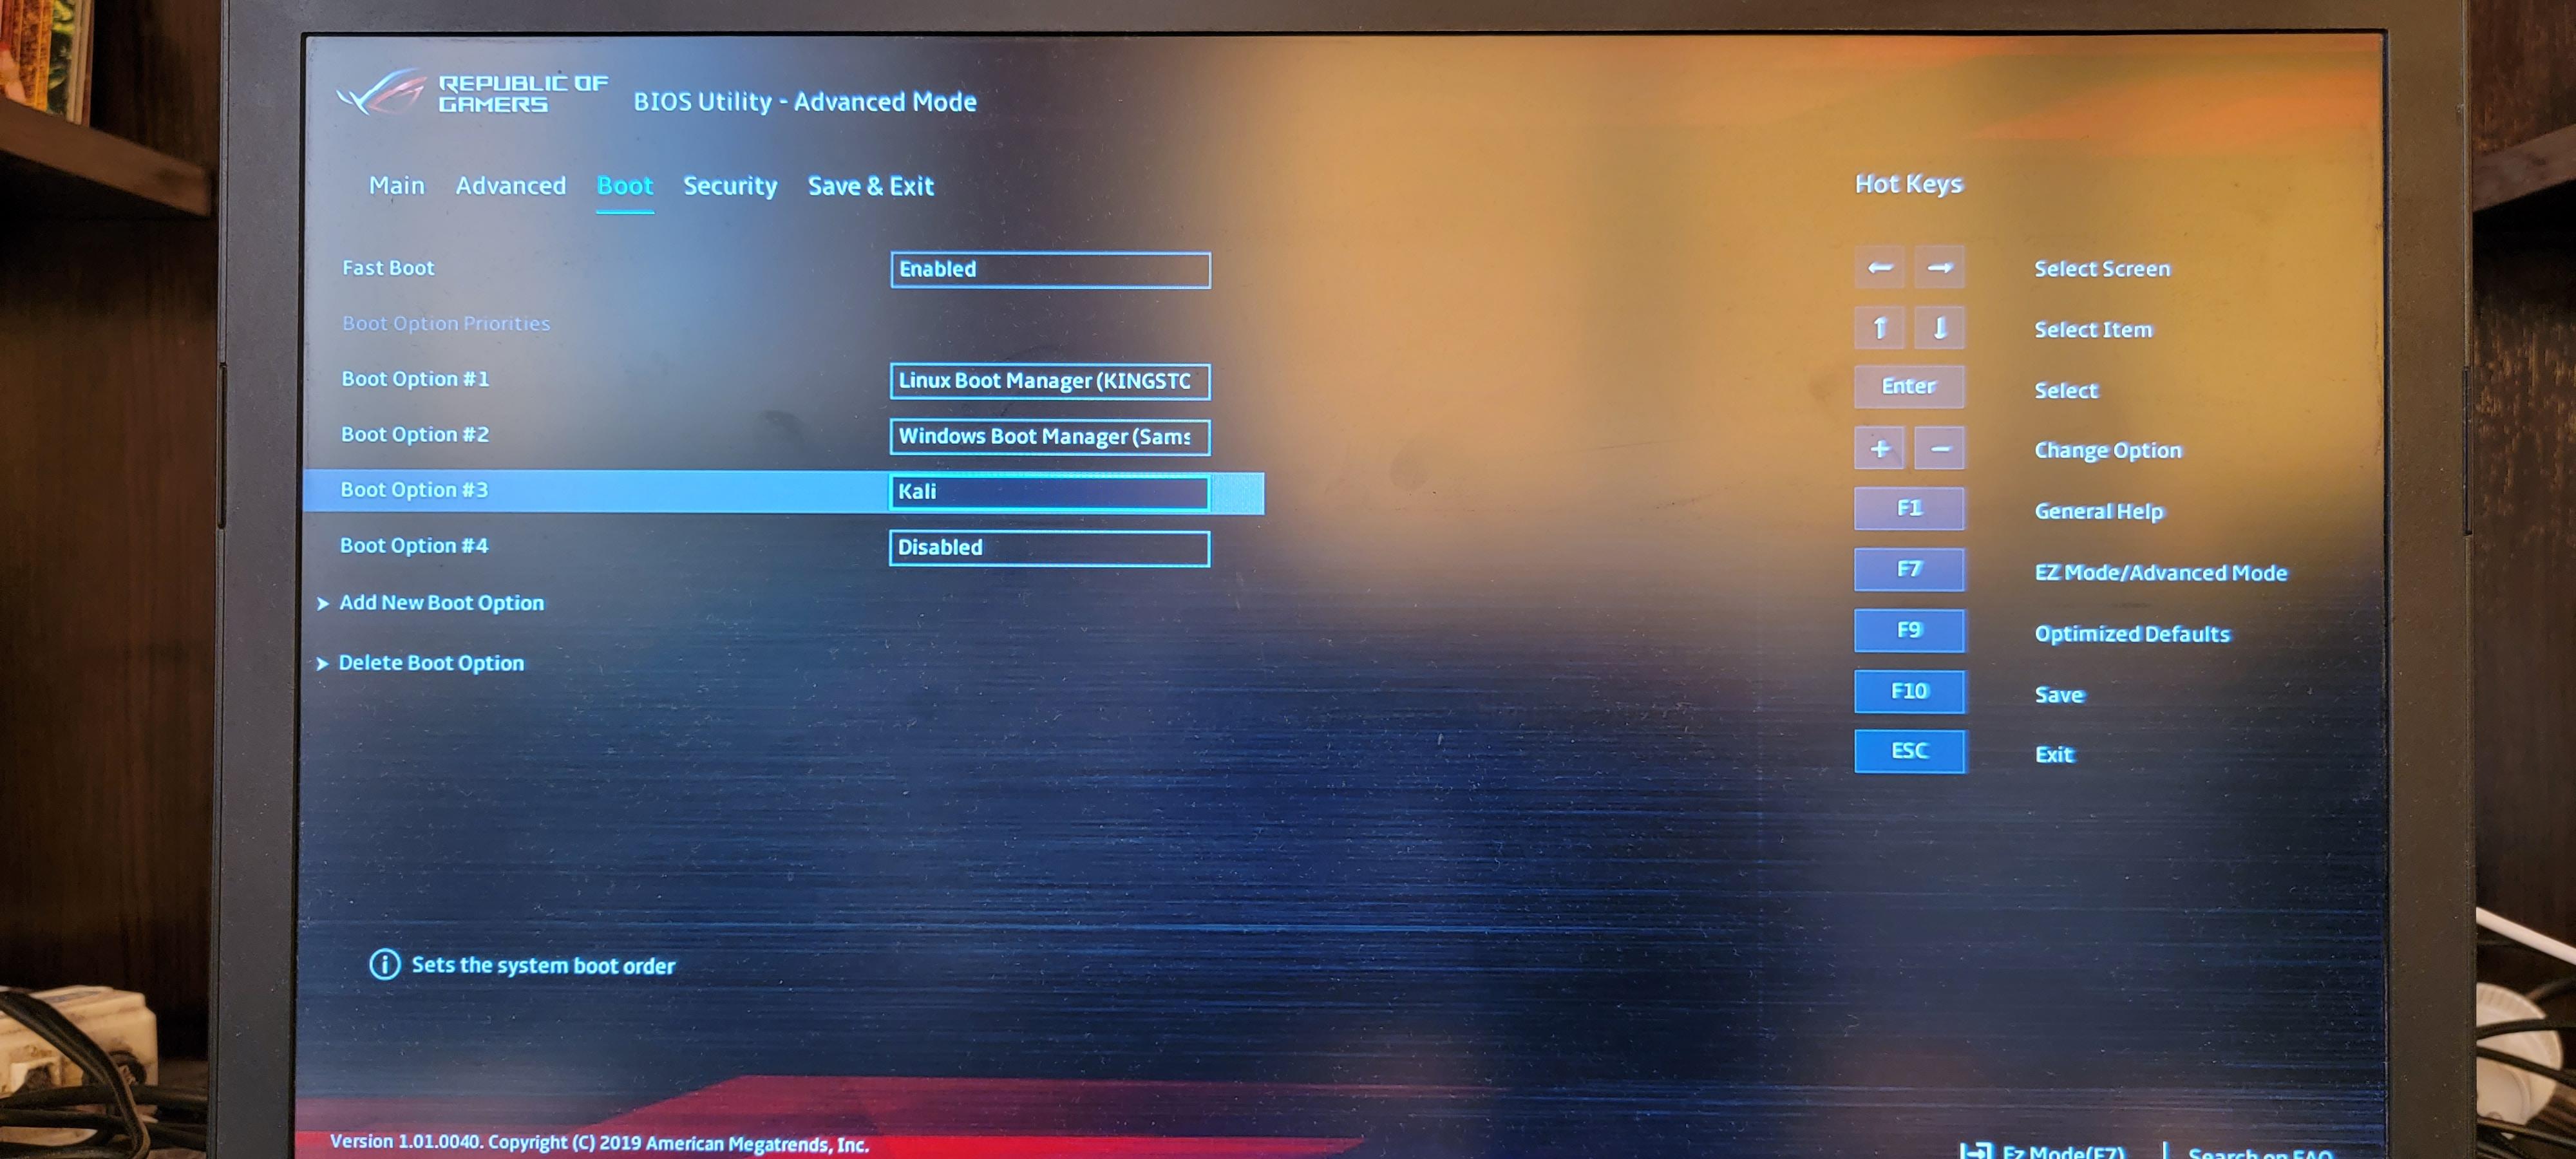
Переходим во вкладку «Boot».
Как можно увидеть, выбрано две опции загрузки и можно добавить дополнительные — как из выпадающего списка, так и новые, отсутствующие в списке.

Среди доступных в выпадающем списке опций отсутствует Kali Linux с флешки.

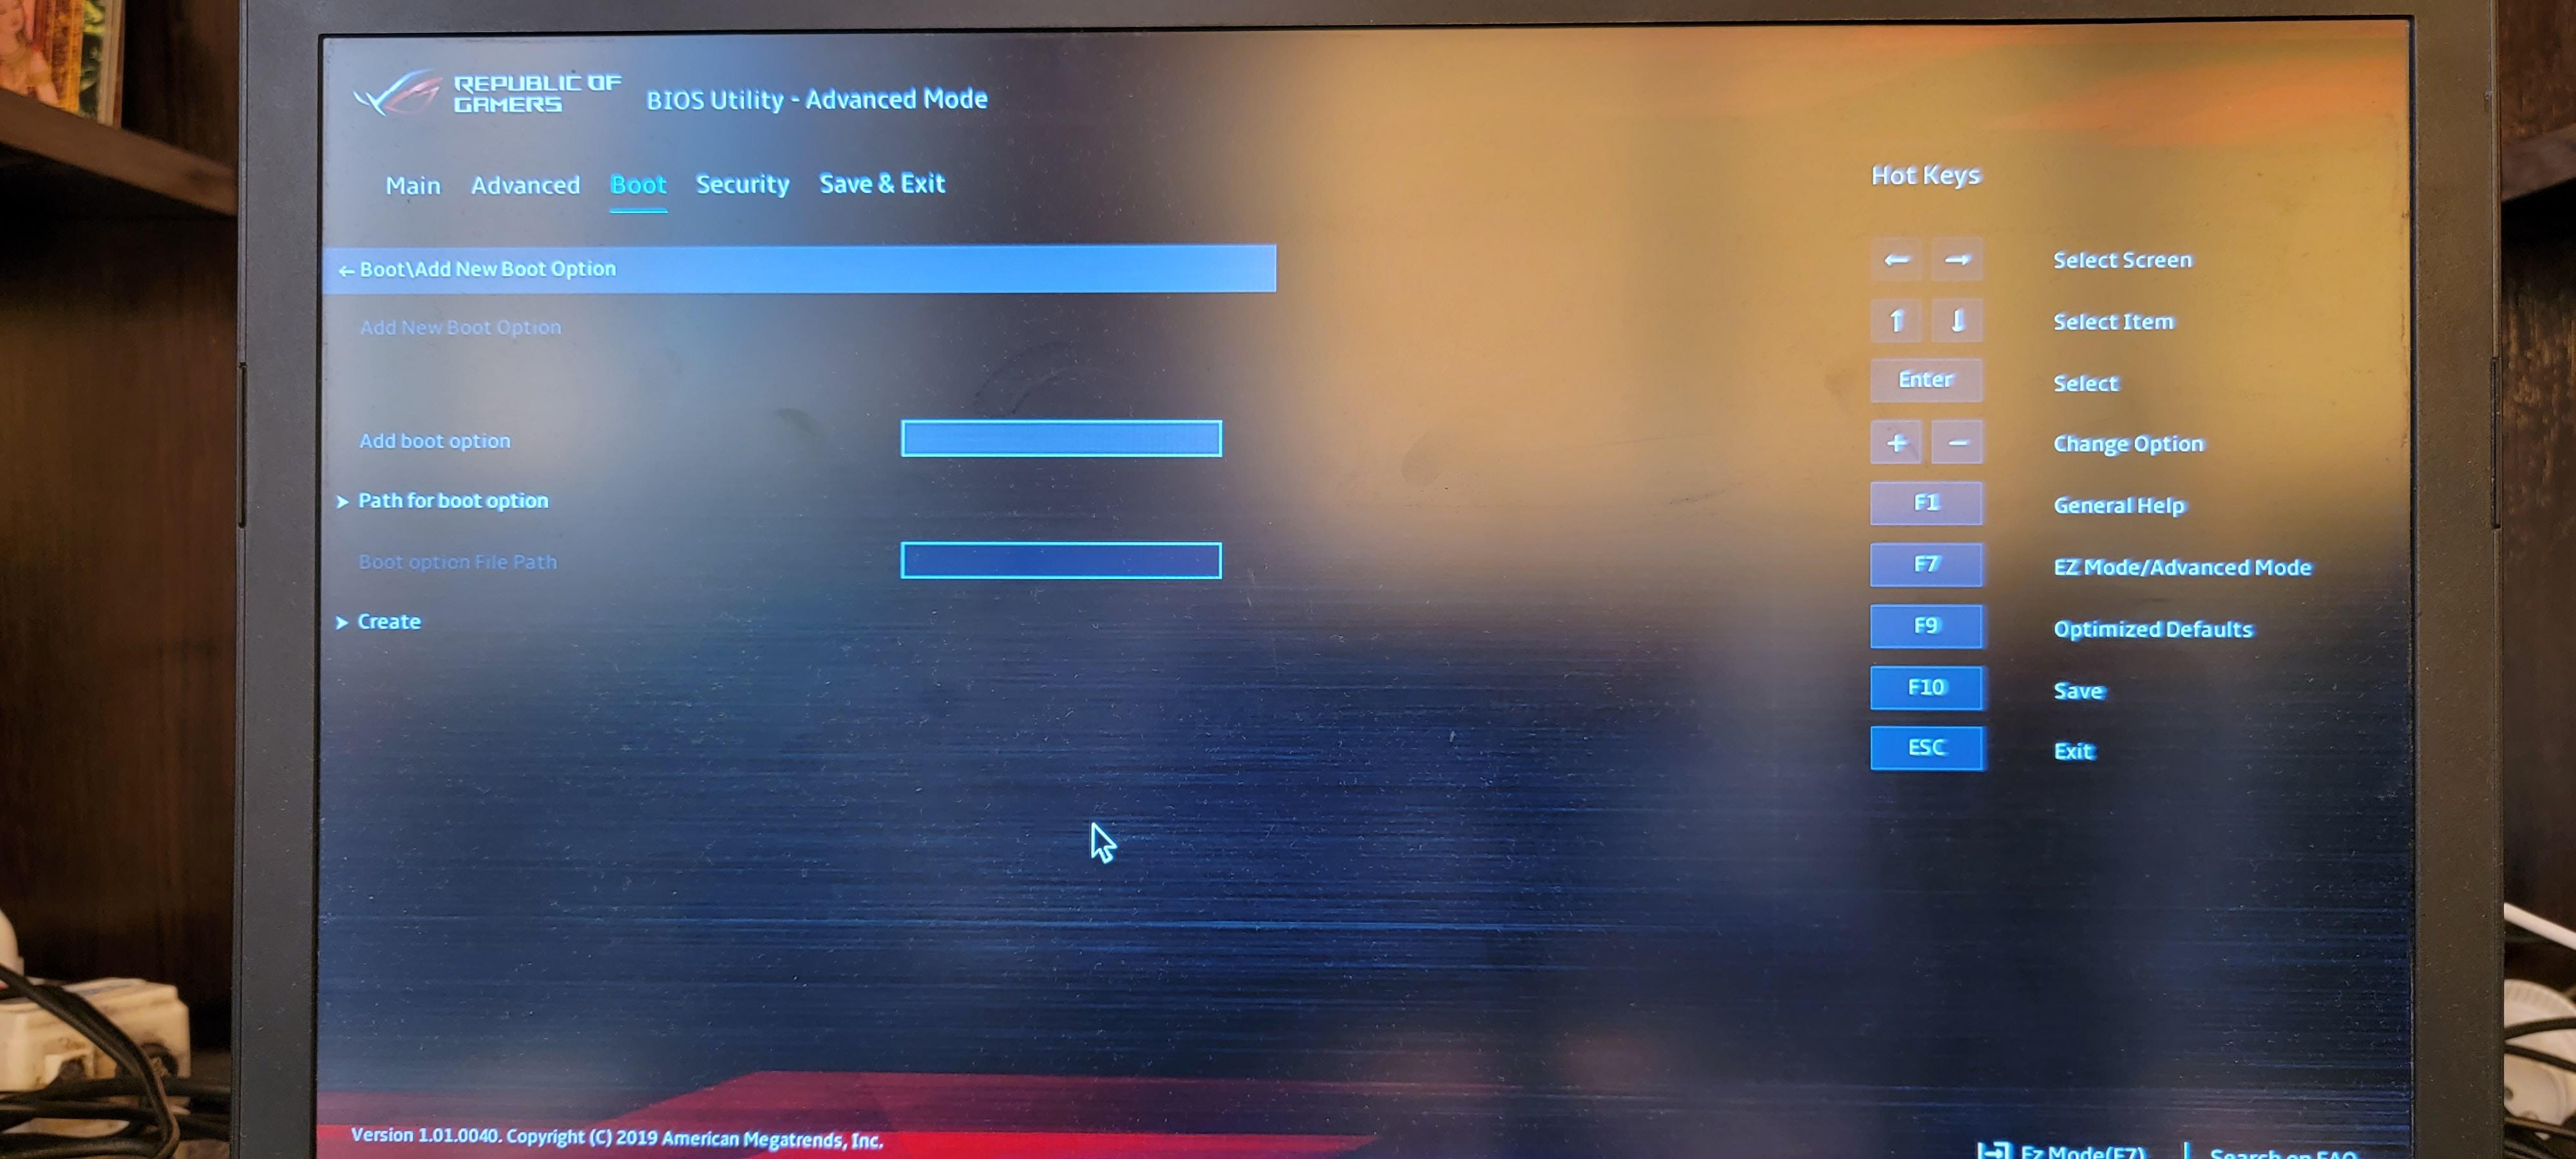
Выбираем «Add New Boot Option».
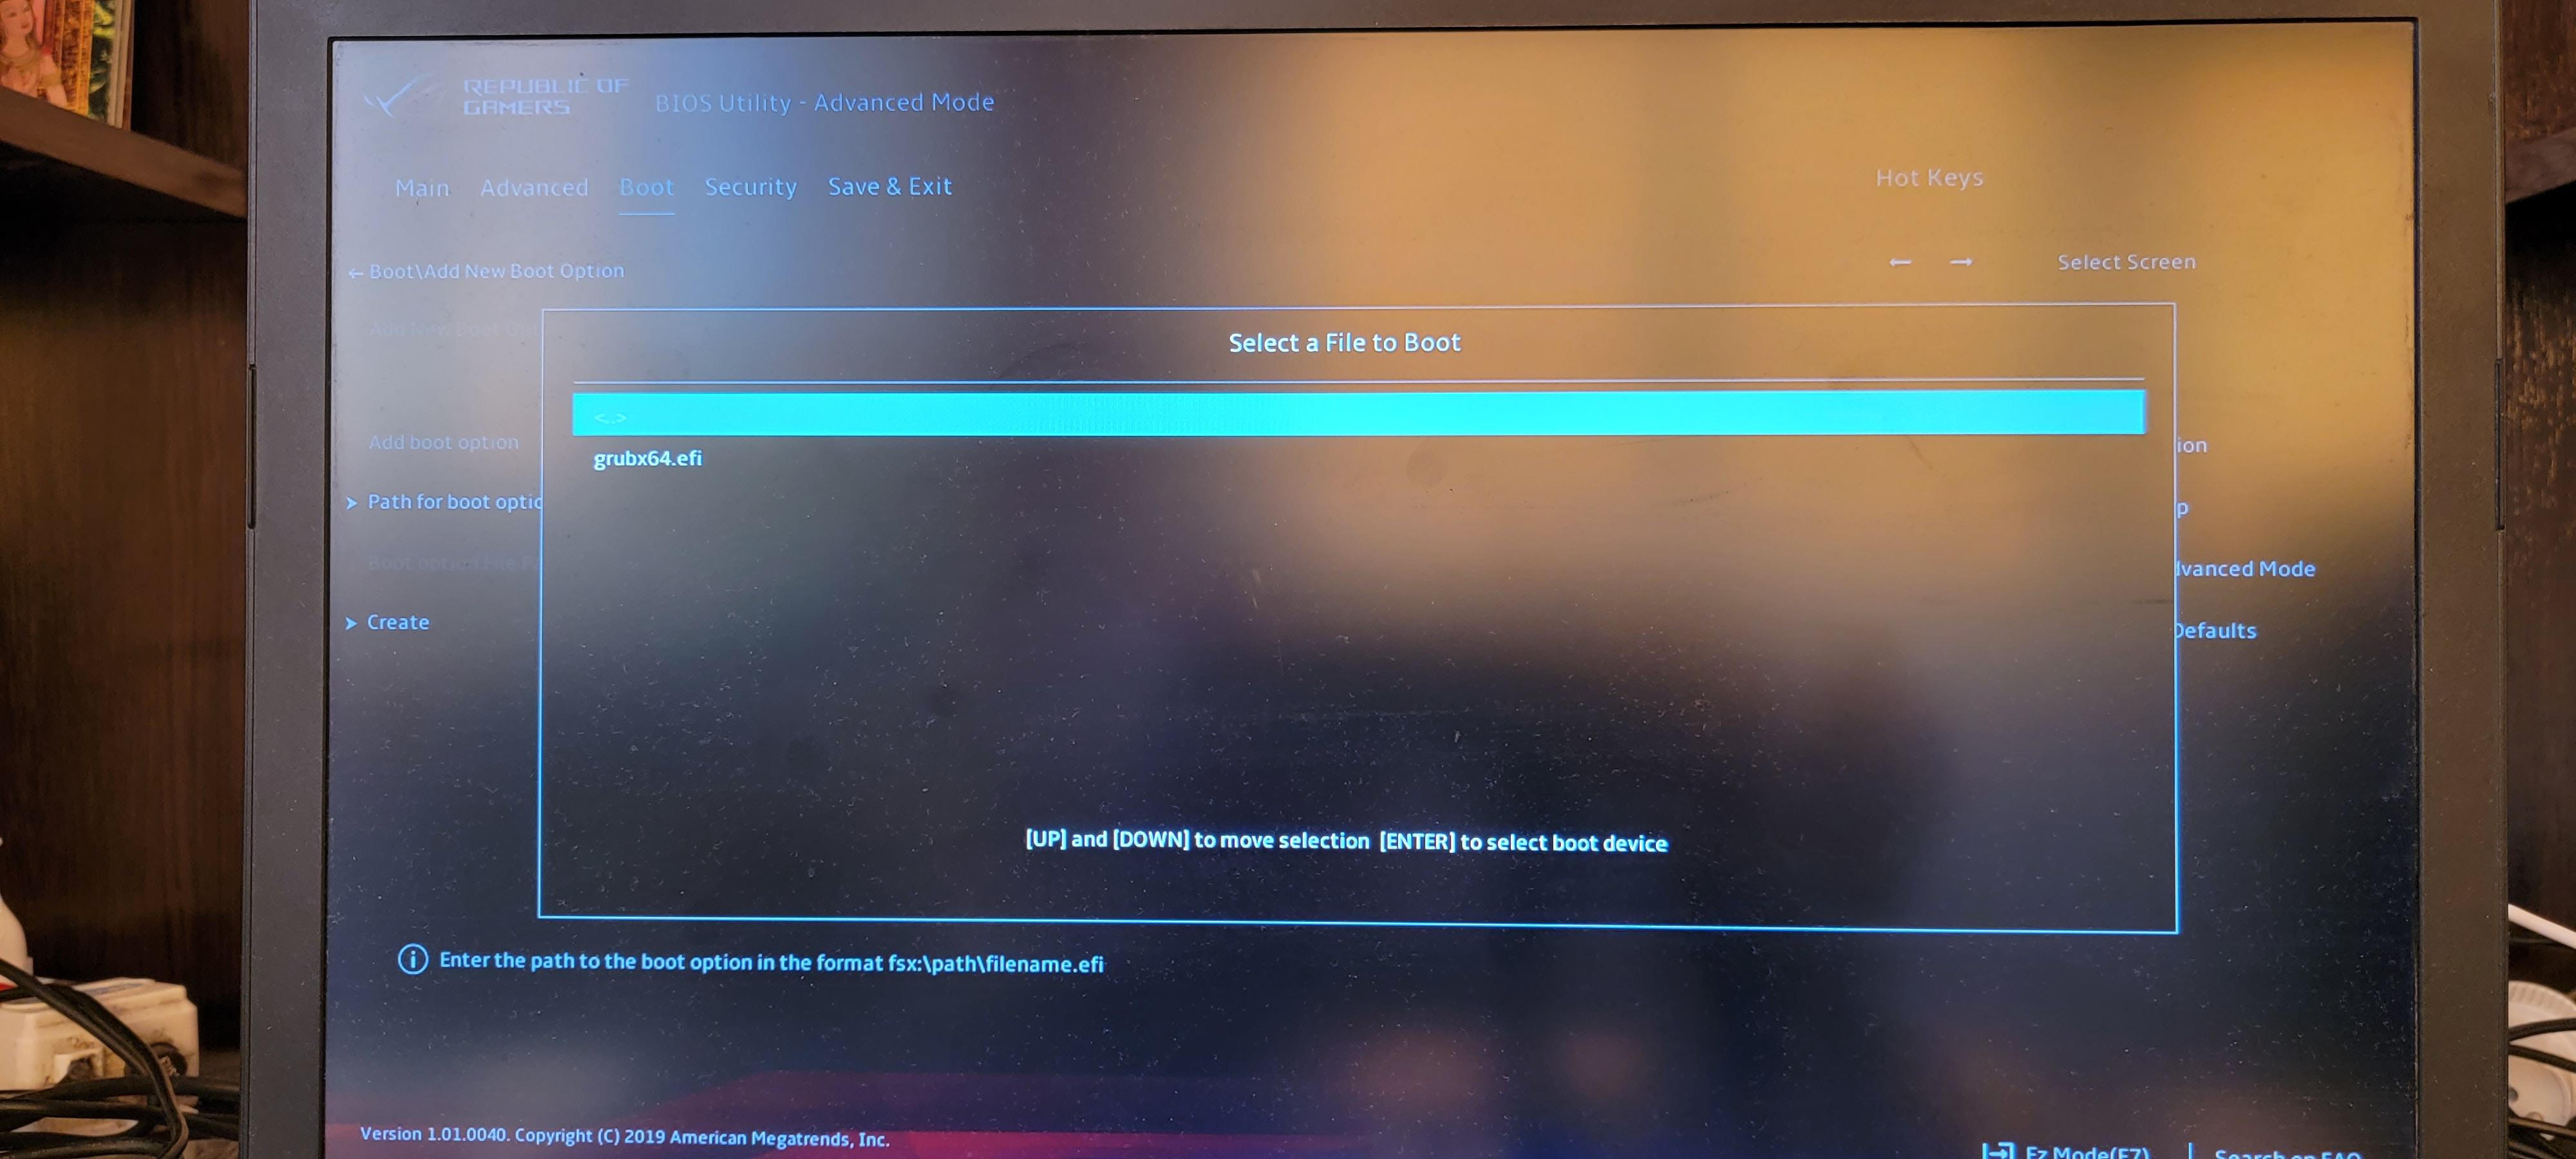
В поле «Path for boot option» нужно указать путь до файла /EFI/kali/grubx64.efi.
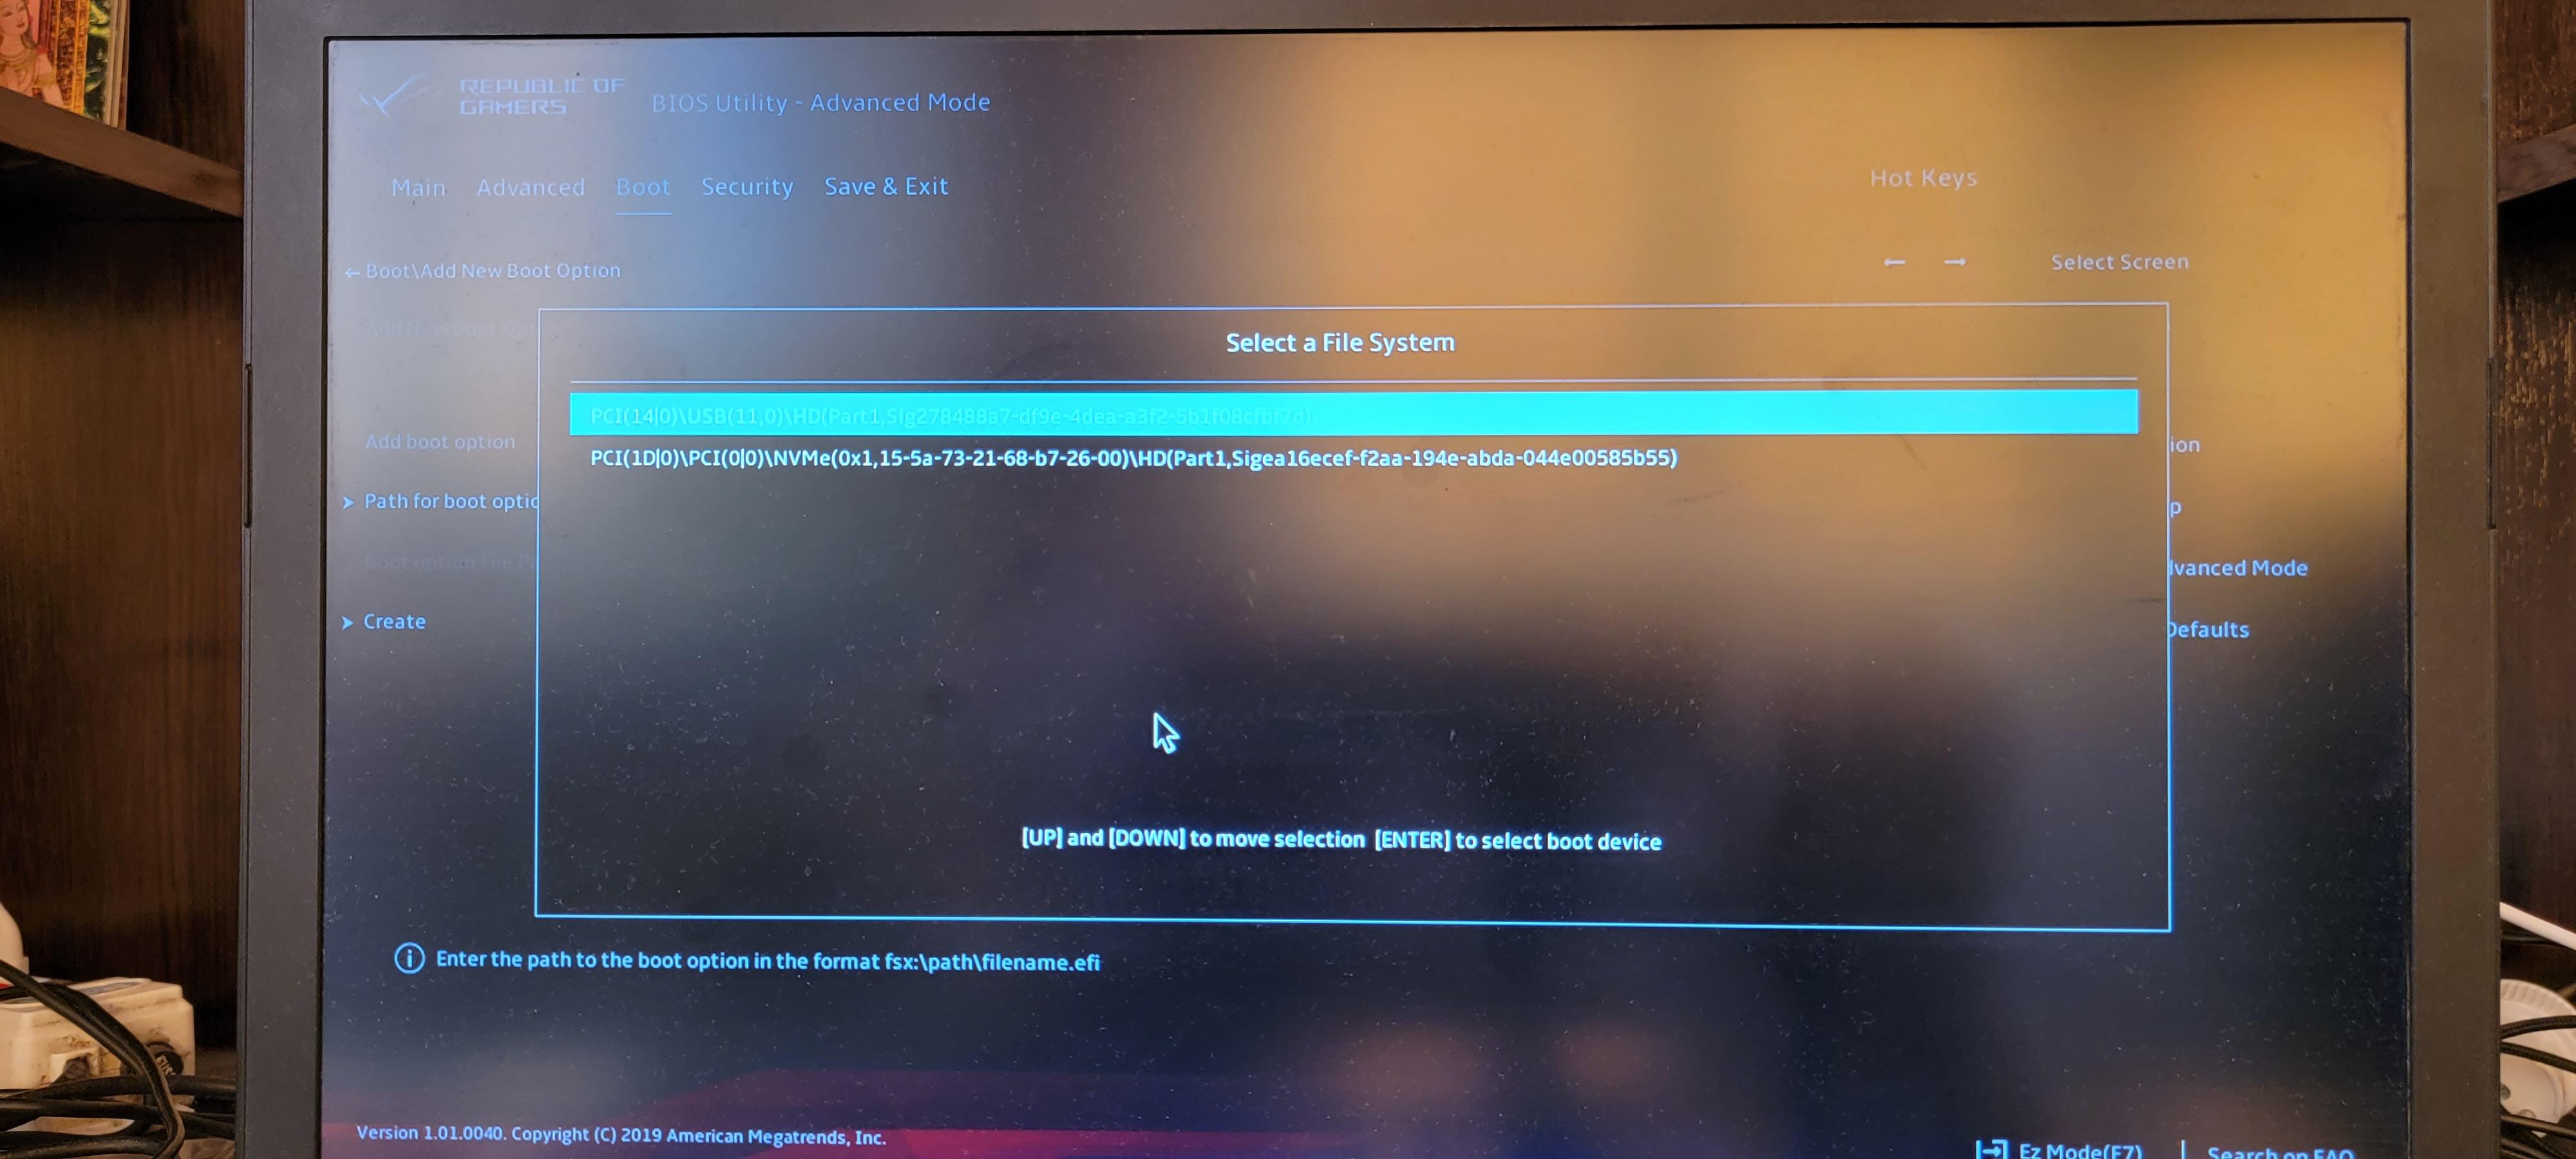
Выбираем USB флешку (в пути присутствует строка «USB»).
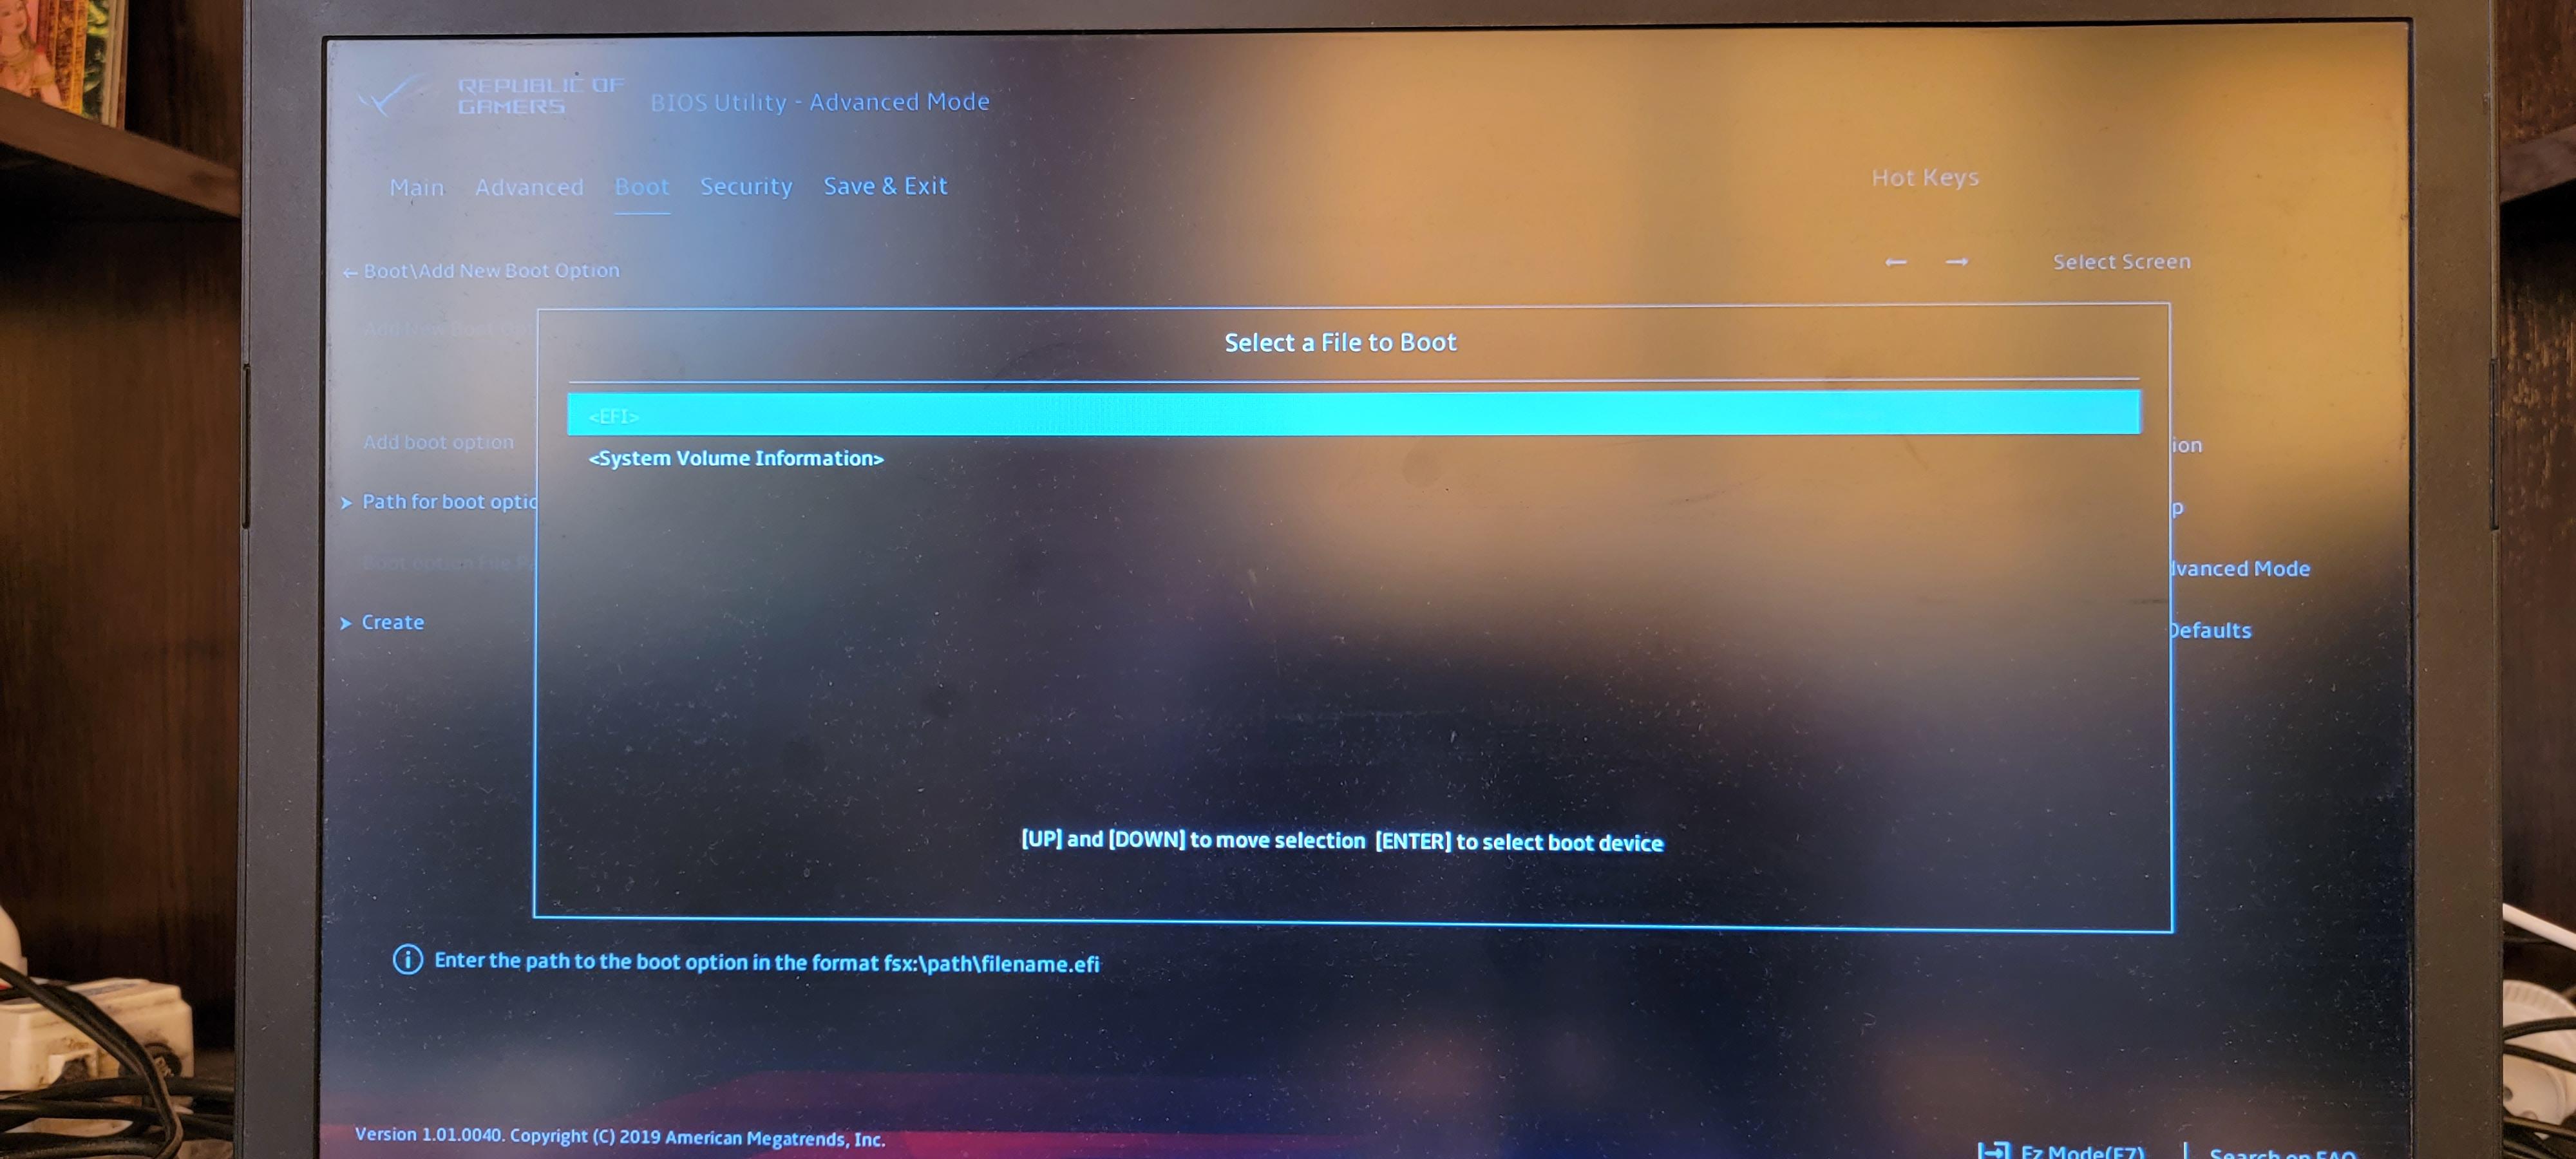
Выбираем папку «EFI».
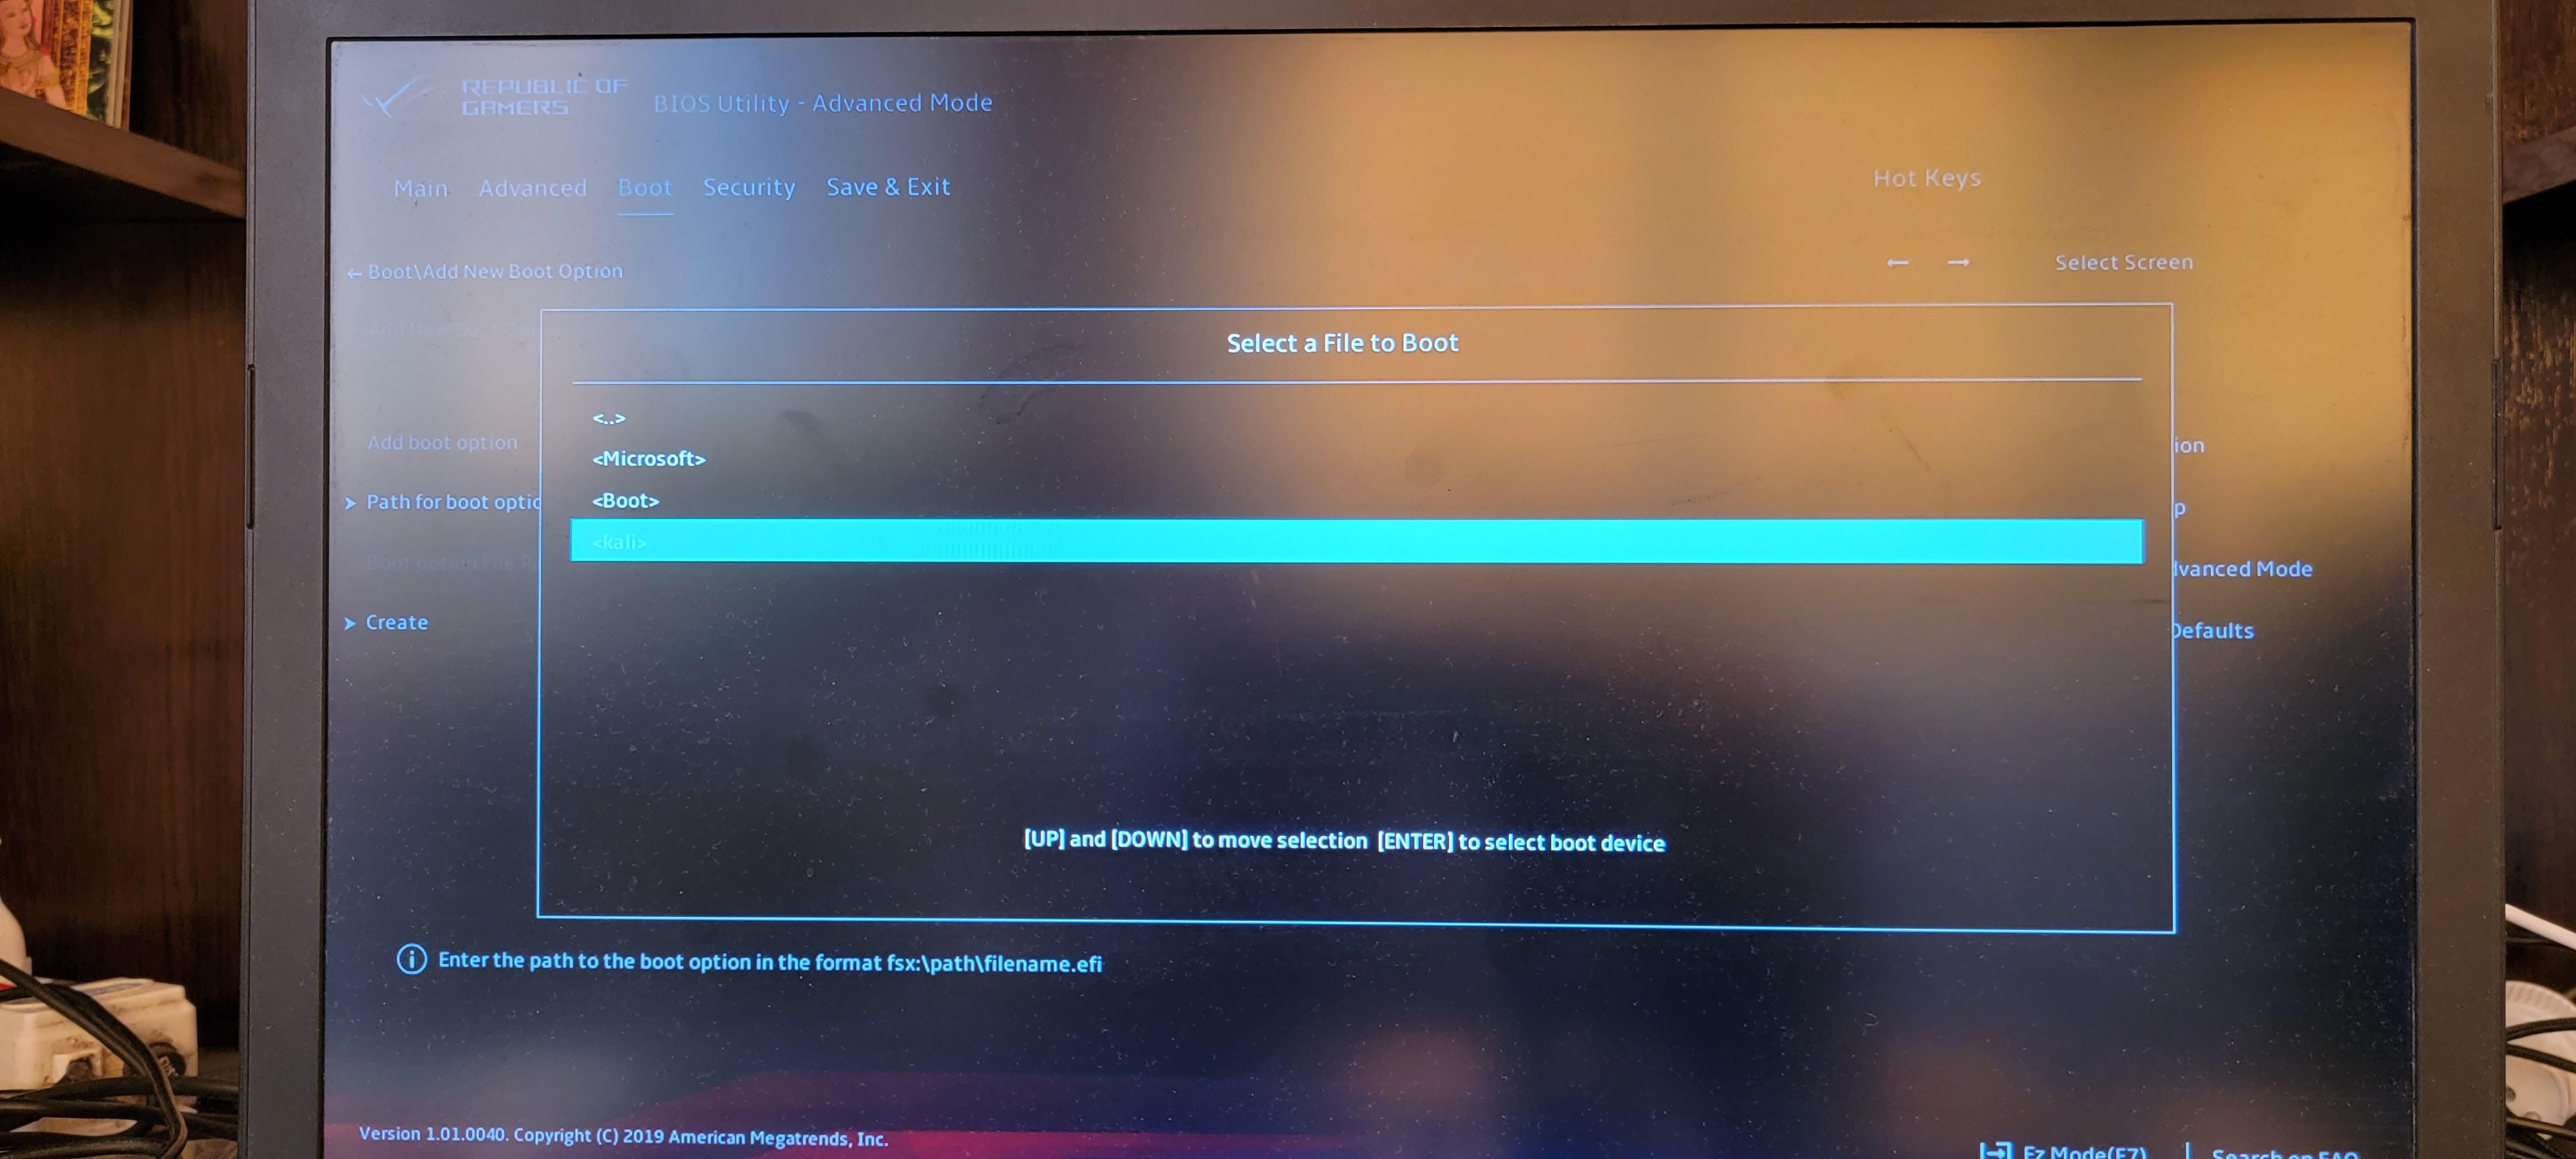
Выбираем папку «kali».

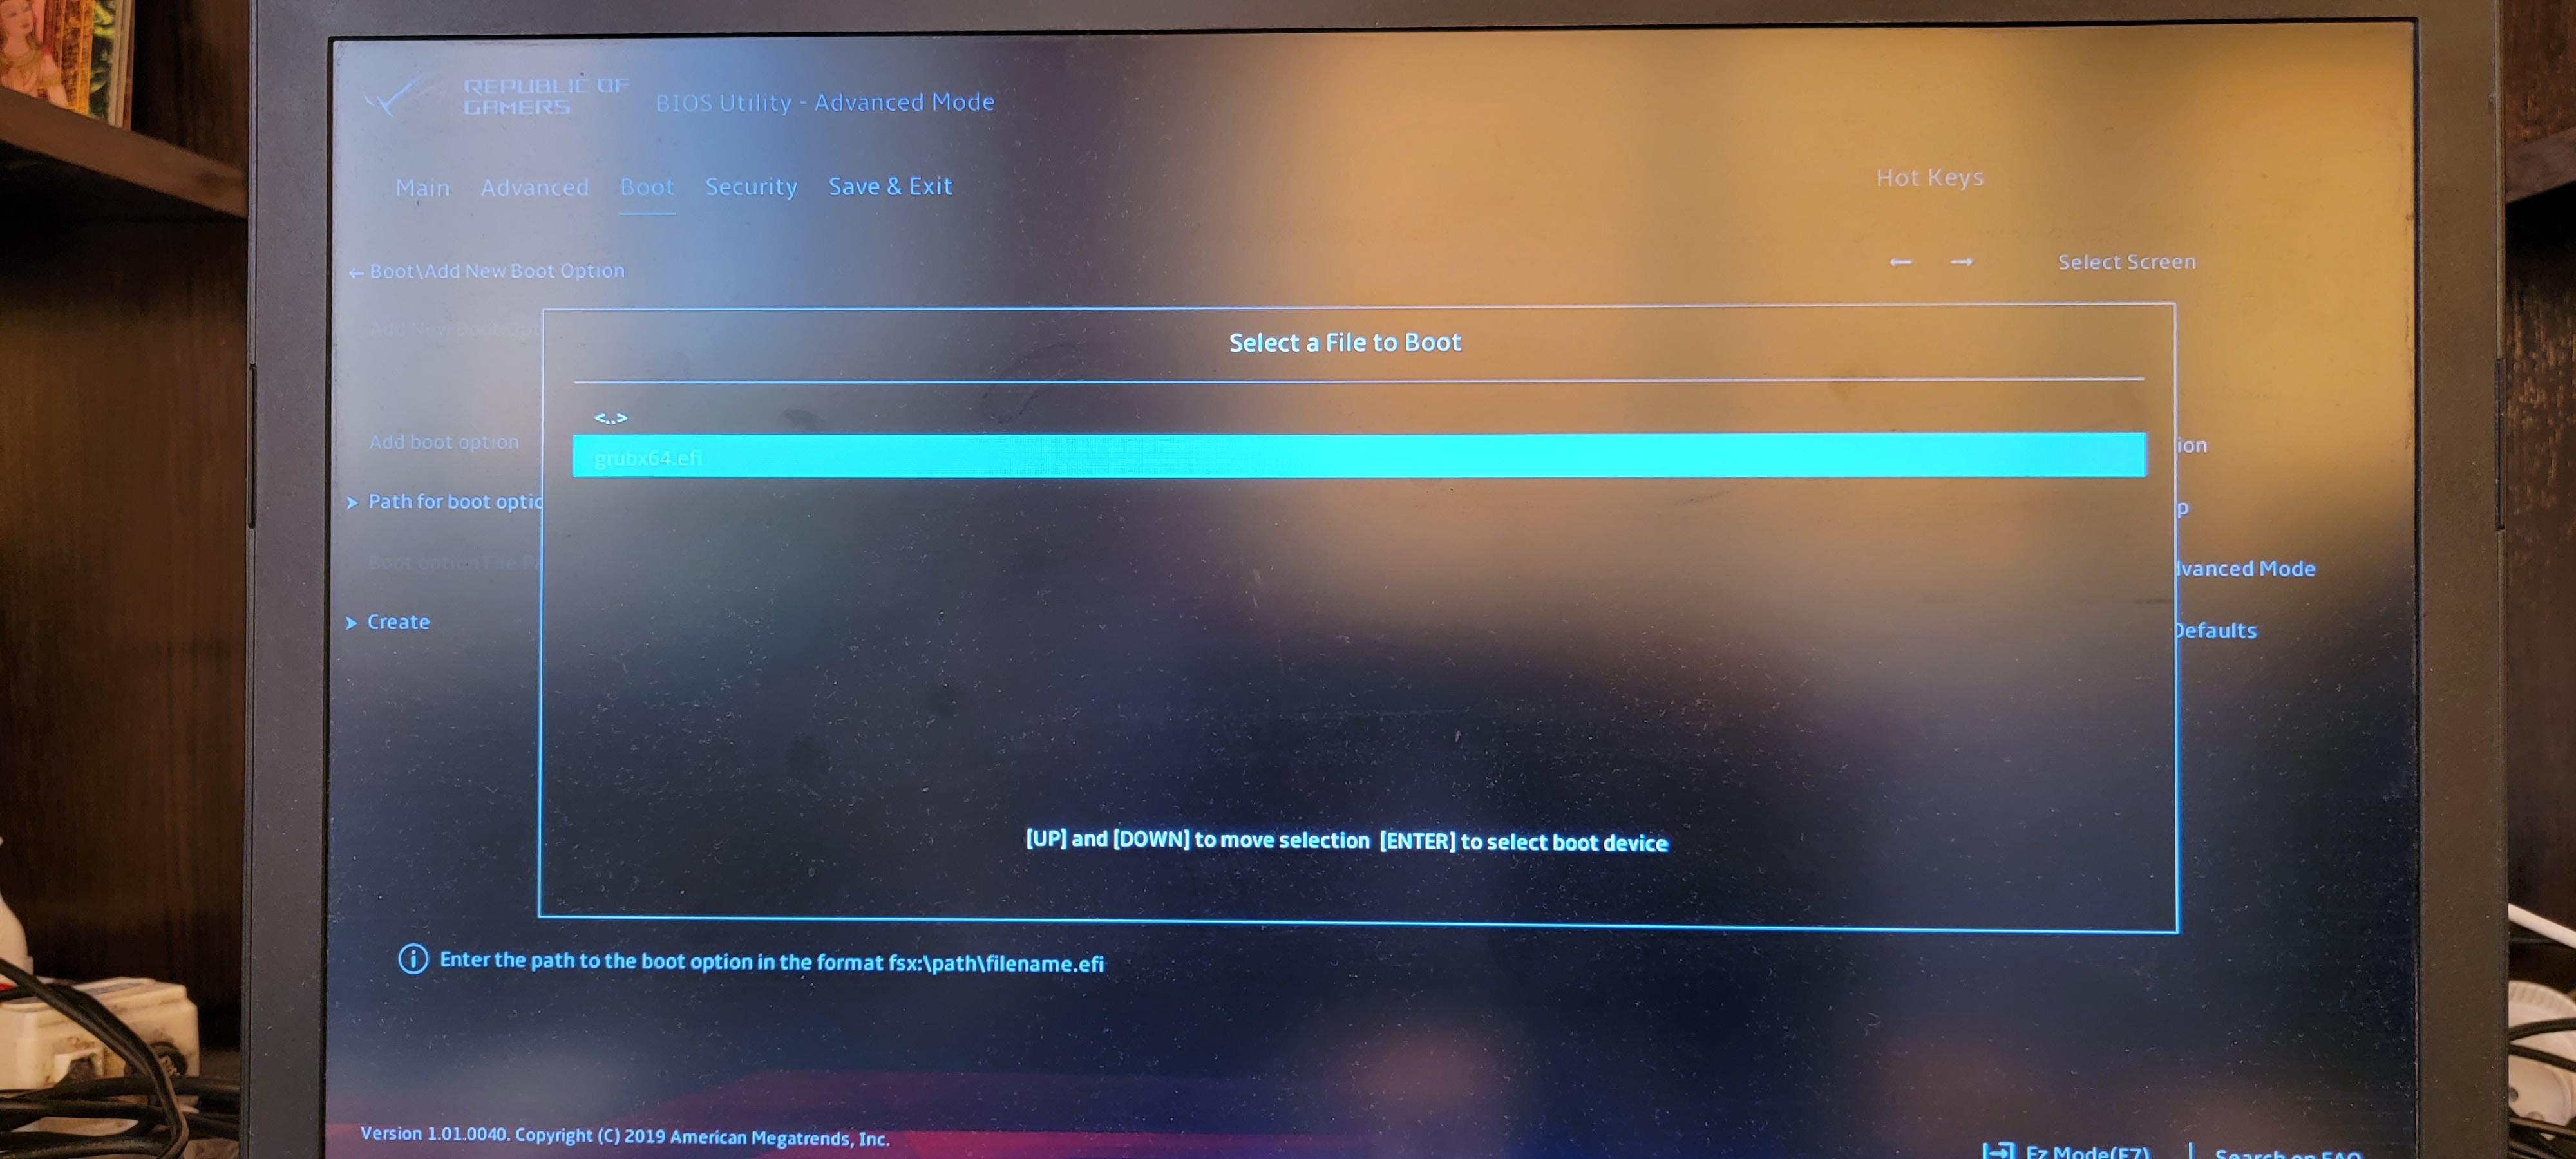
Выбираем файл «grubx64.efi».
В поле «Add boot option» вводим имя для этой опции загрузки и нажимаем кнопку «Create».

Новая опция загрузки успешно создана.

Добавляем эту опцию в меню загрузки.
Сохраняем сделанные настройки и перезагружаем компьютер.

Теперь доступна опция загрузки «Kali» с флешки.
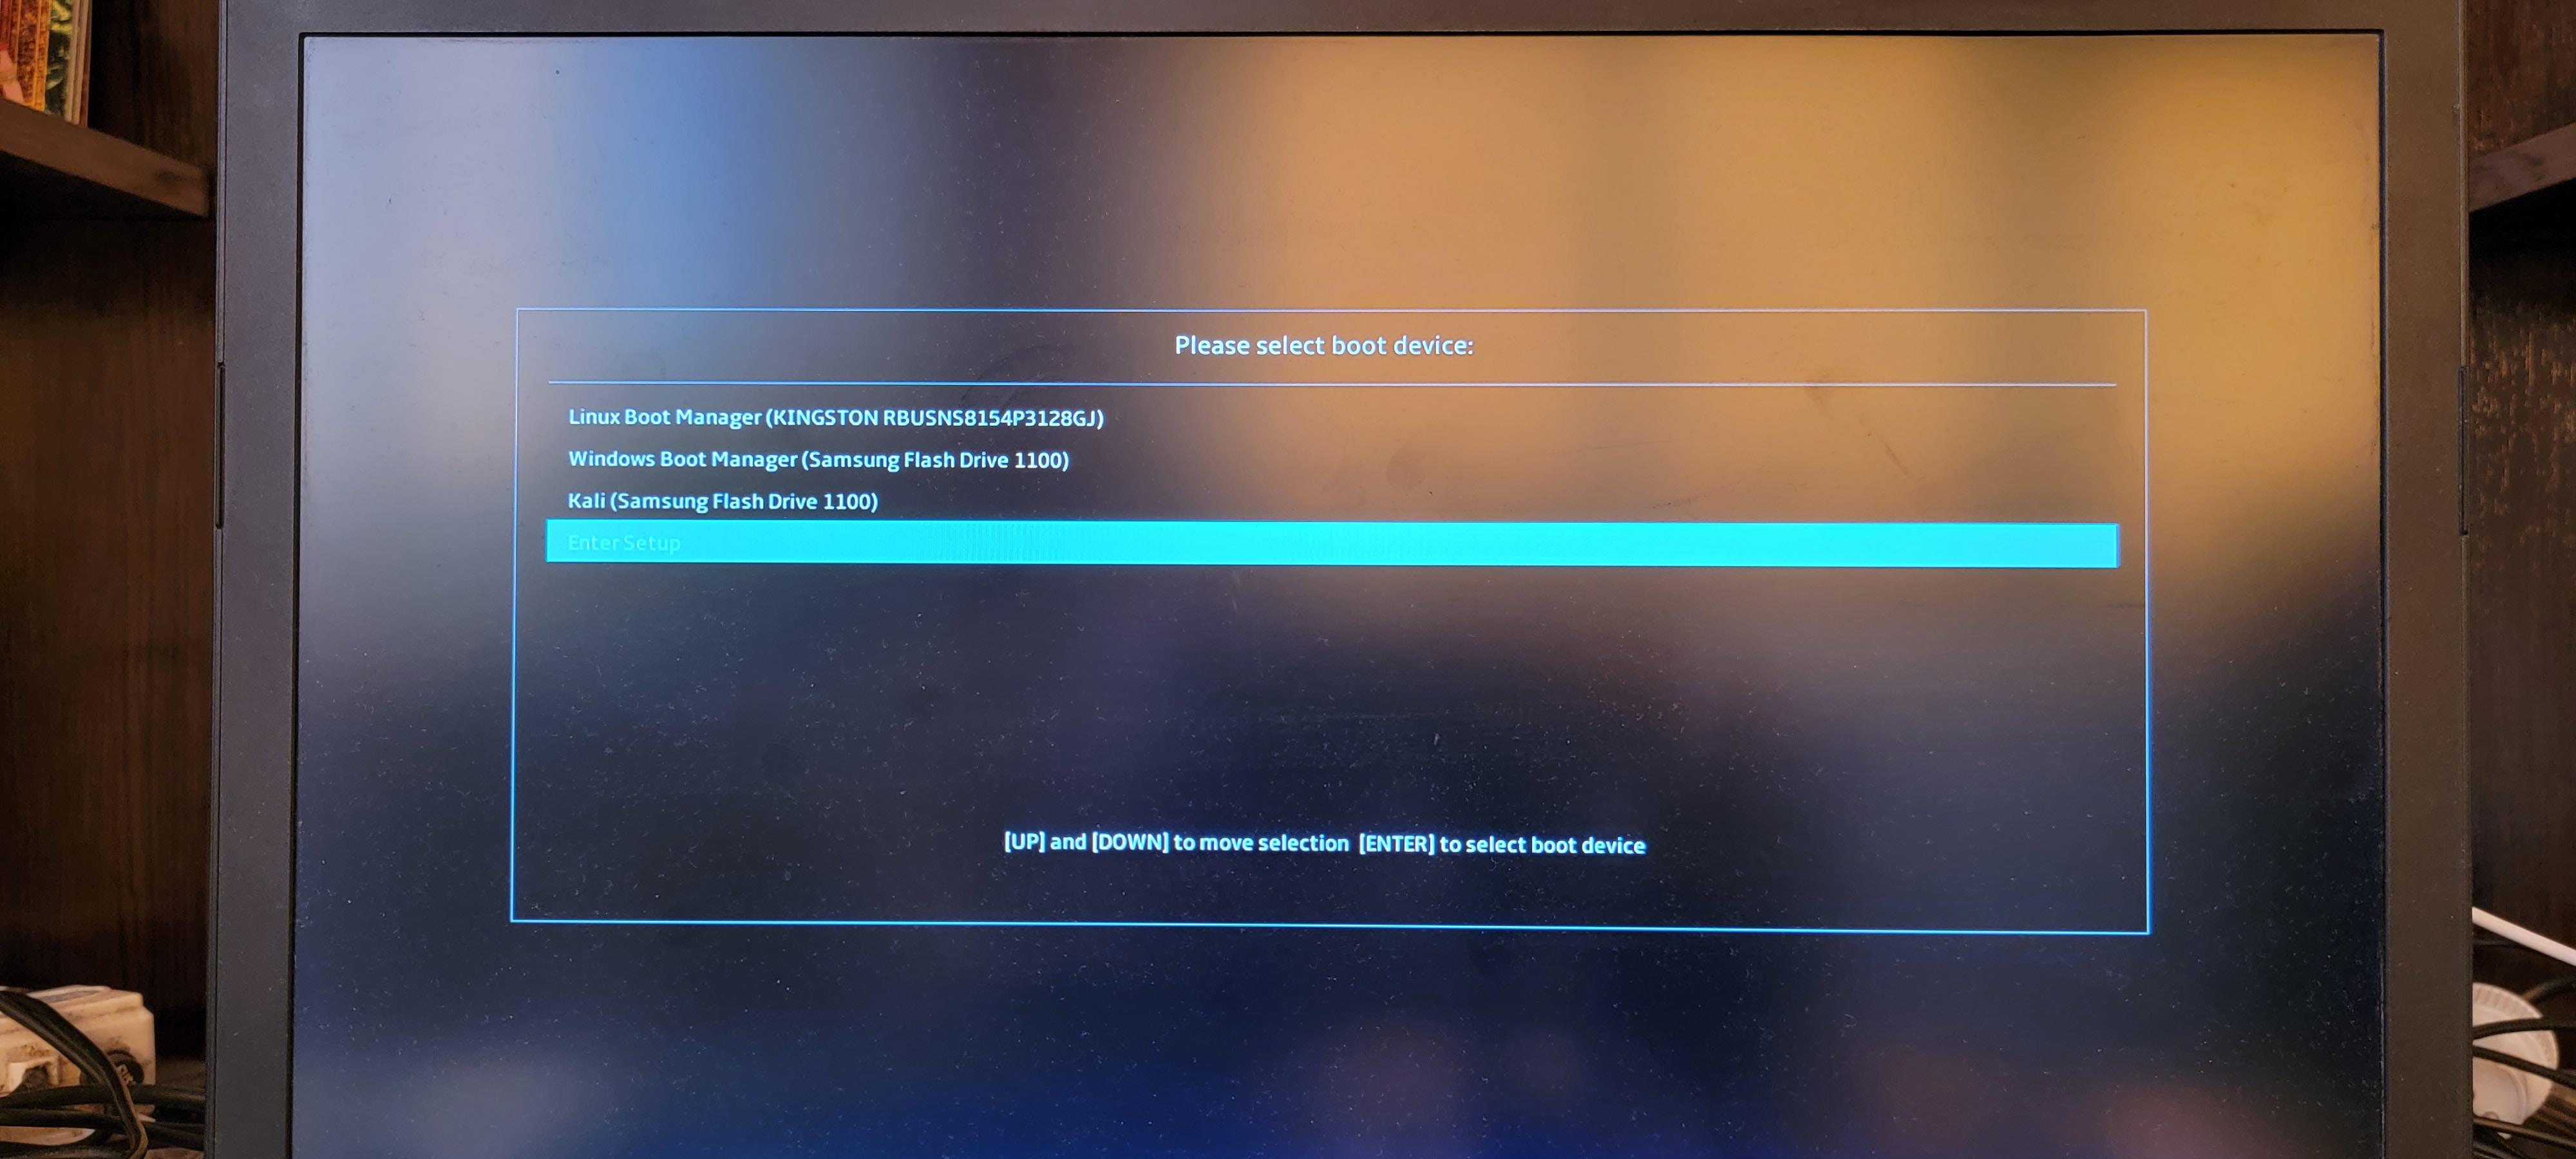
Загрузчик Linux знает о существовании установленной Windows 11 и добавляет возможность её загрузки в своё меню.

При выборе пункта «Windows Boot Manager» загружается Windows 11 с USB флешки.

При выборе загрузки Kali Linux загружается данная операционная система.
Что делать если в UEFI (БИОС) отсутствуют настройки добавления опций загрузки
UEFI у различных производителей различаются: в некоторых много настроек, в некоторых мало. Возможна ситуация, когда UEFI не видит загрузчик Linux и не имеет настройки добавления нового загрузчика.
В этом случае можно использовать другой подход. Суть метода заключается в том, что любой UEFI по умолчанию пытается загрузить загрузчик имеющий путь /EFI/BOOT/BOOTX64.EFI. Это так называемый отказоустойчивый путь до загрузчика. Поэтому достаточно переименовать имеющийся путь в отказоустойчивый, чтобы UEFI начал его загружать.
Например, путь до загрузчика Kali Linux /EFI/kali/grubx64.efi. В этом случае нужно переименовать папку «kali» на «BOOT», а файл «grubx64.efi» на «BOOTX64.EFI».
Данные файлы размещены на скрытом разделе с файловой системой FAT32.
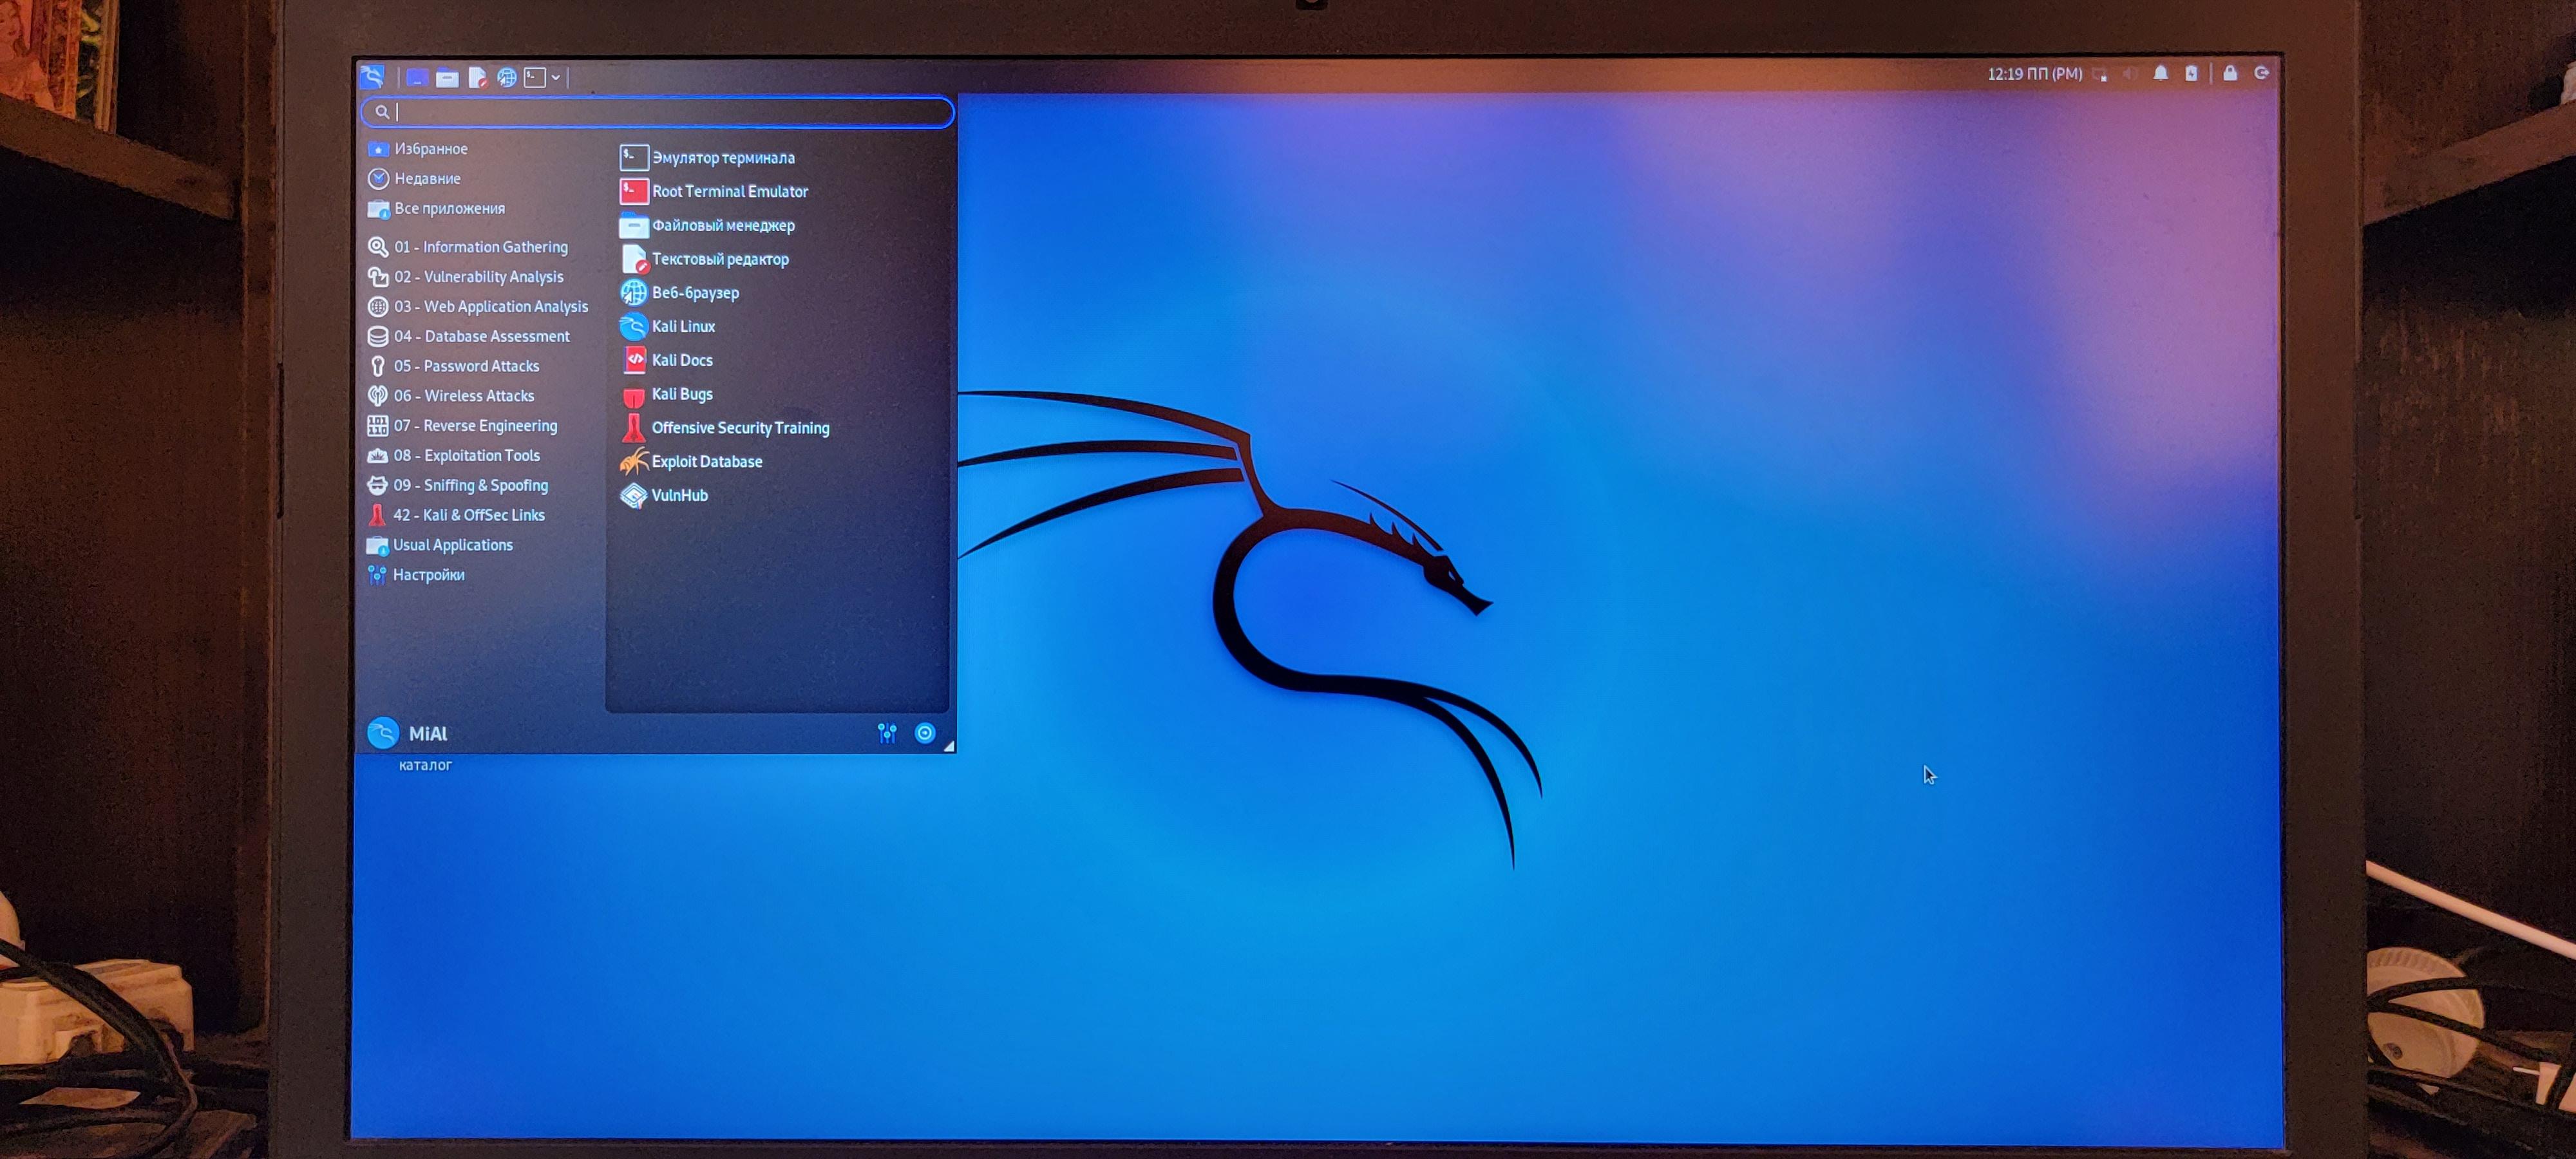
Переименование файлов и папок на EFI разделе в Linux
Для внесения указанных изменений в Linux смонтируйте данный диск с разрешениями на чтение и запись и переименуйте директорию и файл.
Посмотрим имена дисков и разделов:
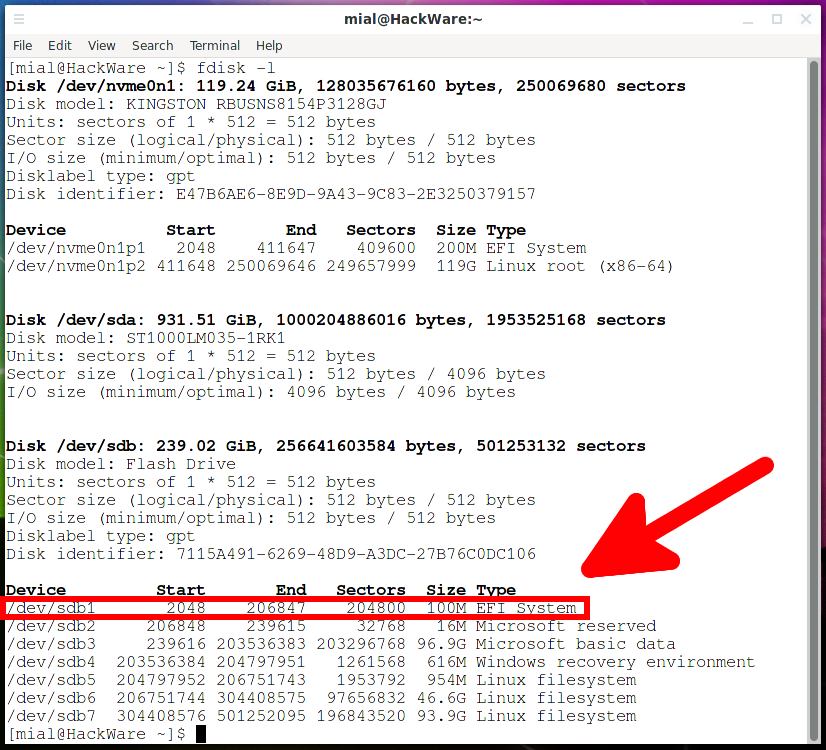
Раздел с EFI System на котором мы хотим внести изменения называется /dev/sdb1, смонтируем его:
mkdir /tmp/efi sudo mount /dev/sdb1 /tmp/efi
Теперь последовательно переименуйте папку и файл.
sudo mv /tmp/efi/EFI/kali/ /tmp/efi/EFI/BOOT/ sudo mv /tmp/efi/EFI/BOOT/grubx64.efi /tmp/efi/EFI/BOOT/BOOTX64.EFI
После завершения отмените монтирование раздела /dev/sdb1:
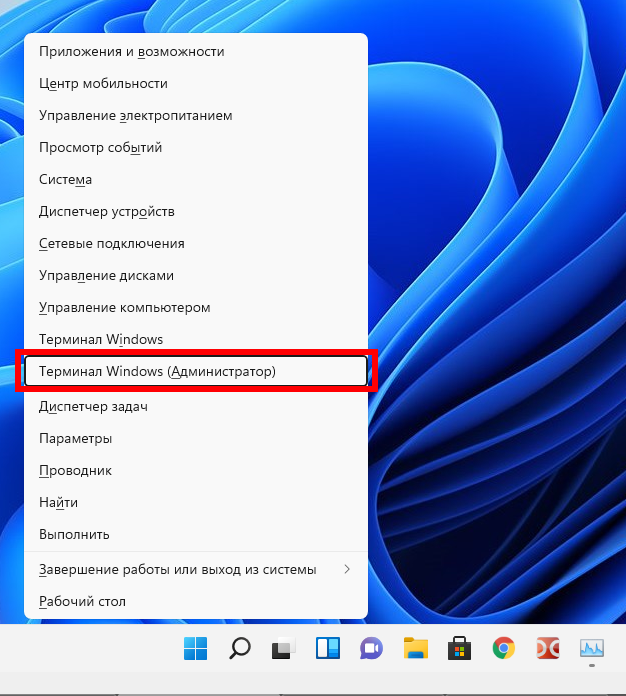
Переименование файлов и папок на EFI разделе в Windows
Откройте командную строку Windows справами администратора. Для этого нажмите Win+x и выберите «Терминал Windows (Администратор)».
В командной строке запустите программу и дождитесь её открытия:
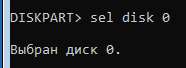
В приглашении DISKPART наберите:
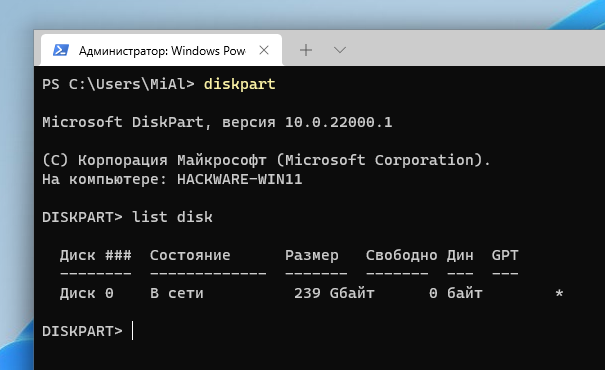
Нам нужно узнать, какой номер у загрузочного диска. В моём случае это 0.
Теперь введите следующую команду, заменив 0 на номер вашего загрузочного диска:
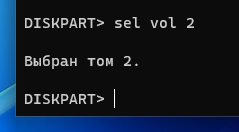
Теперь следующей командой выведем список томов:

Это очень важный шаг! Нам нужно узнать, какой номер имеет раздел с EFI. У раздела EFI файловой системой является FAT32 и у этого раздела нет буквы.
На моём скриншоте том с EFI имеет номер 2.
Выполните следующую команду, заменив 2 на номер вашего раздела:
Теперь этому разделу нужно присвоить букву. Это может быть любая не занятая буква.


Закройте командную строку.
Для редактирования имён папок и файлов на диске необходимы права администратора. Для этого я, например, запускаю Double Commander с правами администратора.
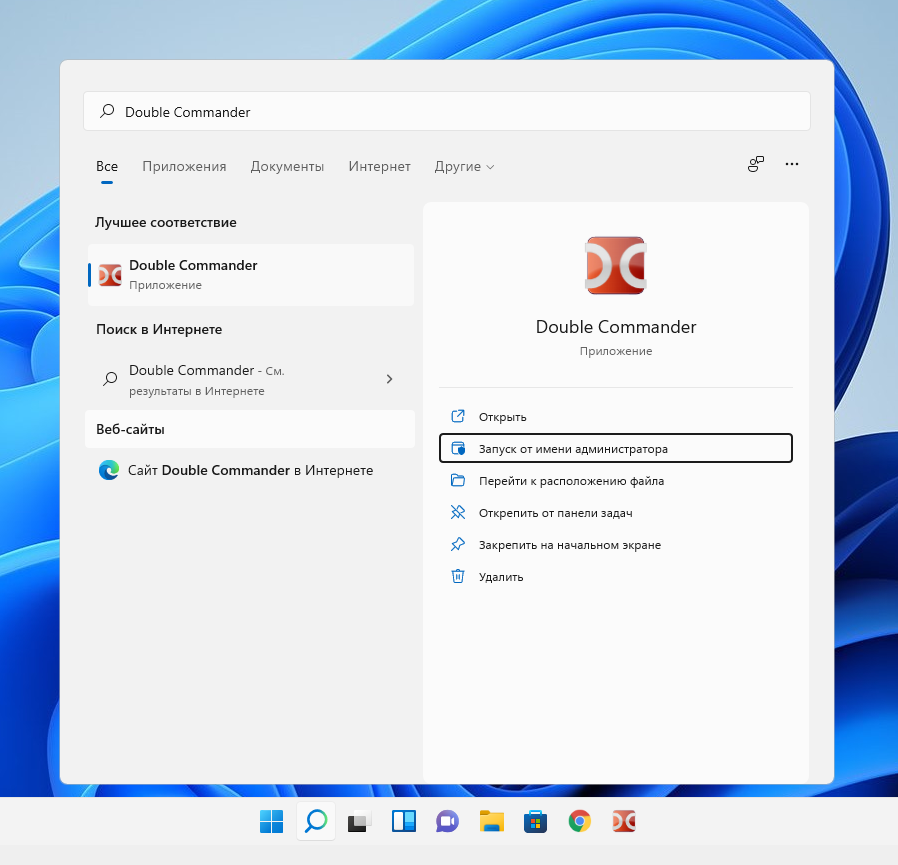
После этого можно редактировать EFI раздел как обычные папки и файлы.