- How to install XFCE GUI on Alpine Linux
- Steps to install XFCE GUI Desktop on Alpine Linux
- Run the Alpine Update command
- Add User
- Install the graphical environment basic Xorg package
- Install XFCE on Alpine Linux
- Starting dbus (desktop bus) service
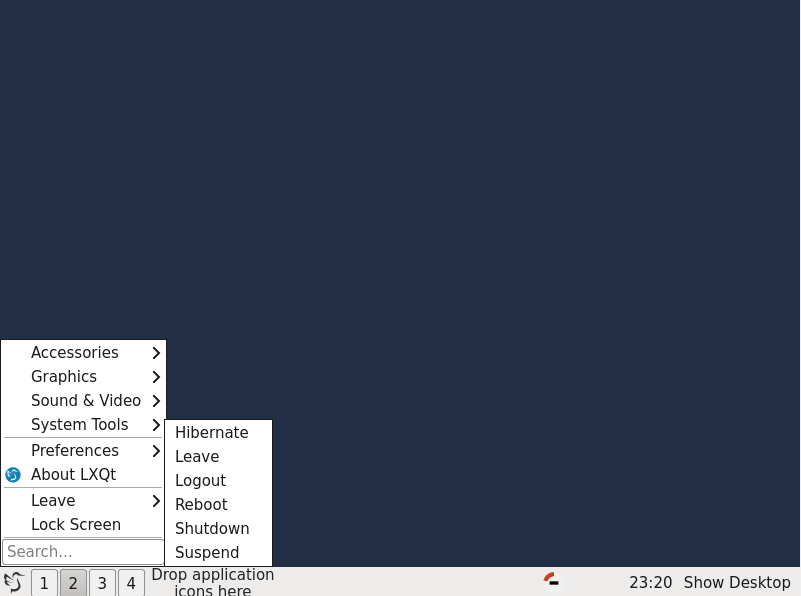
- Enable and start Display Manager
- Login to XFCE Graphical user interface
- 2 thoughts on “How to install XFCE GUI on Alpine Linux”
- Leave a Comment Cancel reply
- How to Install XFCE Desktop on Alpine Linux
- Installing XFCE Desktop on Alpine Linux
- How to Install LXQt Desktop on Alpine Linux
- Installing LXQt in Alpine Linux
- Saved searches
- Use saved searches to filter your results more quickly
- License
- thelearn-tech/Alpine-Linux-GUI
- Name already in use
- Sign In Required
- Launching GitHub Desktop
- Launching GitHub Desktop
- Launching Xcode
- Launching Visual Studio Code
- Latest commit
- Git stats
- Files
- README.md
How to install XFCE GUI on Alpine Linux
Alpine Linux is popular for its lightweight, security, and performance. And that is the reason it comes out of the box with a command-line interface. However, if you want then we can install a graphical user interface on Alpine to use it as a normal Dekstop operating system. And here we learn how to do that by installing the XFCE Linux desktop environment on it.
Requirements:
- Installed Alpine Linux
- root user rights
- Internet connection
- Access to Terminal
Steps to install XFCE GUI Desktop on Alpine Linux
Here we are using Alpine 3.14, however, you can follow the given command in older or latest versions.
Run the Alpine Update command
Go to your Alpine Linux terminal and run the system update command that will refresh the repositories cache. However, make sure to log in as the root user.
Add User
By default, the Alpine Linux installation will be running using the root user. Hence, create a standard one-to-login graphical user interface, later.
Note: Replace “username” with the one you want to use.
Install the graphical environment basic Xorg package
Before installing any Window manager, let’s first install the Xorg, an X Window System display server that provides an interface between hardware and the graphical software, we want to use on Linux. It is an open-source implementation. Simply run:
Install XFCE on Alpine Linux
Once the installation of Xorg is completed, we can install different available desktop environments such as KDE, LXDE, XFCE, MATE, and others. Here we install, the popular and easy-to-use XFCE.
apk add xfce4 xfce4-terminal xfce4-screensaver lightdm-gtk-greeter
Starting dbus (desktop bus) service
The service allows the system to communicate with multiple processes running simultaneously. Hence, we need to enable it to run the Graphical desktop properly.
Enable to start automatically with system boot:
Enable and start Display Manager
Let’s first make the display manager start automatically with system boot. This is very important otherwise, on every boot the user has to start the graphical user interface manually.
Now, start a Display manager
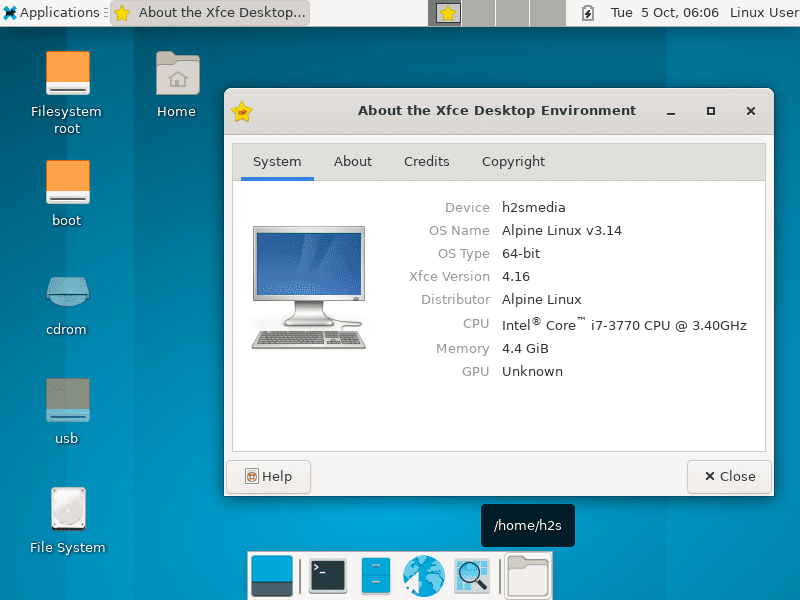
Login to XFCE Graphical user interface
Now, you will see the login interface, and enter the password you have set for the created system user.
Other Articles:
2 thoughts on “How to install XFCE GUI on Alpine Linux”
hi, i am on a mission to speed test my emulated machine. I am running alpine-linux-x86_64 emulated under qemu on a raspberry -pi-4. I followed the instructions, was able to install all the packages and did not get any error message. But when i start lightdm the gui interface is not showing. Any help will be appreciated. Reply
Running on Pi4 hardware, no gui. Tried to add missing packages by running ‘setup-desktop’ but still no DT. Reply
Leave a Comment Cancel reply
This site uses Akismet to reduce spam. Learn how your comment data is processed.
How to Install XFCE Desktop on Alpine Linux
The XFCE Desktop environment is a fast, resource-friendly, and lightweight Desktop environment for Linux systems. It is the Desktop environment of choice for old systems or PCs with low computational power such as low RAM and CPU specs.
If you are running a sluggish Linux system with a GUI such as GNOME or KDE, switching to the XFCE environment is highly recommended to improve performance.
In this guide, we will demonstrate how to install the XFCE Desktop environment on Alpine Linux.
Installing XFCE Desktop on Alpine Linux
First off, access the Alpine Linux terminal and update the local package index using the following apk command:
The next step is to install the Xorg server, which is a free and open-source X-11 Windows server for Linux systems. It provides an interface through which users can interact with the graphical elements of the system.
To install the Xorg server on Alpine, run the command:
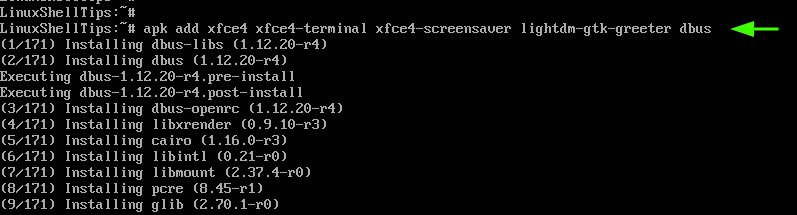
With the Xorg server already in place, proceed and install the XFCE environment, lightdm display manager, and dbus (Desktop bus) package as follows.
$ apk add xfce4 xfce4-terminal xfce4-screensaver lightdm-gtk-greeter dbus
The installation size is approximately 400MB and this might take a while.
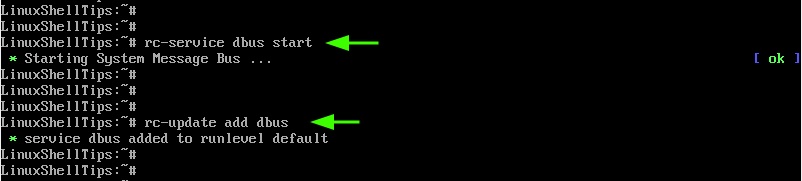
With all the components of the XFCE desktop environment and dbus installed, start the dbus service.
Just as crucial, consider enabling the dbus service to automatically start on boot.
The final step is to enable and start the Lightdm display manager, which is a fast and lightweight X display manager provided by the lightdm-gtk-greeter package.
To enable the display manager, run the command.
Next, start the display manager by running the command:
Right after running the command, a login screen will appear. Provide your credentials and log in.
Once logged in, the XFCE desktop environment will come into view. From there you can enjoy using the graphical interface to navigate your system and explore various tools and applications that come with XFCE.

And there you have it. We have successfully installed the XFCE desktop environment on Alpine Linux.
How to Install LXQt Desktop on Alpine Linux
Based on Qt, LXQt is an open-source and minimalistic desktop environment for all major Linux and BSD systems. LXQt is an implementation of Razor-Qt, a discontinued desktop environment, and LXDE. the latter is based on GTK while the former was based on Qt.
LXQt is a lightweight desktop environment popular for its low resource utilization and is, hence, recommended for old PCs or systems with low computing specifications. In fact, LxQt is said to only use up to 95 MB of RAM while Openbox, its default window manager, uses only 78 MB of RAM.
In this guide, you will learn how to install the LXQt desktop environment on Alpine Linux.
Installing LXQt in Alpine Linux
Before anything else, log in to your Alpine Linux instance and update the local package index using the following apk command as shown.
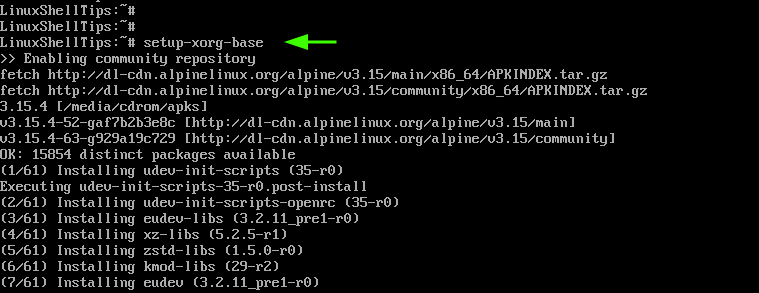
Next, install Xorg, or simply X, is a fully-featured and popular display server for Linux / UNIX systems that run on Intel x86 systems. It is massively adopted in most Linux distributions as the Display server of choice.
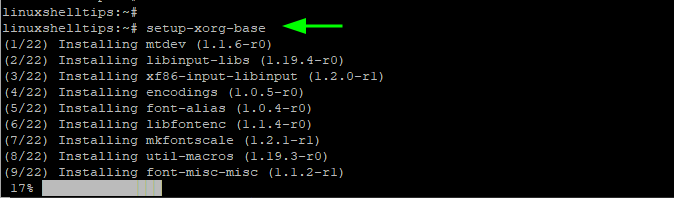
To install Xorg, run the setup-xorg-base installation script as shown
This installs a host of packages for the Display server as shown in the output below.
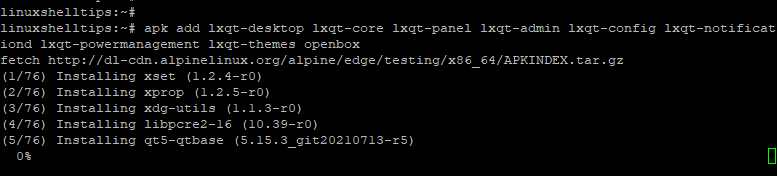
With the Xorg display server in place, install the LXQt desktop environment and associated LXQt packages including Openbox windows manager which is the default windows manager for LXQt desktop manager.
$ apk add lxqt-desktop lxqt-core lxqt-panel lxqt-admin lxqt-config lxqt-notificationd lxqt-powermanagement lxqt-themes openbox
Even though LXQt uses Openbox as the default Window manager, it also supports other Window managers such as KWin, a windows manager for the KDE Plasma Desktop, and Xfwm4 which is a window manager for the Xfce environment.
Once the installation is complete, add the regular user to the input and video groups as shown.
# addgroup tecmint input # addgroup tecmint video
Finally, to launch LXQt, run the startx command as shown.
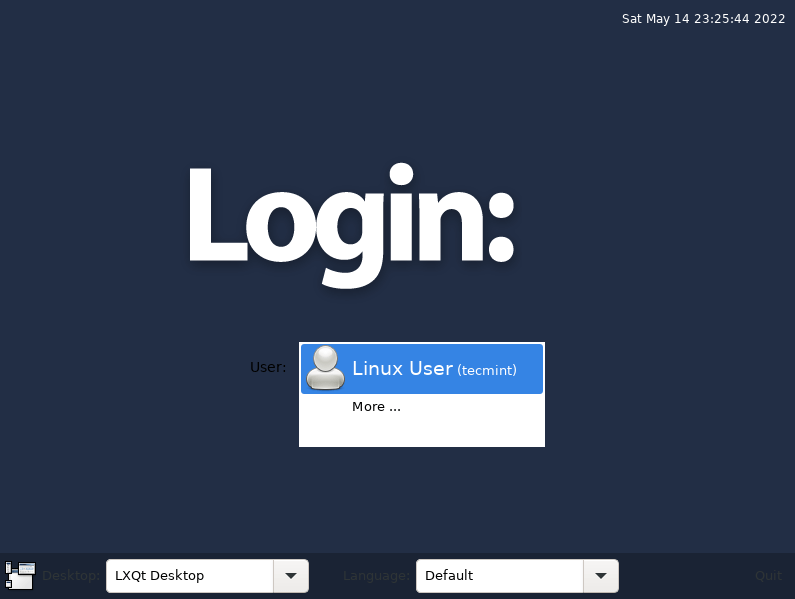
The login screen will appear as shown. Provide the username and password for the user and hit ENTER.
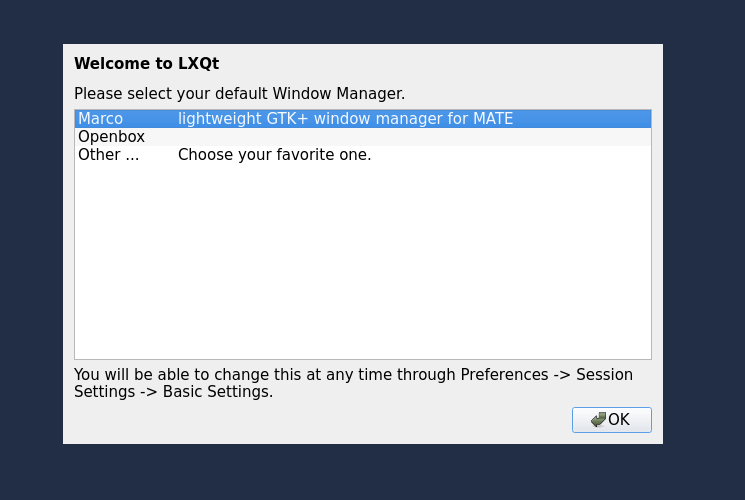
Once logged in, you will be prompted to select the default Window manager. Feel free to pick your preferred option and click ‘Ok’.
Due to the minimalistic nature of the LXQt desktop environment, a lot of the graphical features are stripped down. Only the very essential menu options are provided.
LXQt is an excellent desktop environment of choice for old systems or systems will low computational specifications. However, despite its lightweight nature, it lacks the polish and modern look compared to other desktop environments such as GNOME and KDE. It’s quite minimalistic and stripped down.
And there you have it. We have successfully installed LXQt GUI on Alpine Linux! Your comments and suggestions are welcome.
Saved searches
Use saved searches to filter your results more quickly
You signed in with another tab or window. Reload to refresh your session. You signed out in another tab or window. Reload to refresh your session. You switched accounts on another tab or window. Reload to refresh your session.
How to install GUI on Alpine Linux
License
thelearn-tech/Alpine-Linux-GUI
This commit does not belong to any branch on this repository, and may belong to a fork outside of the repository.
Name already in use
A tag already exists with the provided branch name. Many Git commands accept both tag and branch names, so creating this branch may cause unexpected behavior. Are you sure you want to create this branch?
Sign In Required
Please sign in to use Codespaces.
Launching GitHub Desktop
If nothing happens, download GitHub Desktop and try again.
Launching GitHub Desktop
If nothing happens, download GitHub Desktop and try again.
Launching Xcode
If nothing happens, download Xcode and try again.
Launching Visual Studio Code
Your codespace will open once ready.
There was a problem preparing your codespace, please try again.
Latest commit
Git stats
Files
Failed to load latest commit information.
README.md
How to install GUI on Alpine Linux
setup-xorg-base
apk add xf86-video-vesa
apk add xf86-input-mouse
apk add xf86-input-keyboard
apk add xfce4
apk add xfce4-terminal
apk add lightdm-gtk-greeter
apk add xfce-polkit
apk add xfce4-screensaver
apk add consolekit2
apk add sudo
rc-update add dbus
rc-service dbus start
rc-update add lightdm
adduser >username
(example adduser pb , adduser thelearn-tech)
rc-service lightdm start
as soon as you type rc-service lightdm start gui will start
and login promt will appear in login you will see Linux user and other..
login as other.. with the user name and password you set with adduser and enter ,now you will be in gui
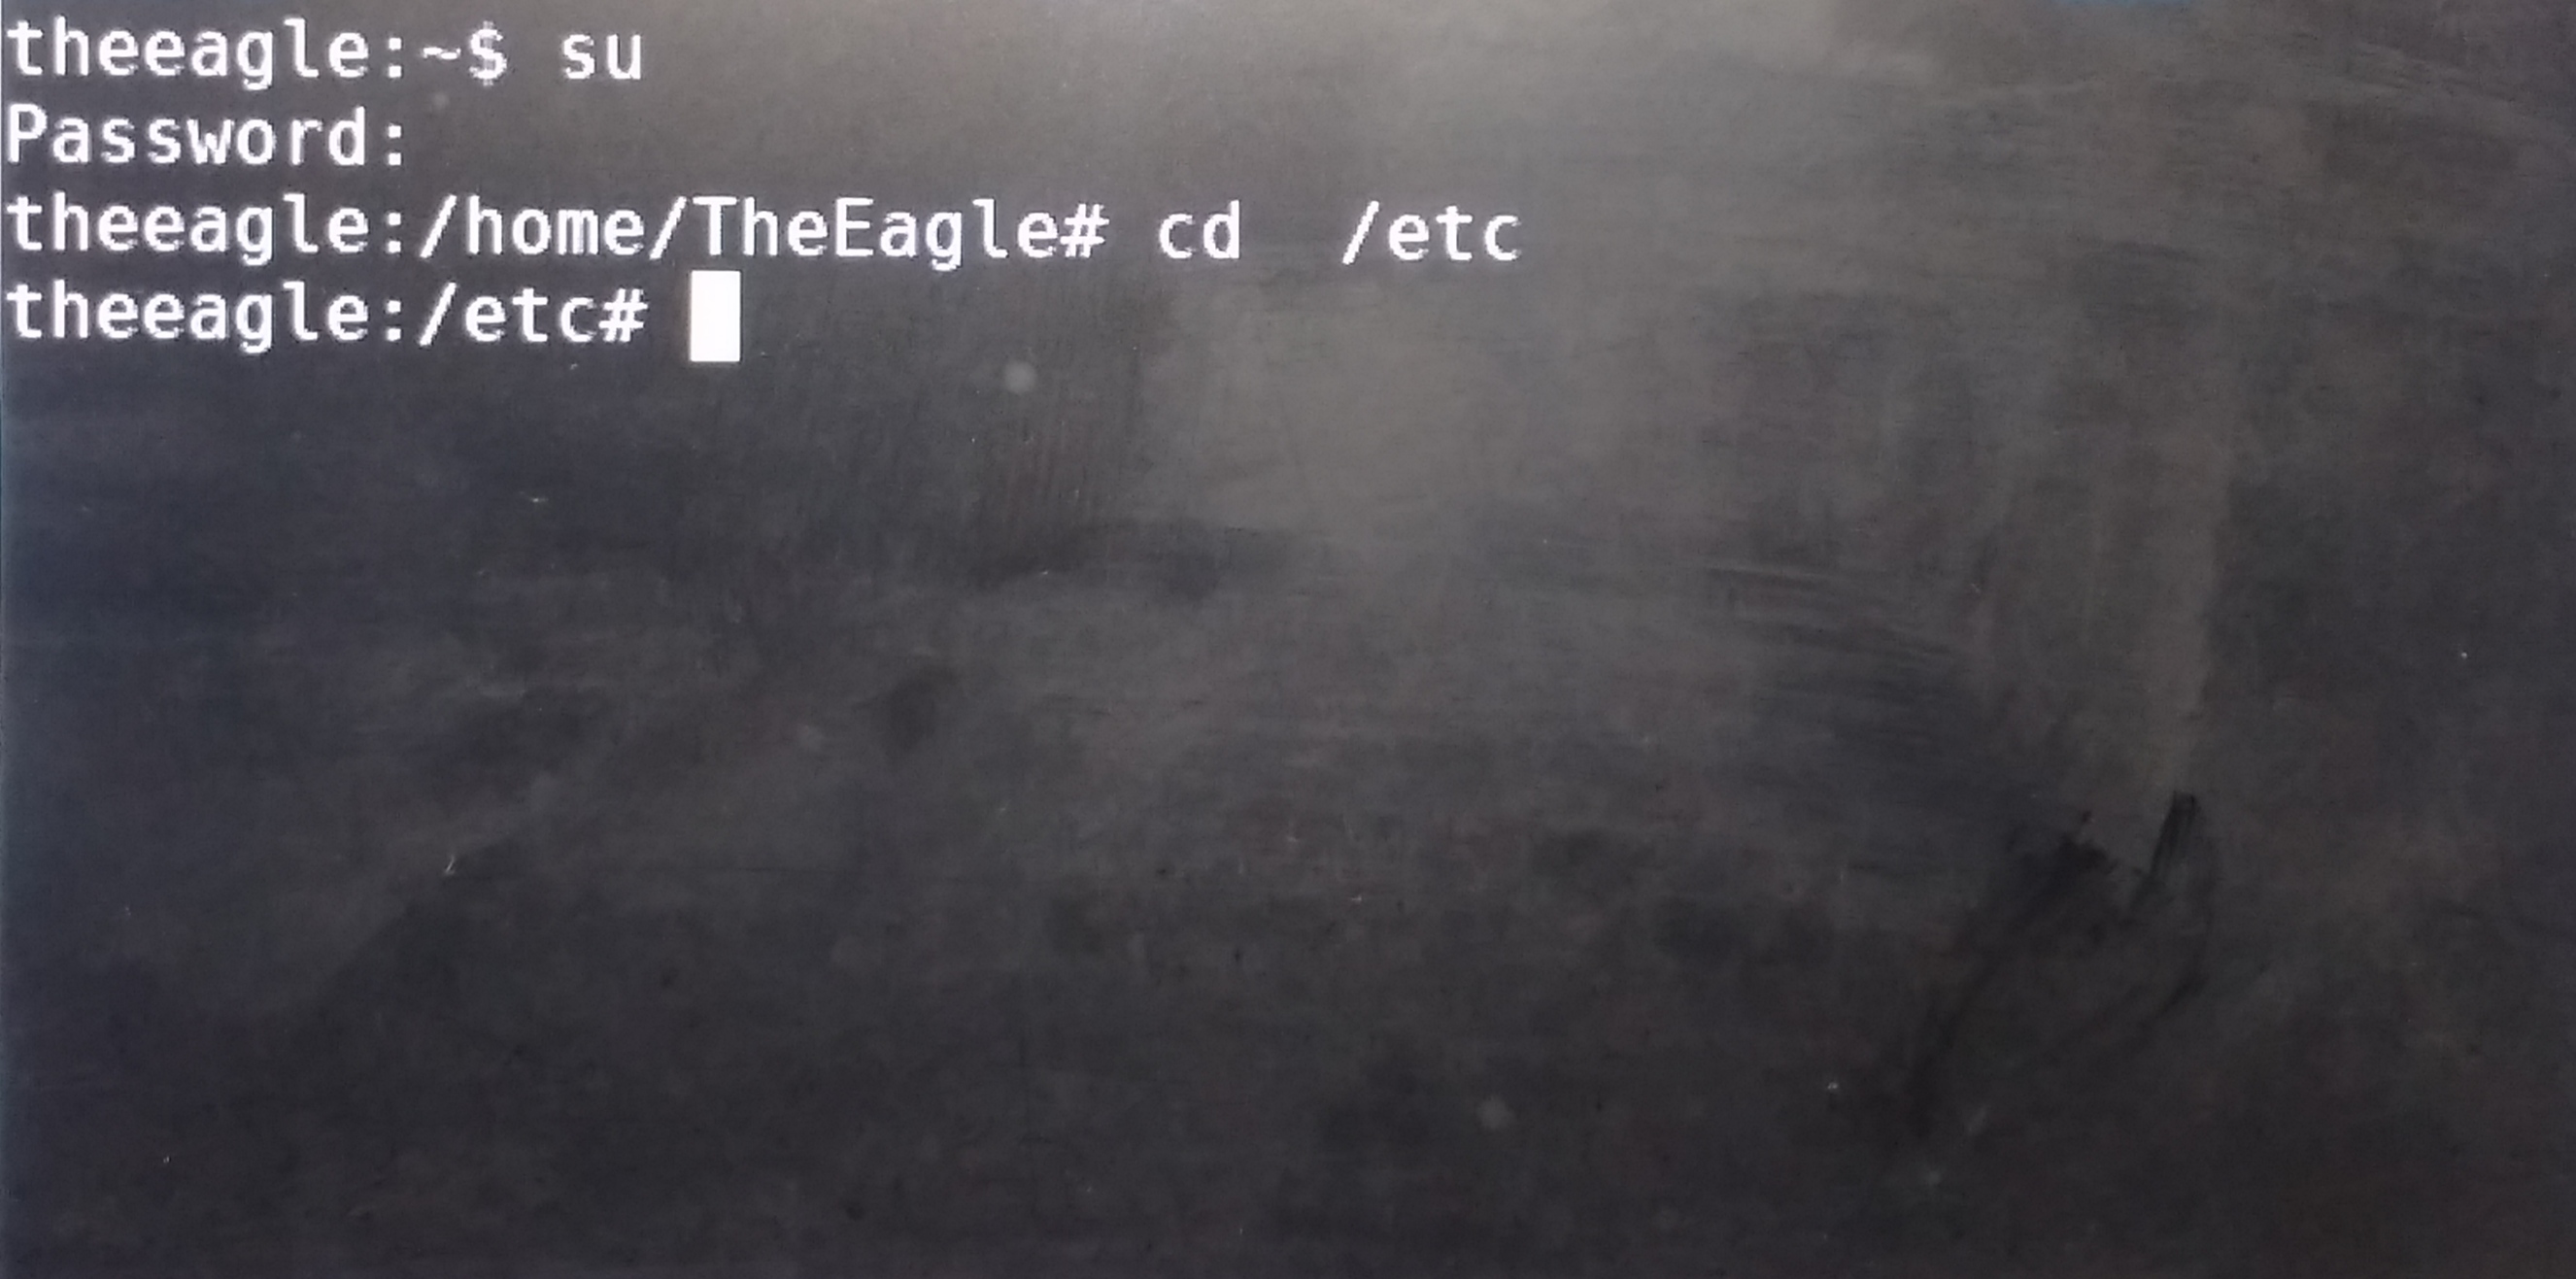
As you have login as user not root open terminal and type su enter root password now you are root and you can install use all stuff as root
when screensaver comes on press space key and in linux user give password root or press switch user and login as other giving username and password
This was the first boot
from now you can login as Linux User with password root but it will be slow to load desktop enviroment and in generall experience will be slow
So i will recommend you to login as other expreance will be faster than if u login as Linux User
NOTE:- If you login as Linux User on screensaver your Experience will be same
i will recommend Firefox as its light weight
apk add firefox-esr
Now if u get server not found error in Firefox
You need to configure your DNS
open terminal
su (enter root password)
apk add nano
nano resolv.conf

change nameserver 192.168.42.123 to namesever 8.8.8.8 (Google) namesever 1.1.1.1 (Cloudflare)
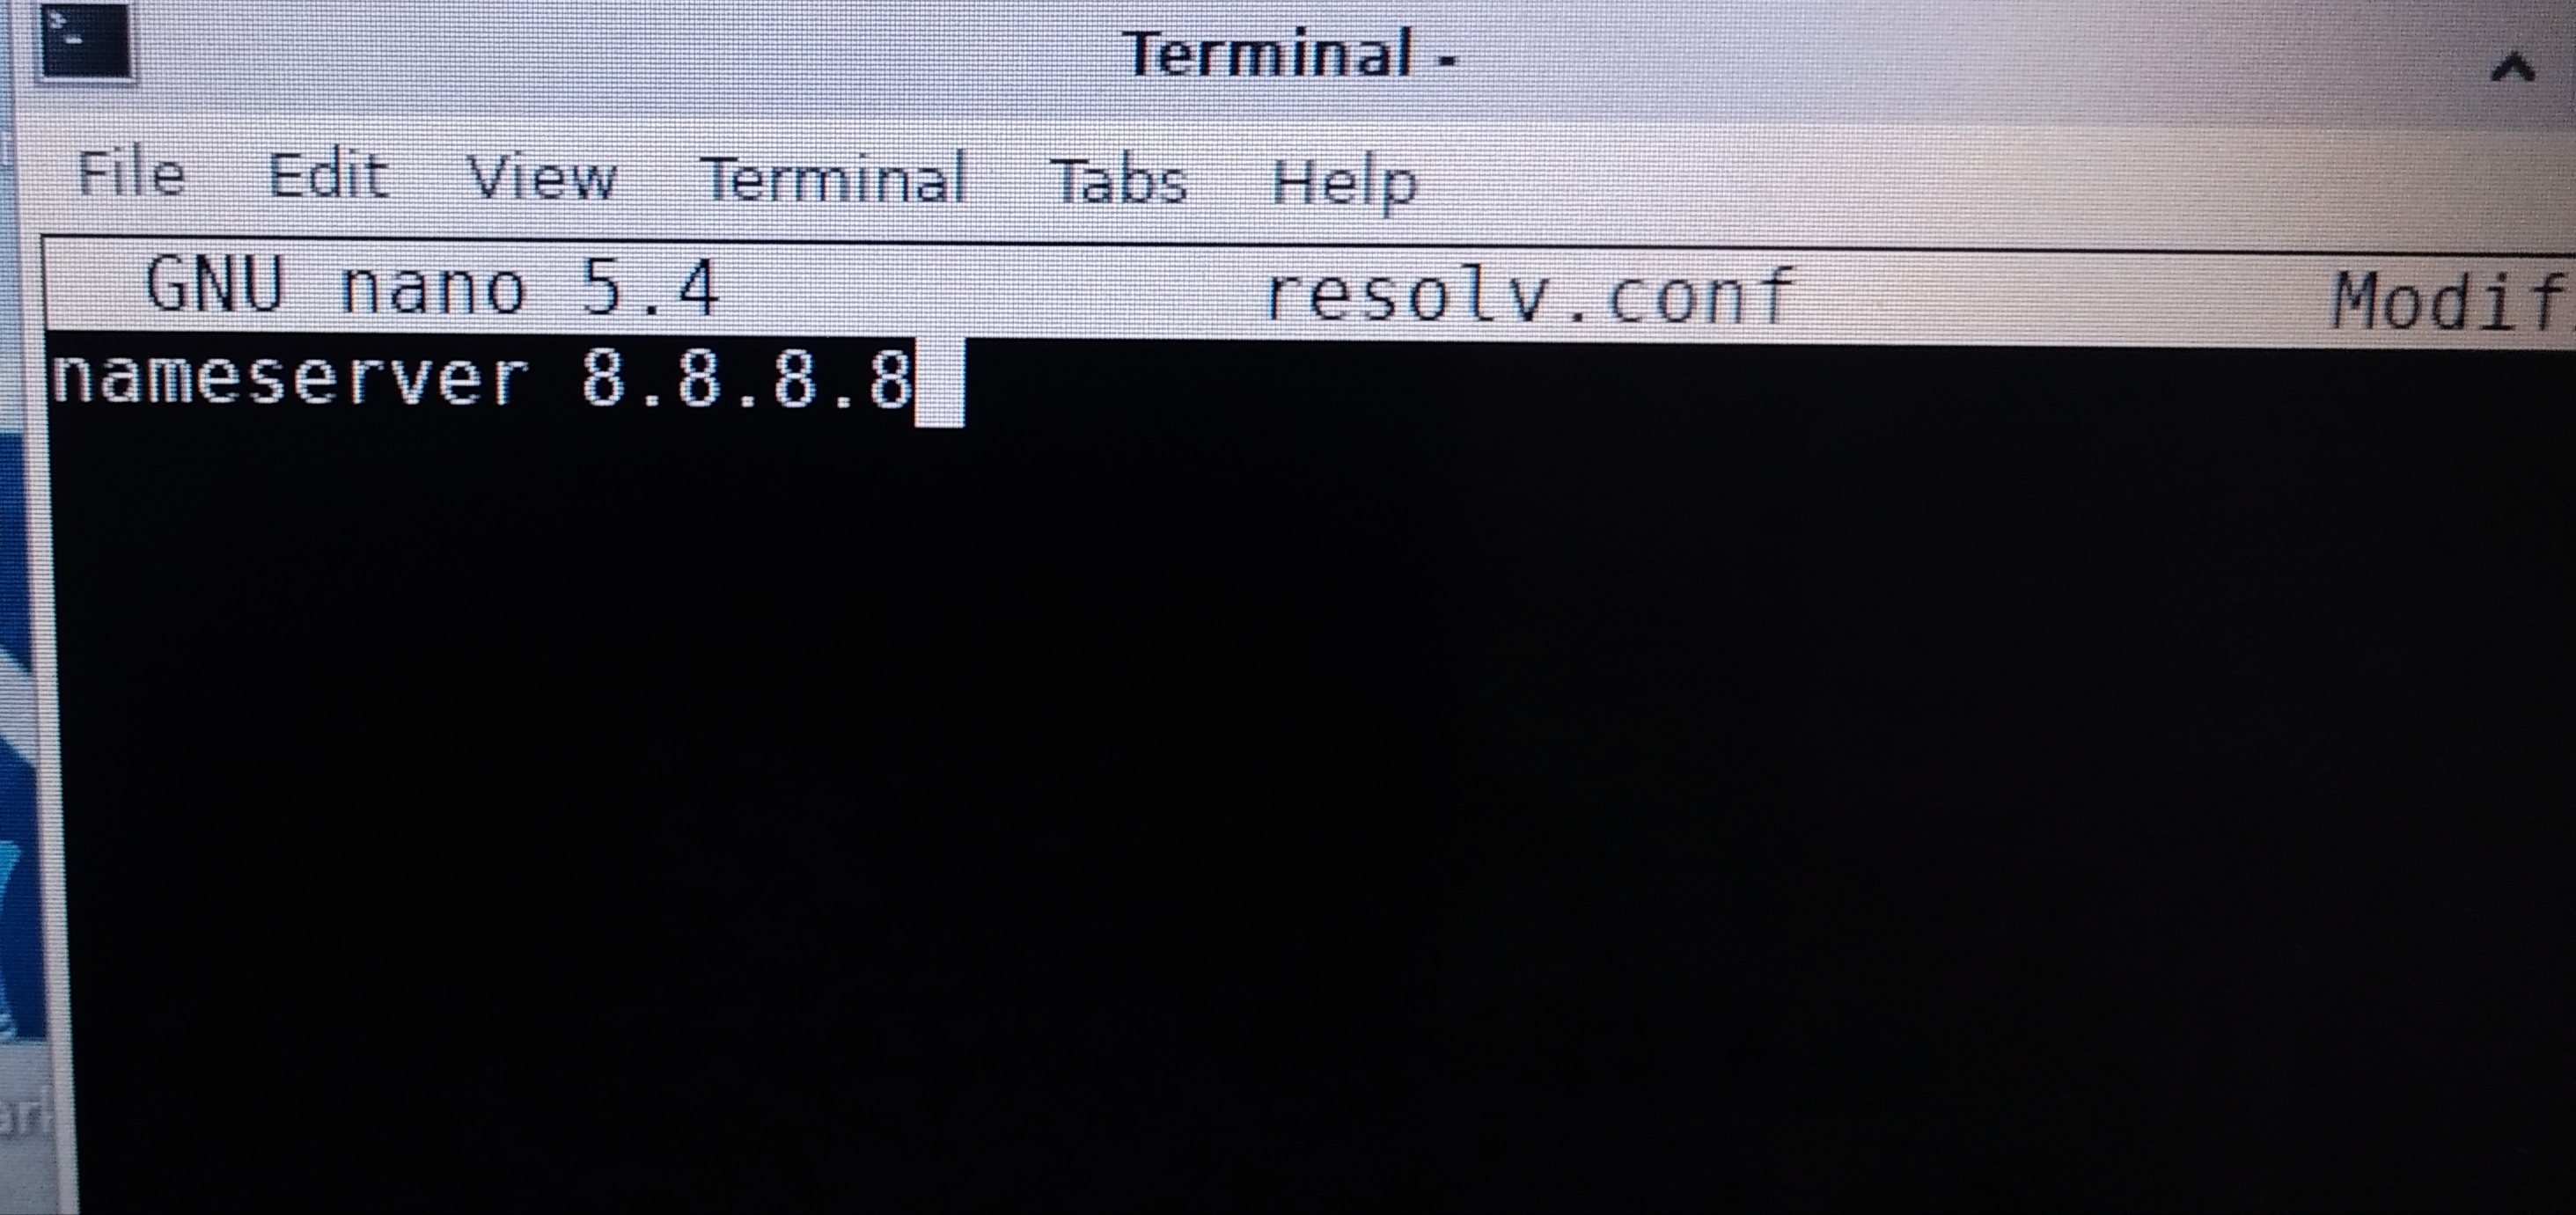
ctrl + x (to save changes)
enter(hit enter key)
After rebooting test if firefox iss working by searching someting like www.github.com
For audio u can download cmus ,gnome , MPV
apk add cmus
apk add gnome
apk add mpv
No Sound Troubleshooting
If you have no sound out that means there is no audio engine
apk add pulseaudio
apk add alsa-utils alsa-utils-doc
apk add alsa-lib alsaconf
Esc (press Esc key)
rc-service alsa start
rc-update add alsa
note:-you need to be root to install programs
poweroff (will turn of your PC)
reboot (will reboot your PC)
rebooting PC usualy solves alot of problems.
report problems and for more solution on Alpine Linux visit Discussion page
I may be late to reply but i will reply