- How to install Anaconda Navigator on Ubuntu 20.04 LTS or CentOS Linux
- Installation#
- System requirements#
- Installing Navigator#
- Using Navigator in offline mode#
- Configuring Navigator to work with a local Anaconda Repository#
- Configuring Navigator to work with Anaconda Cloud#
- Uninstalling Navigator#
- Установка Anaconda в Ubuntu
- Установка Anacoda в Ubuntu
- 1. Скачивание и установка программы
- 2. Обновление Anaconda
- 3. Окружения Conda
- 4. Установка пакетов Conda
- Удаление Anaconda
- Выводы
How to install Anaconda Navigator on Ubuntu 20.04 LTS or CentOS Linux
Python is an object-oriented interpreted computer programming language. Its use has the characteristics of cross-platform. It can be used in Linux, macOS, and Windows systems. When the code written by it runs on different platforms, it is almost impossible Major changes are required, and users all benefit from its convenience.
In addition, the power of Python lies in its wide range of applications, covering artificial intelligence, scientific computing, web development, system operation and maintenance, big data and cloud computing, finance, game development, etc. The prerequisite for realizing its powerful functions is that Python has a large number of standard libraries and third-party libraries with relatively complete functions. Through reference to the library, the development of different fields of business can be realized. However, it is precise because of the huge number of libraries that managing these libraries and maintaining them in time has become an important but highly complex thing.
What is Anaconda?
Anaconda is an integrated Python environment. It can be regarded as an integrated installation of Python that provides python, IPython, an integrated development environment Spyder and many packages, and modules out of the box. The best thing it is quite easy to install even a novice can install it with just one click on windows, macOS, and Linux operating systems.
Anaconda’s individual edition which is open source and free to download and use can be got from its official website.
Anaconda has the following characteristics:
- Open-source
- Simple installation process
- High performance using Python and R language
- Free community support
- Cloud-based repository with over 7,500 data science and machine learning packages
- 1,000+ open source libraries
- ML/AI pipeline in a central development environment, which can be expanded from laptops to thousands of nodes
- Environment manager
- Conda package
- Open source Anaconda Distribution is the easiest way to perform Python/R data science and machine learning
- Develop and train machine learning and deep learning models using sci-kit-learn, TensorFlow and Theano
- Use Dask, NumPy, pandas, and Numba to analyze data with scalability and performance
- Use Matplotlib, Bokeh, Datashader, and Holoviews to visualize the result
Installation#
This topic explains how to install or uninstall Anaconda Navigator.
System requirements#
Operating systems: Navigator supports the same operating systems that the Anaconda Distribution supports. These include:
The most current installation of Navigator also supports Python versions 2.7 and 3.5+.
Installing Navigator#
Navigator is automatically installed when you install Anaconda Distribution version 4.0.0 or higher.
If you have Miniconda or a version of Anaconda Distribution older than 4.0.0 installed, install Navigator from Anaconda Prompt, Terminal, or other command line interface by running the command conda install anaconda-navigator .
For more information on using Navigator, see the Getting started section of this documentation.
Using Navigator in offline mode#
To use Navigator in online mode , you must be able to reach these sites, so you may need to add them to an allowlist in your network’s firewall settings.
- https://repo.anaconda.com for repositories and installers
- https://conda.anaconda.org for conda-forge and other channels on anaconda.org
- google-public-dns-a.google.com (8.8.8.8:53) to check internet connectivity with Google Public DNS
Configuring Navigator to work with a local Anaconda Repository#
If you’re an Enterprise tier subscriber, you can configure Navigator to search for packages in your local Anaconda Repository instead of searching on Anaconda.org.
To configure Navigator to search in a local Anaconda Repository:
- Open the Preferences dialog from the top menu bar. In Windows, this is the File menu. In macOS, it is either the Anaconda Navigator or python menu, depending on your launch method.
- In the Anaconda API domain field, type the address of your local Anaconda Repository.

- Click Apply.
- At the top of the Navigator window, click Connect.
- In the Connect dropdown, click Sign in for your preferred repository.
- Follow the instructions in the dialog box that appears to finish connecting Navigator to your repository.


Configuring Navigator to work with Anaconda Cloud#
You can register for an Anaconda Cloud account for free at https://anaconda.cloud/sign-up. An Anaconda Cloud account gives you access to cloud backups for your environments and access to Anaconda’s cloud notebooks and free learning resources.
Once you have become an Anaconda Cloud member, sign in to Anaconda Cloud from Navigator. To connect Navigator to Anaconda Cloud:

- At the top of the Navigator window, click Connect.
- In the Connect dropdown, click Sign in by Anaconda Cloud.
- Enter your email address and password.
- Click Sign in.
Uninstalling Navigator#
To uninstall Anaconda Navigator, open the Anaconda Prompt (Terminal on macOS or Linux), and enter the following command:
conda remove anaconda-navigator
For instructions on uninstalling all of Anaconda Distribution, see Uninstalling Anaconda Distribution .
Установка Anaconda в Ubuntu
Anaconda — это очень популярный дистрибутив Python, который содержит удобный пакетный менеджер Conda, несколько предустановленных версий Python (2.7, 3.4 и 3.7), а также среду разработки IDLE Spider и множество библиотек, которые очень просто установить. Ещё здесь есть библиотеки для обработки Big Data, прогнозной аналитики и научных вычислений. Также можно всем управлять через графическую утилиту Anaconda Navigator.
В этой статье мы рассмотрим, как скачать и установить Anaconda Python Ubuntu 18.04 с официального сайта программы, а также как подготовить эту платформу к работе.
Установка Anacoda в Ubuntu
1. Скачивание и установка программы
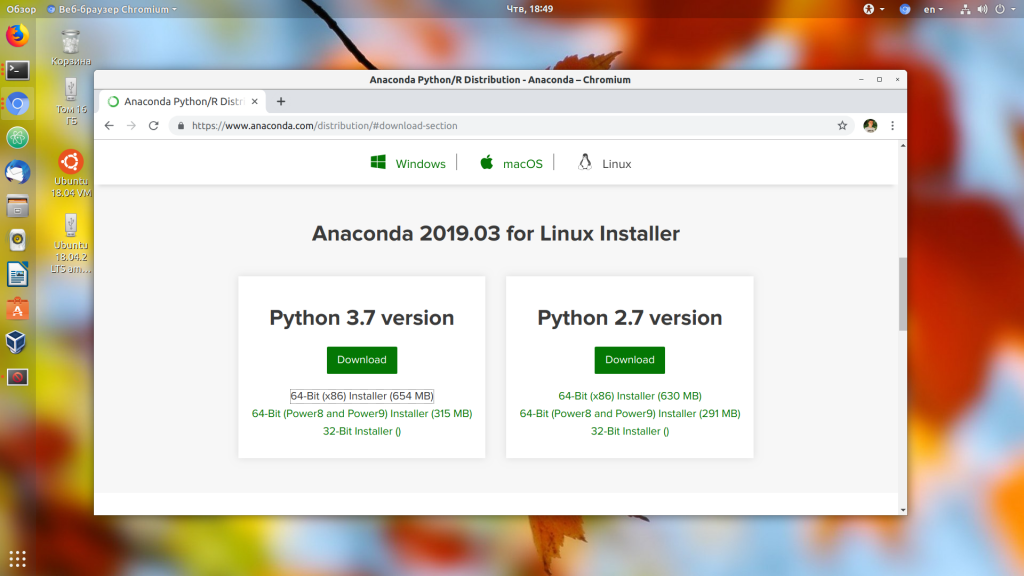
Сначала нужно скачать установщик платформы с официального сайта. На момент написания статьи самая свежая версия программы — 2019.03. Нажмите кнопку Download, а затем выберите операционную систему Linux:
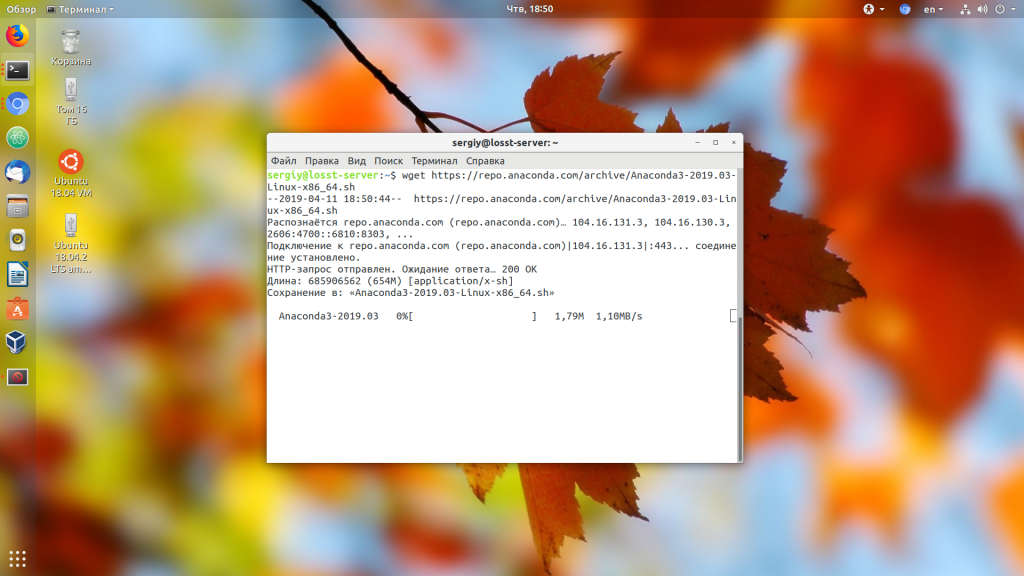
Вы можете скачать программу прямо в браузере или скопировать ссылку для загрузки через wget. Например, для текущей версии команда будет выглядеть так:
Поскольку это достаточно большой файл, после завершения загрузки желательно проверить его по контрольной суме. Найти контрольную сумму загруженного файла можно командой:
Затем её нужно сравнить с сумой, указанной на этой странице для вашей версии программы. Если полученные значения совпадают, значит всё правильно.

Далее запустите полученный скрипт:
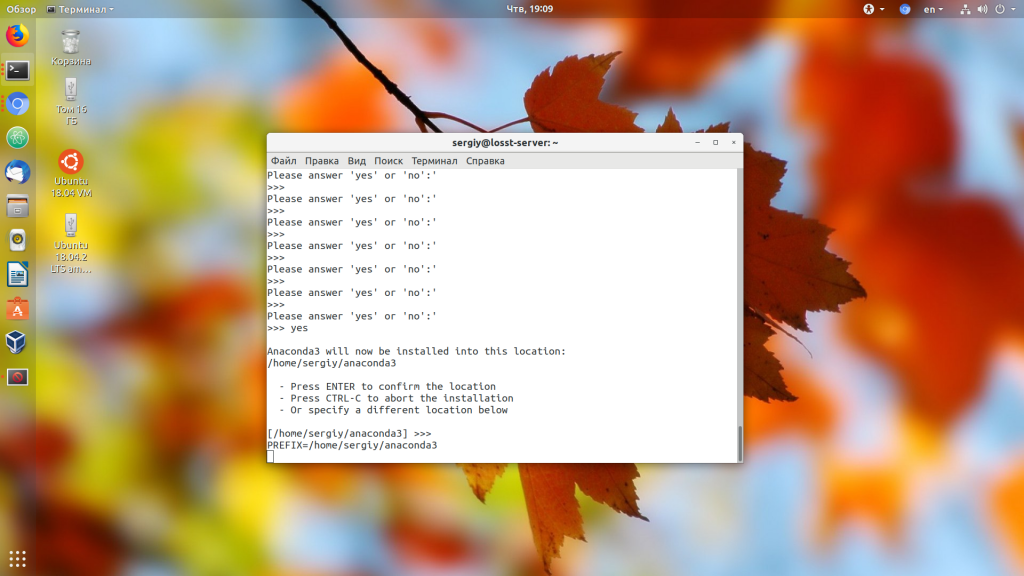
На первом шаге установки нажмите Enter, затем наберите yes, чтобы принять лицензионное соглашение:

Далее нужно выбрать папку, куда будет установлена программа:
Затем пойдёт установка Anaconda 3 Ubuntu. Процесс установки займёт некоторое время.

В конце установки программа предложит изменить ~/.bashrc таким образом, чтобы Сonda запускалась автоматически при запуске терминала. Если вы не сделали это во время установки, то это можно выполнить потом командой:
Затем выполните следующую команду, чтобы система перечитала настройки:
Теперь вы можете проверить, всё ли работает, выполнив такую команду:
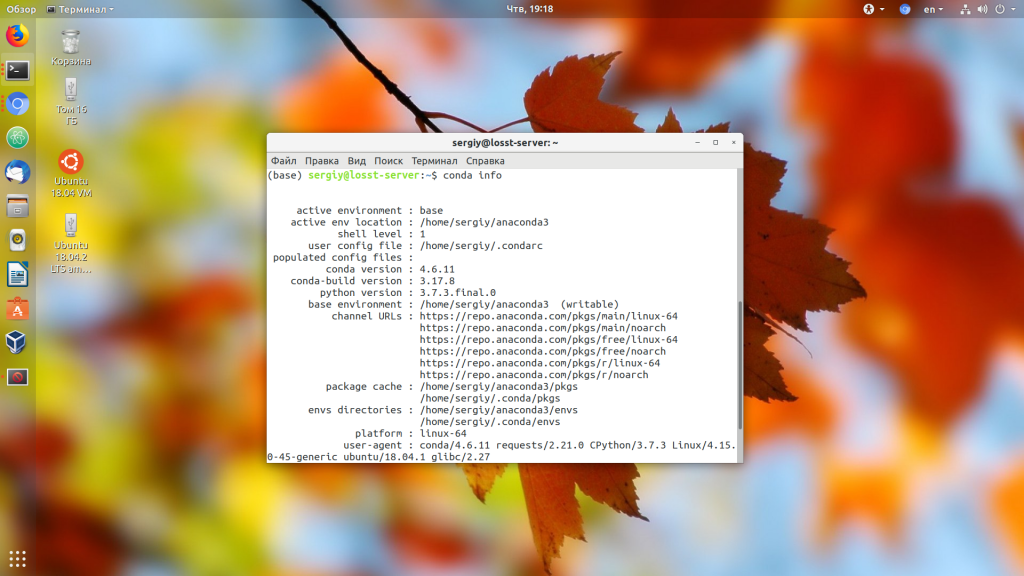
На этом установка Anaconda Ubuntu завершена.
2. Обновление Anaconda
Обновление Anaconda тоже достаточно просто выполнить. Сначала нужно обновить инструмент conda. Для этого выполните:
На вопросы программы отвечайте y. Когда обновление завершится, можно обновить саму Anaconda 3:
Аналогично предыдущему пункту, нажмите y, чтобы продолжить обновление.
3. Окружения Conda
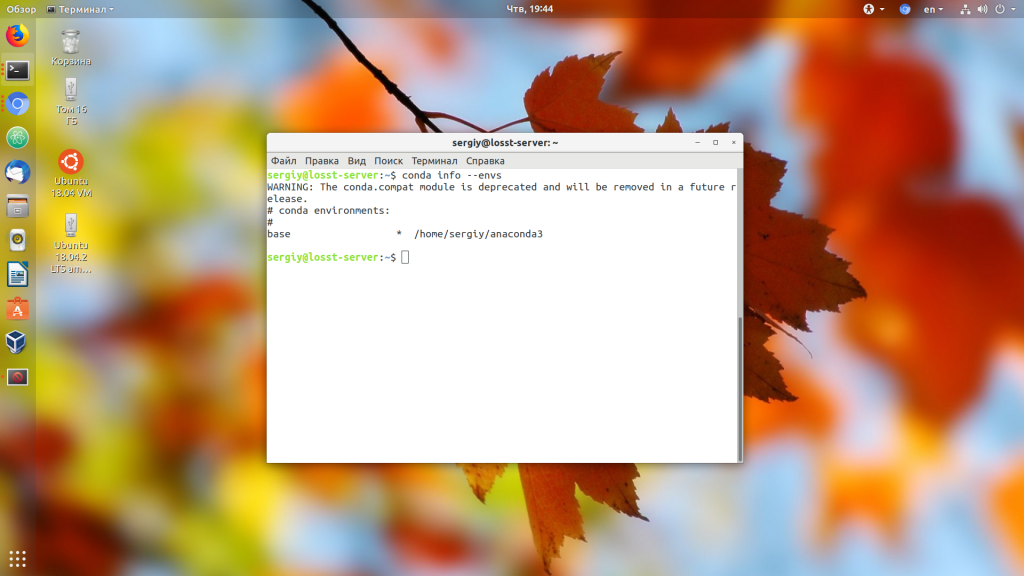
Как я уже сказал, Сonda — это пакетный менеджер, а также это менеджер окружений. Вы можете создать несколько окружений с разными версиями Python, а также с разными установленными в них библиотеками. Посмотреть список доступных окружений можно командой:
Для активации окружения используется команда activate. Например, сделаем активным окружение base:
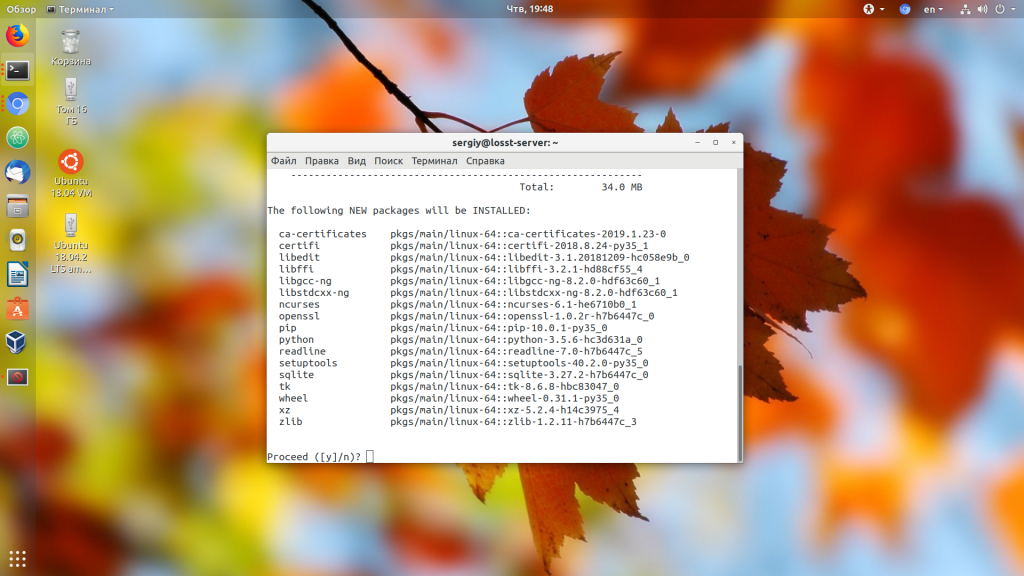
Также вы можете создать новое окружение с другой версией Python. Например, сделаем окружение с Python 3.5:
conda create —name ptn35env python=3.5
Программа создаст окружение и сообщит, какие пакеты ей надо установить, соглашаемся на установку:
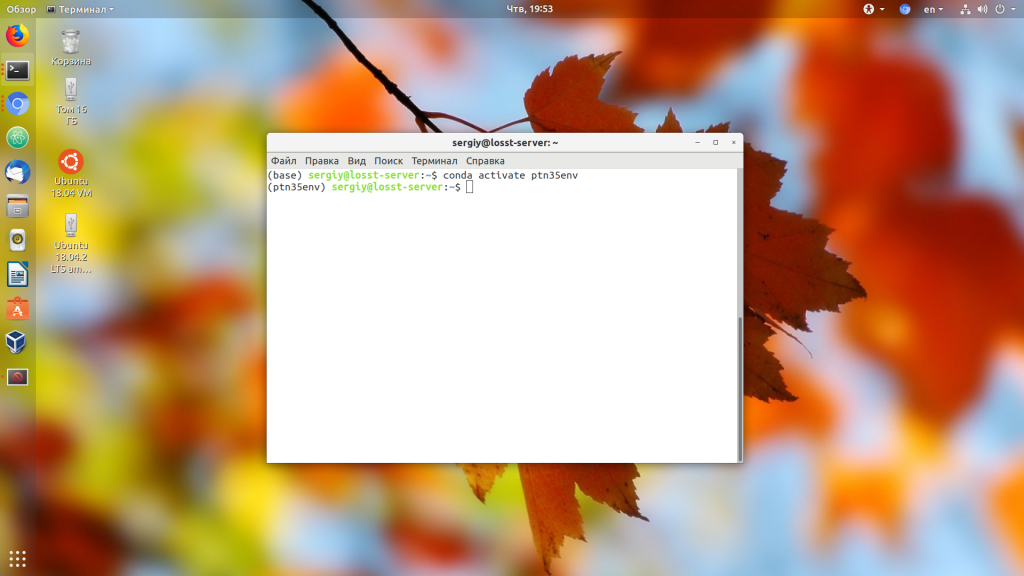
Затем активируем нужное окружение:
Чтобы деактивировать текущее окружение, используйте команду deactivate:
Чтобы удалить окружение ptn35env, нужно использовать не команду uninstall, а remove:
conda remove —name ptn35env -all
4. Установка пакетов Conda
Посмотреть список установленных пакетов можно командой list:

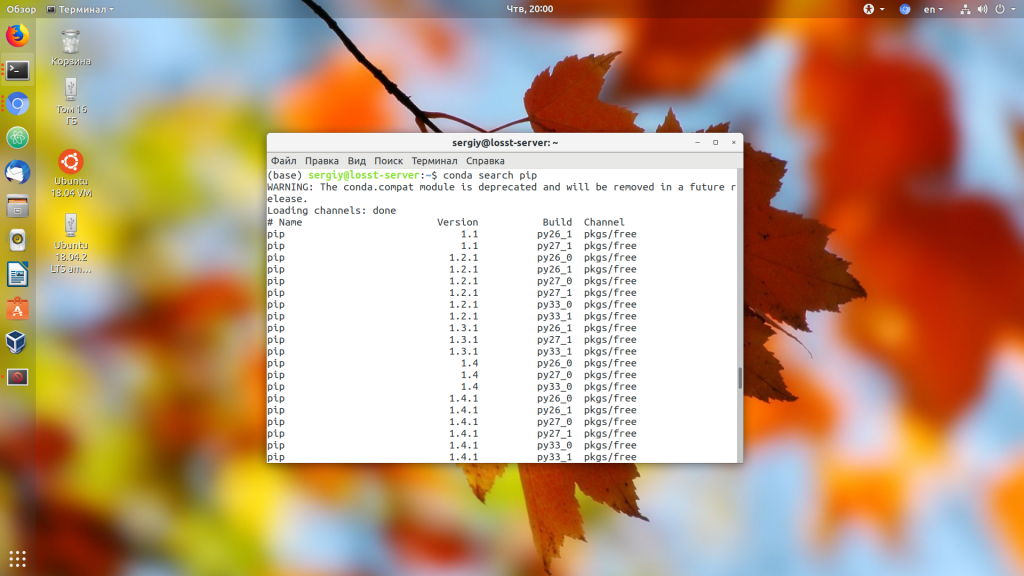
Чтобы найти нужный пакет, используйте search, например, ищем пакетный менеджер Python — pip:
А для установки пакета используйте install. Например, установим tensorflow:

Удалить пакет можно командой remove:
Удаление Anaconda
Чтобы удалить Anaconda из своей системы, достаточно выполнить следующие команды:
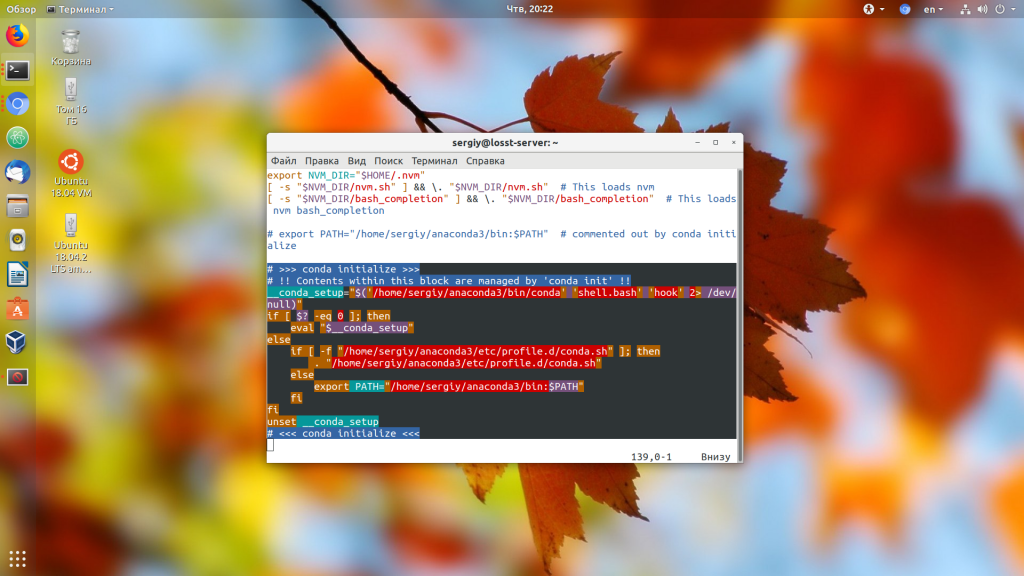
Откройте файл ~/.bashrc и удалите оттуда строки, добавленные Anaconda, обычно, находятся между тегами conda initialize:
Затем удалите скрытые папки с дополнительными файлами и конфигурацией платформы:
rm -rf ~/.condarc ~/.conda ~/.continuum
Выводы
Теперь установка Anaconda в Ubuntu завершена. Вы можете начать пользоваться пакетным менеджером Conda, использовать виртуальные окружения в Python и легко устанавливать пакеты. Мы разобрали только основы использования conda, чтобы изучить программу лучше, читайте официальную документацию.
Обнаружили ошибку в тексте? Сообщите мне об этом. Выделите текст с ошибкой и нажмите Ctrl+Enter.