- 4 Best Linux Distros for Android Studio Developers
- Best Linux Distros for Android Studio Development
- 1. Mx Linux
- 2. Ubuntu Linux
- 3. Manjaro
- 4. Fedora Linux for Android Studio
- Пишем и собираем приложения для Android в linux консоли
- Введение
- Железо
- Операционная система
- Установка пакетов
- Настройка adb
- Постановка задачи
- Создание подписи
- Манифест
- Layout
- Исходный код приложения
- Скрипт для сборки
- Сборка и установка
- Заключение
4 Best Linux Distros for Android Studio Developers
Among the popular operating systems, Linux has always been the first choice of many programmers and developers because they don’t have to pay for it. Moreover being an open source licensed software it is easy for programmers to customize Linux as per their needs. Furthermore, Linux also supports a wide range of programming languages, including C, C++, Perl, Ruby, PHP, and more.
Even Linux is now a backbone of the internet, cloud hosting, Android, smartphones, routers, and other many devices. Hence, system administrators and developers need to learn how to operate a Linux system. There was a time when it was only a cup of tea for coders, but now even common desktop users can learn and operate Linux easily because of attractive and intuitive graphical desktop environments.
This guide focuses on some of the best Linux distributions for developers and programmers and highlights the key features that make them ideal for programming/development purposes.
Best Linux Distros for Android Studio Development
Here we have listed some top Linux distros based on tools, documentation, community support, popularity, and ease of usage they are offering. You can easily install Android Studio on these Linux operating systems.
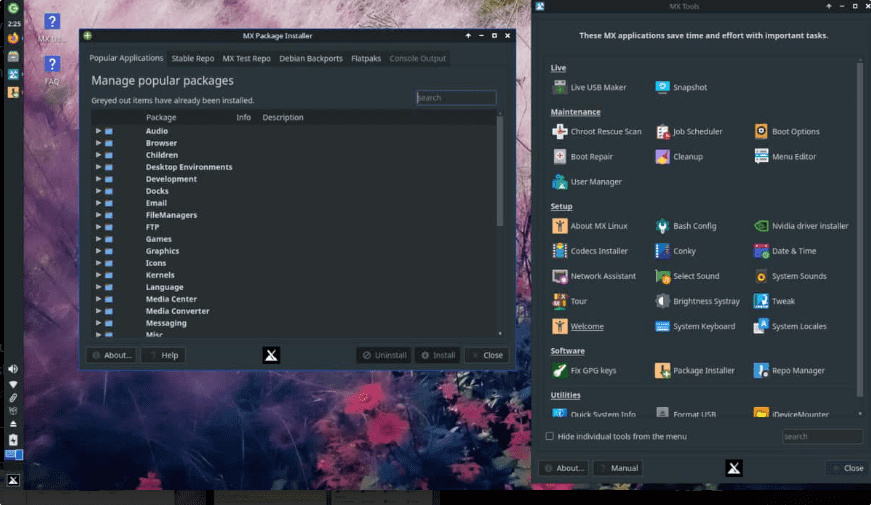
1. Mx Linux
“Best mid-weight Linux distro for developers”
This might not sound digestible who haven’t used MX Linux yet, but you should once. It is a snappy and light mid-weight Linux based on the Debian stable branch with a background of AntiX and Mepis. The default edition offers an XFCE desktop environment with other options as well such as KDE Plasma and Fluxbox.
It offers a good collection of open source tools to handle the daily computing needs including tools to manage Boot Options and Repository Management.
Due to a Debian-based distro, MX Linux offers long-term update support to developers with extreme stability and access to thousands of packages available through the Debian repository. In addition to this MX Linux also offers its own test Repo and Flatpaks to get popular applications not accessible using the Debian repo.
MX Linux distro is not one of the best to use for developers only, even regular basic Desktop users can go for it due to an extensive collection of wallpapers, themes, Conkies, and icon sets for customization.
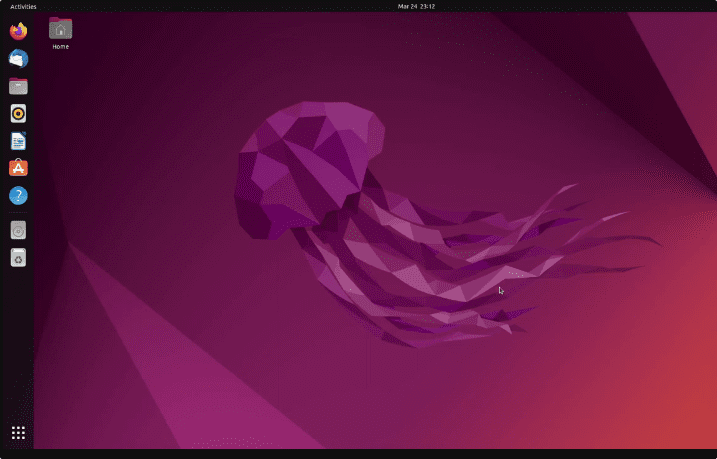
2. Ubuntu Linux
“Best documented & easy to use Linux for developers”
Well, we didn’t want to include Ubuntu because it is the first Linux that comes to the mind of users (desktops and developers) to use. The reason behind this is the long-term support, availability of thousands of tutorials, stability, and fewer learning curves.
Even the official documentation website of the Android Studio project uses Ubuntu Linux to showcase how to install it. Therefore, starting with the Android studio is easy in it even on the most recent version of Ubuntu such as 22.04.
There is also another benefit of using the most popular Linux OS i.e you can find most of the development tools and libraries to install directly using the APT package manager and the official repository of Ubuntu.
If the system repo lacks some tools that you want to use then developers can go for extra package repo called Personal Package Archive (PPA). Moreover, SNAP, a universal package manager is also there to use. Learn: 2 Ways to Install Android Studio on Ubuntu 22.04 LTS
To help developers and programmers in installing some popular IDEs such as NetBeans, Pycharm, Vscodium, and other development tools even Android Studio alongside all of the required dependencies, the system offers a command line tool called Ubuntu Make. However, it is not available to install using the default system repository. The user has to either use SNAP or PPA repo. Here are the commands for that.
sudo add-apt-repository ppa:lyzardking/ubuntu-make
sudo apt install ubuntu-make
Install Android studio:
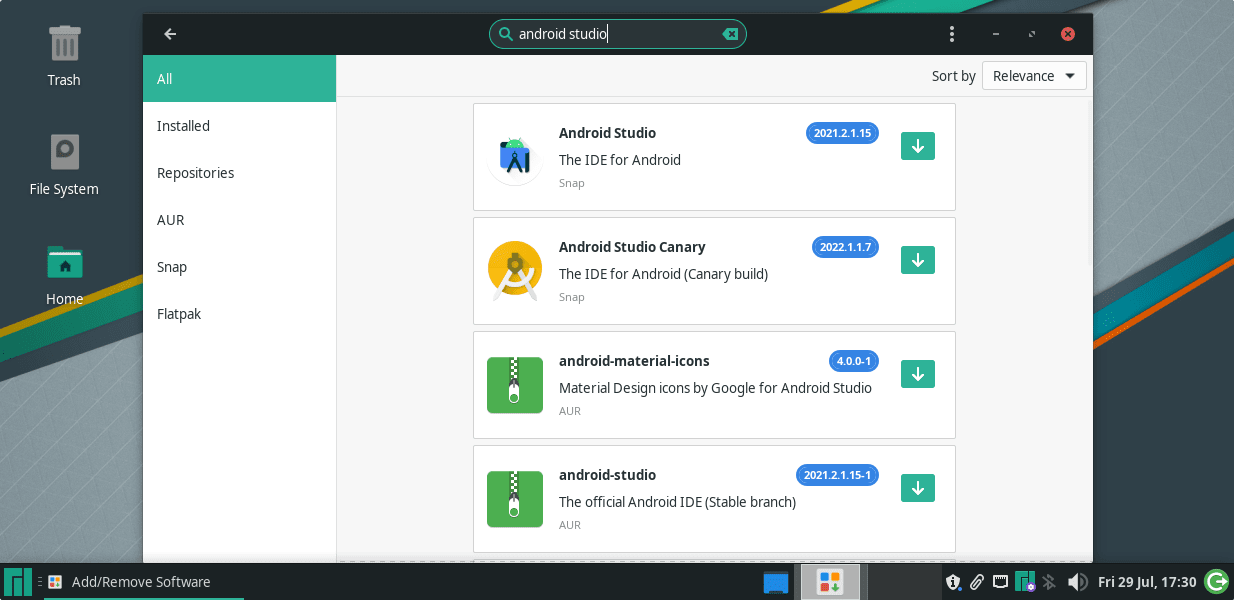
3. Manjaro
“Best Arch-based Linux distro for Android Studio”
Arch Linux is more popular among the professional Linux community and the ones who want full control over their operating system. However, if you want to start from scratch then learning curves will be there. Nevertheless, the programmers and developers can easily use Arch Linux to create their custom operating system.
Well, those who don’t want to bang their head against the complicated installation of Arch Linx and go through its learning curves can rely on an Arch-based system called Manjaro that is easy to install and operate.
Manjaro Arch saves the time of developers who directly want to focus on their programming project out of the box; if you love the rolling Linux distributions and a repository that is always up to date.
It has a simple GUI installer, just like Ubuntu or Linux Mint, which also simplifies the update methods. Since it combines all the strengths of Arch Linux, it is best suited for beginners looking for an Arch alternative. Manjaro comes in three editions with GNOME, KDE, and Xfce each.
With a powerful package manager of Manjaro, users can install various development software using GUI such as Netbeans, Pycharm, Android Studio, KDevelop… To expand the access to a variety of packages users can access AUR, Flatpak, and Snap repositories as well, however, don’t forget to enable them.
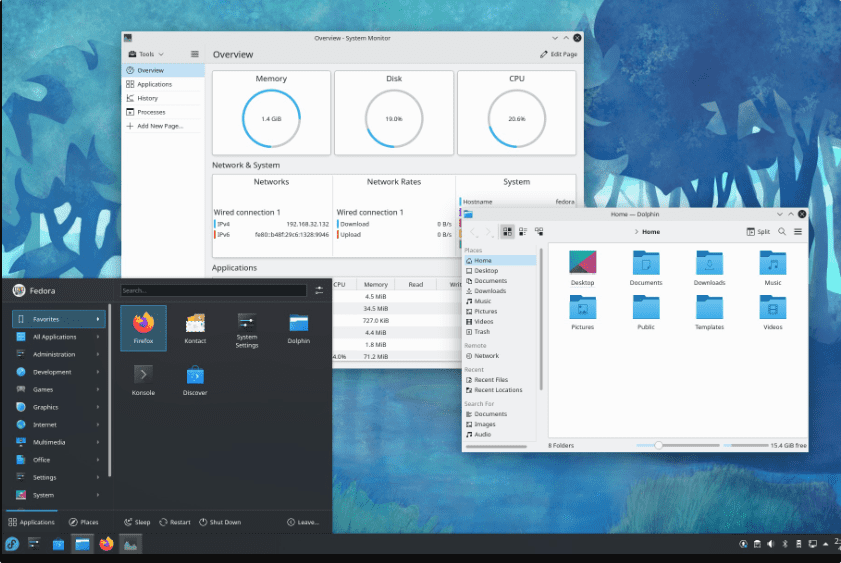
4. Fedora Linux for Android Studio
“Best RHEL-based Linux with the latest software for developers”
The developers of the paid Linux Red Hat also have a free Linux version on offer: Fedora. It is community-based and quickly adopts technical innovations. Tested and proven functions are then transferred to Linux Red Hat, which is offered to companies.
“Fedora Workstation” is aimed at the private user and scores with particularly good security functions. The software and functions are usually up-to-date, therefore those developers who want to try out bleeding-edge software can go for Fedora. Compared to Redhat and CentOS Stream, the repository offers a wide range of software.
Apart from the Workstation editions, others are Server, IoT, CoreOS, and Silverblue. Fedora has extensive libraries, and tutorials and offers a 2-year life cycle support that offers better support for tools and applications. Fedora is always on the rollout for the latest open-source features, driver updates, and software.
These are not the only Linux distros for installing Android Studio, however, if you are new to developing or even an experienced programmer, it is a good idea to go for some popular Linux because of good support, stability, large community, online tutorials, and wide range of packages & libraries to install directly using their official repositories.
Other Articles:
Пишем и собираем приложения для Android в linux консоли

В данной статье я покажу как можно собрать apk файл в Ubuntu используя лишь
утилиты командной строки.
Обычно для создания приложений для Adroid используется Android Studio. Но для сборки небольших программ можно обойтись командной строкой. Например, когда ресурсы компьютера ограничены и ваше приложение очень простое.
В качестве постоянной среды разработки это, возможно, не очень удобно, но если вам нужно
иногда собирать какие-нибудь мелкие утилиты — это в самый раз.
Введение
Разработка под Android не является основным направлением моей деятельности, я иногда делаю какие-то небольшие приложения для своих нужд.
Раньше я использовал QPython, но он достаточно тяжел и неудобен в работе. Поэтому я перешел к разработке нативных программ. Даже при поверхностном знании Java
это не составляет больших трудностей.
Данное руководство в большой степени базируется на этом документе: Building an Android App
from the Command Line. Кому интересны подробности, обращайтесь к первоисточнику.
Похожая статья: Пишем, собираем и запускаем HelloWorld для Android в блокноте уже встречалась на этом ресурсе, но в ней было рассмотрена разработка в Windows.
Здесь же я рассмотрю, как можно собрать приложение в linux.
Железо
Тестирование проводилось на стареньком нетбуке с процессором Атом, 1Гб ОЗУ
и 8Гб SSD диска.
Операционная система
Я тестировал приложение на Ubuntu 17.04. Начиная с Ubunu 16.04 android-sdk можно установить через пакетный менеджер.
В принципе, тот же SDK можно
скачать с сайта.
Качать файл из раздела ‘Get just the command line tools’
По сути это не сильно меняет процесс, но через пакетный менеджер все гораздо проще.
Разница будет лишь в путях и установке дополнительных пакетов «android-platform».
Установка пакетов
Итак, приступим к установке.
sudo apt install android-sdkБудет установлено большое количество пакетов, включая Java.
Далее, в зависимости от требуемой версии Android, необходимо установить нужную
версию пакетов. Для lolipop 5.1 необходимо ставить:
sudo apt install google-android-platform-22-installer sudo apt install google-android-build-tools-22-installerТак же необходимо установить дополнительный пакет.
sudo apt install apksignerЕсли вы планируете устанавливать apk-пакет через adb, то необходимо немного дополнительных настроек.
Настройка adb
С помощью lsusb найти подключенное устройство
# lsusb . Bus 001 Device 004: ID 1782:75b0 MyDevice . И создать файл с правилом:
sudo vi /etc/udev/rules.d/51-android.rulesВ файл добавить одну строку:
SUBSYSTEM=="usb", ATTR=="1782", MODE="0666", GROUP="plugdev"Здесь «1782» взято из вывода lsusb.
sudo systemctl restart udevПосле подключения через adb, на устройстве необходимо подтвердить соединение.
Теперь все готово к работе.
Постановка задачи
Приложение, которое будем собирать немного сложнее, чем ‘Hello world’.
- Требуется по нажатию кнопки взять строку из буфера обмена.
- Вырезать подстроку
- Записать подстроку обратно в буфер.
- С помощь Toast вывести подстроку или сообщение об ошибке.
Я подготовил пример который возьмем за основу.
Создание подписи
Сначала создадим ключ для подписи файла:
keytool -genkeypair -keystore keystore.jks -alias androidkey \ -validity 10000 -keyalg RSA -keysize 2048 \ -storepass android -keypass androidМанифест
Здесь указываем имя приложения в атрибуте «android:label». Так же приложение будет использоваться свою иконку, она указана в атрибуте «android:icon». Сама иконка лежит в каталоге «res/drawable-mdpi» файл «icon.png». В качестве иконки можно взять любой небольшой png файл.
Layout
Файл с расположением элементов находится в каталоге «/res/layout/».
В него можно добавлять виджеты, если вы захотите расширить функционал.
Исходный код приложения
Исходный код приложения находится здесь «java/ru/kx13/extractvidid»
package ru.kx13.extractvidid; import android.app.Activity; import android.os.Bundle; import android.widget.TextView; import android.widget.Button; import android.widget.Toast; import android.view.View; import android.content.ClipboardManager; import android.content.ClipData; public class MainActivity extends Activity < private static String extract(String s) < int start = s.indexOf("%3D"); int end = s.indexOf("%26"); if(start == -1 || end == -1) < return "error"; >return s.substring(start + 3, end); > @Override protected void onCreate(Bundle savedInstanceState) < super.onCreate(savedInstanceState); setContentView(R.layout.activity_main); TextView text = (TextView)findViewById(R.id.my_text); text.setText("Извлечь youtube video id"); Button button = (Button) findViewById(R.id.button_id); button.setOnClickListener(new View.OnClickListener() < public void onClick(View v) < ClipboardManager myClipboard = (ClipboardManager) getSystemService(CLIPBOARD_SERVICE); ClipData abc = myClipboard.getPrimaryClip(); ClipData.Item item = abc.getItemAt(0); String text = item.getText().toString(); String video_id = MainActivity.extract(text); ClipData myClip = ClipData.newPlainText("text", video_id); myClipboard.setPrimaryClip(myClip); Toast toast = Toast.makeText(getApplicationContext(), video_id, Toast.LENGTH_SHORT); toast.show(); >>); > >Код весьма прост и примитивен, но этот шаблон можно использовать в других приложениях.
Скрипт для сборки
Я не стал использовать утилит сборки типа make или ant, т.к. весь код находится в одном файле и особых преимуществ это не даст. Поэтому это обычный shell скрипт:
#!/bin/sh SOURCE=ru/kx13/extractvidid BASE=/usr/lib SDK="$/android-sdk" BUILD_TOOLS="$/build-tools/22.0.1" PLATFORM="$/platforms/android-22" mkdir -p build/gen build/obj build/apk "$/aapt" package -f -m -J build/gen/ -S res -M AndroidManifest.xml -I "$/android.jar" javac -source 1.7 -target 1.7 -bootclasspath "$/jre/lib/rt.jar" \ -classpath "$/android.jar" -d build/obj \ build/gen/$/R.java java/$/MainActivity.java "$/dx" --dex --output=build/apk/classes.dex build/obj/ "$/aapt" package -f -M AndroidManifest.xml -S res/ -I "$/android.jar" \ -F build/Extractor.unsigned.apk build/apk/ "$/zipalign" -f 4 build/Extractor.unsigned.apk build/Extractor.aligned.apk apksigner sign --ks keystore.jks \ --ks-key-alias androidkey --ks-pass pass:android \ --key-pass pass:android --out build/Extractor.apk \ build/Extractor.aligned.apkНекоторые замечания по поводу путей.
- По умолчанию, переменная BASE указывает на путь, в который пакетный менеджер сохраняет файлы. Если вы ставите SDK вручную, то путь надо будет изменить.
- Если вы используете версию API отличную от 22, то вам надо подправить переменные BUILD_TOOLS и PLATFORM
Сборка и установка
Для сборки просто запустите
Если все настроено правильно никаких сообщений не будет выведено, а в каталоге «build» появится файл «Extractor.apk»
Теперь надо установить наше приложение
adb install -r build/Extractor.apkЕсли все прошло нормально, на устройстве появится новое приложение. Можно запускать и пользоваться.
В общем случае можно перекинуть файл apk на устройство любым удобным способом.
Заключение
Как видно из статьи начать разработку в консоли совсем несложно.
Консольные утилиты позволяют разрабатывать программы при весьма небольших ресурсах.