- How to Install and Run a GNU/Linux OS on Your Android Device
- GNU/Linux Setup on Android
- How To Install GNU/Linux on Android Device
- Installing Linux Applications on Android
- How to install a Linux desktop on your Android device
- Debian NoRoot: One-click Linux desktop
- Install Ubuntu and other Linux flavors with UserLAnd
- Final steps: How to install Linux apps on your Android device
How to Install and Run a GNU/Linux OS on Your Android Device
Installing a GNU/Linux environment on your android device can enhance and increase its productivity. Although the Android OS runs on the same Kernel as GNU/Linux, the two Operating systems run on different programs.
A common caveat of android apps is that they are sometimes more limited when compared to desktop apps for example, and one way to get around that is installing a GNU/Linux environment, which can be applicable on rooted or non-rooted devices. This guide assumes a non-rooted device is being used.
GNU/Linux Setup on Android
To Set up a GNU/Linux environment you will need to download GNURoot Debian and Xserver XSDL followed by applicable Linux commands to complete the process.
GNURoot allows you to create a Linux environment within a host OS. Normally you would need Linux’s “Chroot” functionality to do this however, GNURoot uses “proot” a software that allows you to achieve the same function without proot privileges.
The purpose of Xserver XSDL, is to provide an application that GNURoot connects to. An X server is needed to run software that is heavy on graphics.
Xserver XDSL provides options for customizing things like display resolution.
How To Install GNU/Linux on Android Device
1. Search and Install GNURoot Debian and Xserver XSDL from the Playstore.
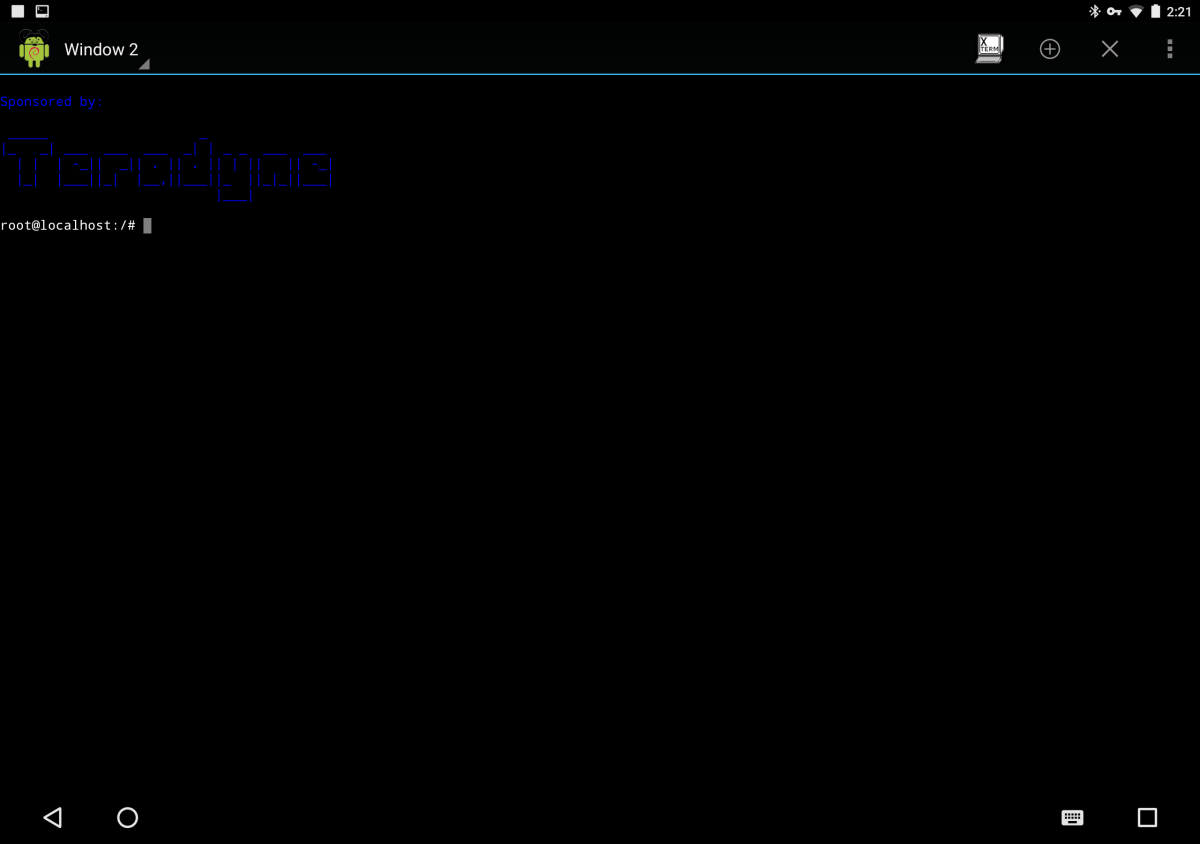
2. After the download is completed run GNURoot Debian, however watch-out for a “root” shell, which is a fake root shell running in Andriod application sandbox, so ignore it.
3. To ensure you have the most recent upgrades run “apt-get update and apt-get upgrade”. You will need Apt-get to install software in a Debian/Ubunu Linux environment.
$ sudo apt-get update $ sudo apt-get upgrade
4. The next step is to install a graphical environment. You can do this by running “apt-get install lxde” for the environment with all the tools, alternatively you can run “apt-get install lxde-core” for just the desktop environment.
$ sudo apt-get install lxde $ sudo apt-get install lxde-core
5. What is left now is a way to provide access to the terminal when in a graphical environment, a software called XTerm is used for this.
Finally you will need Synaptic Package Manager as a front-end to apt-get drivers for audio play back with Pulseaudio.
$ sudo apt-get install xterm synaptic pulseaudio
6. As a final step start xServer XSDL and download all fonts then go back to GNURoot to run these commands:
$ sudo export DISPLAY=:0 PULSE_SERVER=tcp:127.0.0.1:4712 $ sudo startlxde &
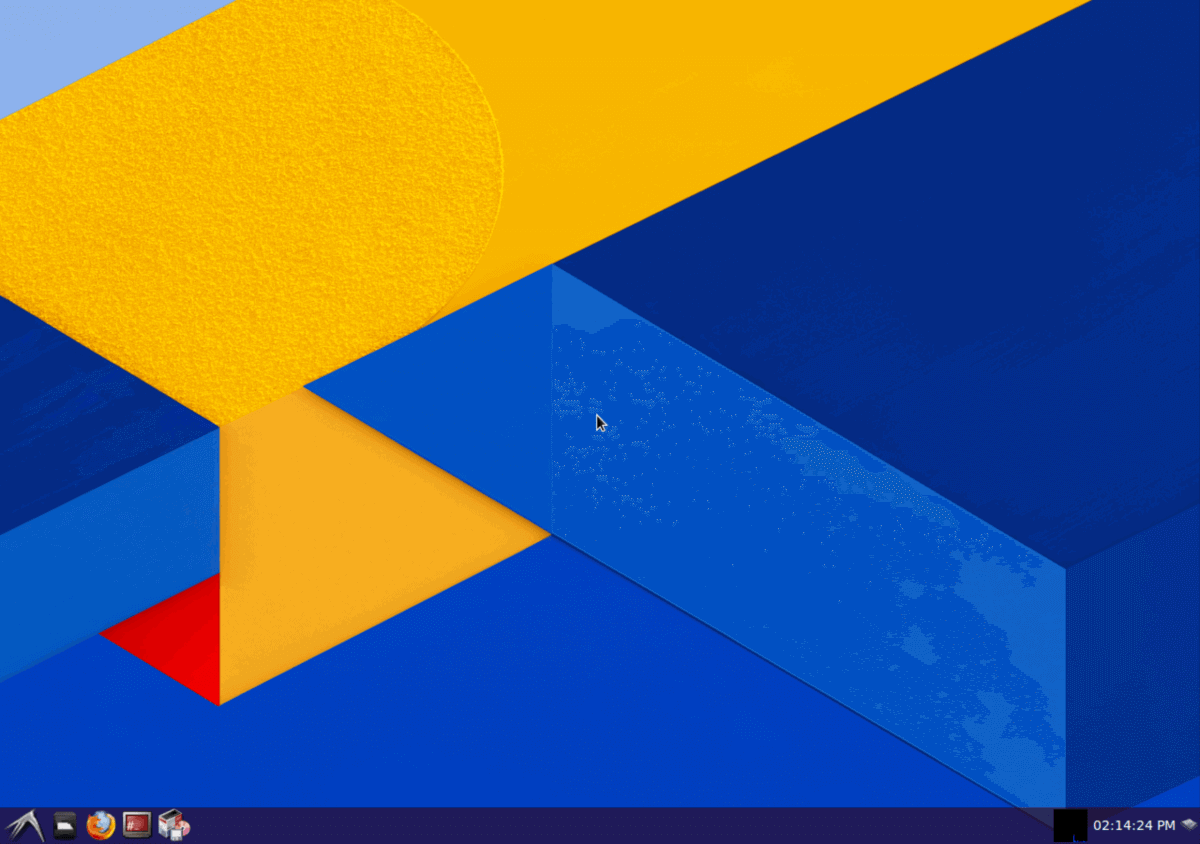
After this, revert back to XServer XSDL and wait for the LXDE desktop.
Installing Linux Applications on Android
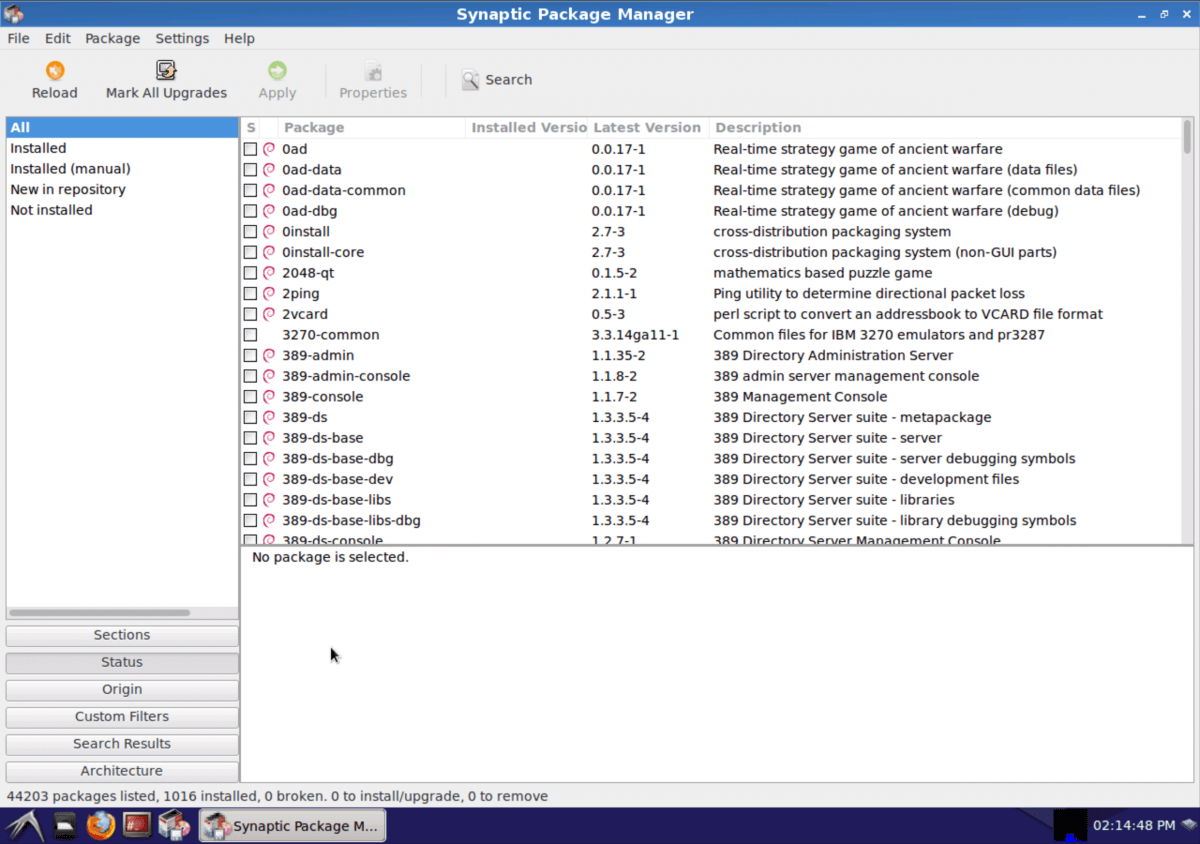
Now that you have Debian Linux on your Android device you will need apps to enjoy it fully. To access the large repository of Linux apps use the Synaptic Package Manager previously installed.
Access Run from the start menu and type in “synaptic”. Press the search button when the Synaptic Package Manager opens and key in the name of the app you are looking for then mark it for installation.
With your apps installed, you are finally good to go! Remember however, that because this is a Linux environment running within Android, it will not run as seamlessly as you would expect from the whole Linux package, some apps may not run at all. Also, android apps do not necessarily work differently within a Linux environment so don’t expect more than the usually from your android apps either.
It is also important to remember that some games will not work especially those requiring hardware acceleration But all in all, most apps and simple games will work just fine!
We hope you find this guide easy to follow, let us know if you have any comments, tips or suggestions or simply to let us know you successfully installed Linux on your Android device with these guidelines!
How to install a Linux desktop on your Android device
Have you ever wished your Android phone or tablet could replace your entire computer? You’re in luck — you can install a Linux or Ubuntu desktop environment on virtually any modern Android device. You could even combine it with a Bluetooth keyboard and mouse (and maybe an external display) for a powerful desktop-grade experience. While the experience is not always perfect, it’s usable in a pinch.
QUICK ANSWER
To install Linux on your Android device, install an app like Debian NoRoot or UserLAnd. If you choose the latter, you’ll be able to select between various distributions like Kali Linux, Arch, and Ubuntu. Neither option installs a full operating system, but they offer a complete desktop environment and the ability to run popular Linux programs.
JUMP TO KEY SECTIONS
Debian NoRoot: One-click Linux desktop
Debian NoRoot offers one of the easiest and least complicated ways to access a Linux desktop on Android. It’s a free app that you need to install via the Play Store. If you haven’t heard of Debian, it’s the flavor of Linux that the popular Ubuntu distribution is based upon. This guarantees compatibility with a wide range of Linux apps and the apt package manager.
Debian NoRoot is pretty lightweight and should run on most Android smartphones and tablets. It’s not the complete Debian operating system — instead, its developer describes it as a “compatibility layer, which allows you to run Debian applications.” How is this possible? Well, Android runs a modified Linux kernel, making it somewhat related to our end-goal. Debian NoRoot also includes all of the basics, including a desktop environment and a terminal application. All in all, it’s a perfect starting point for experienced and novice users alike.
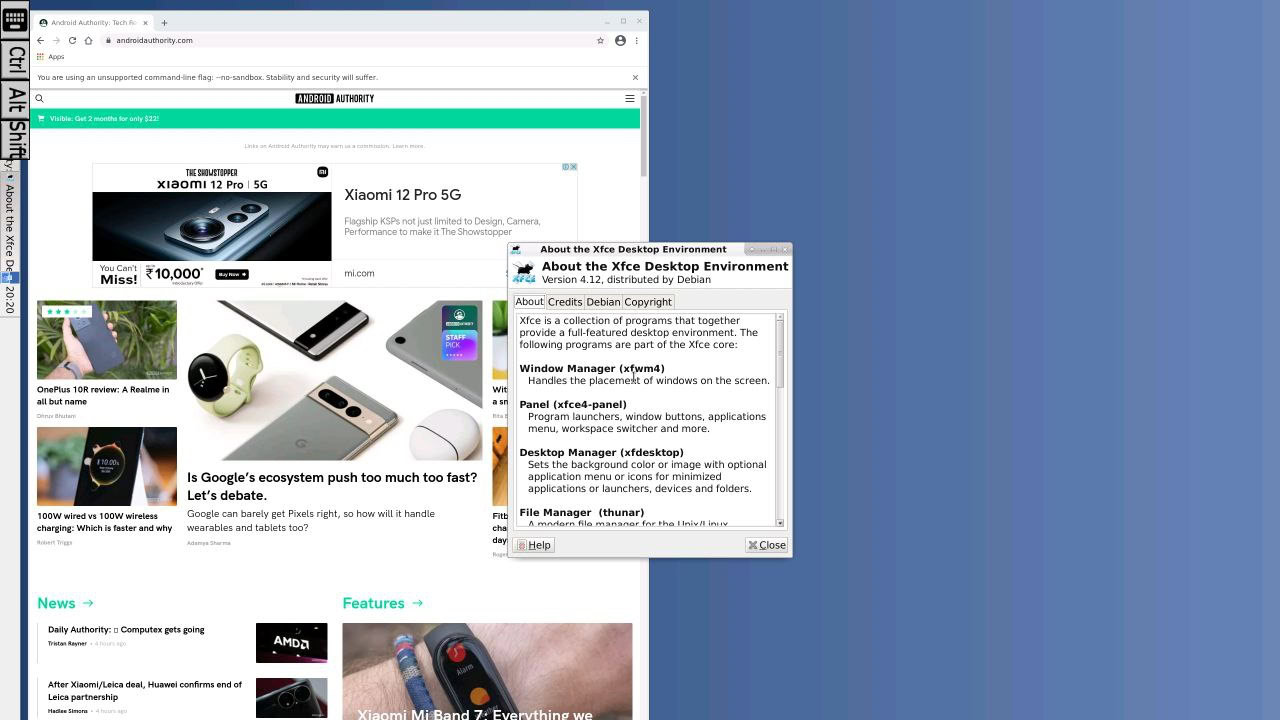
Debian NoRoot lets you access a full-fledged Linux desktop with a simple download from the Play Store.
Once you’ve installed the Debian NoRoot app on your Android device and open it for the first time, it will present you with a list of display resolutions and font scales. Select the default options here, and it will eventually bring you to the desktop.
From this point on, you can immediately get to installing additional Linux programs and apps. We’ll explain how you can do this via the terminal in a later section. For now, consider plugging in a keyboard and mouse since the on-screen touch keyboard can take up a big chunk of your screen’s real estate.
Install Ubuntu and other Linux flavors with UserLAnd
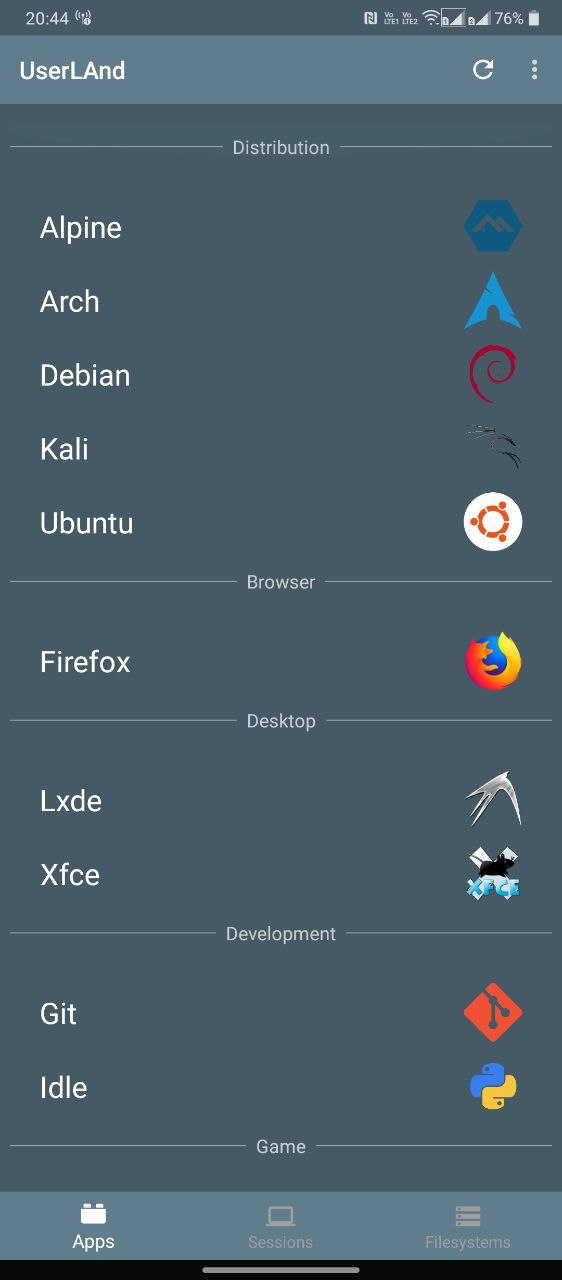
Select your Linux distribution of choice
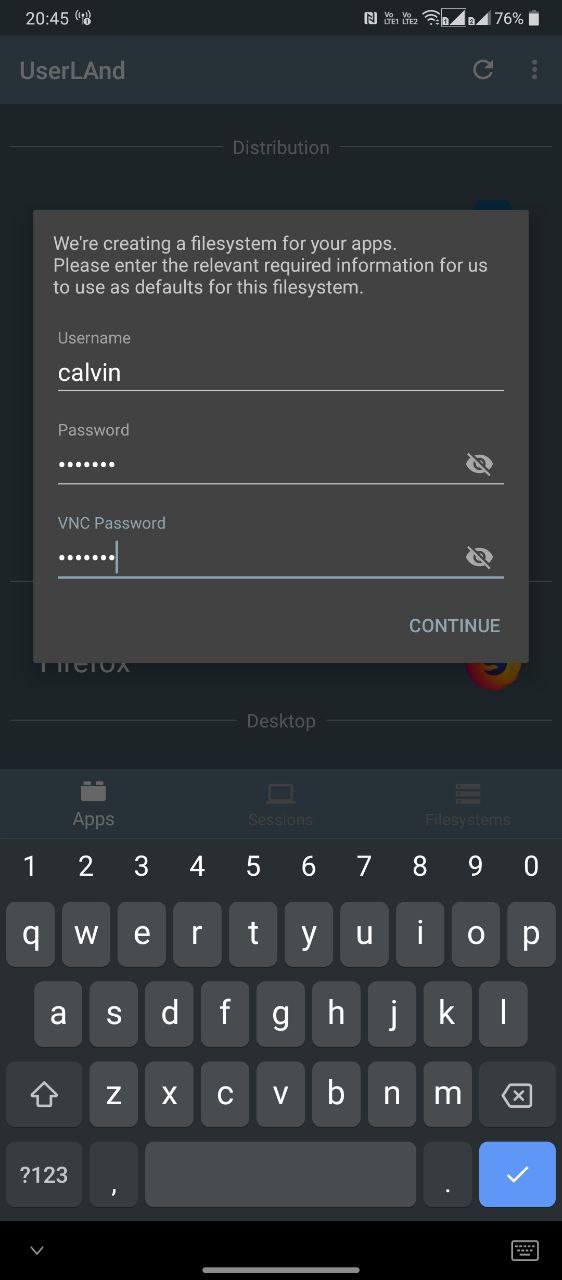
Enter a username and password
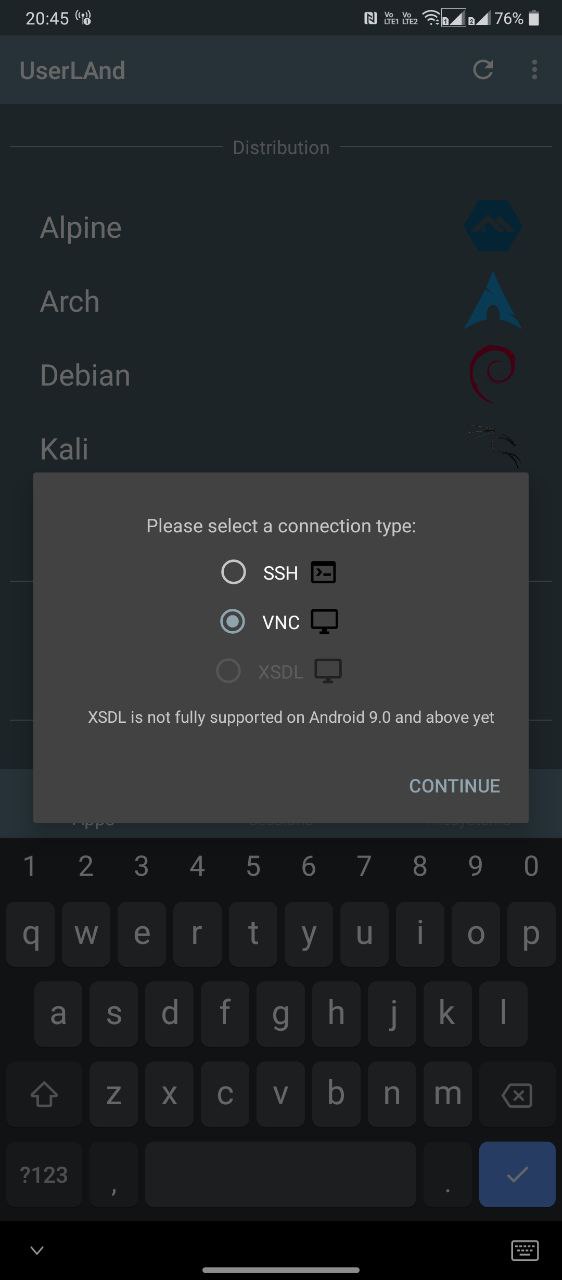
Select VNC if you’d like a graphical user interface or SSH for a text-based session
If Debian NoRoot doesn’t satisfy your needs or you’d like to install a different Linux distribution, another option is the UserLAnd application. It lets you install various Linux distros on your Android device, including Arch, Kali, Ubuntu, Debian, and Alpine. You can also choose to launch applications like Gimp and LibreOffice independently, eliminating the need for a full-blown desktop environment.
Here’s a step-by-step guide on how to install Ubuntu on your Android device:
- Download and install the UserLAnd app from the Play Store.
- Open the app and select the Linux distribution you wish to install. For the sake of this guide, we’ll proceed with Ubuntu.
- Enter a username, password, and VNC password of your choice when prompted. Don’t forget these details or you’ll have to start the process all over again.
- The app will now ask you to choose between an SSH or VNC connection. Select the latter if you need a graphical user interface.
- Wait until the download completes.
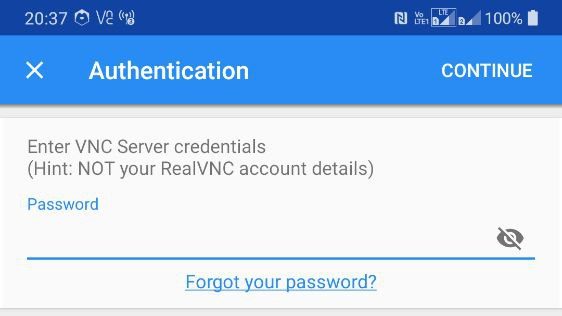
- Finally, you should be presented with a login screen, as shown below. Enter the VNC password from earlier to proceed.
You can also initiate a VNC connection from a different device on the same network. First, determine your Android device’s IP address, either from your router or using a free app like Fing. Finally, add :51 to the end of the IP address (example: 192.168.0.101:51) and connect to it using a VNC app like TightVNC on the other device.
Final steps: How to install Linux apps on your Android device
Now that you’ve got your preferred flavor of Linux installed on your Android phone, you may be wondering what you can and can’t do with it. Let’s start with the latter — you can only install and run programs designed for ARM processors. This rules out certain apps like Steam, which only support the desktop x86 architecture. Still, most of the standard productivity-related programs you’d want — ranging from Firefox to LibreOffice — offer ARM versions these days.
Here’s how to install Linux apps on your Android device
- Log into your Ubuntu session via one of the above methods
- Open a terminal window
- Enter the following commands one by one: sudo apt update and sudo apt install firefox-esr
- You can replace firefox-esr in the above command with any other desired program of your choice. Some other examples include vlc and libreoffice.
- Once installed, you can launch the program from within the Applications menu, as shown below:
Besides which Linux apps you can install, there are a couple of other limitations you should consider too. You cannot access low-level hardware functions like Wi-Fi or Bluetooth from within Linux because those are still completely controlled by Android. Likewise, you cannot expect hardware acceleration or complex 3D graphics to work at full speed. Remember that you aren’t running full-fledged Linux — it’s just a compatibility layer on top of the base Android operating system. You’ll be better off with a Chrome OS device if those aspects are important to you.
