How to install Android SDK Build Tools on the command line?
The result is that nothing in folder build-tools, and I want is aapt and apkbuilder, since I want to build apk from command line without ant.
20 Answers 20
By default, the SDK Manager from the command line does not include the build tools in the list. They’re in the «obsolete» category. To see all available downloads, use
And then to get one of the packages in that list from the command line, use:
Where -u stands for —no-ui, -a stands for —all and -t stands for —filter.
If you need to install multiple packages do:
android update sdk -u -a -t 1,2,3,4. n
Where 1,2. n is the package number listed with the list command above
If you are missing build-tools like 18.1.1 then this is the right way to install it using the command line.
@DanielJonker Yes, it is. Just echo «yes» to the command, i.e. echo yes | android update sdk —all —filter tools —no-ui —force > /dev/null
echo «yes» can be shortened to echo «y» , but that doesn’t work in all cases anyway. In some cases you can get more than one y/n license prompt, depending on the filter and specific packages. echo «y» will respond to the first prompt only, but not the rest. I’m trying to make it work with yes command with no success so far.
@AlexanderMalakhov I agree, if your host OS has the utility, using it is the best option. I looked at expect first, but in my case I have to run the script on a certain Linux distributive running in AWS cloud. That distro does not have expect installed and I don’t have enough rights to install it as part of build plan. After looking around, the best solution that I found is
# update Android SDK on headless server FILTER=tool,platform,android-20 ( sleep 5 && while [ 1 ]; do sleep 1; echo y; done ) \ | android update sdk --no-ui --all \ --filter $
As mentioned in other answers, you can use the —filter option to limit the installed packages:
android update sdk —filter .
The other answers don’t mention that you can use constant string identifiers instead of indexes (which will change) for the filter options. This is helpful for unattended or scripted installs. Man for —filter option:
. This also accepts the identifiers returned by ‘list sdk —extended’.
android list sdk —all —extended :
Packages available for installation or update: 97 ---------- id: 1 or "tools" Type: Tool Desc: Android SDK Tools, revision 22.6.2 ---------- id: 2 or "platform-tools" Type: PlatformTool Desc: Android SDK Platform-tools, revision 19.0.1 ---------- id: 3 or "build-tools-19.0.3" Type: BuildTool Desc: Android SDK Build-tools, revision 19.0.3 Then you can use the string ids as the filter options to precisely specify the versions you want:
android update sdk —filter tools,platform-tools,build-tools-19.0.3 etc
android update will also require the —all option, otherwise usage help is displayed. For example: android update sdk —no-ui —all —filter build-tools-21.1.0 (and +1 for the —extended option which allows you to see the aliases like build-tools-21.1.0 )
I was looking for that —extended option so I could write a script and use it in my Continuous Integration Server where it can refresh the sdk resources itself. Nice tip !
Version 25.2.3 (and higher) of Android SDK Tools package contains new tool — sdkmanager — which simplifies this task of installing build-tools from the command line.
It is located in android_sdk/tools/bin folder.
Usage (from documentation):
List installed and available packages:
sdkmanager --list [options] \ [--channel=channel_id] // Channels: 0 (stable), 1 (beta), 2 (dev), or 3 (canary) Use the channel option to include a package from a channel up to and including channel_id. For example, specify the canary channel to list packages from all channels.
Install packages:
sdkmanager packages [options] The packages argument is an SDK-style path, wrapped in quotes (for example, «build-tools;25.0.0» or «platforms;android-25» ). You can pass multiple package paths, separated with a space, but they must each be wrapped in their own set of quotes.
Example usage (on my Mac):
alex@mbpro:~/sdk/tools/bin$ ls ../../build-tools/ 25.0.0/ alex@mbpro:~/sdk/tools/bin$ ./sdkmanager "build-tools;25.0.2" done alex@mbpro:~/sdk/tools/bin$ ls ../../build-tools/ 25.0.0/ 25.0.2/ You can also specify various options, for example to force all connections to use HTTP ( —no_https ), or in order to use proxy server ( —proxy_host=address and —proxy_port=port ).
To check the available options, use the —help flag. On my machine (Mac), the output is as following:
alex@mbpro:~/sdk/tools/bin$ ./sdkmanager --help Usage: sdkmanager [--uninstall] [] \ [--package_file ] [. ] sdkmanager --update [] sdkmanager --list [] In its first form, installs, or uninstalls, or updates packages. is a sdk-style path (e.g. "build-tools;23.0.0" or "platforms;android-23"). is a text file where each line is a sdk-style path of a package to install or uninstall. Multiple --package_file arguments may be specified in combination with explicit paths. In its second form (with --update), currently installed packages are updated to the latest version. In its third form, all installed and available packages are printed out. Common Arguments: --sdk_root=: Use the specified SDK root instead of the SDK containing this tool --channel=: Include packages in channels up to . Common channels are: 0 (Stable), 1 (Beta), 2 (Dev), and 3 (Canary). --include_obsolete: With --list, show obsolete packages in the package listing. With --update, update obsolete packages as well as non-obsolete. --no_https: Force all connections to use http rather than https. --proxy=: Connect via a proxy of the given type. --proxy_host=: IP or DNS address of the proxy to use. --proxy_port=: Proxy port to connect to. * If the env var REPO_OS_OVERRIDE is set to "windows", "macosx", or "linux", packages will be downloaded for that OS. How To Install android-sdk-build-tools on Ubuntu
The Android SDK has a number of tools that will assist you in developing mobile applications for the Android platform. The tools are divided into three categories: SDK Tools, Platform Tools, and Build Tools. Build-tools is an Android SDK component necessary for developing Android application code. This package includes the Android SDK Build tool. Android SDK Platform tools are used to include Android SDK Build-tools. They have been isolated from the Android SDK Platform tools, allowing the build tools to be updated independently of the IDE components. The Android SDK Build Tools are precisely what their name implies: tools for developing Android applications. It is vital to use the most recent build tools version although older versions are kept for backward compatibility in case your projects rely on prior versions of the Build Tools.
On Ubuntu 20.04, there are three options for installing android-build-tools. Apt-get, apt, and aptitude are all available. Each strategy of installation will be described in detail in the following sections. You may select any of them.
Method 1: Using the apt-get command
Using the following command, update the apt database using apt-get.
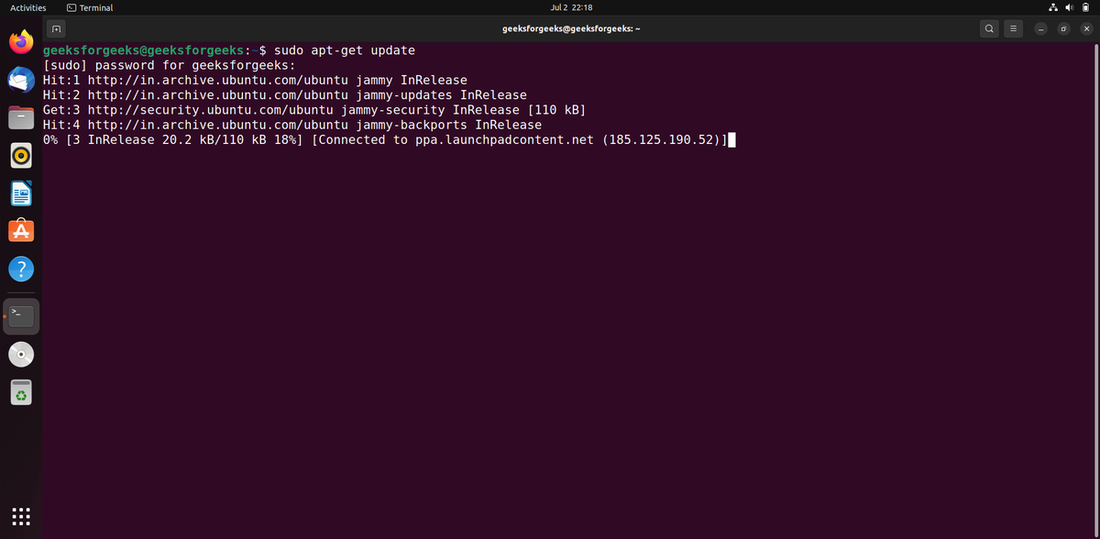
After upgrading the apt database, we can use apt-get to install android-build-tools by performing the following command:
sudo apt-get -y install android-sdk-build-tools

Method 2: Using apt-get
The apt database will be updated using the following command.
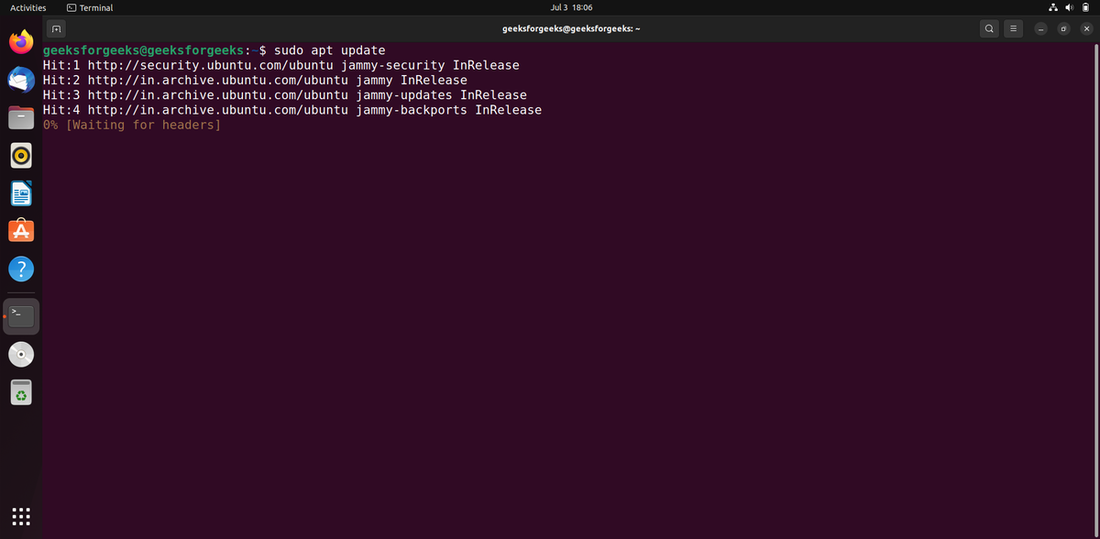
After upgrading the apt database, we can use apt to install android-build-tools by performing the following command:
sudo apt -y install android-sdk-build-tools

Method 3: Using aptitude
If you want to use this method, you may need to install aptitude first because it is not normally installed by default on Ubuntu. Use the following command to update the apt database with aptitude.

After upgrading the apt database, we can use aptitude to install android-build-tools by performing the following command:
sudo aptitude -y install android-sdk-build-tools
How to install Android SDK on Ubuntu?
For my Ubuntu machine, I downloaded the latest version of Android SDK from this page. After extracting the downloaded .tgz file, I was trying to search for installation instructions and found:
To get started on Linux: Unpack the .zip file you’ve downloaded. The SDK files are download separately to a user-specified directory. Make a note of the name and location of the SDK directory on your system—you will need to refer to the SDK directory later when using the SDK tools from the command line.
there’s an easy install paolorotolo.github.io/android-studio — or check this tutorial on how do it manualy — youtube.com/watch?v=qfinKxwYYZs
@Tasos Any idea about the maintenance and long term support paolorotolo’s Android studio? This looks more of a personal project 🙁
Android Studio itself alerts you when there is a new update/upgrade so you do it from there. I dont think the person modified AS
from my last comment — however you can ask that question directly to the person here — github.com/PaoloRotolo/android-studio/issues
9 Answers 9
sudo apt update && sudo apt install android-sdk The location of Android SDK on Linux can be any of the following:
- /home/AccountName/Android/Sdk
- /usr/lib/android-sdk
- /Library/Android/sdk/
- /Users/[USER]/Library/Android/sdk
- Download the Android Studio.
- Extract downloaded .zip file. The extracted folder name will read somewhat like android-studio
To keep navigation easy, move this folder to Home directory.
- After moving, copy the moved folder by right clicking it. This action will place folder’s location to clipboard.
- Use Ctrl Alt T to open a terminal
- Go to this folder’s directory using cd /home/(USER NAME)/android-studio/bin/
- Type this command to make studio.sh executable: chmod +x studio.sh
- Type ./studio.sh
A pop up will be shown asking for installation settings. In my particular case, it is a fresh install so I’ll go with selecting I do not have a previous version of Studio or I do not want to import my settings.
If you choose to import settings anyway, you may need to close any old project which is opened in order to get a working Android SDK.
From now onwards, setup wizard will guide you.
Android Studio can work with both Open JDK and Oracle’s JDK (recommended). Incase, Open JDK is installed the wizard will recommend installing Oracle Java JDK because some UI and performance issues are reported while using OpenJDK.
The downside with Oracle’s JDK is that it won’t update with the rest of your system like OpenJDK will.
The wizard may also prompt about the input problems with IDEA .
Verify installation settings
An emulator can also be configured as needed.
The wizard will start downloading the necessary SDK tools
The wizard may also show an error about Linux 32 Bit Libraries, which can be solved by using the below command:
sudo apt-get install libc6:i386 libncurses5:i386 libstdc++6:i386 lib32z1
After this, all the required components will be downloaded and installed automatically.
After everything is upto the mark, just click finish
To make a Desktop icon, go to ‘Configure’ and then click ‘Create Desktop Entry’