- Step-by-Step Getting Started with Android Studio on Ubuntu
- Prerequisites
- Installing Java JDK
- Install Android Studio from the Official Repository
- Installing Android Studio Using the Snap Tool
- Starting Android Studio for the First Time
- Creating Your First Android Project
- Conclusion
- How to launch Android Studio using Terminal
- 8 Answers 8
Step-by-Step Getting Started with Android Studio on Ubuntu
Have you been fascinated by the apps you see on your Android phone? Why not create one yourself? Android Studio on your Ubuntu machine is just what you need.
Android Studio is the official Integrated Development Environment (IDE) for developing Android apps by Google. Building a mobile app on a local computer may sound complicated. But don’t worry. In this tutorial, you’ll learn how to get started with Android Studio.
Sounds interesting? Dive in and build your own Android apps in no time!
Prerequisites
This tutorial will be a hands-on demonstration. If you’d like to follow along, be sure you have A Linux Ubuntu system – This tutorial uses Ubuntu 20.04.
Installing Java JDK
Android Studio delivers blazing-fast tools so you can build apps on every type of Android device. But before jumpstarting your journey with Android Studio, you first have to install Java Development Kit (JDK) since Android Studio is written in Java.
To install the OpenJDK version of the JDK:
1. Open your terminal and run the apt update command below to update your system’s package index.

2. Next, run the following apt install command to install the OpenJDK package (openjdk-11-jdk).
apt install openjdk-11-jdk -y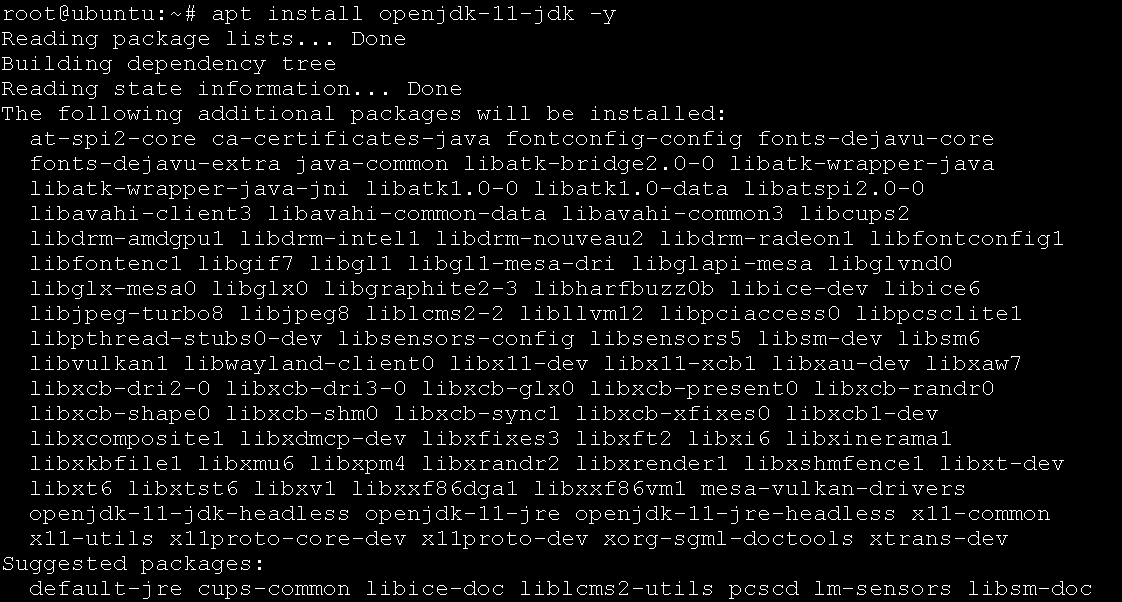
3. Finally, run the below java command to check the Java version installed on your machine.
Below, the version installed is 11.0.15, but yours might differ depending on the JDK release.

Install Android Studio from the Official Repository
After installing Java, you’re one step closer to mastering Android Studio. But of course, you still have to install Android Studio on your machine. You can install Android Studio, either from the official repository or via the snap tool.
But it’s always a good idea to install software from official repositories whenever possible, so you’ll receive updates automatically when they become available.
To add the Android Studio repository:
1. Run the add-apt-repository command below to add Android Studio’s official repository to your system.
The ppa flag indicates the repository is a Personal Package Archive (PPA), a way for individual developers to distribute software directly to users.
add-apt-repository ppa:maarten-fonville/android-studioWhen prompted, press Enter to confirm adding the repository, as shown below.

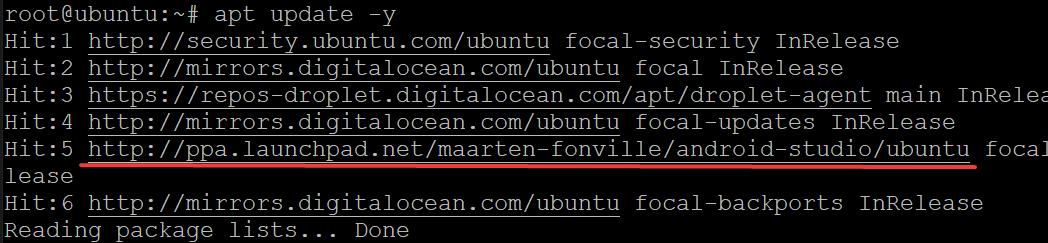
2. After adding the repository, run the following command to update the local package index to include the contents of the new repositories.
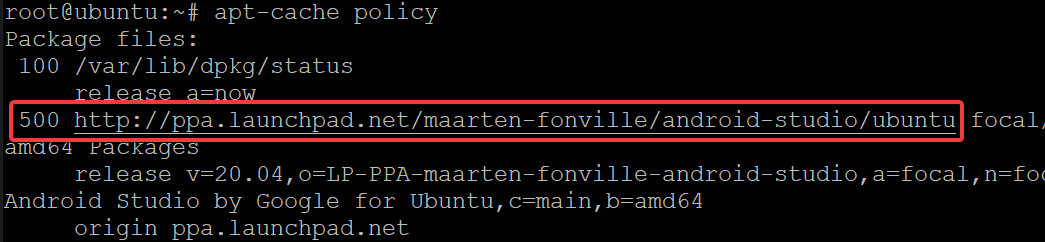
3. Lastly, run the apt-cache command below to verify that the android-studio repository has been added successfully.
4. Now, run the below command to install android-studio and all the necessary dependencies via the official repository.
apt install android-studio -y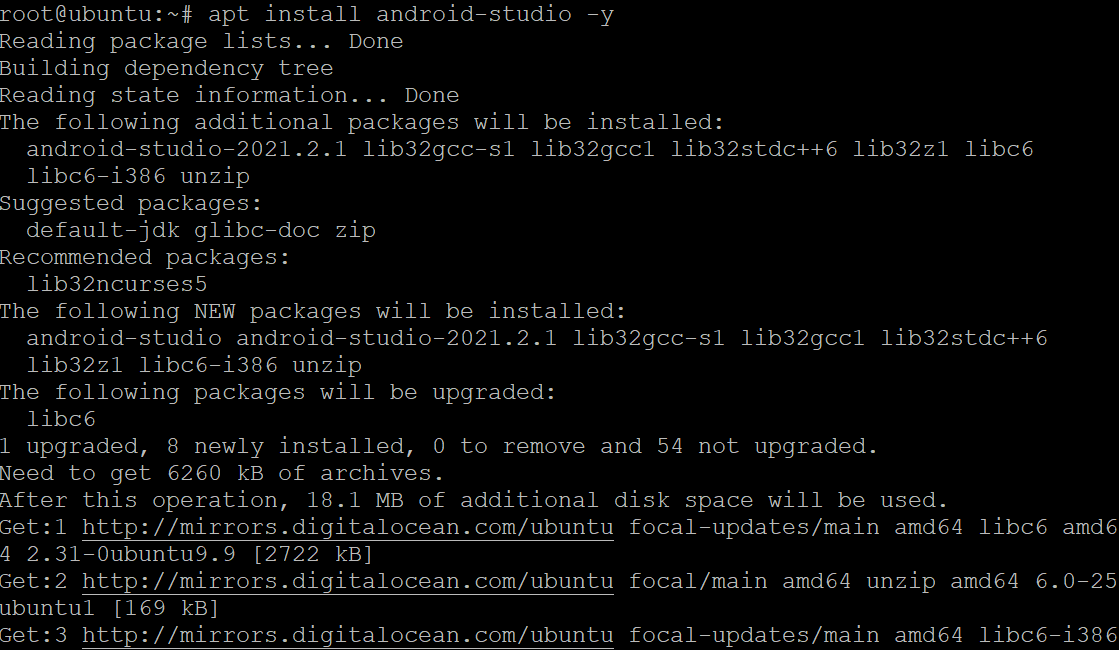
Installing Android Studio Using the Snap Tool
If you’re not a fan of adding a PPA to your source list, you can install Android Studio using the snap package instead.
Android Studio’s snap package indeed contains an application and all its dependencies. But remember, your Android Studio version might be slightly outdated as the snap package is usually a few releases behind the PPA. Choose wisely!
To install Android Studio using the Snap tool:
1. Run the apt install command below to install snap on your system if you don’t have snap installed on your system yet.
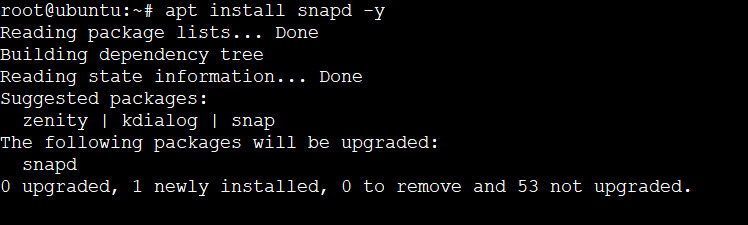
2. Next, run the snap refresh command below to update the list of available snap packages.

3. Run the following command to install android-studio on your machine. This command pulls all the dependencies required to run Android Studio.
snap install android-studioYou might get a restriction error, as shown below. This error suggests that Android Studio can make changes to the system that could put your system at risk. This issue is common with snaps that are not confined to the security sandbox.
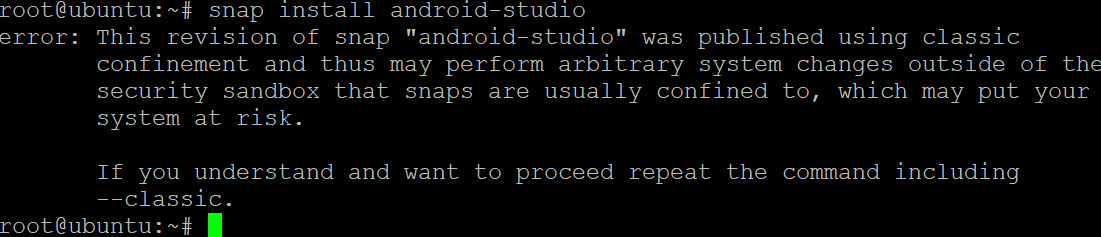
4. If you trust the Android Studio snap, run the following command instead to install Android Studio. The –classic flag allows snap to perform any system changes required as a traditional package.
snap install android-studio --classic
Starting Android Studio for the First Time
Now that you have Android Studio installed on your machine, it’s time to launch Android Studio and set it up for the first time. Setting up Android Studio is similar to setting up other software on Ubuntu.
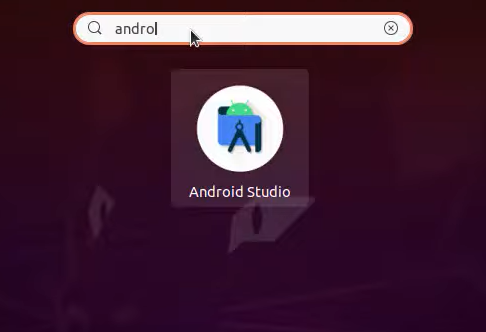
1. Search for Android Studio in the Dash or Applications menu, and click on the Android Studio icon to launch it.
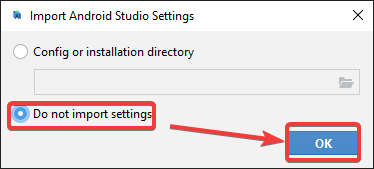
2. Select the Do not import settings option on the initial window, and click OK since it’s your first time setting up Android Studio on your Ubuntu system. The other option is for when you are upgrading from a previous version of Android Studio.
You can see below that Android Studio searches for available SDKs and configures itself for first use.

3. On the Welcome page, select Don’t send if you prefer not to send feedback at this time. Or choose the Send usage statistics to Google option otherwise, and click Next.
As new features become available in preview versions of Android Studio, you’ll be asked to send feedback about those features directly to Google.
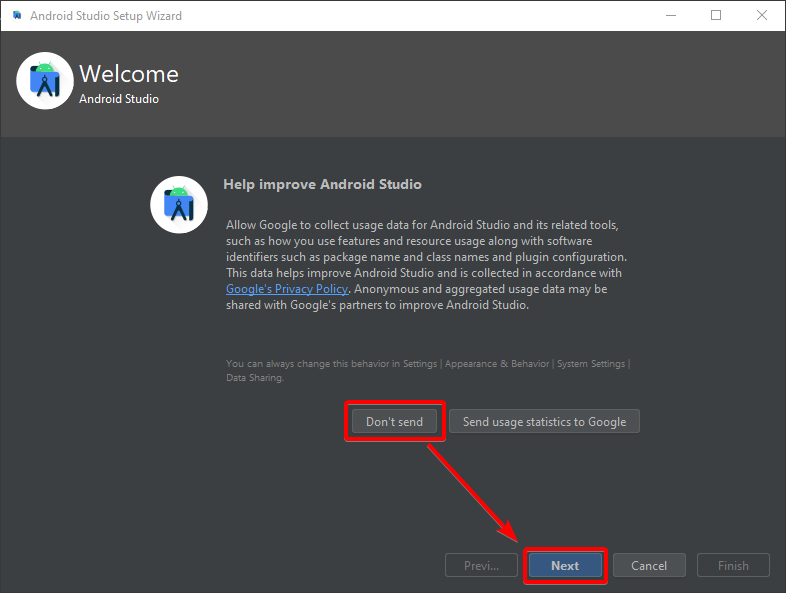
You can turn the Data Sharing feature later off or on by going to Settings —> Appearance & Behavior —> System Settings —> Data Sharing.
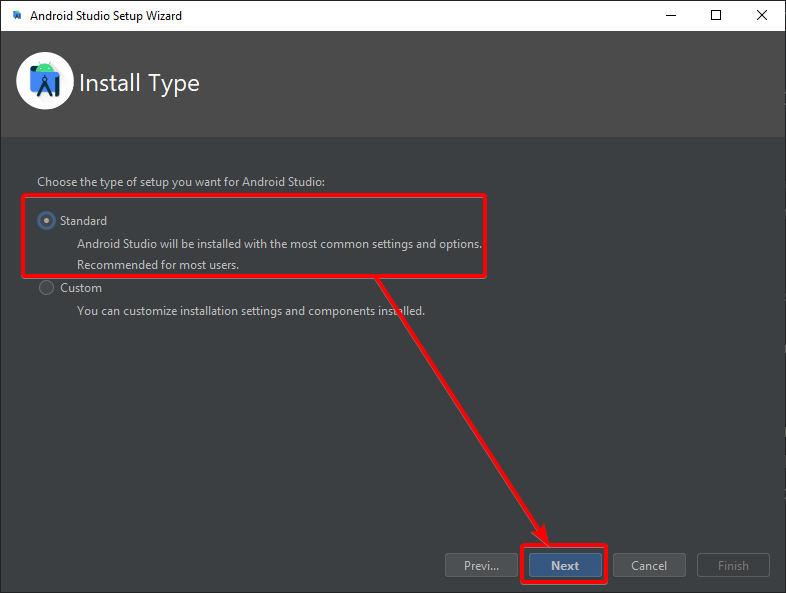
4. Now, select the Standard installation option to use recommended settings for most users, and click Next.
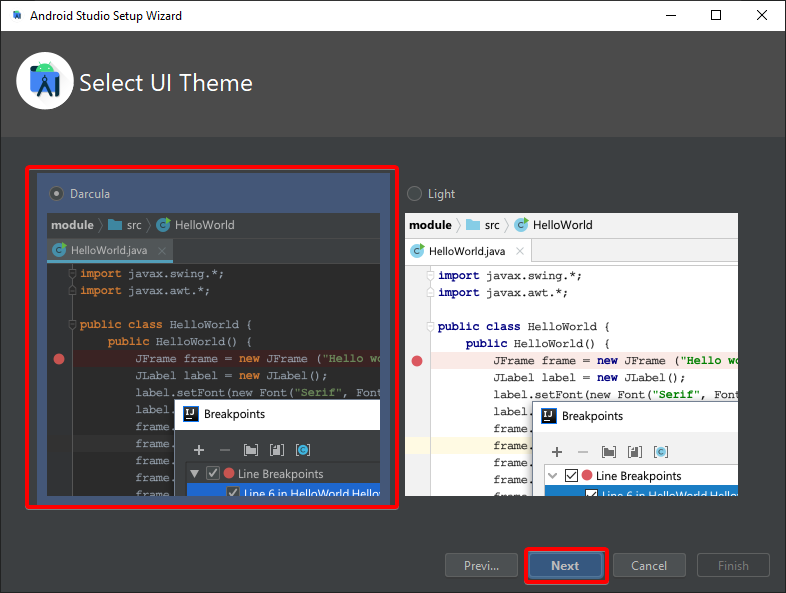
5. Select your preferred UI theme, and click Next.
Darcula or Light? Dark themes have been popular these days, but the choice is entirely up to you.
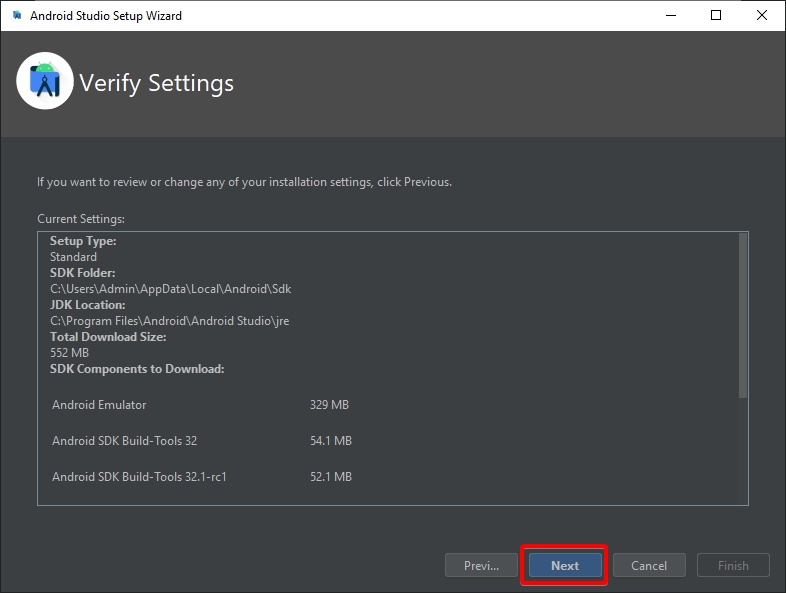
6. Verify your settings, and click Next.
You can click on Previous if you need to change any settings.
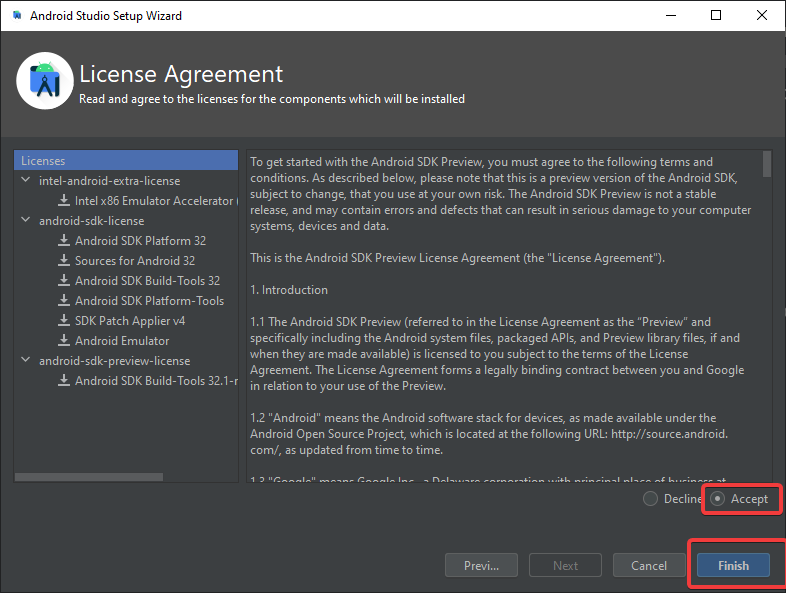
7. Choose the Accept option to accept the license agreement terms, and click Finish.
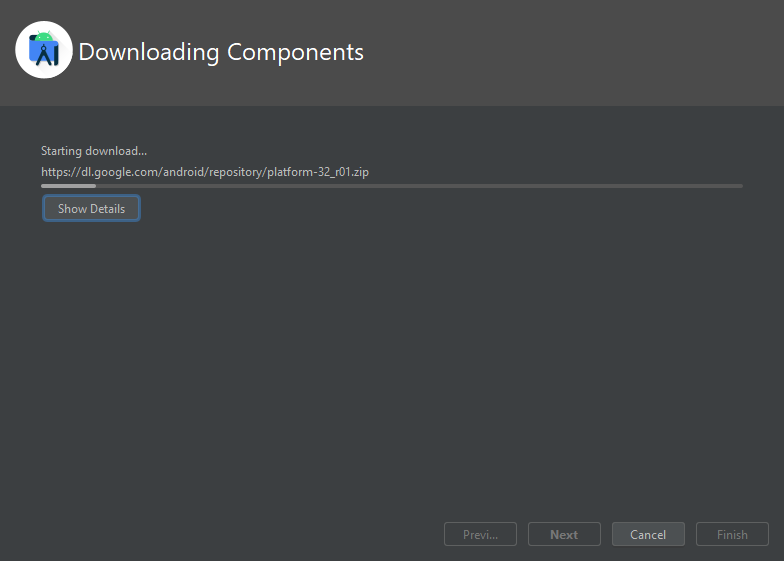
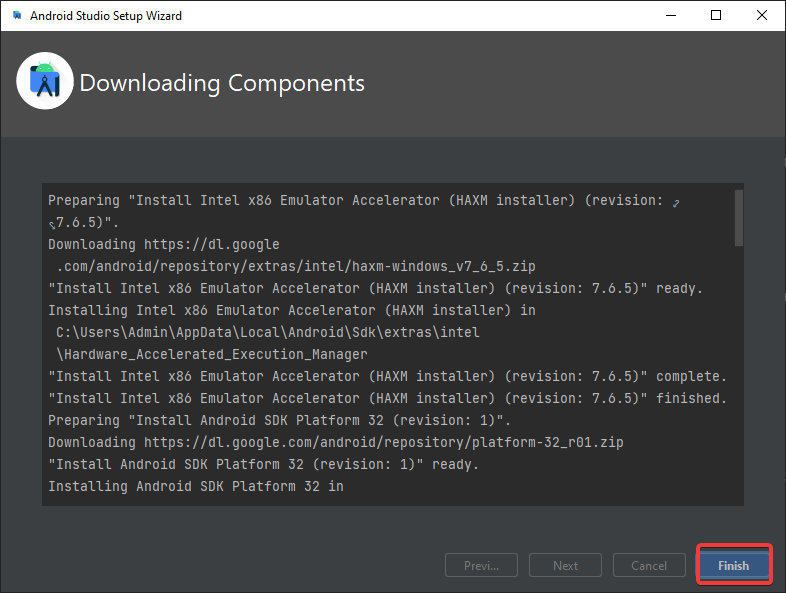
As you can see below, Android Studio starts downloading and installing the required components, which may take a few minutes to complete.
8. Finally, click Finish to finalize the installation process.
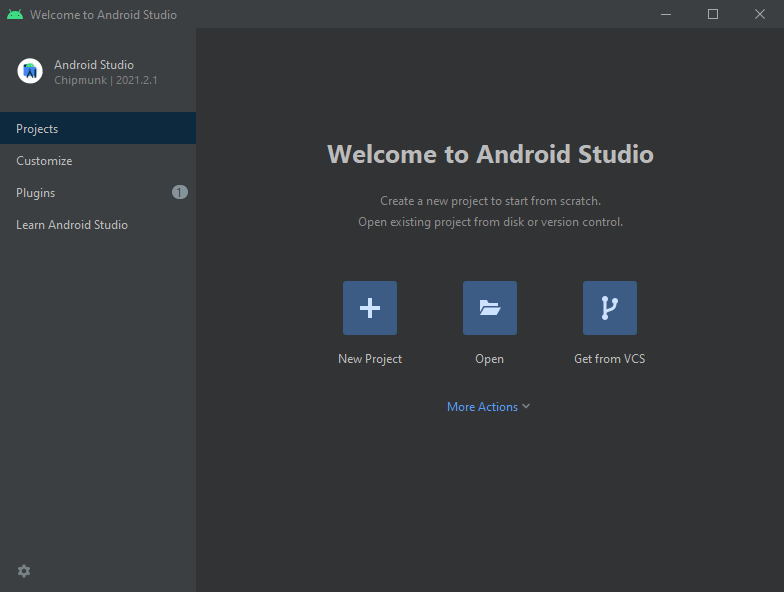
After setting up Android Studio, you’ll see a welcome screen with a few options to get you started, as shown below.
Creating Your First Android Project
Now that Android Studio is running, it’s time to create your first Android project. Android Studio supports all programming languages of IntelliJ (and CLion), like Java, C++, and Go.
But for a start, you’ll create a project with a default template:
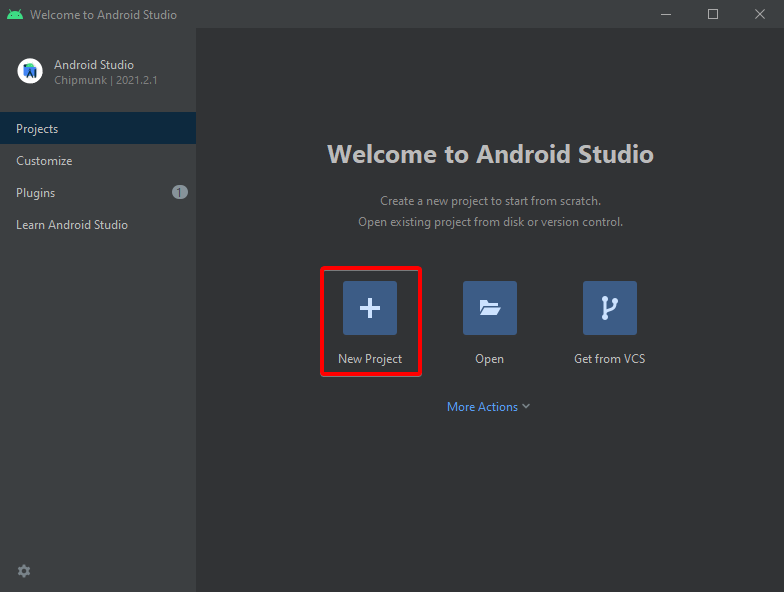
1. Click on New Project on the welcome screen to start a new Android Studio project.
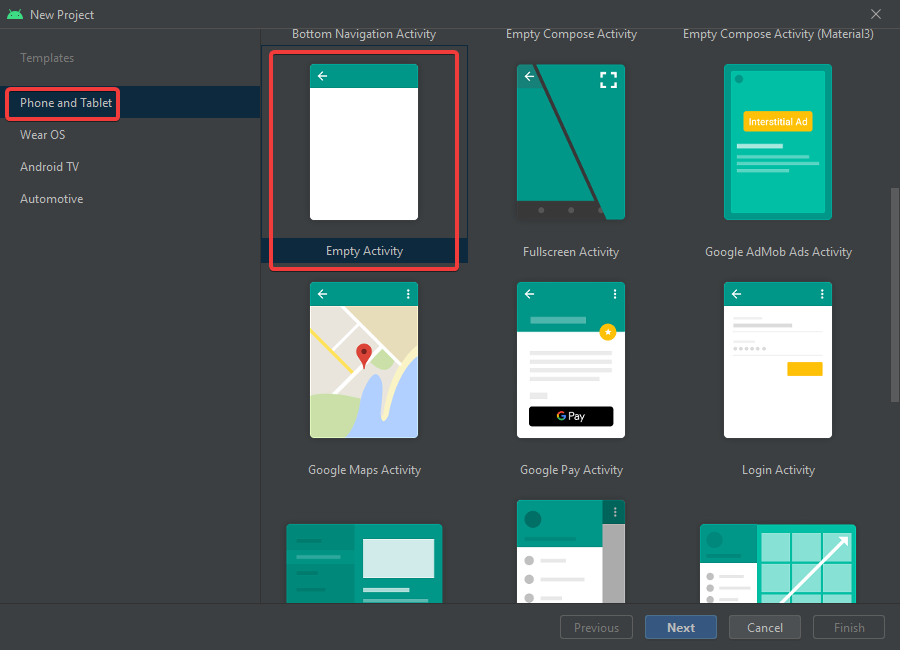
2. Under Templates, select Empty Activity under Phone and Tablet, and click Next. This template is empty since your focus is on “getting started” with Android Studio.
3. Configure the project template with the following:
- Name – Give your application a descriptive name. But for this tutorial, the project name is My First Application.
- Save location – Use the default location or choose a different location to save your project.
- Language – Choose the language you want to use for your project (Java).
- Minimum SDK level – Choose the minimum API level your app will support. The lower the API level, the more devices your app can run on. The lowest API level is 16, which covers around 95% of all Android devices at this moment of writing.
- Click Finish to create your project.

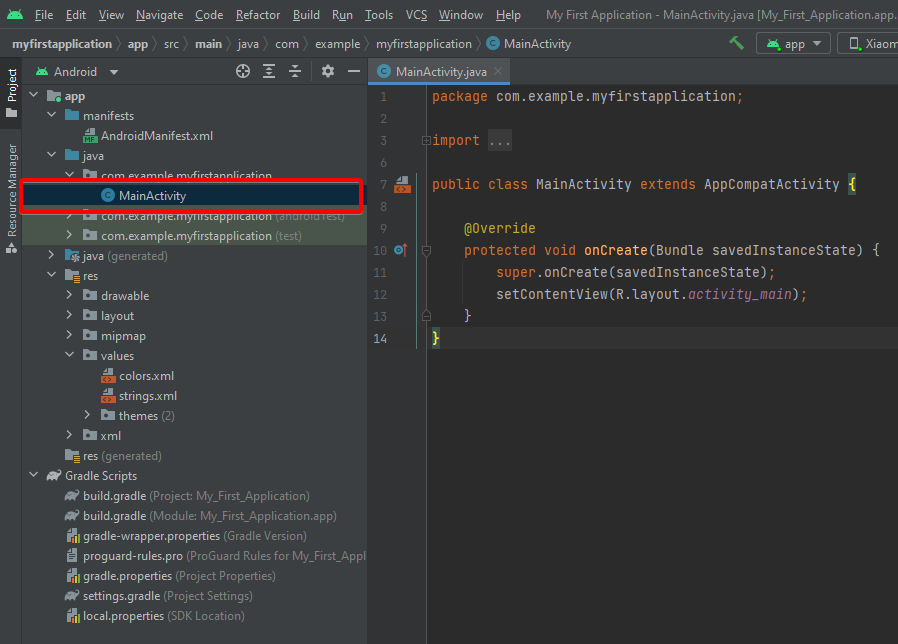
After creating your project, Android Studio takes time to sync the project sources. Once synced, you’ll see the following main files generated automatically on the left panel:
- The app —> manifests —> AndroidManifest.xml file contains all metadata about your app, such as package name, app name, version, etc.

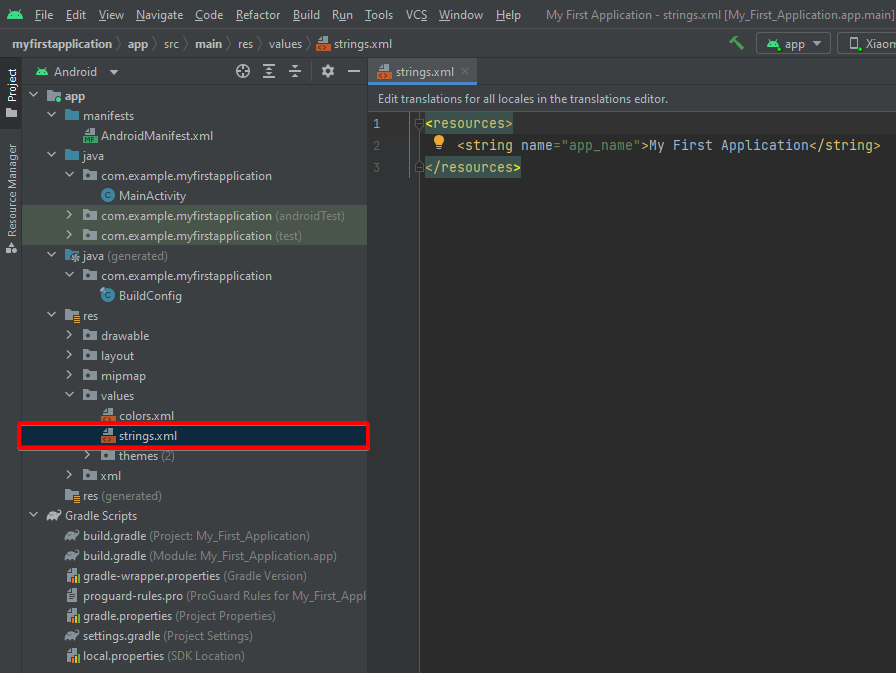
- The app —> res —> values > strings.xml file contains all string constants used in your app. You can edit these values to change the text displayed in your app.
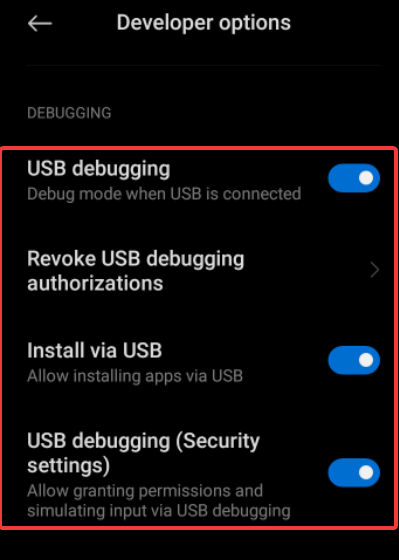
4. Now, enable USB debugging and Install via USB on your Android device.
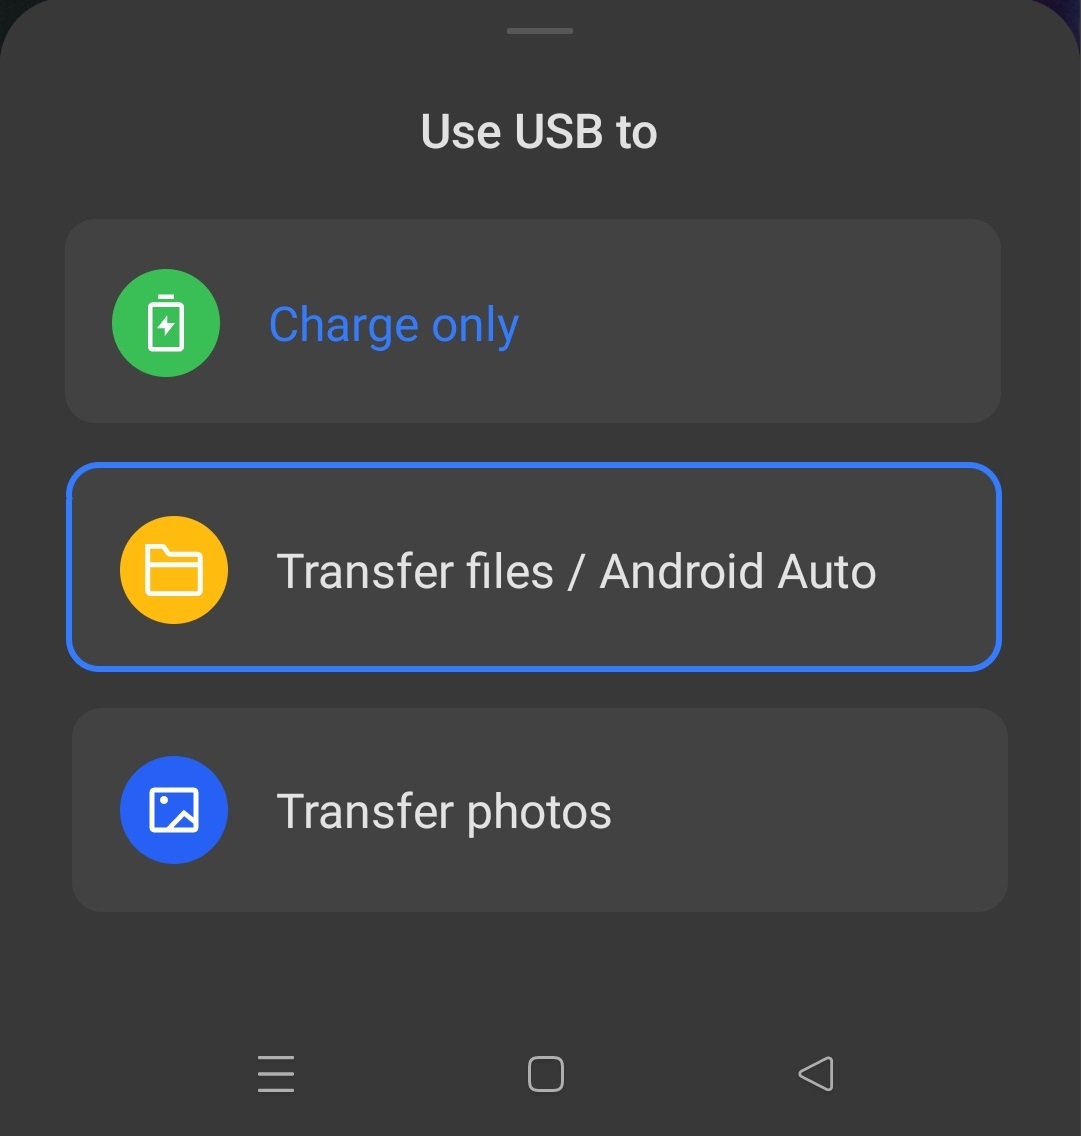
5. Connect your phone to your computer via a USB cable, and choose Transfer file / Android Auto, as shown below.
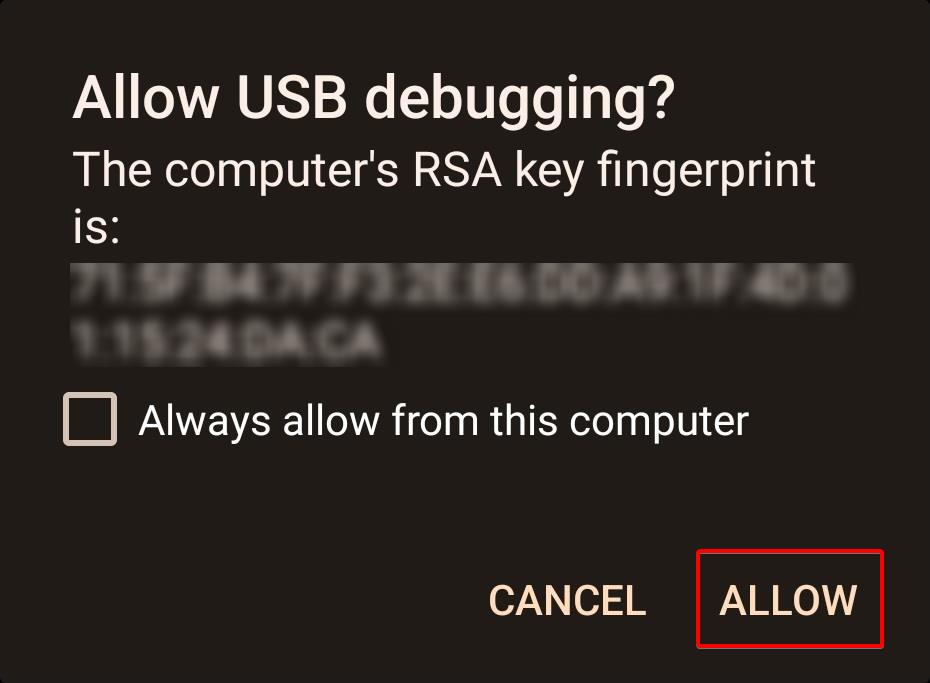
6. Tap on ALLOW on your phone if you get the prompt shown to accept your machine’s RSA key fingerprint.
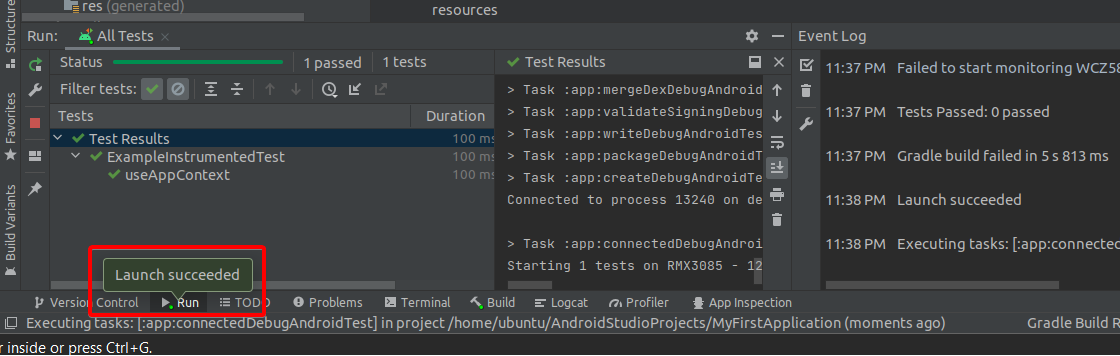
7. Next, press Shift+F10 while on the Android Studio to run your application.
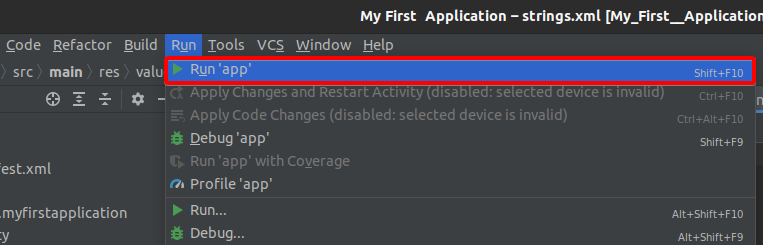
If the run is successful, you’ll see a Launch succeeded message (bottom-left). Your application automatically gets installed on your phone but takes some time.
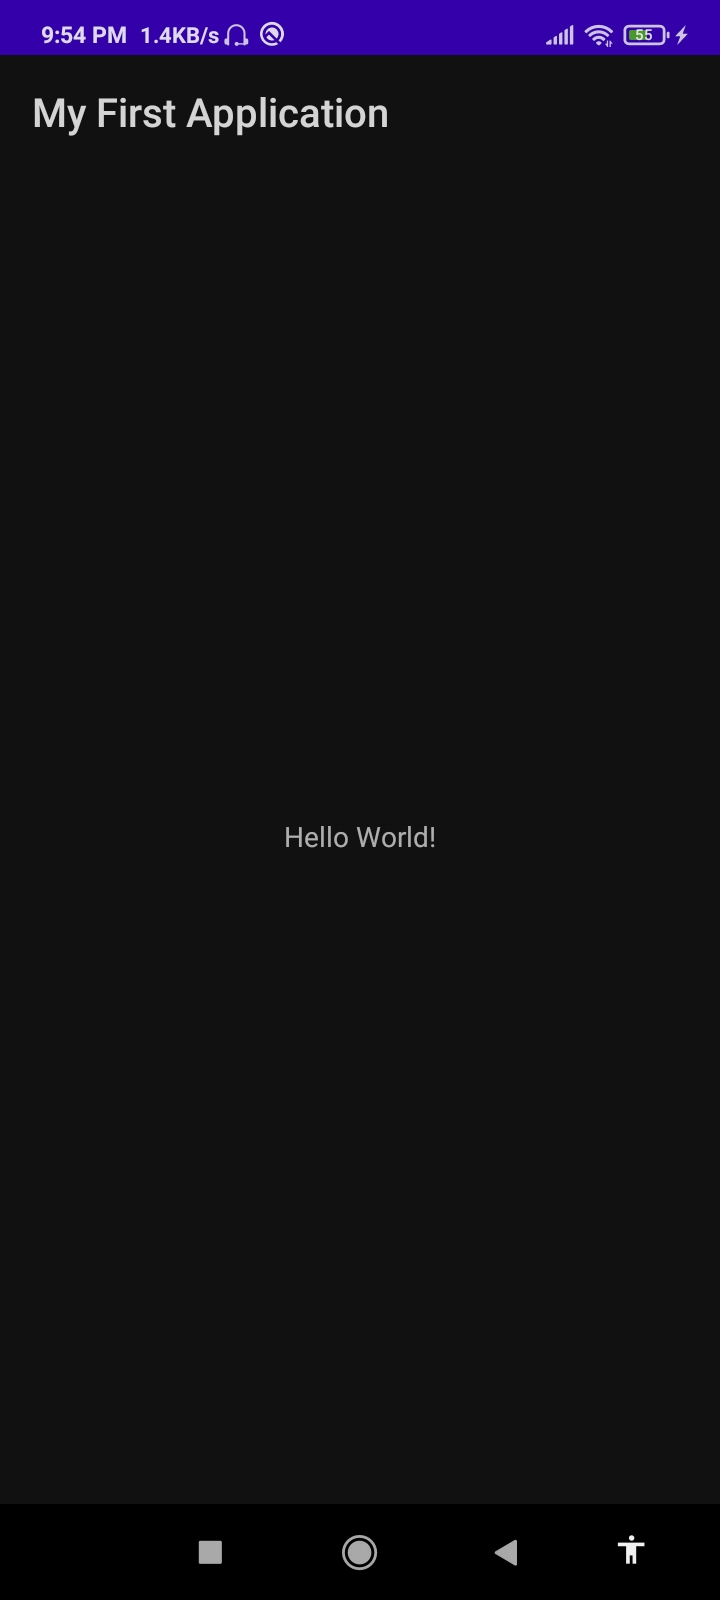
8. Finally, look for your application on your phone and launch it.
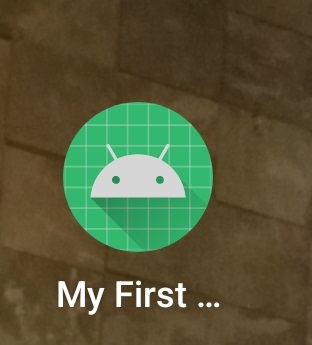
Congratulations! Your first Android app is now running on your phone, as shown below.
Conclusion
In this tutorial, you’ve gone through getting started with Android Studio, from installing the software on your Ubuntu machine to creating your first Android app. Even though you’ve created your app with an empty template, don’t limit yourself, and try other templates.
At this point, you already have a working development environment and your first Android app. Why not add features to your app? Or perhaps start developing a new app and publish it on the Google Play Store?
Hate ads? Want to support the writer? Get many of our tutorials packaged as an ATA Guidebook.
How to launch Android Studio using Terminal
I’ve just installed Android Studio. After installing, I forgot to add in the launcher. I restarted the system. Now I want to launch Android Studio from Terminal. I’ve tried everything but didn’t work.
8 Answers 8
cd into the directory where you unzipped the android studio installer zip file. The folder is named android-studio. It could be in your ~/Downloads folder if you downloaded it from the internet. Now cd into the bin folder and run the studio.sh file
if your extracted zip file path is PATH_TO_ZIP_FILE, then type PATH_TO_ZIP_FILE/android-studio/bin/studio.sh . For example if the android-studio folder is in downloads directory type $HOME/Downloads/android-studio/bin/studio.sh
On ubuntu it is /opt/android-studio/bin/studio.sh
You can open terminal by CTRL + ALT + T
just run this command into your terminal
option 1 : set path alias in bashrc file by echo command
echo "alias android='/usr/local/android-studio/bin/studio.sh'" >> ~/.bashrc source .bashrc option 2 : set path alias by opening bashrc file.
open bashrc file on nano editor
paste this text in bashrc file
alias android='/usr/local/android-studio/bin/studio.sh' ctrl + S to save file . Ctrl + X to exit.
To run android studio, you need to type only
If you want to use terminal to start a program then you should be knowing the command to be written in terminal. To know the command in Kubuntu I use the Kmenuedit. In kmenuedit find that program and that program’s details there will be a field named command there you will find text to be written in terminal. Another option is to check system monitor program that also has a column named command. So you can check running instances of programs and command.