- How to Install and Use Angry IP Network Scanner on Linux
- 1) How to Install the openJDK Package on Linux
- 2) How to Install Angry IP Scanner on Linux
- 3) How to Use an Angry IP Scanner to Scan the Network on Linux
- 4) How to Use Angry IP Scanner to Scan Network on Linux from Linux Terminal
- Download for Windows, Mac or Linux
- Mac OS
- Running
- Linux
- Running
- Source code
- Check Who’s Connected To The Router, Scan Your Network With «Angry IP Scanner»
How to Install and Use Angry IP Network Scanner on Linux
Angry IP Scanner is an open-source and cross-platform network scanner which is very fast and simple to use.
It scans IP addresses in any range as well as any their ports.
It is widely used by network administrators to identify unreachable hosts.
An Angry IP scanner can be used for large and small environments.
Angry IP scanner simply pings each IP address to check if it’s alive or not.
Optionally it is resolving its hostname, determines the MAC address, scans ports, and determines the web server information, etc.
You can gather additional information about each host with help of plugins.
It uses a multi-threaded approach to optimize scanning a large network in the short term. A separate scanning thread is generated for each IP address scanned.
Scanning results can be saved to CSV, TXT, XML or IP-Port list files.
IPScan utility is reached 29 million downloads as per their download page update.
1) How to Install the openJDK Package on Linux
Angry IP Scanner code is written in Java, which is relay on Java, so you need to install openJDK package as prerequisite for this. Your system must have at least Java 1.8 or latest.
2) How to Install Angry IP Scanner on Linux
Use the below commands based on your Linux distribution to install the Angry IP Scanner.
Using the pacman package manager, you can easily install the Angry IP Scanner on the Arch Linux-based system from the distribution official repository.
Download and install the “.rpm” file using the rpm command for RPM-based systems such as Red Hat (RHEL), CentOS, Oracle Linux, Fedora and openSUSE.
$ sudo rpm -ivh https://github.com/angryip/ipscan/releases/download/3.6.2/ipscan-3.6.2-1.x86_64.rpm
Alternatively, you can install the rpm package directly using the yum command.
$ sudo yum localinstall https://github.com/angryip/ipscan/releases/download/3.6.2/ipscan-3.6.2-1.x86_64.rpm
Download and install the “.dep” file using the dpkg command for Deb-based systems such as Ubuntu, Debian and Linux Mint.
$ sudo wget https://github.com/angryip/ipscan/releases/download/3.6.2/ipscan_3.6.2_amd64.deb $ sudo dpkg -i ipscan_3.6.2_amd64.deb
3) How to Use an Angry IP Scanner to Scan the Network on Linux
Once you have installed it, you can launch it from the terminal or the application menu.
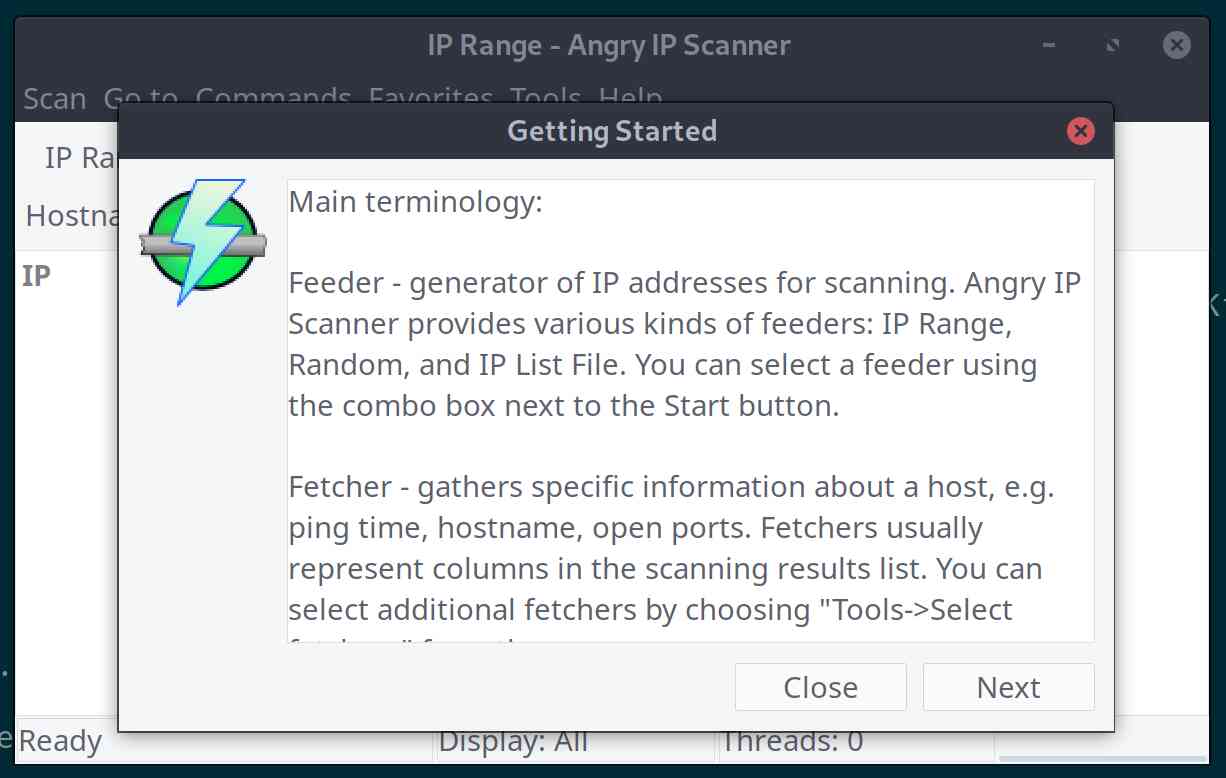
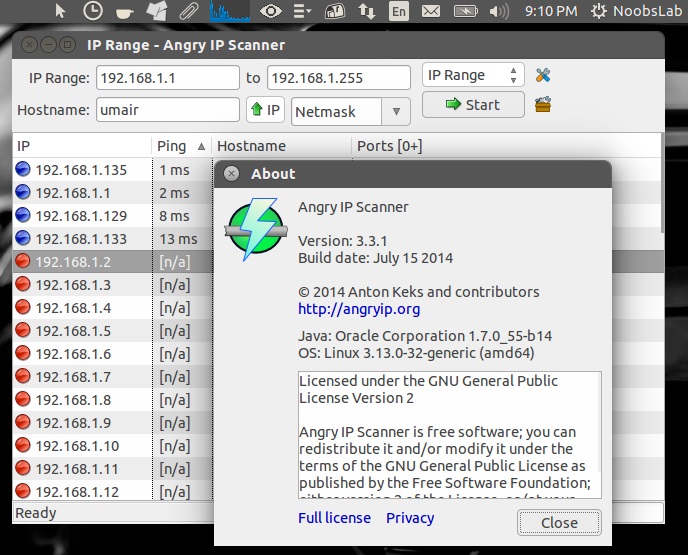
Once you launch it, a window pops up about the app. Close it to enjoy it.
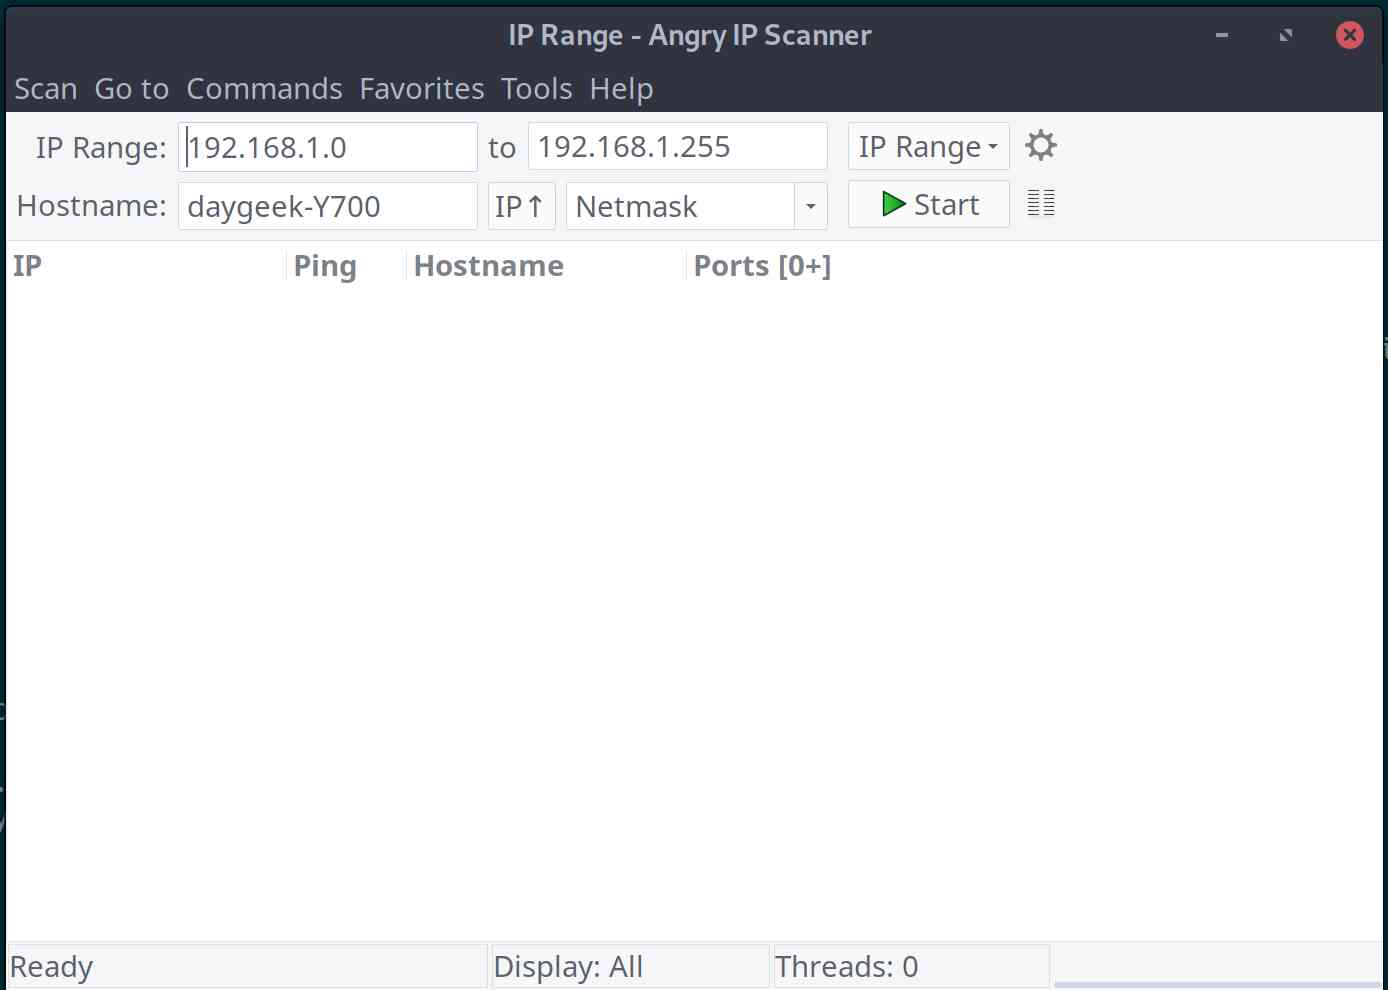
You can see the default window as below. By default, it selects the IP range based on the machine network. If you do not want to change the IP range you can immediately press the Start button to scan. If not, enter the IP information and press the “Start” button.
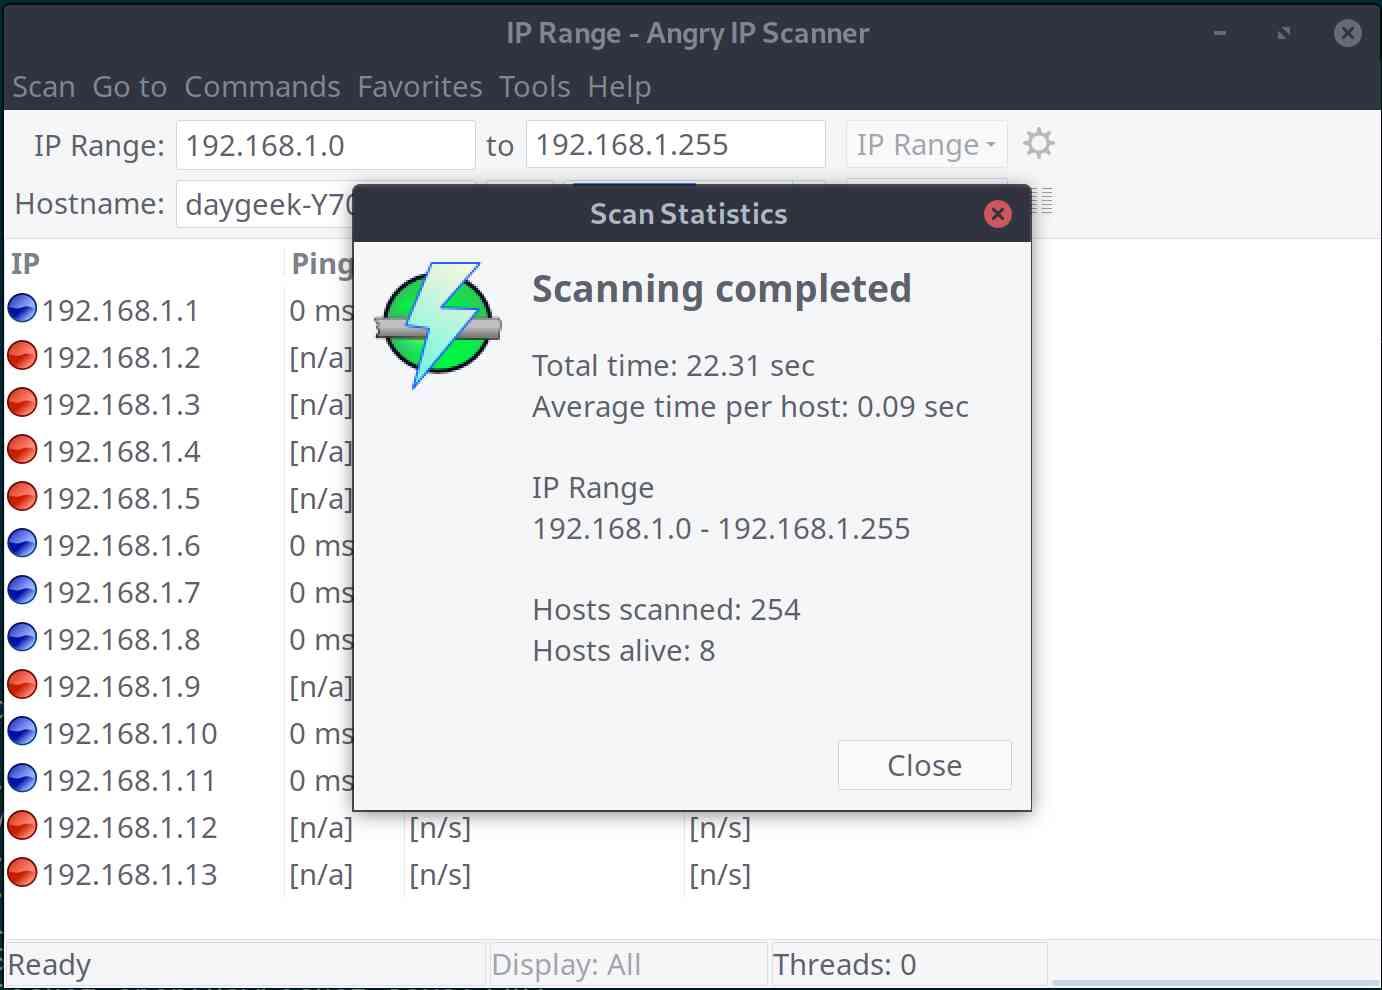
After scanning the entire network it shows a “Scan Statistics” pop-up window.
Close pop-up window to see them.
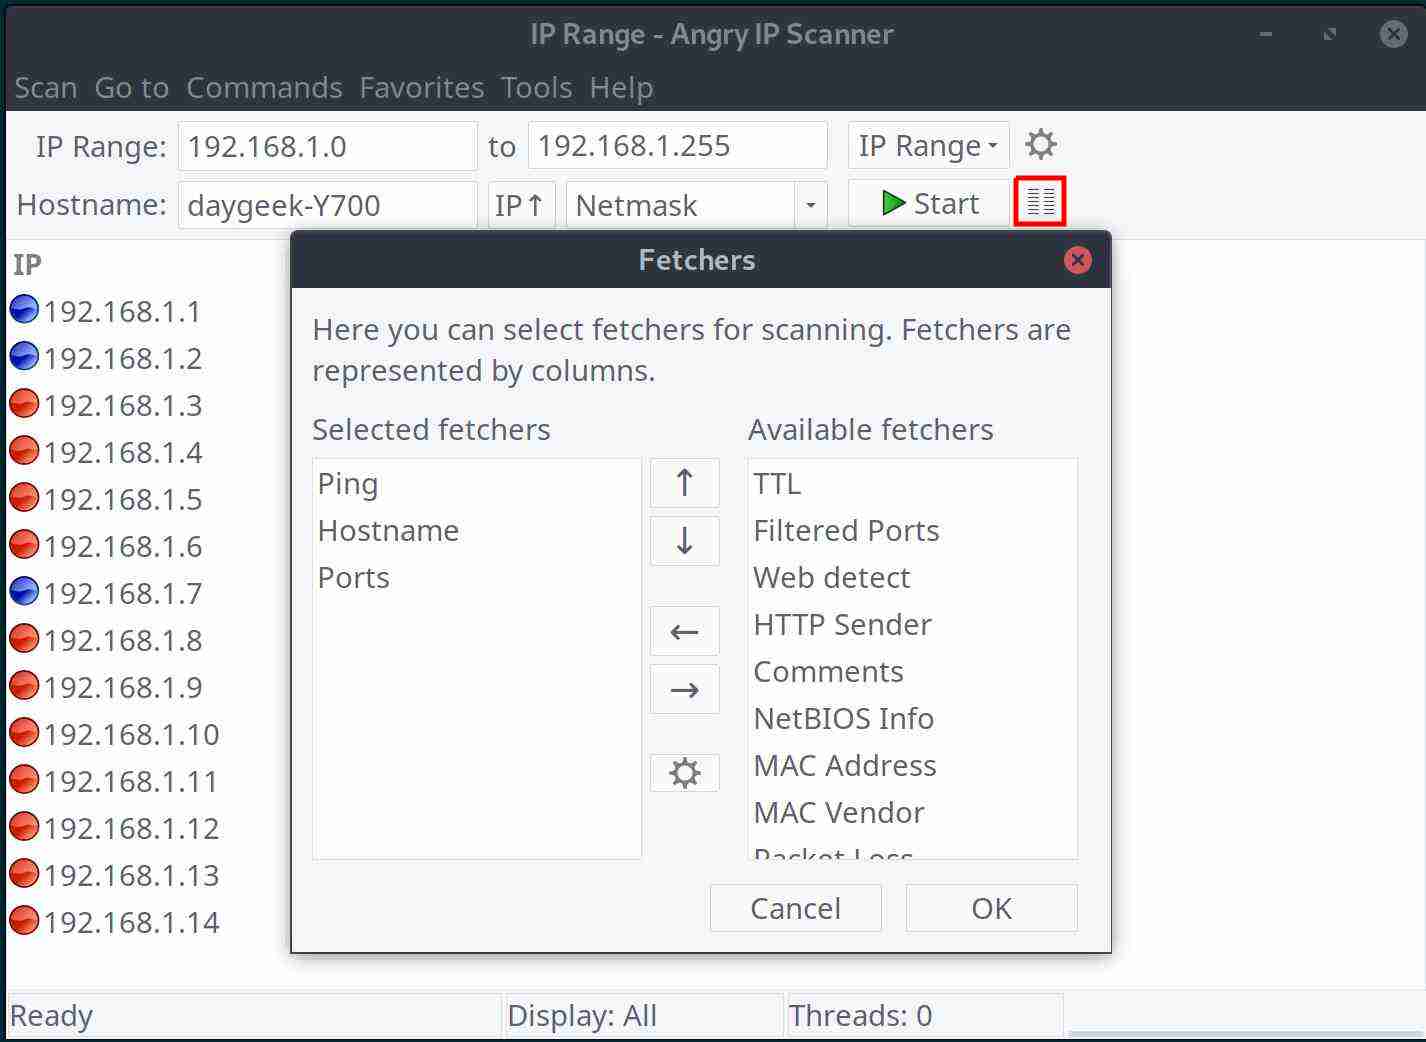
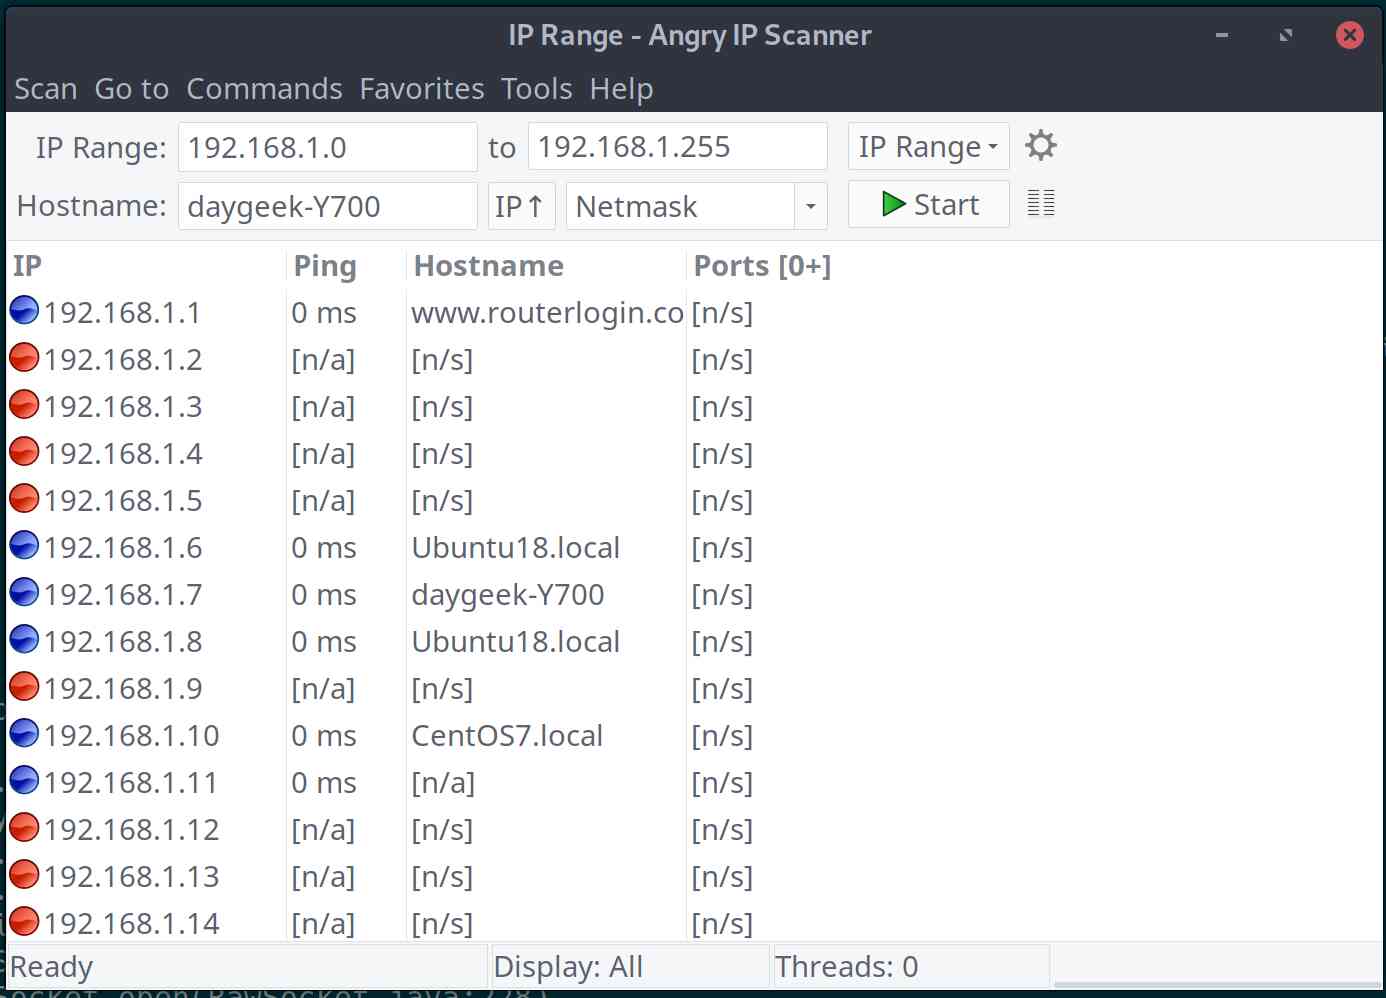
Click the Fetchers icon next to the “Start” button to select the one you want from the available fetchers to customize the scan report.
4) How to Use Angry IP Scanner to Scan Network on Linux from Linux Terminal
I like to do most of the work from the terminal. If you’re on the same pinch, here you go.
Use the following command to scan a given IP address range. You can enter your IP range instead of ours.
$ ipscan -f:range 192.168.1.0 192.168.1.255 -s &
Use the following command to scan the given IP address range, export the output and then exit the application. I exported the output with the “.txt” format, which supports other formats such as “.csv”, “.xml” and “.lst”. You can use the one you like instead.
$ ipscan -f:range 192.168.1.0 192.168.1.255 -s -o ipscan.txt -q &
You will be getting an output similar to the one below.
$ cat ipscan.txt | head -20 Generated by Angry IP Scanner 3.6.1 https://angryip.org Scanned 192.168.1.0 - 192.168.1.255 3 Dec, 2019 1:11:05 PM IP Ping Hostname Ports 192.168.1.1 1 ms www.routerlogin.com [n/s] 192.168.1.2 71 ms [n/a] [n/s] 192.168.1.3 [n/a] [n/s] [n/s] 192.168.1.4 [n/a] [n/s] [n/s] 192.168.1.5 [n/a] [n/s] [n/s] 192.168.1.6 [n/a] [n/s] [n/s] 192.168.1.7 0 ms daygeek-Y700 [n/s] 192.168.1.8 [n/a] [n/s] [n/s] 192.168.1.9 [n/a] [n/s] [n/s] 192.168.1.10 [n/a] [n/s] [n/s] 192.168.1.11 [n/a] [n/s] [n/s] 192.168.1.12 [n/a] [n/s] [n/s] 192.168.1.13 [n/a] [n/s] [n/s]
Hope this was helpful to you !!
Download for Windows, Mac or Linux
This is an older generation of Angry IP Scanner.
Download version 2.21 below (120 kb) or browse all 2.x releases
If you get warnings about viruses or trojans, read this FAQ entry.
No installation is needed. However, you may use the Install program. from the Utils menu in order to create shortcuts, etc.
Mac OS
- Bundle for Mac Intel — right-click and Open for the first time
- Bundle for Mac ARM (M1/M2) — right-click and Open for the first time
Running
The zip file contains Mac application bundle: just save it and double-click to extract. On first run right-click and select Open or go to Settings/Security and allow installing apps from other sources besides Mac Store. See FAQ entry for more info.
You can then run it by double-clicking the Angry IP Scanner icon. Or drag it to Applications menu in Finder if you want.
Java Runtime is included in bundles above, no separate Java installation is needed.
Linux
- x86 64-bit DEB Package for Ubuntu/Debian/Mint
- x86 64-bit RPM Package for Fedora/RedHat/Mageia/openSUSE
- Any arch DEB Package for Raspbian/Debian (e.g. 32-bit or ARM), see below
- Executable Jar — you need to provide your own swt.jar to classpath
Running
Make sure you have at least Java 11 or OpenJDK installed — check your distribution.
Last version with Java 8 support was 3.7.6.
DEB and RPM packages will install appropriate ‘desktop’ files, so Angry IP Scanner will appear in Applications menu, under either Internet or Networking. Alternatively, you can just type ipscan to launch the application.
Jar files are launched by either double-clicking or typing java -jar jar-file .
Note for Raspbian/32-bit ARM: to run the «any» architecture package above, you will need an older 32-bit build of SWT, as current versions provided by Bullseye dropped 32-bit support.
Source code
The source code is available on Github, and licensed under the terms of GPL v2.
You need to clone the following URL: https://github.com/angryip/ipscan.git
See contribution page for more information.
Source code of older 2.x versions is available in the ipscan2 branch. Please note, however, that it has nothing in common with current, version 3.x code.
In case you want to download it without cloning:
Angry IP Scanner maintained by angryziber
Check Who’s Connected To The Router, Scan Your Network With «Angry IP Scanner»

Angry IP scanner is free and open-source (IP and port scanner) tool released under GPLv2 license. It scans the network and detect attached details of those devices that are connected to the router. It displays details like IP address, Port address, MAC address, NetBIOS information and so on. The amount of gathered data about each host can be extended with plugins. It can scan IP addresses in any range as well as any their ports. It is cross-platform and lightweight, it can be freely copied and used anywhere. It also has additional features, like NetBIOS information (computer name, workgroup name, and currently logged in Windows user), favorite IP address ranges, web server detection, customizable openers, etc.
Scanning results can be saved to CSV, TXT, XML or IP-Port list files. With help of plugins, Angry IP Scanner can gather any information about scanned IPs. Anybody who can write Java code is able to write plugins and extend functionality of Angry IP Scanner.
In order to increase scanning speed, it uses multi-threaded approach: a separate scanning thread is created for each scanned IP address. You can also download source code of this program or download program for other operating systems from this download page.


To install Angry IP Scanner in Debian/Ubuntu/Linux Mint/Ubuntu derivatives open Terminal (Press Ctrl+Alt+T) and copy the following commands in the Terminal:
>>> For 32bit