Saved searches
Use saved searches to filter your results more quickly
You signed in with another tab or window. Reload to refresh your session. You signed out in another tab or window. Reload to refresh your session. You switched accounts on another tab or window. Reload to refresh your session.
WiFi Installation (english)
- Installation and configuration of an ESP8266 WiFi module
- What we need
- Connection of the breakout board
- Solder on the EXP1 header
- Enable wifi in firmware
- ESP firmware flashing
- Connect to the new WIFI Network
- Install web interface
- configuration
- Complete
- Closing words
Clone this wiki locally
Installation and configuration of an ESP8266 WiFi module
This section is based on the great project ESP3D by luc-github and enables the relatively simple Integration of an ESP Wifi module into a 3D printer. Normally you have to sacrifice the USB port for this, because you need a serial interface for connection, but with the right firmware this can be implemented via a second hardware serial interface, especially with Trigorilla mainboards. In addition, you are not limited to the previous maximum USB serial speed, but can also operate the second interface about twice as fast, which even enables (slow) file transfer via WiFi to the SD card.
- Anycubic 3D printer with Knutwurst’s MEGA Hybrid Firmware from Version 1.3.0 Beta 3
- ESP3D Firmware for the ESP01 module.
- ESP3D-WebUI
- ESP01 module and breakout board. The breakout board on which the ESP01 is plugged contains not only an LDO voltage converter from 5 to 3.3 volts, but also a level converter for RX and TX. So all we want 🙂
- ESP01 USB Programmer
- 20cm cable with Dupont connector.
- Soldering iron (If possible with T12 tips)
- solder with flux core
- PC with USB
- Some time
- Optional: Double-sided adhesive pad to stick the module on the outside or inside of the printer.
(The above links are affiliate links to Aliexpress. You can of course also buy elsewhere. This is not important to me. But you don’t pay on it if you use the links and support this project somewhat. Thank you :))
Connection of the breakout board
Solder on the EXP1 header
The EXP1 connector is typically used for graphic displays. In Anycubic printers with a touchscreen, however, this connection is completely unoccupied and is usually hidden under a small plug-in circuit board.

Only 4 pins have to be soldered to this connection. UART requires RX (receive), TX (send) and a power supply. Since the power supply on the board works with 5 volts, an ESP01 cannot be operated without a voltage converter! Hence the aforementioned breakout board, which already contains it.
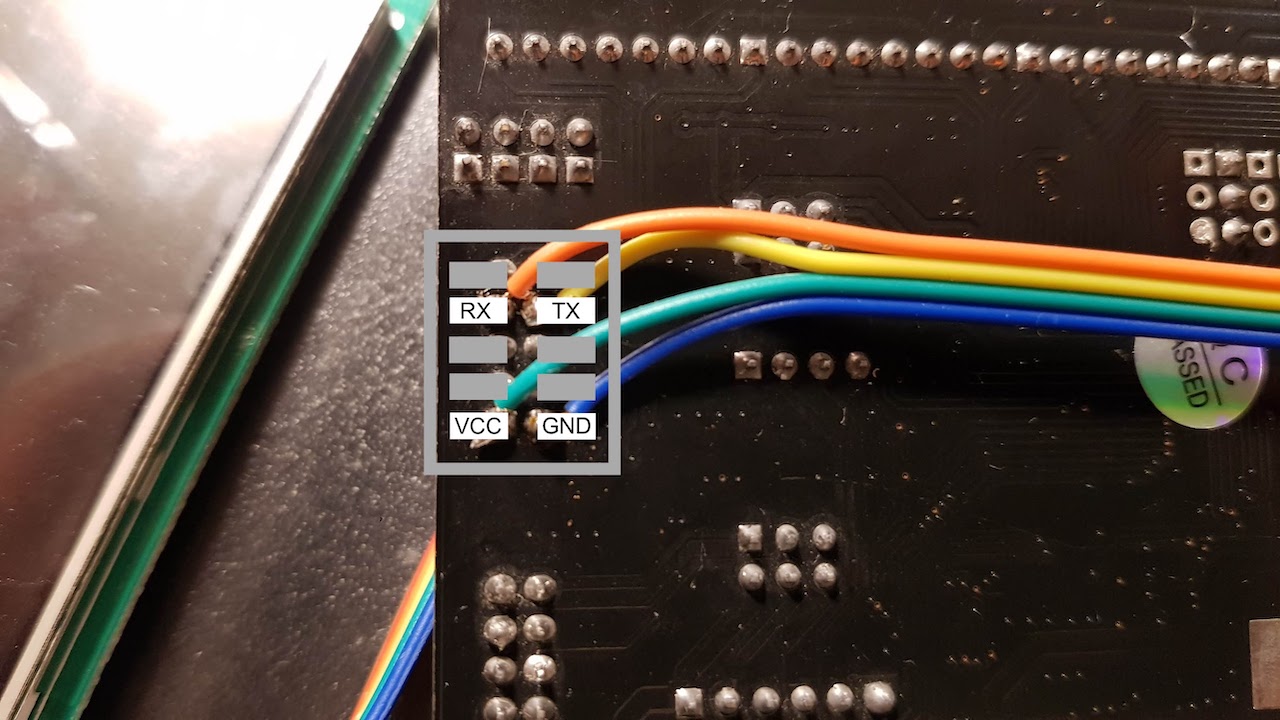
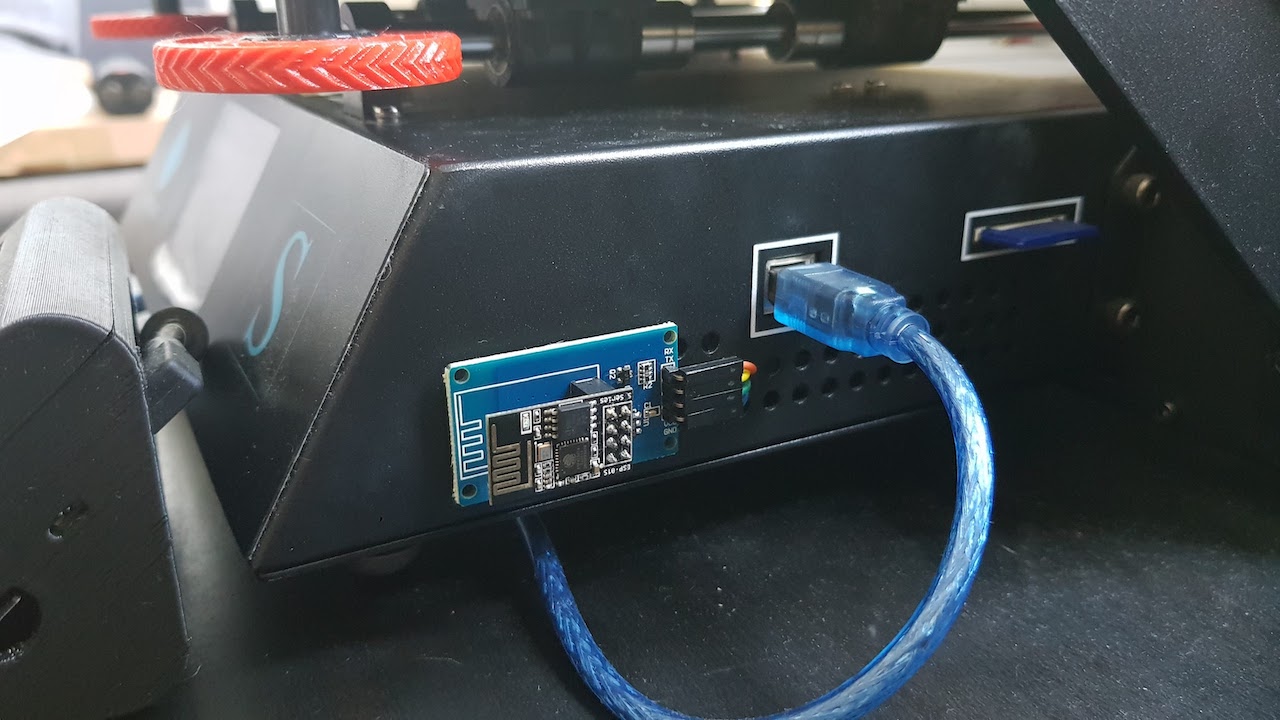
After the 4 lines (color-coded if possible) have been soldered on, the board can be reinstalled. How you lay the cables now is up to you. I led the cables directly under the board to the USB port and there led them to the outside through one of the ventilation holes. To the outside, because the printer’s housing is made of metal and could otherwise severely restrict WiFi reception.

The individual Dupont plugs are now plugged into RX, TX, 5V and GND to match the labeling.

If you want, you can now attach the circuit board to the housing. I used one of the above adhesive pads for this. Regular double-sided tape is too thin and the contacts on the underside would touch the case. By attaching the WiFi module to the outside of the housing, it is not necessary to open the printer later for firmware updates. Simply pull out the ESP01 module, flash it and plug it in again.
In order to be able to use the WLAN functionality, it must first be activated in the firmware. To do this, the two lines SERIAL_PORT_2 and BAUDRATE_2 must be commented out, as can be seen in the screenshot. Only then is the preconfigured second port active and communication with the wifi module works.

To flash the firmware, we connect the ESP01 to the ESP programmer and plug it into a free USB port. We also download the ESP3D firmware for the ESP01 module.
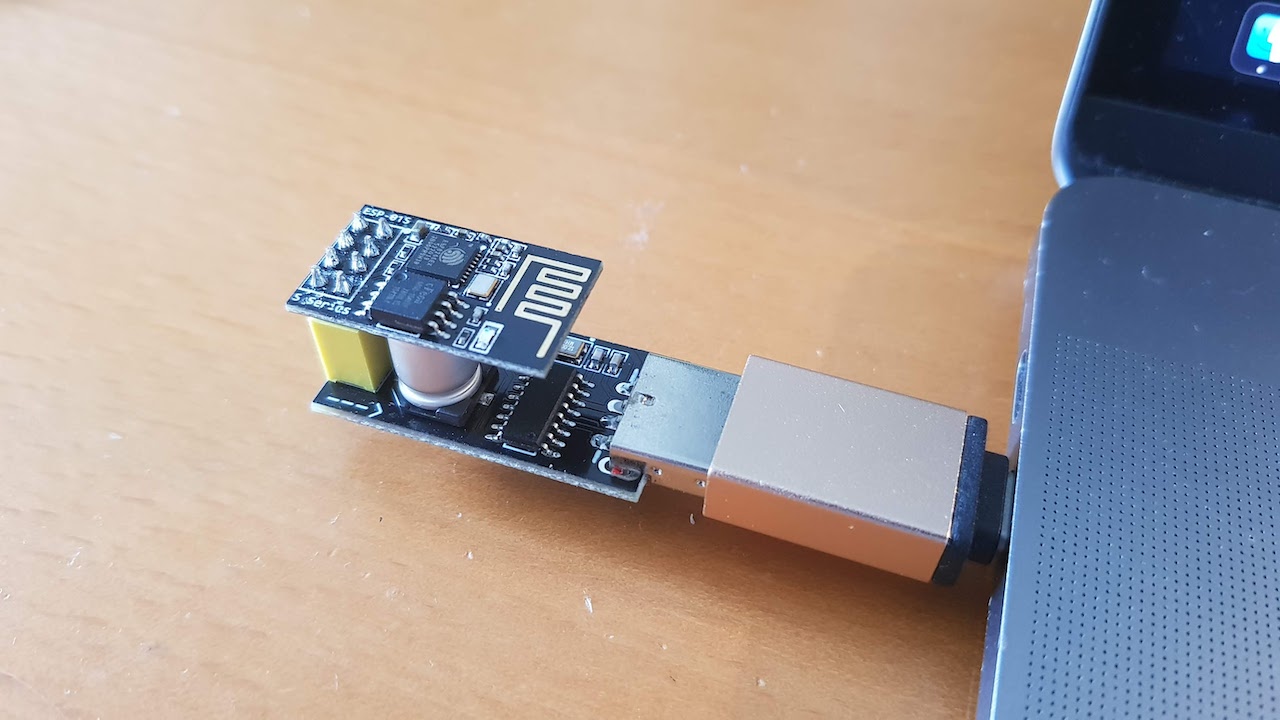
Which software you use to write on the ESP is up to you. I like to use the NodeMCU PyFlasher here. However, there is here a guide and a good overview.

Connect to the new WIFI Network
After flashing, we can switch the programmer so that the ESP01 boots. After about 20 seconds a new network named «ESP3D» should be found.

After we have connected, we open a browser on the mobile phone or PC and navigate to the address http://192.168.0.1/. Here we are greeted with the setup wizard, which first asks for the web interface for ESP3D. This we download here, unzip the .zip file and upload the index.html.gz in it directly.

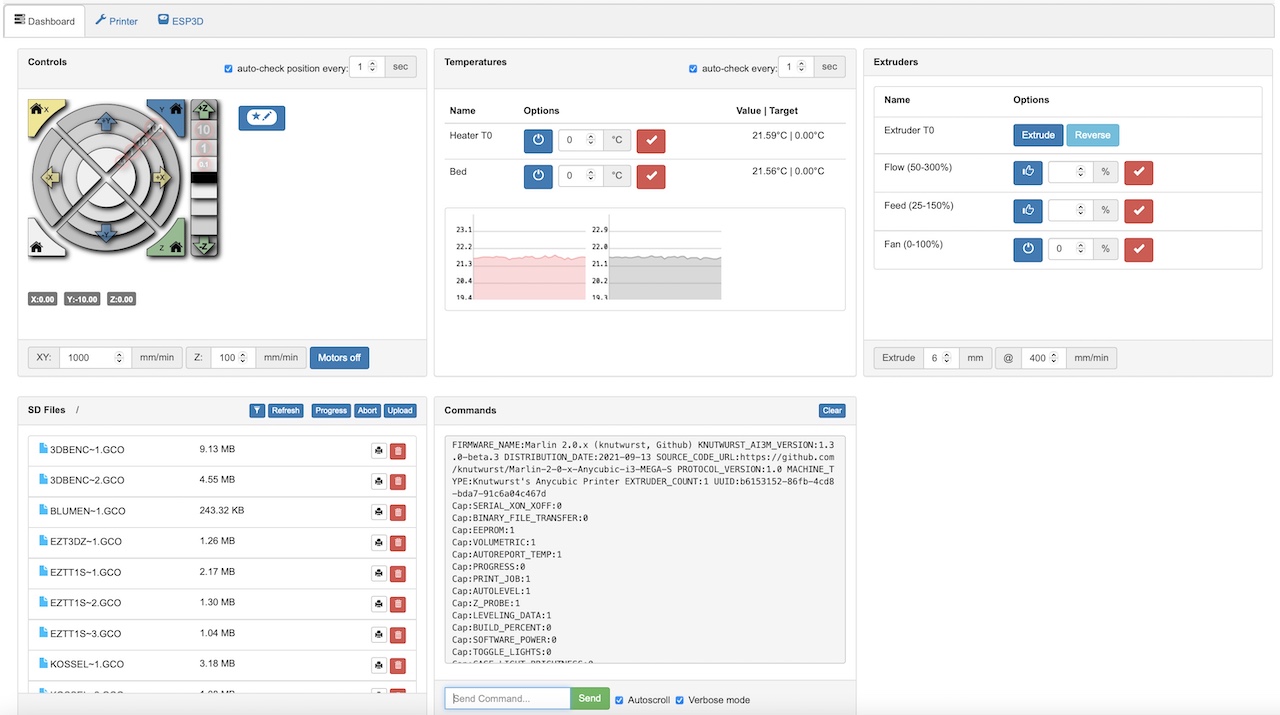
It is important to set the baud rate to exactly 500,000, as this is the speed of the printer’s new UART interface. It should then be possible to read out and change the data from the printer.

If this was overlooked in the settings, you can still change all values afterwards.

The following images show the web interface in an overview and in the specific printer settings. I find the option to be able to change all parameters and also the mesh directly via WiFi at any time very helpful.


This page, as well as various installation instructions, frequently asked questions etc can also be found in the Wiki
Wenn dir gefällt, was ich mache, kannst du mir hier einen Kaffee spendieren*:
*Es muss jetzt keine großzügige Spende sein. Ein paar Cent reichen um mir zu zeigen, wer überhaupt Interesse daran hat und wem die Weiterentwicklung wichtig ist. So bleibt die Motivation da und ich weiß einfach, dass ich nicht für die Tonne programmiere 😉
If you like what I do you can buy me a coffee*:
*It doesn’t have to be a generous donation. A few cents are enough to show me who is interested in further development. So the motivation stays and I just know that I am not programming for the bin 😉
Anycubic i3 Mega

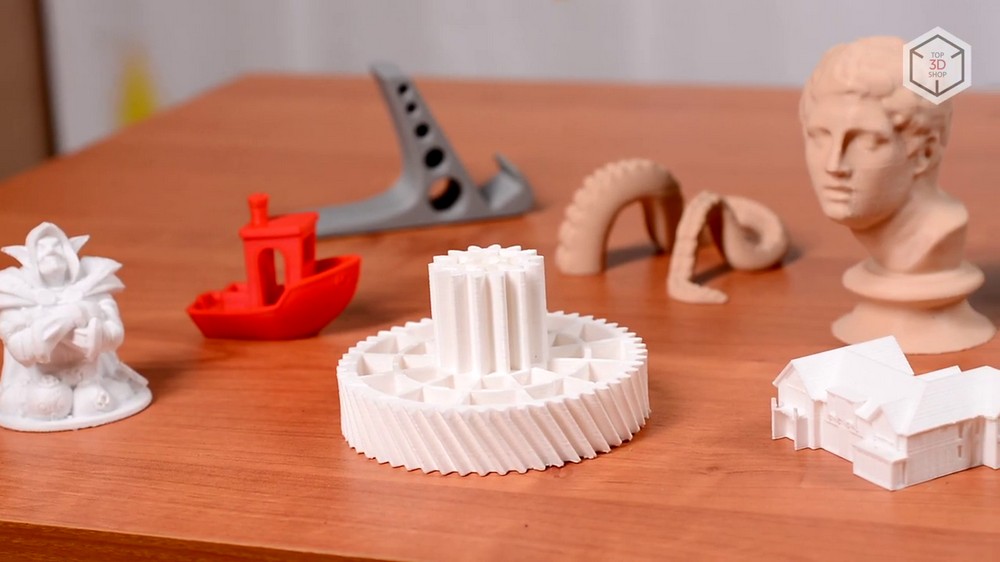
Anycubic i3 Mega — это прочный 3D-принтер в металлической раме, который в основном поставляется в собранном виде. Сборка проста и занимает всего несколько минут. Он способен производить высококачественные отпечатки. Стабильная конструкция и высокое разрешение слоев до 0,05 мм. Он поддерживает несколько нитевидных материалов, включая PLA, ABS, ударопрочный полистирол (HIPS) и дерево.


Жесткий металлический каркас Стабильная структура может уменьшить сотрясение тела во время печати и улучшить качество печати

Концевые выключатели с двойным Z Двойной Z, двойной привод оси, более мощный и обеспечивает большую точность нивелирования

Сенсорный экран Полноцветный, многоязычный, удобный интерфейс

Быстрая сборка Только нужно установить 8 винтов и подключить 3 провода до первой печати

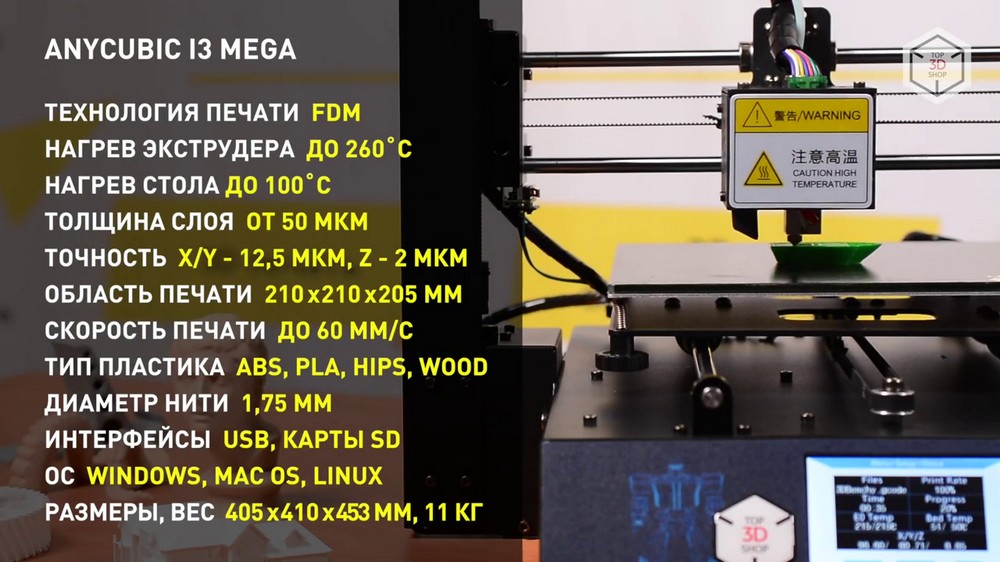
Технические характеристики ● Технология печати: FDM (моделирование методом наплавления) ● Разрешение слоя: 0,05-0,3 мм ● Точность позиционирования: X / Y 0,0125 мм Z 0,002 мм ● Поддерживаемые материалы для печати: PLA, ABS, HIPS, дерево ● Скорость печати: 20 ~ 100 мм / с (рекомендуемая скорость 60%) ● Диаметр сопла: 0,4 мм / 1,75 мм ● Размер сборки: 210 x 210 x 205 мм ● Рабочая температура экструдера: макс. 260ºC ● Рабочая температура печатного стола: макс. 110ºC ● Размеры принтера: 405 мм x 410 мм x 453 мм ● Форматы ввода: .STL, .OBJ, .DAE, .AMF ● Рабочая температура окружающей среды: 8–40 ° C ● Возможности подключения: SD-карта, USB-порт (только для опытных пользователей) ● Вес упаковки: 16,5 кг

Быстрый старт Быстрая сборка за 3 шага: модульная конструкция с быстрой сборкой позволяет сразу же приступить к печати

Платформы Ultrabase Маленькие модели легко снимать вручную или очень большие модели с небольшой помощью скребка

Возобновить печать Один щелчок, чтобы продолжить последнюю печать после выключения питания
i3 Mega
If the in-stock orders are available in the US, EU, UK, CA, AU warehouses, they will ship within 1 business day, with delivery taking 3-5 business days.
Orders may be seperated to ship, learn more about Shipping.
Product Description 

The Anycubic i3 Mega is a solid, metal-framed 3D printer that comes mostly assembled. Assembly is easy and takes only a few minutes. It is capable of producing high quality prints. Stable construction and fine layer resolution down to 0.05 mm. It supports multiple filament materials, including PLA, ABS, High Impact Polystyrene (HIPS) and wood.
Rigid Metal Frame Stable structure could reduce the body shake during printing and improve the printing quality.
Double Z Limit Switches Double Z axis double drive, more powerful and brings more accuracy for leveling.
Sensitive Touch Screen Full color, multi-language, user friendly UI.
Fast Assembly Only need to install 8 screws and connect 3 wires before the first print.
Technical Specifications ● Printing Technology: FDM (Fused Deposition Modeling) ● Layer Resolution: 0.05-0.3 mm ● Positioning Accuracy: X/Y 0.0125mm Z 0.002mm ● Supported Print Materials: PLA, ABS, HIPS, Wood ● Print Speed: 20~100mm/s(recommended speed 60%) ● Nozzle Diameter: 0.4 mm/1.75 mm ● Build Size: 210 x 210 x 205mm ● Operational Extruder Temperature: Max 260ºC ● Operational Print Bed Temperature: Max 110ºC ● Printer Dimensions: 405mm x 410mm x453mm ● Input Formats: .STL, .OBJ, .DAE, .AMF ● Ambient Operating Temperature: 8ºC — 40ºC ● Connectivity SD Card, USB Port (expert users only) ● Package Weight: 16.5kg
Quick Start 3 Steps Fast Assembly: Modular design with quick assembly lets you start printing straight away
Ultrabase Platforms Easy to take off models by hand or with a little help from the scrapper for very large models.

Resume Print One click to continue with the last printing from power off
Anycubic i3 Mega: качественный ремейк Prusa i3

3D-печать становится все более доступной. В 2018 году появилось сразу несколько бюджетных 3D-принтеров, которые меняют рынок на наших глазах, Anycubic i3 Mega — один из них.
Это FDM-принтер, который входит в нижний ценовой сегмент. Его цена не превышает 25 тысяч рублей.
Сборка
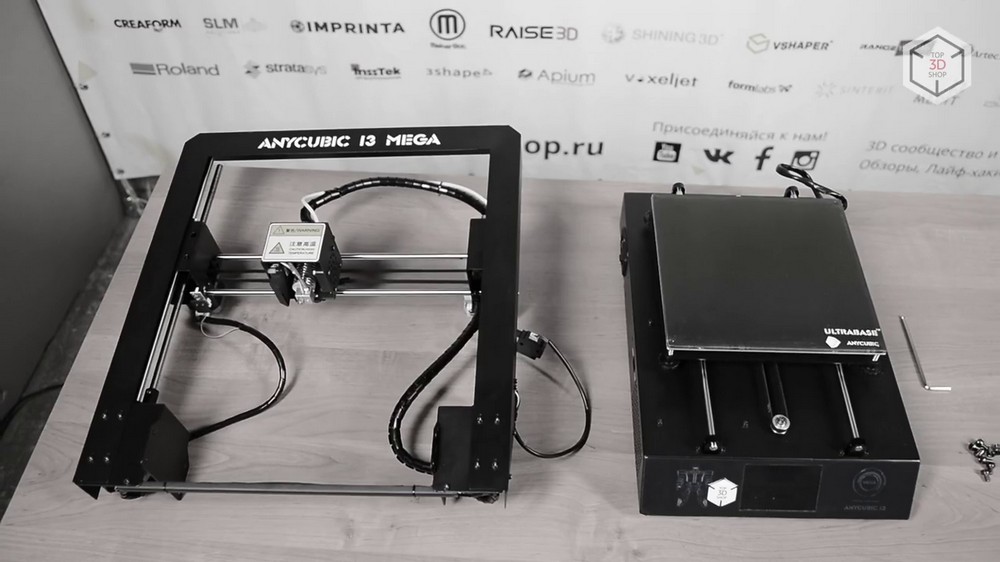
Anycubic i3 Mega готов к печати после минимальной сборки — предстоит всего лишь закрепить раму на основании, а затем соединить их проводами.

Собранная конструкция обладает высокой жесткостью. Основание и рама 3D-принтера выполнены из листового металла. Благодаря маркировке проводов, коммутация всех блоков занимает считанные минуты — ошибиться при подключении невозможно.

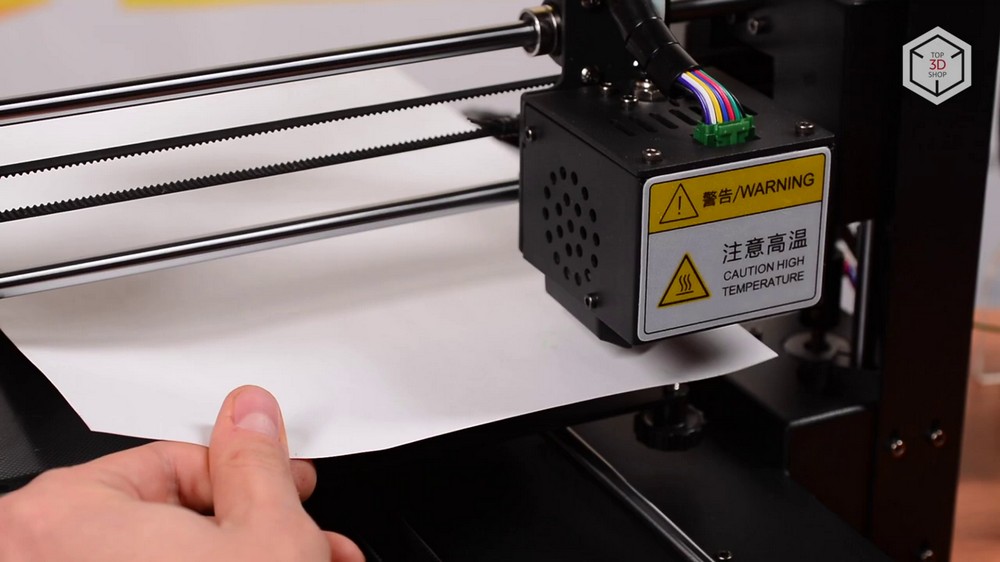
Перед первой печатью рекомендуем провести калибровку. Эта процедура выполняется вручную.
Особенности
Особая благодарность инженерам Anycubic за сенсорный дисплей. Он расположен под удобным для пользования углом и быстро реагирует на нажатия.

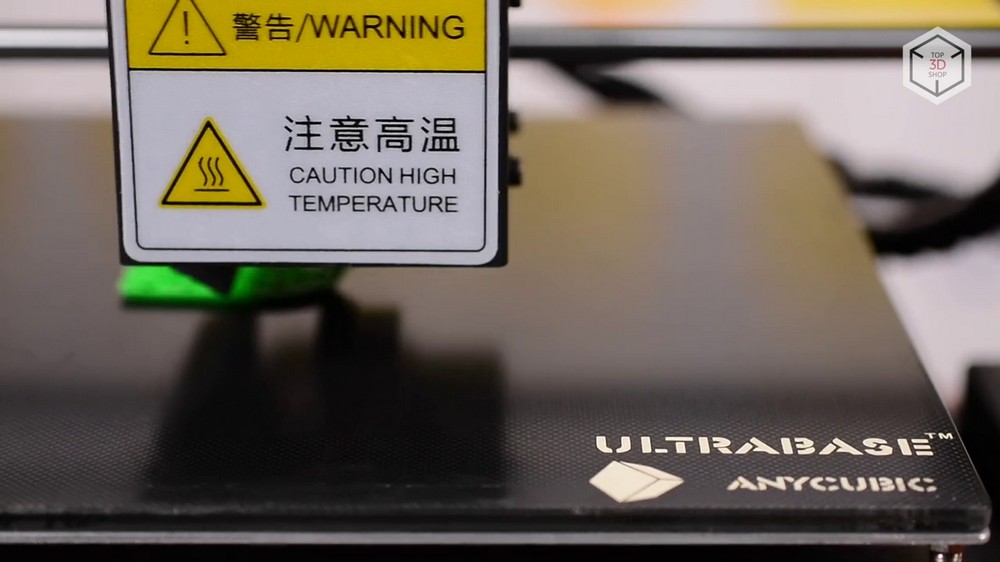
Anycubic i3 Mega комплектуется нагреваемым столом Ultrabase собственной разработки производителя.
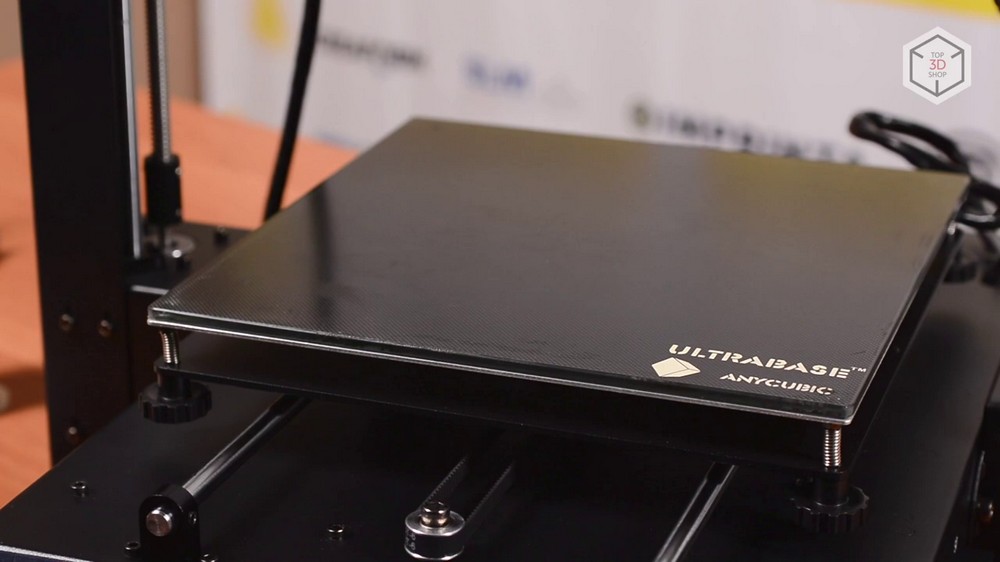
3D-принтер отлично работает с распространенными пластиками — ABS, HIPS, но покрытие стола идеально подходит и для печати PLA.
Поверхность Ultrabase покрыта микропористым материалом, который надежно удерживает объект во время печати. По завершении процесса стол охлаждается, тепловое расширение микропор сменяется сжатием и готовая распечатка без особых усилий снимается с поверхности.
3D-принтер оснащается механическим датчиком окончания филамента — полезная функция для тех, кто много печатает — это несложное приспособление позволяет снизить количество брака, как и функция возобновления прерванной печати после сбоев в подаче электропитания.

Многие китайские 3D-принтеры поставляются без тщательно проработанной документации. Anycubic i3 Mega — приятное исключение. Все материалы к принтеру — спецификации, инструкцию по сборке и эксплуатации, необходимый софт — можно найти на USB-флешке.

Комплектация
Хорошую документацию неплохо дополняет и отличная комплектация.

Помимо традиционного набора, состоящего из ключей-шестигранников, кусачек, шпателя и одноразовых перчаток, в комплект также входят: килограммовая катушка PLA, акриловая подставка под катушку, USB-шнур, SD-карта на 8 гигабайт, а также запасные части: дополнительная тефлоновая трубка, концевые выключатели и даже хот-энд.

Как нетрудно догадаться, перед нами очередная вариация на тему Prusa i3. Характеристики Anycubic i3 Mega не отличаются от параметров других 3D-принтеров в своем сегменте. Но качество комплектующих и уровень исполнения — одни из лучших.
Выводы
Итак, перед нами тот случай, когда китайский производитель не просто скопировал 3D-принтер, а подошел к процессу ответственно, улучшив целый ряд параметров исходной модели.

Можем порекомендовать Anycubic i3 Mega как начинающим, в качестве первой машины, так и продвинутым пользователям, желающим расширить парк техники недорогим функциональным устройством.
Выбираете недорогой принтер? Напишите нам на sales@top3dshop.ru и мы подберем оптимальный аппарат под ваши требования и возможности.
Хотите больше интересных новостей из мира 3D-технологий?
Подписывайтесь на нас в соц. сетях: