How to Connect Android Phone to Arch Linux
By default, Android Phone support is not enabled on Arch Linux.
In this article, I will show you how to enable Android Phone support on Arch Linux and connect your Android Phone for File Transfer on Arch Linux. Let’s get started.
First you have to do a full system upgrade. I once didn’t do it and some packages refused to install due to dependency issues. If you’re an Arch user, I think it’s a best idea to do a full system upgrade before you try this process.
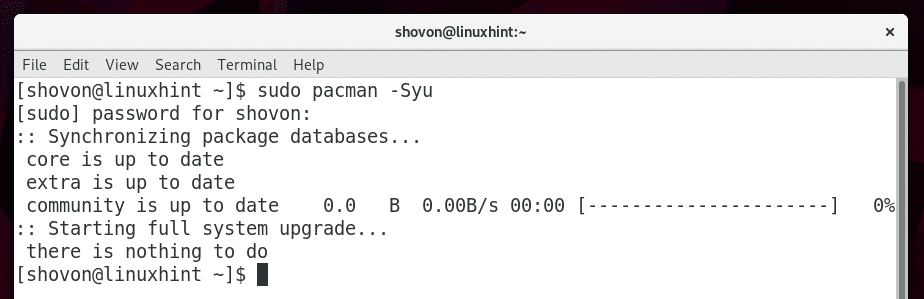
You can run the following command to do a full system upgrade of your Arch machine:

As you can see, my Arch machine is fully upgraded.
Some packages we need are not available in the official package repository of Arch Linux, but are available in the AUR (Arch User Repository). This is why we need Git version control system to clone the files of AUR package repository.
You can run the following command to install Git:

Press ‘y’ and then press to continue.


You can run the following command to check whether Git is working.
As you can see Git is installed and working perfectly.

You access Android File System using MTP protocol. It is not installed on Arch Linux by default.
You can enable MTP support by install mtpfs Arch package.
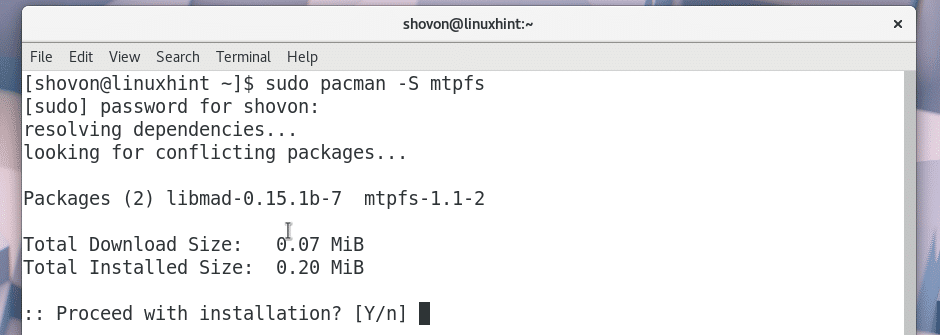
You can install mtpfs by running the following command:

Now press ‘y’ and then press to continue.
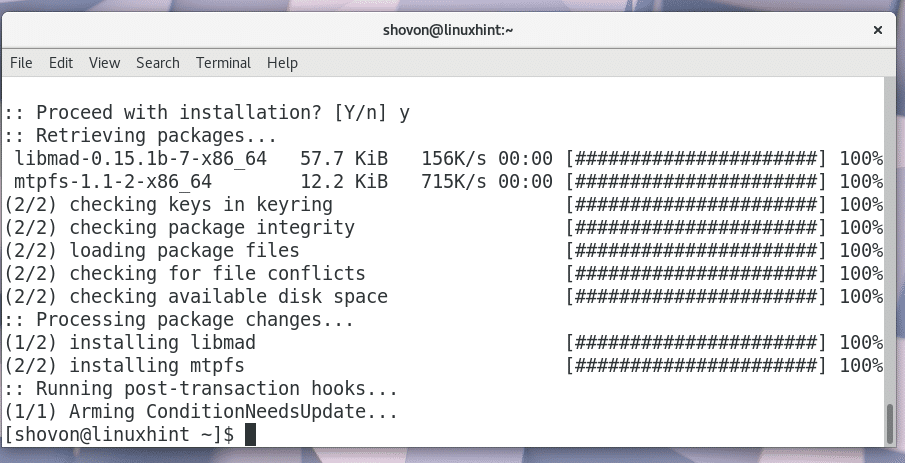
mtpfs package should be installed.
Due to some changes in the Android 4+ devices, mtpfs sometimes is not enough to provide MTP support for Arch Linux. So you should also install another package called jmtpfs. jmtpfs is not available in the official package repository of Arch Linux. But is it available in the AUR. Now I am going to install it.
First, navigate to the ~/Downloads/ directory with the following command:

Now clone the jmtpfs git repository with the following command:

The jmtpfs repository should be cloned as you can see from the screenshot below.

A new directory jmtpfs/ should be created as you can see from the screenshot below.

Navigate to the jmtpfs/ directory with the following command:

Now you have to make a pacman package for Arch Linux using the jmtpfs repository files. On Arch Linux, makepkg command is available for that purpose.
Run the following command to make a pacman package of jmtpfs:

jmtpfs pacman package is being created.

Upon completion, you should see something like this.

Now you should see a .tar.xz file as shown in the marked section of the screenshot below.

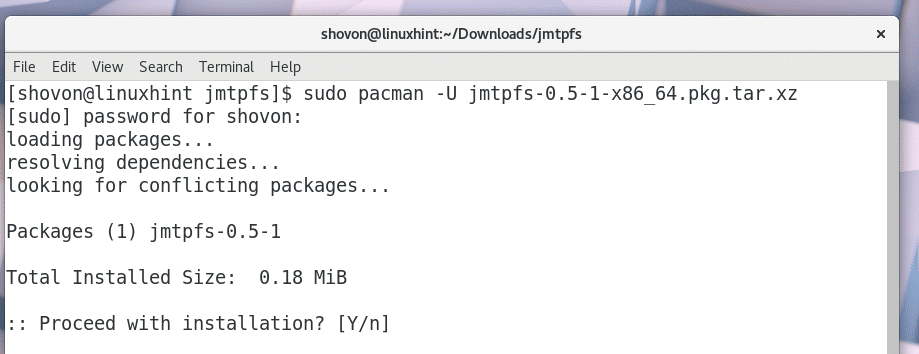
Just run the following command to install the .tar.xz package using pacman package manager:

Press ‘y’ and then press to continue.
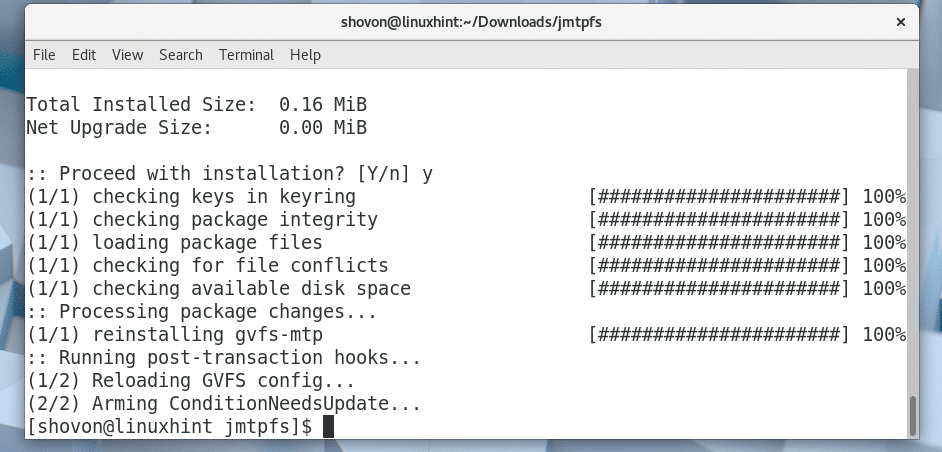
jmtpfs should be installed.

Now that MTP support is enabled, you must install some additional packages for integrating the MTP protocol with your File Manager such as Nautilus. Otherwise when you connect your Android phone to your Arch Linux machine, it won’t be displayed in the File Manager and you will have to mount it manually, which is not what you want.
Run the following command to install gvfs-mtp package:

Now press ‘y’ and then press to continue.

gvfs-mtp package should be installed.
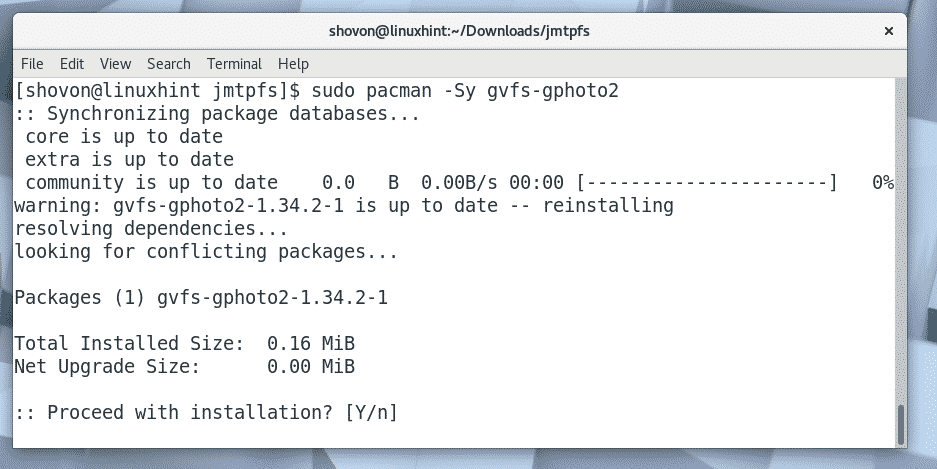
You can also enable PTP support for your File Manager by running the following command:

Press ‘y’ and then press to continue.
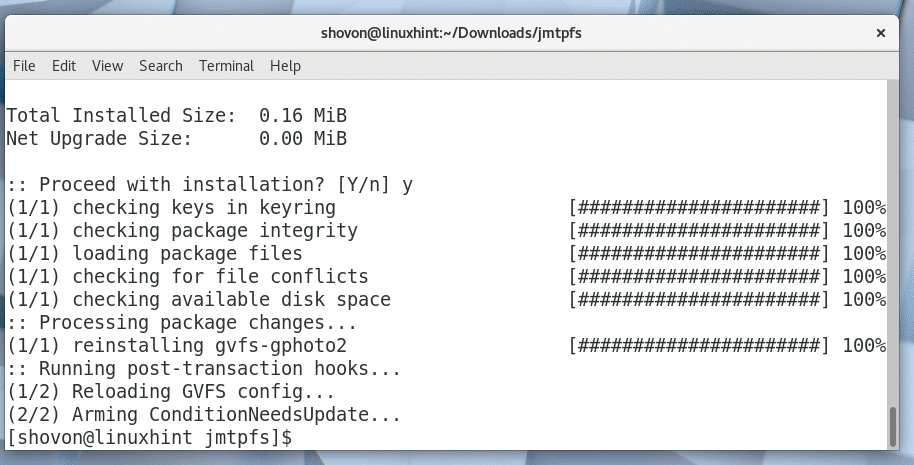
gvfs-gphoto2 should be installed.
Now you must restart your Arch Linux machine for the changes to take effect.
Run the following command to restart your computer:

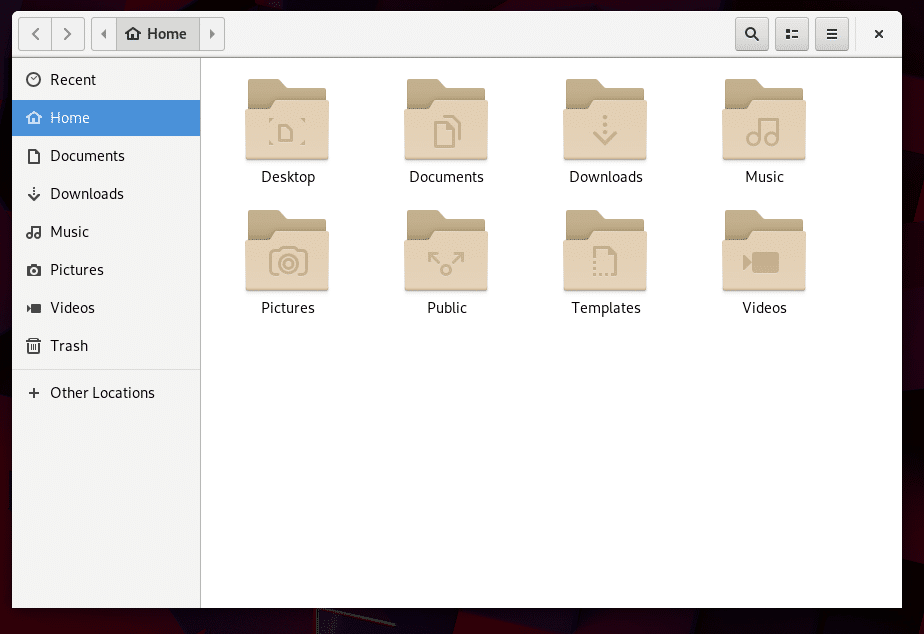
Once your computer starts, open your File Manager such as Nautilus and you should see the following window.
Now if you connect your Android device to your computer, it should show up in the File Manager as shown in the marked section of the screenshot below.

You can just click on your Android device and it should open up.
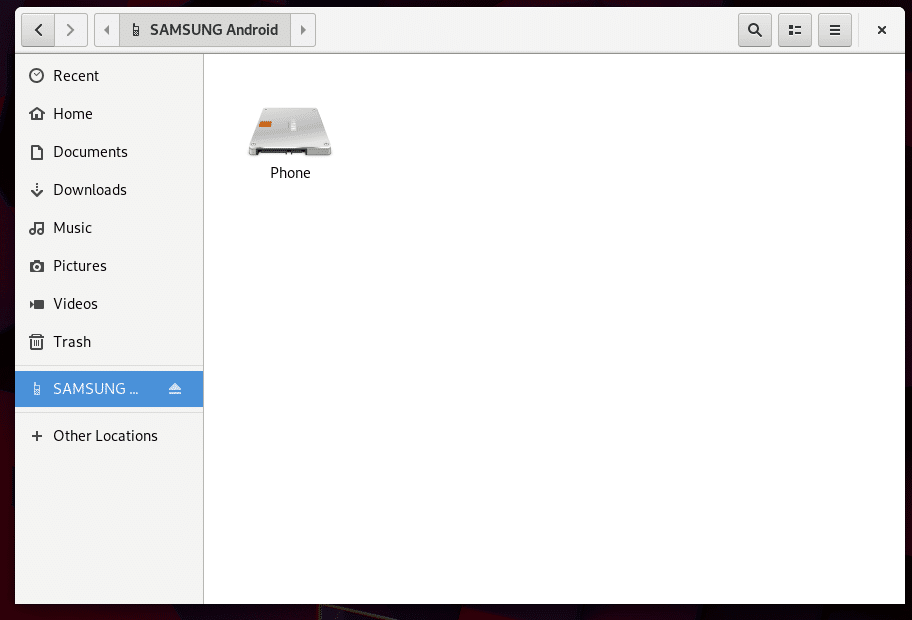
As you can see I can see all the files of my Android phone.

That’s how you connect your Android Phone to your Arch Linux machine. Thanks for reading this article.
About the author
Shahriar Shovon
Freelancer & Linux System Administrator. Also loves Web API development with Node.js and JavaScript. I was born in Bangladesh. I am currently studying Electronics and Communication Engineering at Khulna University of Engineering & Technology (KUET), one of the demanding public engineering universities of Bangladesh.
How To Install Latest Arch Linux OS On Android Mobile (Without Root)
Hi Guys welcome back in my new post in this post i will show you How to install Arch Linux OS on Android Mobile Without root And Run Arch Linux Via Termux Ok so let’s start ok.
apart from this, we will also see inside this post how can install the Arch Linux in your Android Mobile and how you can use it android Mobile without root.

Arch Linux is a Linux distribution for computers with x86_64 processor, Arch Linux adheres to the KISS principle and is focused on simplicity, modernity, user centrality and versatility. this means the project attempt to have minimal distribution specified changes. and therefore minimal breakage and updates.
Arch Linux inspired by CROX, another minimalist distributions. Judd Vinet started the Arch Linux project in 2002. the name was chosen because vinet like the word’s meaning of the principal as in Arch enemy.
Arch Linux originally only for 32 bit x86 CPUs. the first x86_64 installation ISO was released in April 2006. vinet led Arch Linux until 1 October 2007 when due to lack of time transferring control of the project to Aaron Griffin.
On 24 February 2020. Aaron Griffin announced that due to his limited involvement with the project, he would, after a voting period transfer control of the project to Levente Polyak. this change also led to a new 2 year term period being added to the project leader position.
You get to see lot of features inside Arch Linux. Arch is largely based on binary packages. packages target at x86 microprocessor to assist performance on modern hardware. A ports/ebuild like system is also provided for automated source compilation, know as the Arch build system.
The Arch Linux that the package manager uses is named Pacman, to facilitate regular package changes(Pacman a construction of package manager) was developed by judd vinet to proved Arch with its own package manager, track to dependency, Pacman is written in C language.
Arch Linux only supported binary platform as x86_64, the Arch package repositories and user repository(AUR) contain 58,000 binary and source package.
which comes close to Debian’s 68,000 packages, however the two distributions approaches to packaging differ, making direct comparison difficult. the user repository also contains a write perfect package, which install several documents format converter, while Debian provide each of the more than 20 converters in its own sub package.
there are several project working on porting the Arch Linux ideas and tools to other kernels. including PacBSD and Arch Hurd, which are based on the FreeBSD and GNU Hurd kernels. respectively there is also the Arch Linux ARM project. which aims to port Arch Linux ARM based devices, which includes Raspberry Pi and ARM device.
inside Arch Linux until Pacman version 4, Arch Linux package manager lacked support for signed packages. packages and metadata were not verified for authenticity by Pacman during the download and install process, without package authentication checking, but in November 2011, package signing became mandatory for new package builds, and as of 21 March 2012 , every official package is signed.
now let us see how we can install and use Arch Linux inside our Android Mobile, Note that in this post I am showing you by installing in Android Mobile, you can install Arch Linux inside your ARM devices through this process.
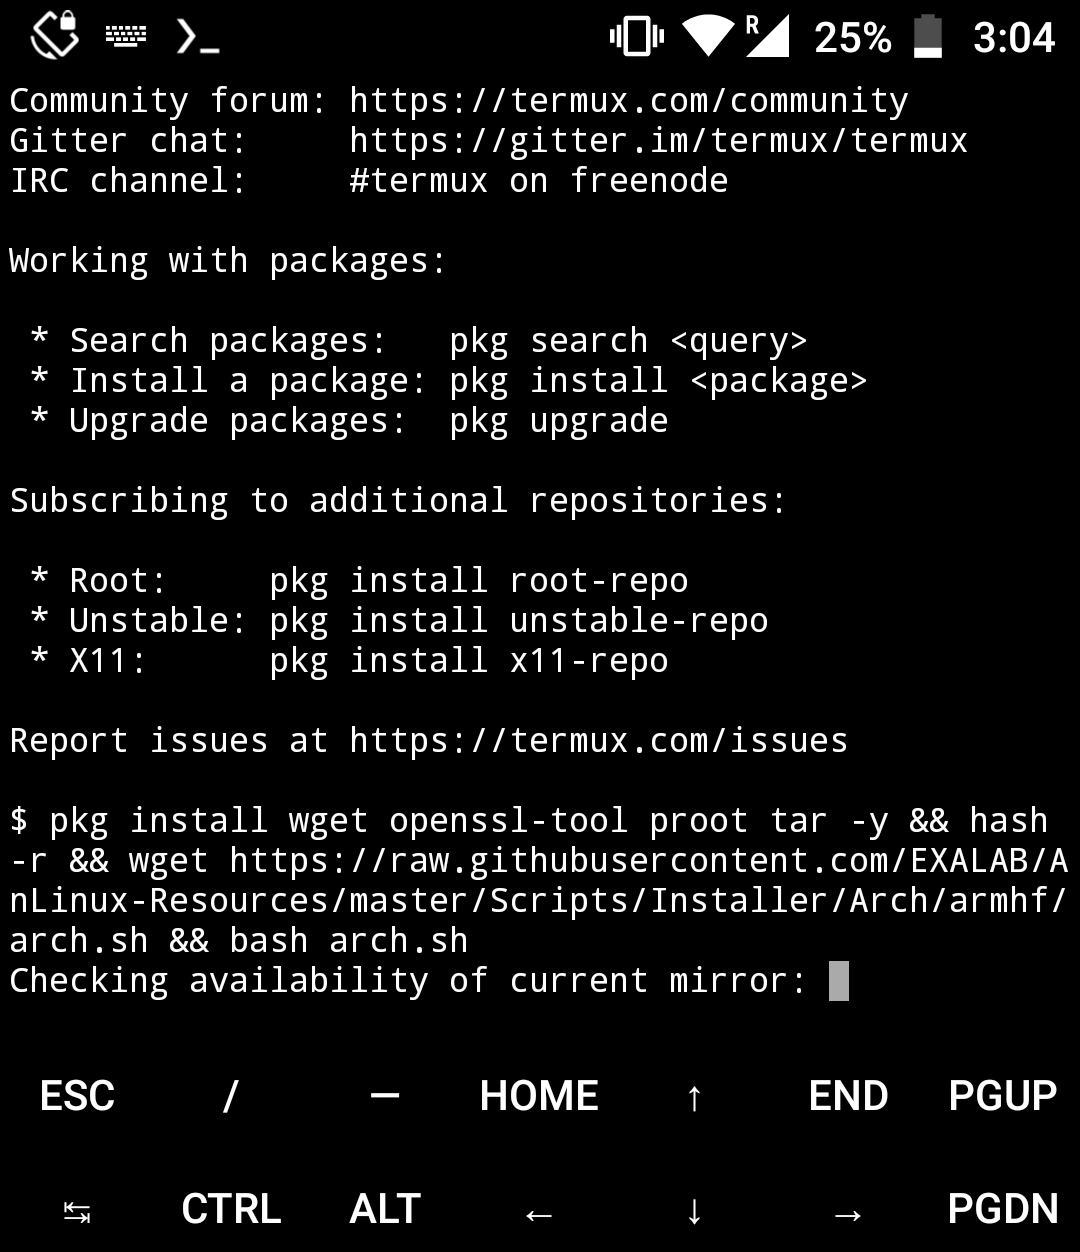
1. ok first of all you have to download and open your Termux, after this you have to download the file of Arch Linux For this you copy and paste this Command on Your Terminal.
pkg install wget openssl-tool proot tar -y && hash -r && wget https://raw.githubusercontent.com/EXALAB/AnLinux-Resources/master/Scripts/Installer/Arch/armhf/arch.sh && bash arch.sh
2. so guys after downloading all files of arch linux, you have to run the start-arch file, for this you follow this command.
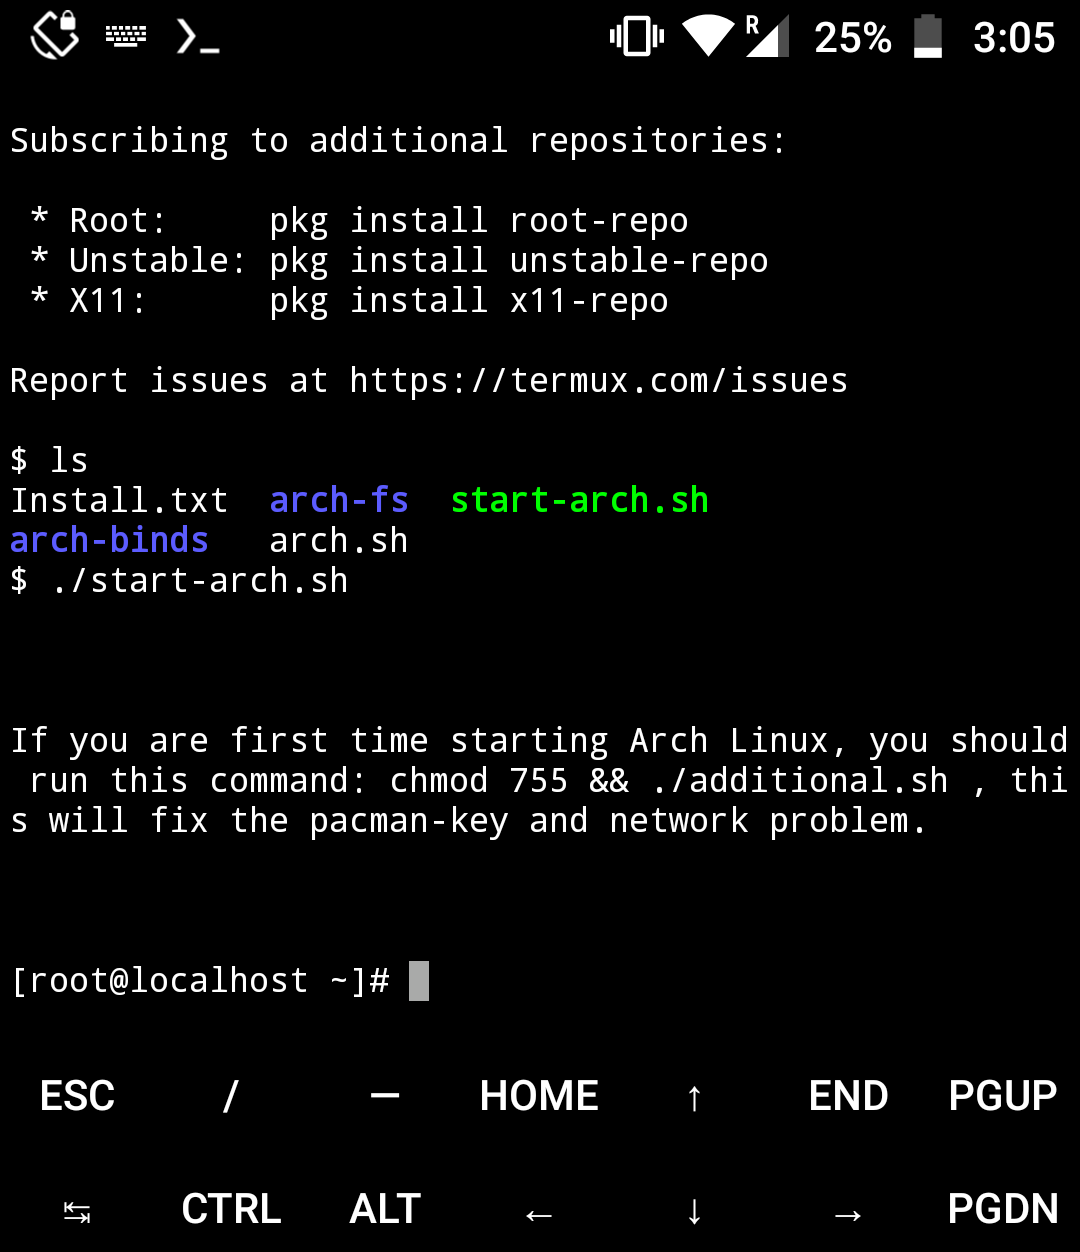
3. so guys you will come in the root@localhost of arch linux, after that you have to setup the Desktop Environment, for this you copy and paste this command on your terminal.
pacman -Sy —noconfirm wget && wget https://raw.githubusercontent.com/EXALAB/AnLinux-Resources/master/Scripts/DesktopEnvironment/Pacman/de-pac.sh && bash de-pac.sh

4. so guys after the desktop environment is setup, you have to start the Vncserver so that you will to use arch Linux graphically, for that you follow this command.
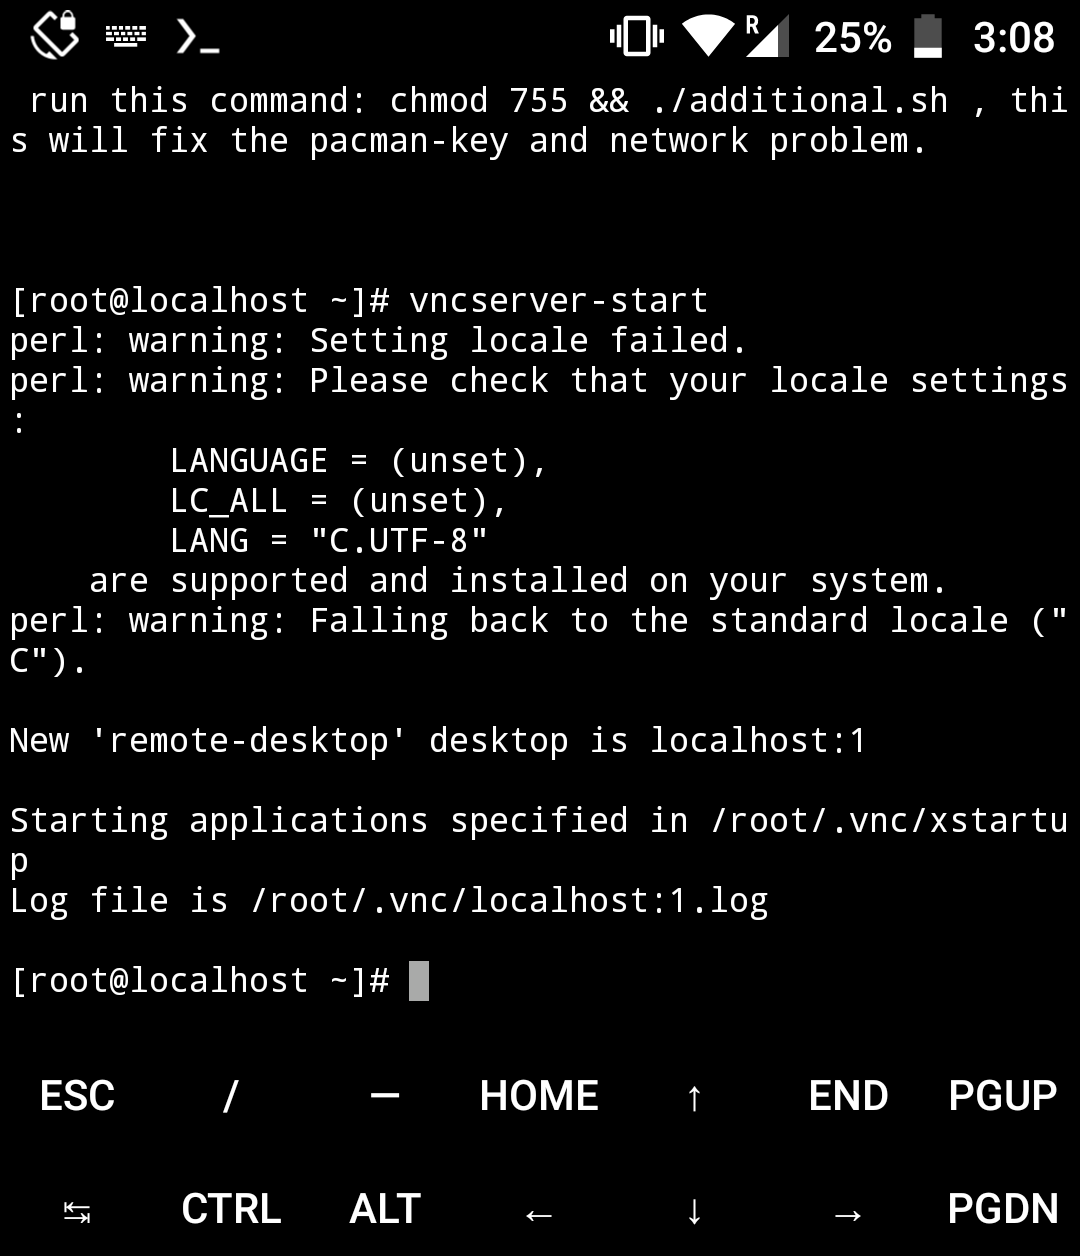
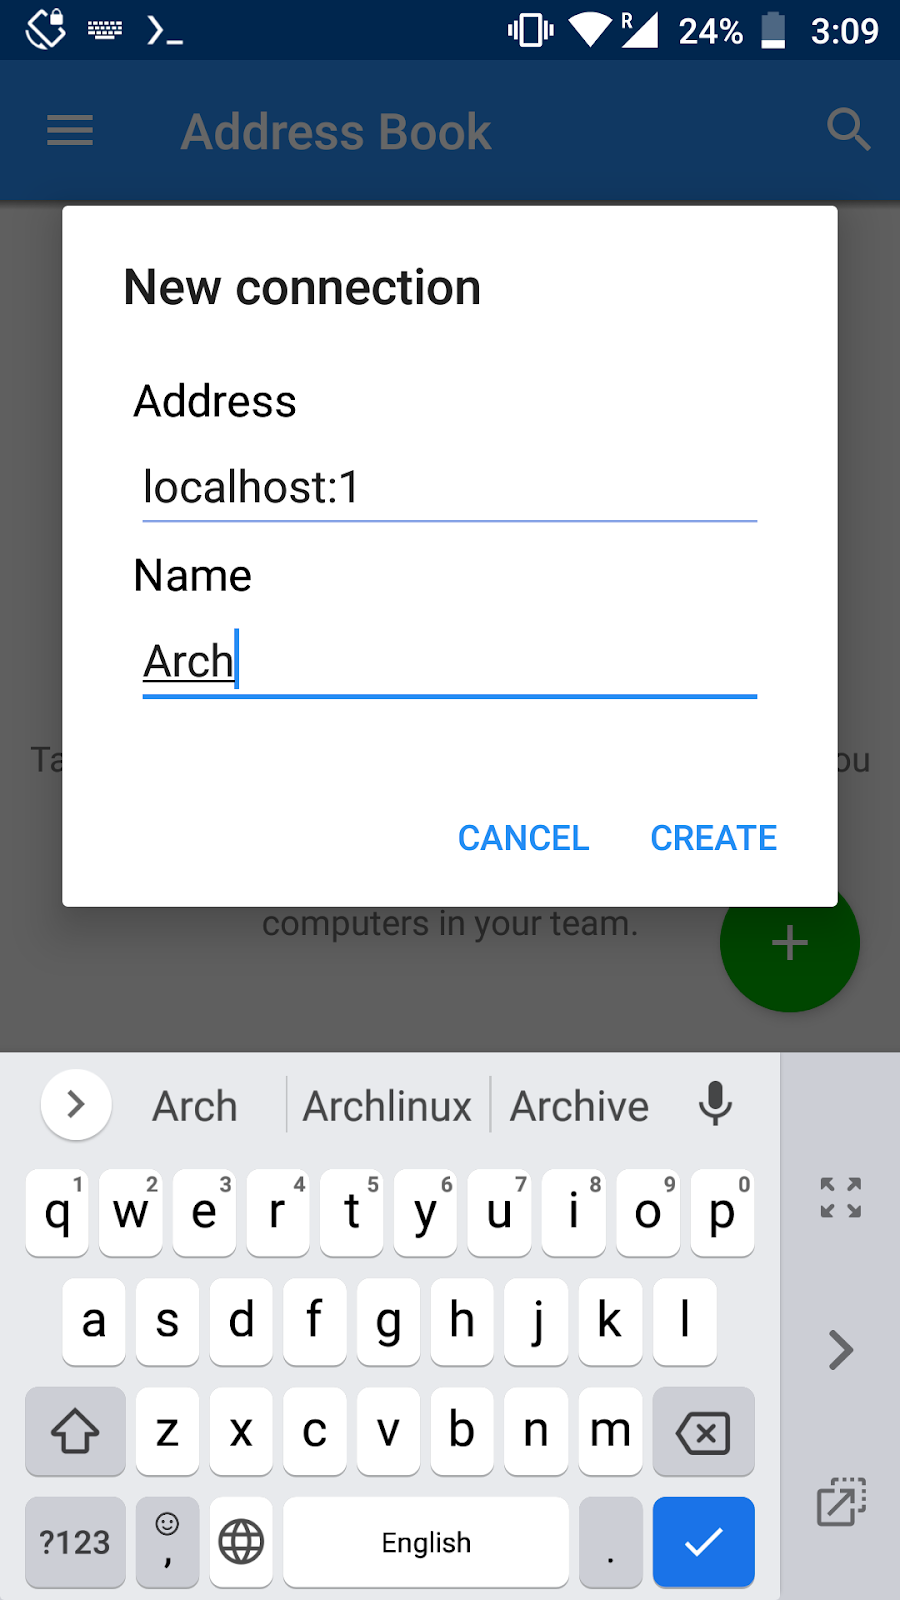
5. so guys after starting the vncserver you have to Download and open the VNC Application. then you have to type localhost:1 in the Address and the password you set foe vnc is the password you have to fill and click Continue.
 |  |
6. and guys finally you have to use Arch Linux graphically and run any Tool for GUI Requirement.