- How to Install GNOME on Arch Linux
- Overview
- Prerequisite
- How to Install GNOME on Arch Linux
- Update Arch Linux
- Install the Xorg Package on Arch Linux
- Configure Time and Date
- Find your Time Zone
- Set the Time Zone
- Enable systemd-timesyncd
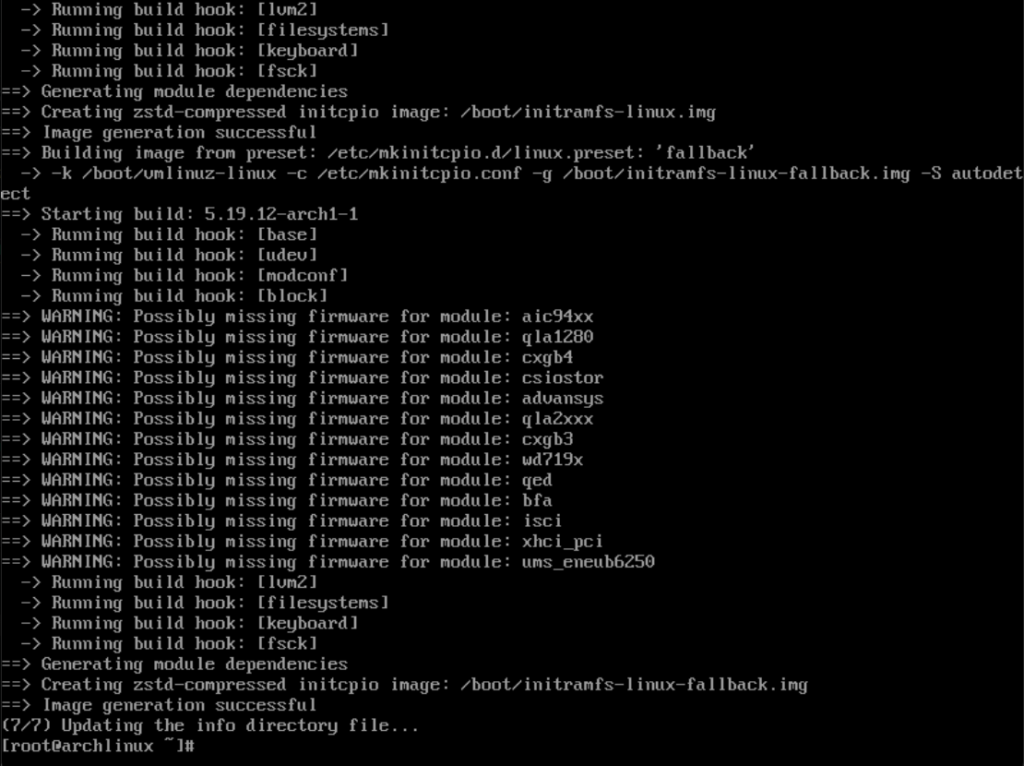
- Install Video Driver
- Install the GNOME Package on Arch Linux
- Enable GDM then Reboot
- GNOME Login Screen on Arch Linux
- Set Language in Settings
- Optional: Install GNOME Tweaks
- Permission Error
- Как установить Gnome на Arch Linux
- Как настроить звук
How to Install GNOME on Arch Linux

Arch Linux is known for being lightweight and fast. Although not everyone appreciates the command line environment, It is perfect for machines with low hardware specifications. In this article we will discuss how to install GNOME on Arch Linux.
Overview
GNOME is one of the most polished and widely used GUI solutions, not only for Arch Linux but also for other Linux distributions. With GNOME, users have several options for their desktop appearance. For our example, we’ll be going with GNOME on Xorg, this will run GNOME Shell on Xorg.
GNOME is a favored desktop environment that is a default for some top-ranking desktop-based Linux distros such as Fedora and Ubuntu. Essentially all distributions offer a GNOME GUI option.
The GNOME desktop is one of the many user-friendly and stable desktops available today; thus, it is popular with regular and advanced users. GNOME is the choice If you prefer a desktop that stays unnoticed while you do your tasks. It does not get in your way while working. Despite many controversies that GNOME 3 is quite slow and heavy on resources, it is still one of many’s most favored desktop environments.
Prerequisite
- Arch Linux is already installed and configured.
- Internet connection.
- A regular user account with sudo privilege.
- Access to a Root account or a sudo privileged user account.
- About 4000 MB of free space
- About 1 GB of RAM
- About 1 GHz CPU power
How to Install GNOME on Arch Linux
Update Arch Linux
The first thing we want to do before installing GNOME on Arch Linux is to update our Linux system. Use the command below to do that.

This is what you will see upon running the command above. As you may have noticed, the letter Y is capitalized, meaning Y is the default. You may press “enter” without typing in the letter y, which will proceed with the update.
This is what you will get once the update is completed.
Install the Xorg Package on Arch Linux
Next, we will need to install Xorg, and to do that, you may use the command below.

As you can see in the screenshot above, upon running the command, it will prompt you to enter a selection. You may press “enter” to select the default, which means all. Also, you may be prompted again if you proceed with the installation. You can simply hit “enter” again to select “yes” and proceed.
This is what it looks like once the Xorg installation has been completed.
Configure Time and Date
Find your Time Zone
The next thing we want to do is configure the time and date. To do that, we first need to determine the time zone we will use. For our example, we’ll use the time zone Asia/Hong Kong. Use the command below to find the time zone you prefer.
$ timedatectl list-timezones![]()
Upon entering the command above, the screenshot below is what you will see. You will simply need to use the arrow keys to go up or down to find your time zone.

Set the Time Zone
Once you’ve found the correct time zone, note it since we will need it for the next command, which is to set the time zone. Use the command below to set your time zone.
$ timedatectl set-timezone Asia/Hong_Kong![]()
Enable systemd-timesyncd
After you set the time zone, the next thing we need to do is to enable systemd-timesyncd . Use the command below to enable systemd-timesyncd .
$ systemctl enable systemd-timesyncd
Install Video Driver
Since, for this example, we are using an Intel GPU, we will be using the command below. This command is also what you will need to use if you use an AMD GPU.
![]()
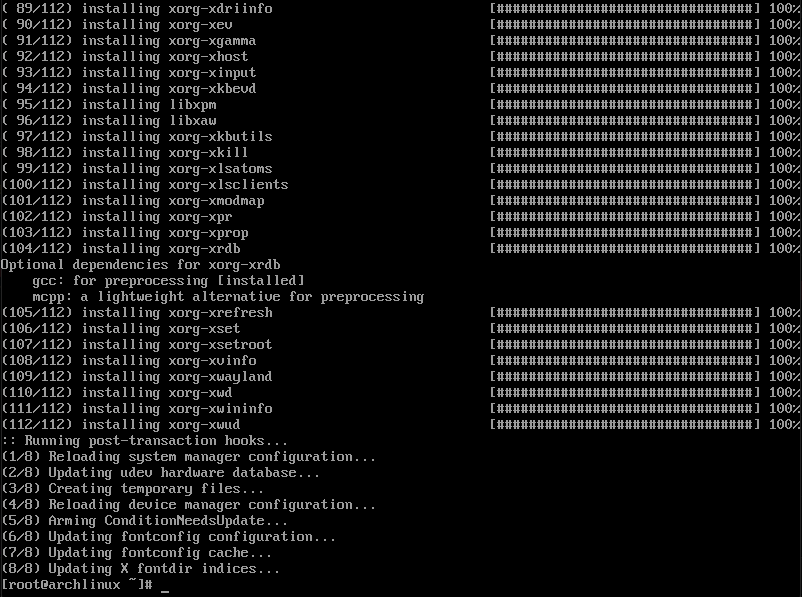
Install the GNOME Package on Arch Linux
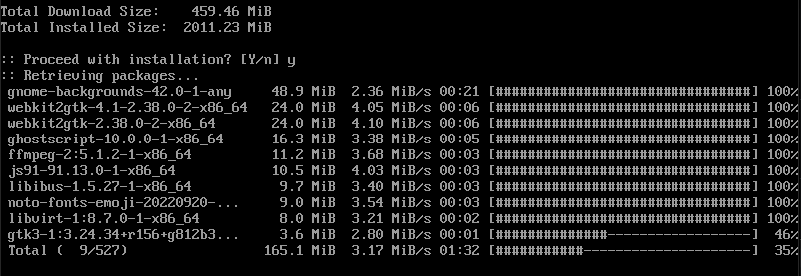
Finally, we are ready to install GNOME on our Arch Linux operating system. Use the command below to initiate the installation for GNOME.

Upon entering the command above to install GNOME, you will be asked to enter a selection or a number. For our example, we will be selecting the default options then you will be asked to enter Y to proceed. Just like what you see in the screenshot below.

The screenshot below is what you will get upon proceeding with the installation.
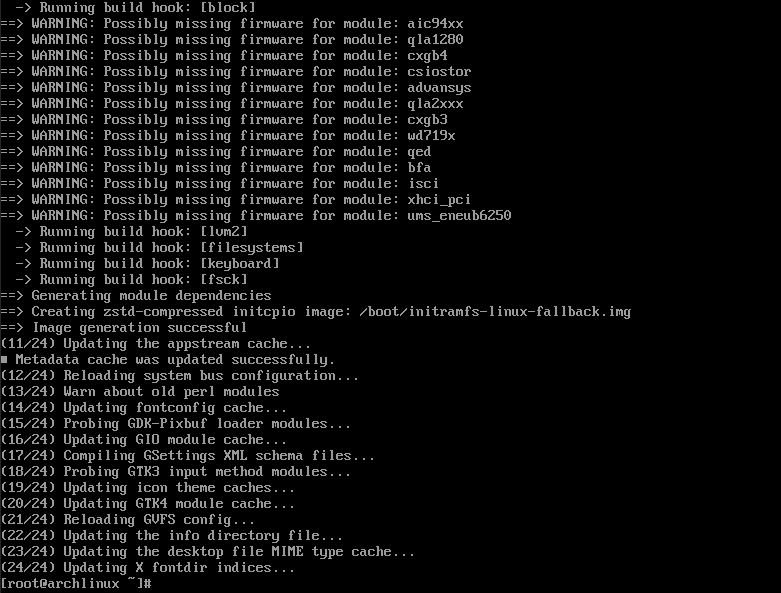
Here is what you will see upon completion of the installation.
Enable GDM then Reboot
After installing GNOME, we must enable GDM (GNOME Display Manager). Use the command below to do it. After enabling GDM, the next thing to do is to reboot your system.

GNOME Login Screen on Arch Linux
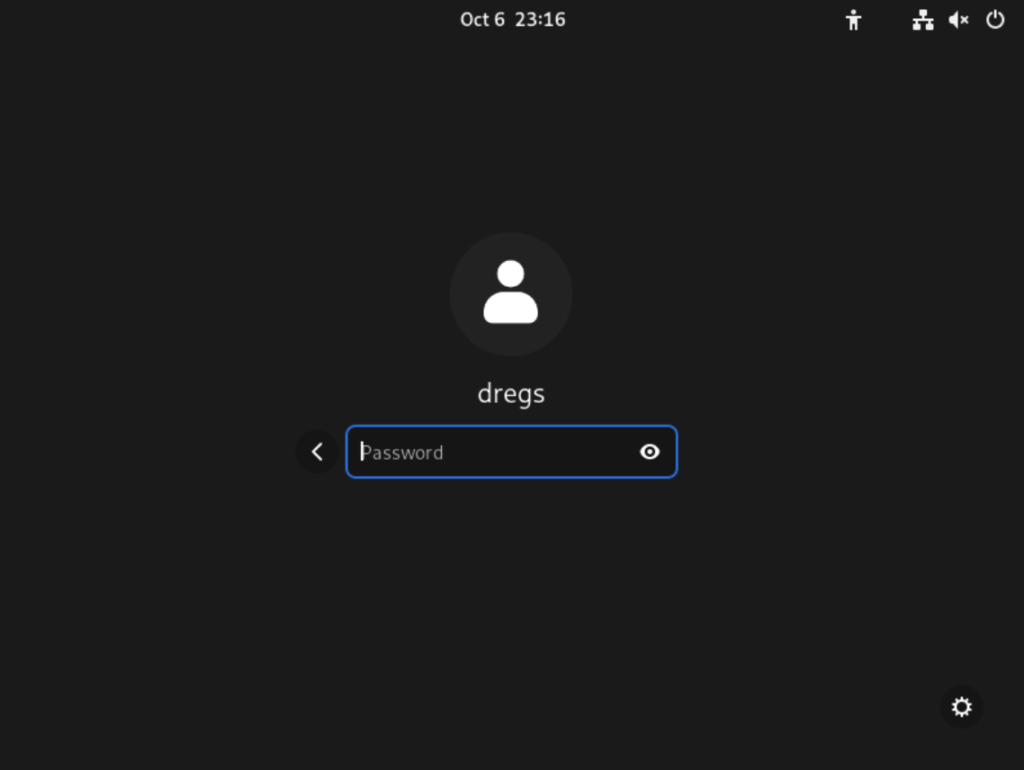
Finally, after rebooting your system, you should get a login screen that looks something like the screenshot below. For our example, the regular user account that we have created is dregs. We created this user account so that Linux does not use the root account for logging in to your desktop environment.

Click on your user account to log in, you will then be prompted for your password. It should look like the screenshot below.
Once you have entered your password to log in, you will be greeted by the default GNOME desktop, which looks something like the screenshot below.

Set Language in Settings
Once logged in to your desktop, you will want to set your Language settings. This is to avoid problems like applications, not opening. Open Settings by clicking on the “power icon” at the top right corner of your desktop and select Settings.

In this screenshot, you can see that Language has already been set to Filipino, but if you have just installed your GNOME desktop. It most likely will show that the language is “Unspecified”. This is common in newly installed GNOME, even though you have already set up your locale from the command line.
Optional: Install GNOME Tweaks
You may want to install GNOME Tweaks as well, this is optional since the GNOME desktop will work without this. However, if you install GNOME Tweaks on your Arch Linux system, you will get more control over your GNOME desktop environment. To install GNOME Tweaks, use the command below.
$ sudo pacman -S gnome-tweaks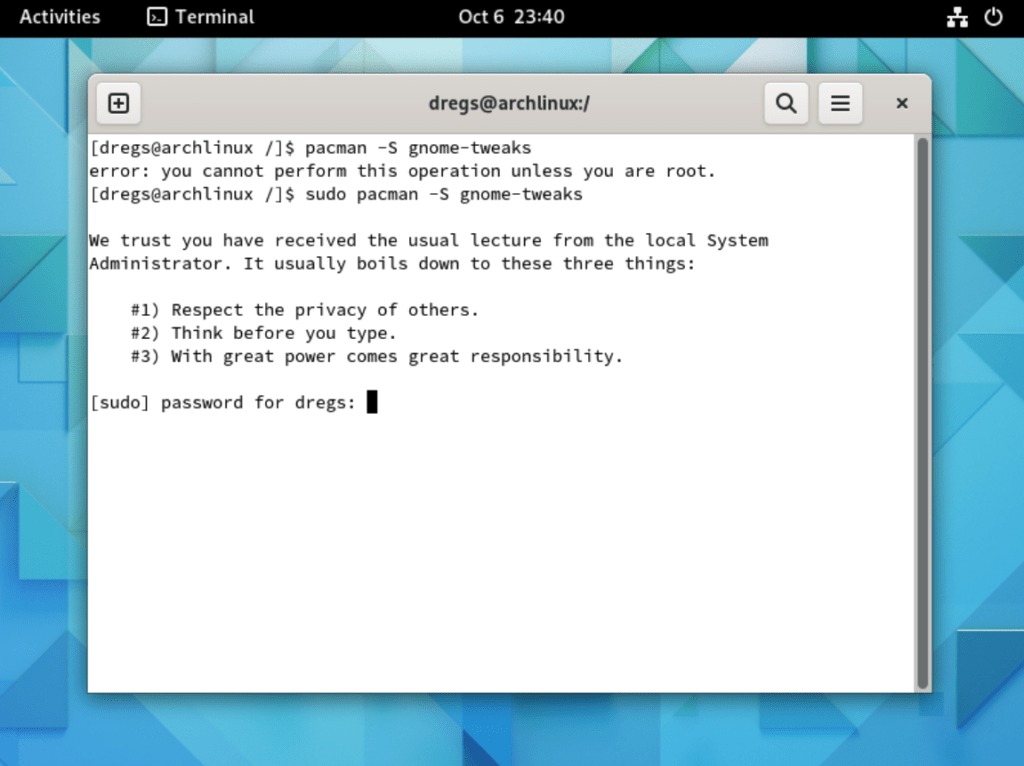
In this screenshot, you can see that we have opened the terminal from the GNOME desktop environment. Since we are logged in as a regular user and not as root, we will need to sudo our command for it to work.

After entering your password correctly, you will be prompted if you would like to proceed with the installation.
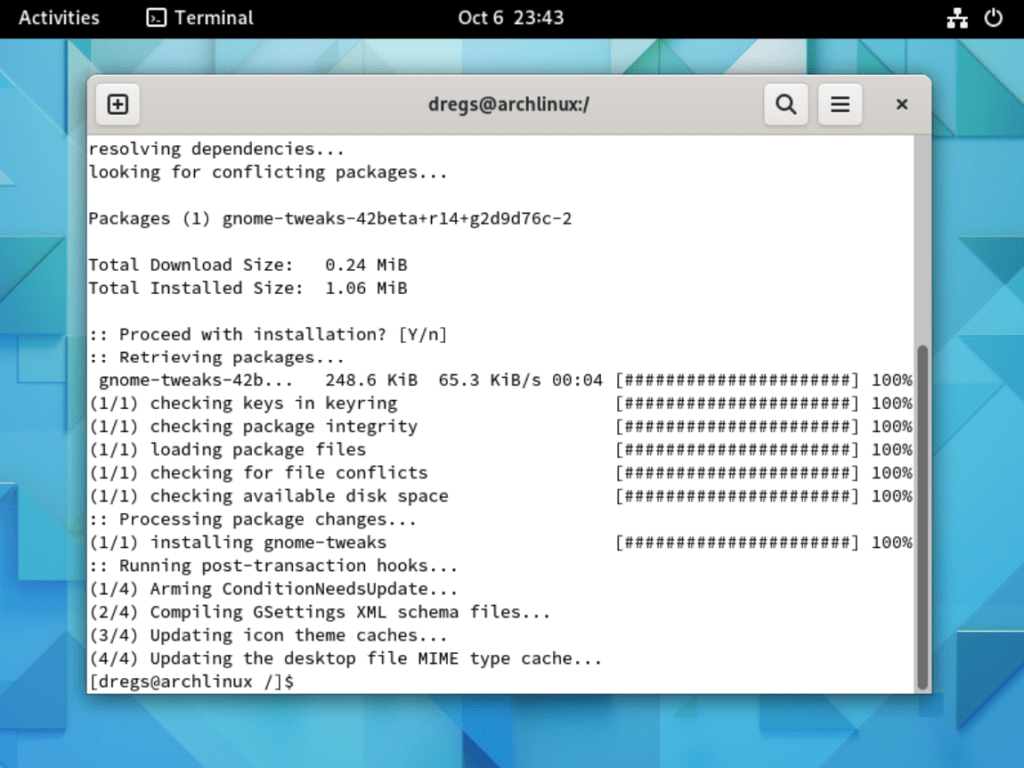
This is what you should get upon completing the installation.
Permission Error
If in case you get any problems like applications not opening due to some permission denied creating a directory error. Like what we have in the screenshot below.

This may be because you have not yet created a folder for your user account in the Home directory. To resolve this issue, use the commands below to create a directory for your user account. For our example, the user account name is “dregs”, so we will use the same name for our account directory in the home directory.

Follow the commands in this screenshot to verify that the account folder has not yet been created.
First, type in the command “ cd /home ”, then use the “ ls ” command to check if your user account folder is present in the home directory. If not, create the folder for your account using the “ mkdir ” command. Use the “ ls ” command to confirm that you have successfully created a folder for your account.
Next, you need to provide permission for your user account to be able to create directories in the folder that you have just created. Use the command below to provide the needed permission.

This screenshot shows that ownership of the dregs/ folder has been given to the user account dregs. Restart your system for the changes to take effect.
For this tutorial, we looked at how to install GNOME on Arch Linux step by step. We discussed the other important things to configure before and after installing GNOME. We addressed some errors you may encounter after the installation as well.
If this guide helped you, please share it. ?
Gerd Laureta was born and raised in the Philippines. He is a technology enthusiast and an IT professional with more than 15 years of enterprise experience. Gerd started learning about Linux in 2013 and has not stopped learning since then.
Leave a Reply
You must be logged in to post a comment.
Как установить Gnome на Arch Linux
В создании этой статьи участвовала наша опытная команда редакторов и исследователей, которые проверили ее на точность и полноту.
Команда контент-менеджеров wikiHow тщательно следит за работой редакторов, чтобы гарантировать соответствие каждой статьи нашим высоким стандартам качества.
Количество просмотров этой статьи: 19 725.
Из этой статьи вы узнаете, как установить графический интерфейс пользователя (ГИП) GNOME на компьютере под управлением Arch Linux. GNOME — один из самых популярных графических интерфейсов для Arch Linux, так как по умолчанию в Arch Linux ГИП нет.
Как настроить звук


Введите пароль суперпользователя, когда появится запрос. Этот пароль может отличаться от того, который используется для входа в систему. Введите пароль, а затем нажмите ↵ Enter .


Введите команду настройки звука. Введите alsamixer и нажмите ↵ Enter . На экране появляется ряд вертикальных полос.

Настройте уровни звука. Выберите уровень звука (например, «master» — основной) с помощью клавиш со стрелками, направленными вправо или влево, а затем поднимите или опустите громкость этого уровня с помощью клавиш со стрелками, направленными вверх или вниз. Когда вы закончите настраивать уровни, нажмите F6 , выберите звуковую карту компьютера и нажмите ↵ Enter .


Протестируйте звук. Введите speaker-test -c 2 и нажмите ↵ Enter . Из колонок раздастся звук — убедитесь, что они работают правильно.