How to Install Arch on Linux Virtual Box
![]()
Arch Linux is an operating system of Linux that is highly compatible with the central programming unit of i689 and x68-64. Its software packages encompass Pacman that is responsible for auto up-gradation, installation, and removal of software packages. Its other features cover cosmopolitan documentation and binary packages for the effective operationality of the hardware system.
Installation process
Installing Arch on Linux virtual box requires you to follow these steps:
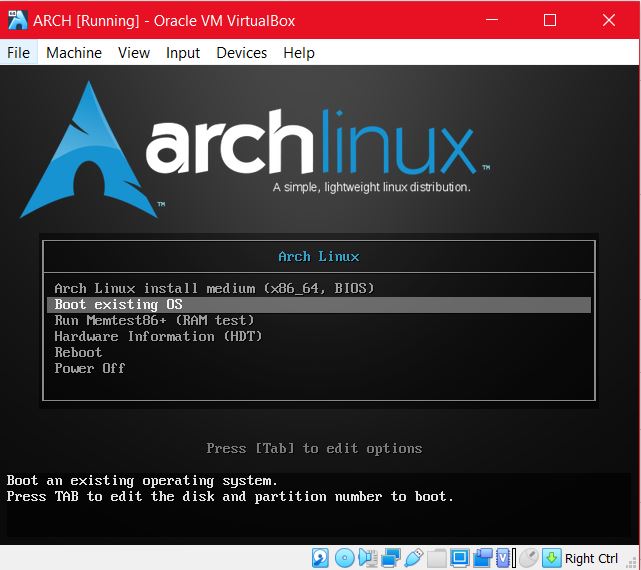
- Step#1 Booting the Arch iso
- Step#2 Arch Linux initial root shell
- Step#3 Bootable partition
- Step#4 Mount the filesystem
- Step#5 Installation of the base system
- Step#6 Arch Chroot
- Step#7 Installation of a bootloader
Booting the Arch iso
For the booting of arch iso, you first need to create the environment of the virtual box through the VirtualBox interface. Select the new option and assign a name, minimum 2GB of RAM, and a type (mostly Arch Linux 64-bit) to your virtual machine. Now generate the virtual hard disk constituting on minimal of 8GB to store your installed operating system along with its respective repositories. You can easily boot the virtual machine now; make sure to select the already existing arch Linux iso for booting because the new hard drive that you just formed is empty and hence can’t be boot right now. If you don’t make the hard drive of your VM, then the system will ask you for the location. You will see three booting options for your arch Linux initial boot; it is preferable to opt for the first option of x86_64.

Arch Linux Initial Root Shell
Once the screen for the root shell appears after selecting the boot option, it means you can go ahead and update your database and existing packages.
The command will let you download the sync Pacman package with the official Arch depository.
Bootable Partition
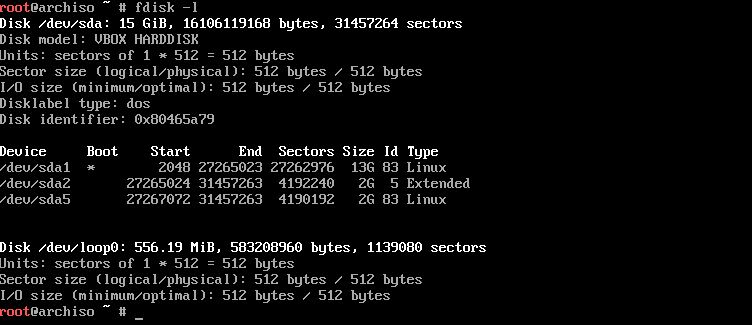
This step allows you to conveniently form disk partition, usually the between root and swap partition. You can utilize the tools of Linux distribution for the partition of your disk. The most appropriate and easy tool would be fdisk.

The output screen will visualize the options for partition as per your disk space. Use the partition that you decided while forming the hard drive.
You can also use the following fdisk command as a tool for partitioning.
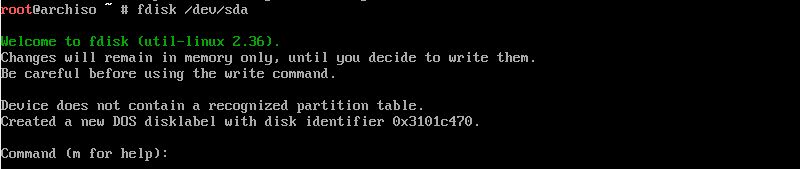
You can simply type “m” to surface all the fdisk commands as well.
Now you can use the service program of cfdisk for making it bootable. Type the following command in the terminal system
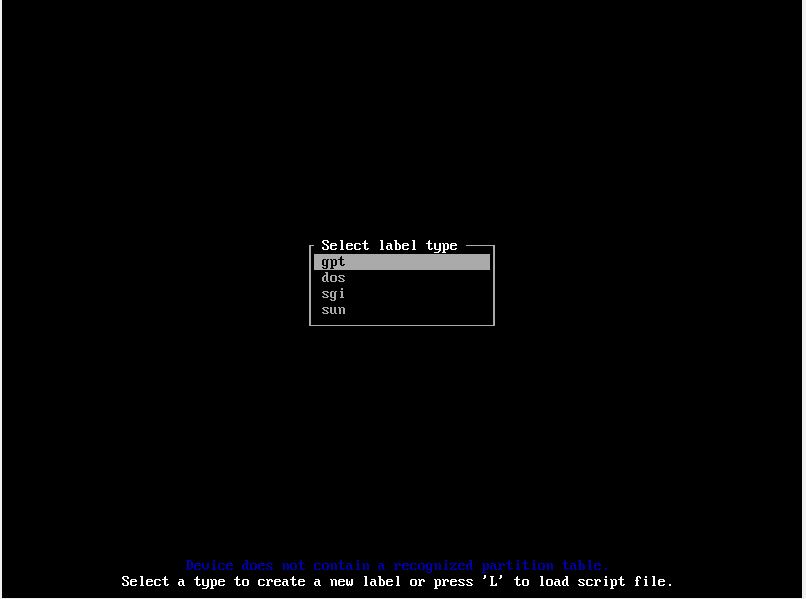
Now the screen will show you the options of gpt, dos, sgi, and sun for the label type. It is recommended to opt for dos and continue. There will appear a window on your screen; just select new and enter to create a partition. Enter again after selecting your disk space and location. /dev/sda1 will be your first partition if you are going for a single partition. Select the option of then and then the option of respectively and then press enter. You can create a root partition, a swap partition, and a home partition through fdisk. Also, you can view the partition layers for more than one partition through:
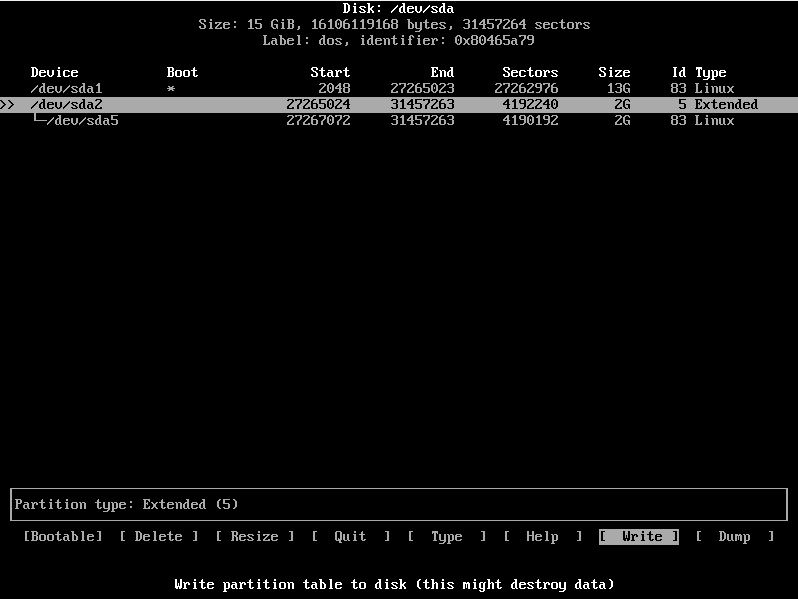
If you wish to write any changes in the partition, then use the command of
At this point, if you wish to ensure that the changes you have made in the partition are successfully made, then once again enter the command of:
To format or to create the partition for installation of arch Linux use the commands of mkfs if you wish to create a file system. And opt for mkswap for the generation of swap space.
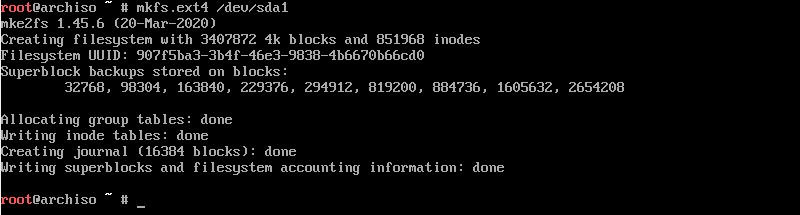
This command incorporates the ext4 type for the system file. If you are running more than one partition, then run the same command with the location of the second partition at the end, for example, sda2.

Now for the activation of the swap partition, run the command of;

If you are running more than one partition and wish to verify your layout, then you can enter the lsblk command.

Mount the Filesystem
This step supports the installation of the base system. you can run the following command to mount the filesystem so the data pertinent to/mnt will automatically be stored in your root partition.

For multiple partitions, use these commands for your home partition; the first command will form a junction n for home partition, and the second command will store the data of home partition in /mnt/home.
Installation of the Base System
To successfully install the base, and its pertinent package of base-devel, use the system program of packstrap.
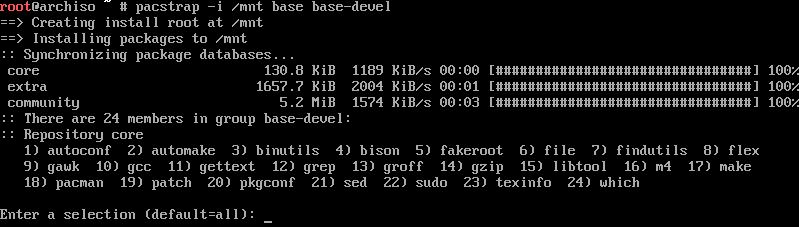
Choose the default option for download packages and proceed.
Now you need to generate a fstab file that will automatically navigate the partition to mount for the process of booting.

Arch Chroot
Use the arch-chroot command to successfully ensconce the time zones, language, and other key factors in /mnt.

For the local setting, use the following command:
Save the file then run the following command.

Now form the etc/locale.conf file by issuing the command:
$ nano / etc / locale.conf
$ LANG =en_US.UTF- 8 ( for adding your own language instead of default language )
Use the following command to set the time zone, also replace zone and subzone with your respective country and region.


To set the host system apply the command

Installation of Bootloader
We will install a grub that will boot the file from the compatible OS as a bootloader.
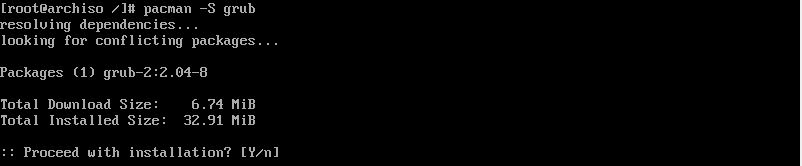


These commands will install, run, and save the grub configuration for sda disk.
Lastly, apply these commands to exit and explore the virtual environment of Arch Linux.

Conclusion
The procedure for the installation of Arch Linux on the virtual box might be a bit long. But it ensures the effective operation of Arch Linux on your server. This way you can get the benefits of Linux distributions without any discord. This guide covers the most convenient method to get Arch Linux.
About the author
Younis Said
I am a freelancing software project developer, a software engineering graduate and a content writer. I love working with Linux and open-source software.