- Astra Linux Common Edition 1.10 review
- Getting the distribution
- Installation
- License agreement
- Choosing a way to switch layouts
- Enter hostname (computer name)
- Enter full username
- Enter username
- User Password Entry
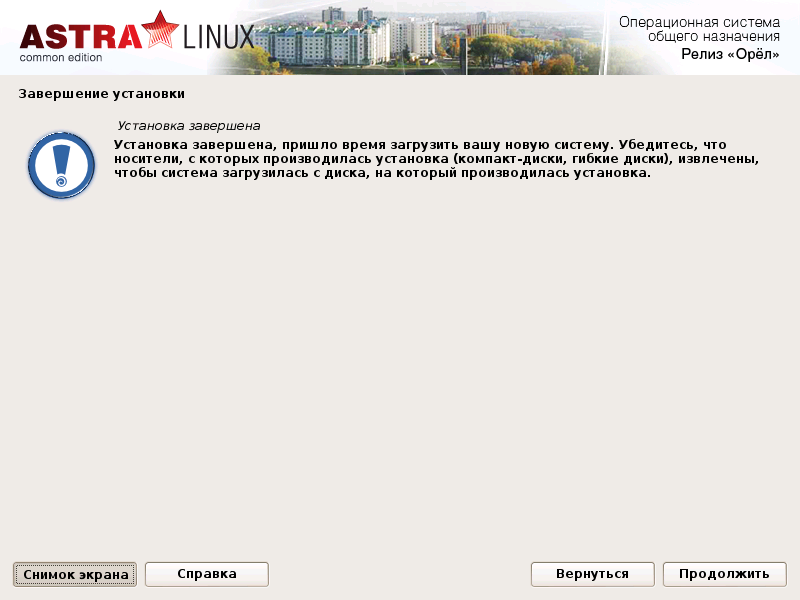
- Installation complete
- Time zone selection
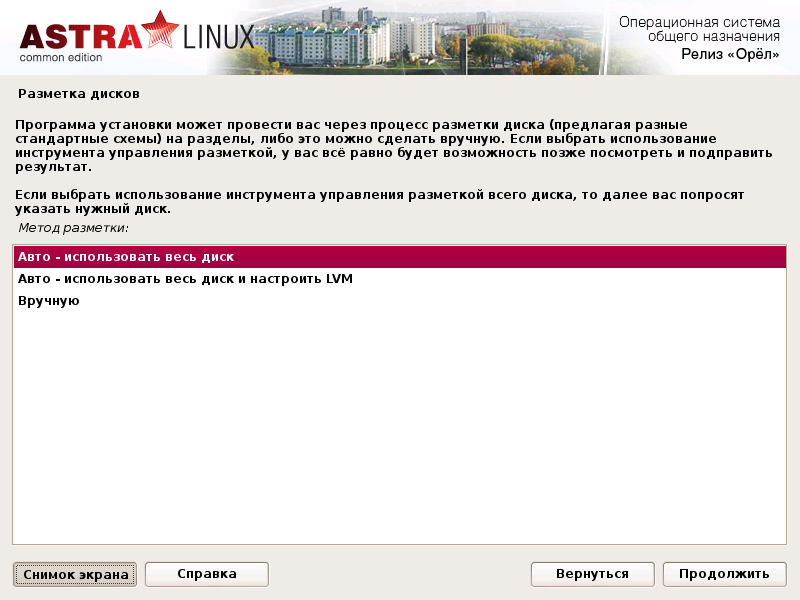
- Choosing a disk layout method
- Drive selection
- Choosing a Partitioning Method
- Display the resulting partition table
- Disk Partition Confirmation
- Software selection
- Select advanced features
- Choosing an ALD Installation Type
- Choosing Touch Screen Support
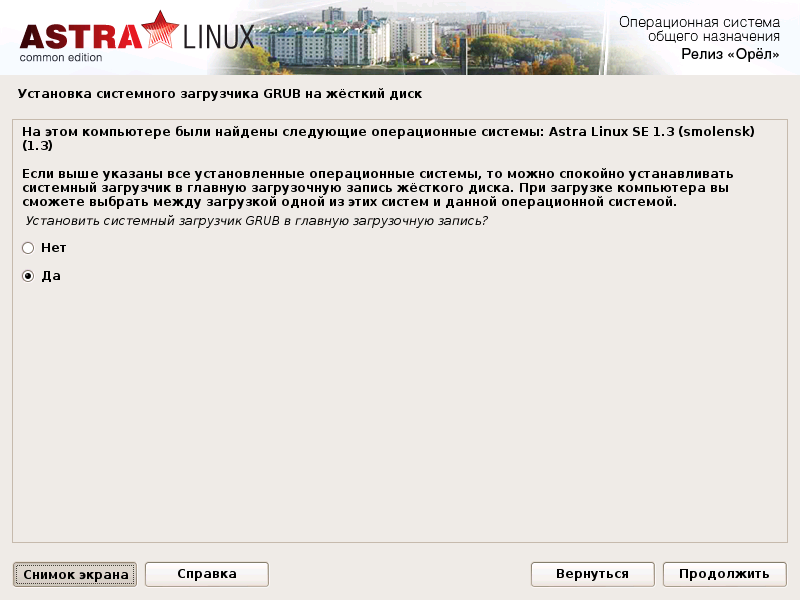
- Install bootloader
- Installation complete
- Booting the operating system and logging in
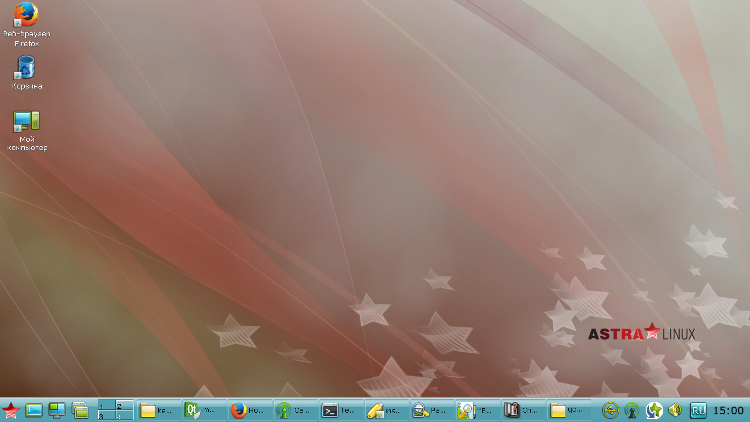
- Desktop
- reference system
- Hotkeys
- Fly terminal
- Office tools
- File manager fly-fm
- Multimedia
- Graphics Tools
- Settings
- Development tools
- Conclusion
- Also popular now:
Astra Linux Common Edition 1.10 review
The Linux the Common Edition astra (release «Eagle») is a «civil» analogue of the main product line of operating systems RusBITeh — the operating system in uniform astra the Linux Special Edition (Release «Smolensk»). If the distribution of special-purpose OSs is limited, then the distribution kit for the general-purpose version is available for download.
As described on the Astra Linux CE distribution page :
It is an operating system of the Linux class, operating on a hardware platform with x86-64 architecture, including free software components and authoring solutions of the developers of the Astra Linux Common Edition operating system, which allow expanding the possibilities of its application as a server platform or at users’ workstations .
The article describes the personal experience of using Astra Linux CE as a «home» operating system.
Note: The author is not related to the company-developer.
Getting the distribution
The distribution image can be downloaded from the official download page .
Installation
For complete installation instructions, see the installation manual (pdf) . It describes all the options and installation parameters. In a more concise form, the manual in html format is located in the distribution (install-doc / index.html). In the simplest version, the installation in graphical mode represents a sequential press of the Continue button.
The operating system can be installed from a USB drive. On each installation screen, it is possible to take a screenshot and save it to the USB from which the operating system is installed.
I did not take measurements of the installation time, but according to subjective sensations, the installation is pretty fast.
Most of the actions performed are typical of the installation process of * nix systems. For those interested, step-by-step screenshots are under the spoiler.
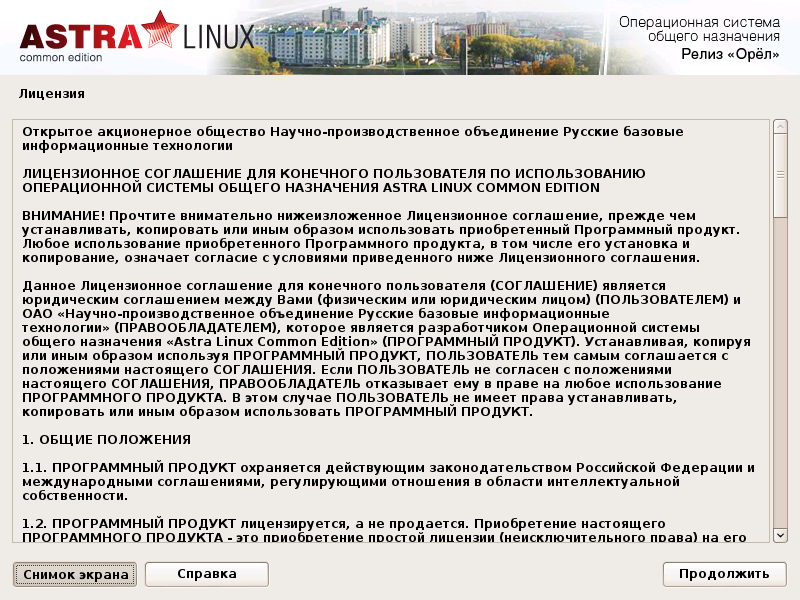
License agreement
An incomprehensible moment in the agreement is mutually exclusive phrases: “The acquisition of this SOFTWARE PRODUCT is the acquisition of a simple license (non-exclusive right) to use it” and “THE USER is entitled to transfer a copy of the SOFTWARE PRODUCT to third parties with the right to install, use and duplicate it . ”
Choosing a way to switch layouts
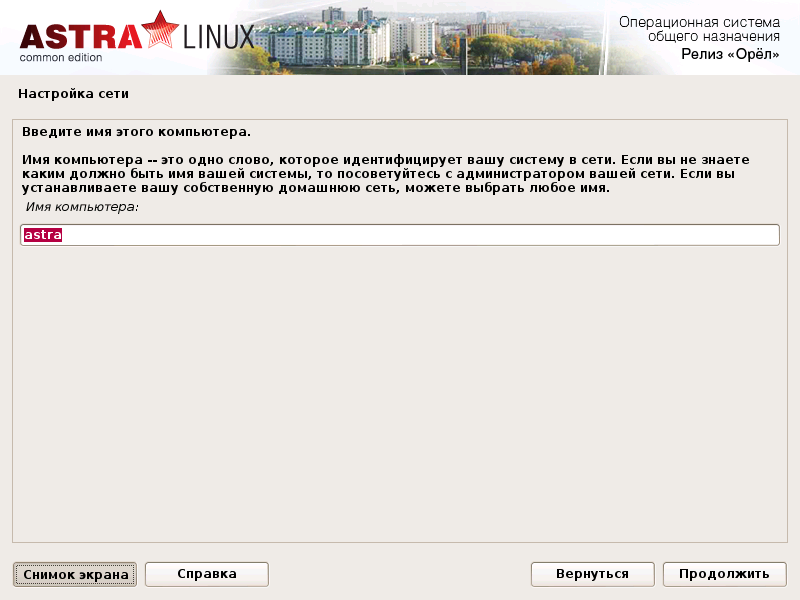
Enter hostname (computer name)
Enter full username
In addition to the application indicated in the screenshot, the full user name, along with others registered in the system, will be displayed in the list on the login and password entry page, and clicking on the list item will substitute the corresponding account name in the login string.
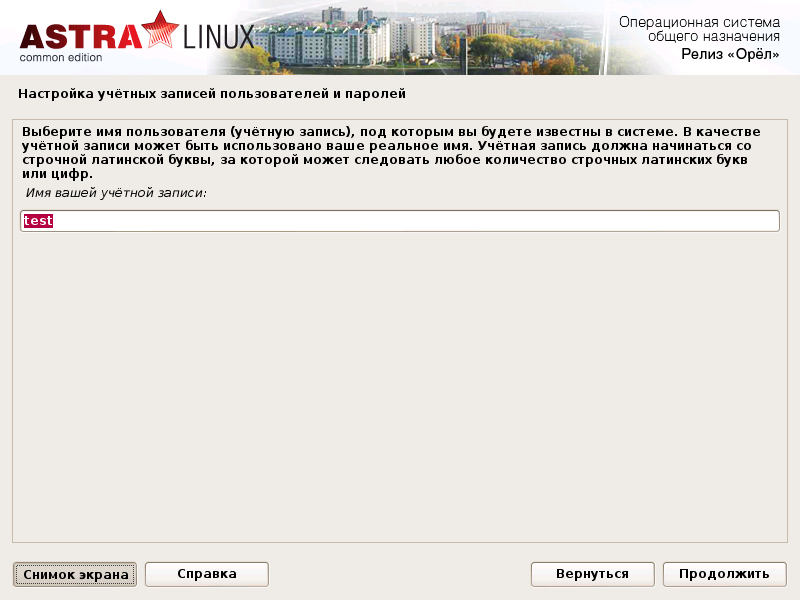
Enter username
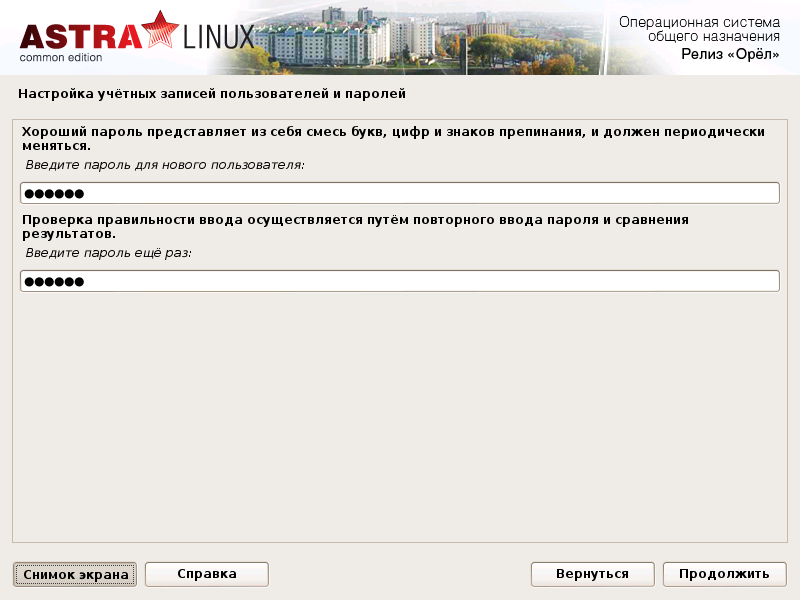
User Password Entry
Installation complete
Time zone selection
Only time zones in which the territory of Russia is located are presented in the list.
Choosing a disk layout method
I chose «Auto», because I put it on a separate drive.
Drive selection
This is an important step — choosing the wrong drive can overwrite the neighboring OS with all the data. My wheels differed both in volume and in manufacturer. If there are two identical disks, then it is worth determining exactly which of them is who.
Choosing a Partitioning Method
Selected everything in one section.
Display the resulting partition table
Disk Partition Confirmation
Software selection
I chose everything — let it stand, it will come in handy.
Select advanced features
This is an interesting screenshot. The fact is that I erased my screenshots and used them from the installation guide. So when installing a number of items from the screenshot, no. Later I will repeat the process already in the virtual machine and add which ones.
Choosing an ALD Installation Type
- Global user authorization in a Kerberos protected domain
- functioning of a global repository of home directories accessible via NFS4;
- automatic configuration of all necessary configuration files for UNIX, LDAP, Kerberos, NFS, PAM;
- centralized management of user and group accounts;
- support for LDAP and Kerberos database compliance;
- Creating backup copies of the LDAP and Kerberos databases with the possibility of recovery.
Choosing Touch Screen Support
Touch screen (tablet) support — new in version 1.10.
Install bootloader
In my case, the installer recognized the presence of the Windows operating system on the neighboring drive, and after installing GRUB, this OS appeared in the general list of available OS downloads.
Installation complete
After rebooting, Astra Linux will be fully operational.
After installation, there was one obscure point: where is the password for the superuser? Having looked through the reference manual, I found such a form, but in fact it did not appear during the installation process. Then I had to create a root account in recovery mode.
Booting the operating system and logging in
GRUB bootloader with branded background. When the system starts, the server fly-dm and the graphic part of the fly-qdm shell start .
All applications with the prefix fly- are the development of the authors of the distribution. Most of them have mnemonic abbreviations (for example, fly-fm — file manager, fly file manager).
Desktop
In the left part of the taskbar there are buttons for calling the start menu-panel Fly, a button that minimizes / maximizes all windows, a button for activating the desktop selection mode, a button for displaying a window switcher and a schematic representation of desktops.
The taskbar set on the right depends on the currently running programs, but in the general case it contains the fly-admin-wicd network connection manager , the fly-update-notifier update check utility , QasMixer volume control, the fly-xkbmap keyboard layout indicator / switch , and the fly-admin clock -date . When a USB drive is connected, an icon appears, clicking on which you can mount the drive and open the contents in the fly-fm or Midnight Commander file manager.
reference system
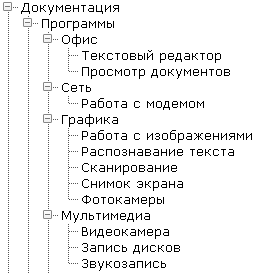
By calling this or that fly program and pressing F1, you can get help on this program. Help is displayed in Qt Assistant. According to the tree structure, it is possible to go to any program. All programs are divided into sections.
Hotkeys
Almost all hot keys perform actions similar to (or similar to) those in MS Windows. For example, pressing the Win key opens a menu bar. Alt + tab displays a window switcher. Win + D minimizes all windows, and pressing Win + D again maximizes the windows (but their order is already changing — they are expanded from the first to the last according to their order in the taskbar), Win + E opens the fly-fm file manager.
A full description of the hot keys is in the help system.
Fly terminal
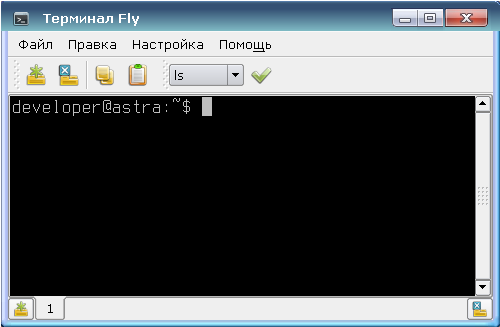
The Fly terminal is a graphical shell for the bash shell 4.2.37 (1).
The terminal allows you to create sessions in new tabs, which are numbered as they open. Tabs can be renamed. In the drop-down menu in the taskbar, you can select a command from a predefined list (if you are too lazy to enter with your hands). The contents of this menu can be customized by adding your own commands and redefining the order of the commands. For the terminal, you can select one of the predefined color schemes, or set your own.
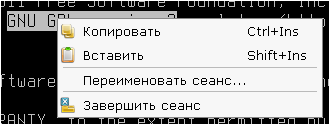
Having selected the text, you can right-click and select the required action in the context menu that appears.
Office tools
Office tools are represented by the LibreOffice 4.2.4.2 package, GoldenDict dictionary, pdf qpdfviewer pdf viewer, and JuffEd text editor.
File manager fly-fm
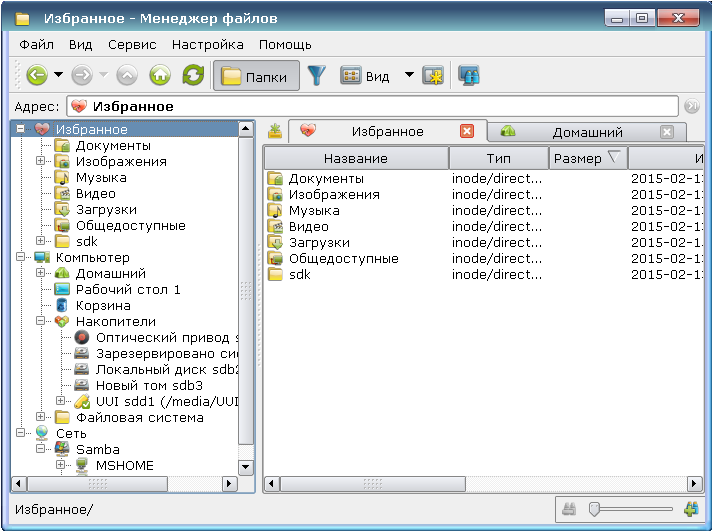
The file manager looks very much like Explorer from the Microsoft world.
Directories can be opened in fly-fm both in separate windows and in new tabs. The “Favorites” location allows you to add links to directories, for this you need to go to the desired directory, right-click on Favorites and select “Add current location to Favorites”. Only in practice, this feature is sometimes useless, since the path in the form of “Favorites / sdk” is displayed in the address bar and tab and if we add another “sdk” directory to “Favorites”, their address will look the same.
Using fly-fm you can directly connect FTP directories, for this you need to enter the corresponding address in the address bar. The FTP directory will appear in the Network location.
To open a terminal in the current directory, you can select Tools-> Open Terminal, while the current directory will be the one that is current in fly-fm.
You can create a new file in any (accessible) directory by selecting the appropriate item from the context menu.
Note: in the previous OS version in fly-fm there was an annoying flaw — it was impossible to copy the file to the same directory — the manager suggested replacing it with oneself. In the current version, the text “Copy of file (1)” is added to the file name.
Multimedia
- VLC Media Pleer
- QasMixer
- Audacity
- Clementine
- guvcview
- Camcorder (fly-videocamera)
- Sound Recording (fly-record)
- Burning discs (fly-cddvdburner)
Graphics Tools
- Gimp
- Easypaint
- Inkscape
- Work with images (fly-image)
- Text Recognition (fly-ocr)
- Scan (fly-scan)
- Screenshot (fly-snapshot)
- Cameras (fly-photocamera)
Also, among the standard graphics programs, I personally lack a color picker. I had to install gpick from the Debian Wheezy repository.
Settings
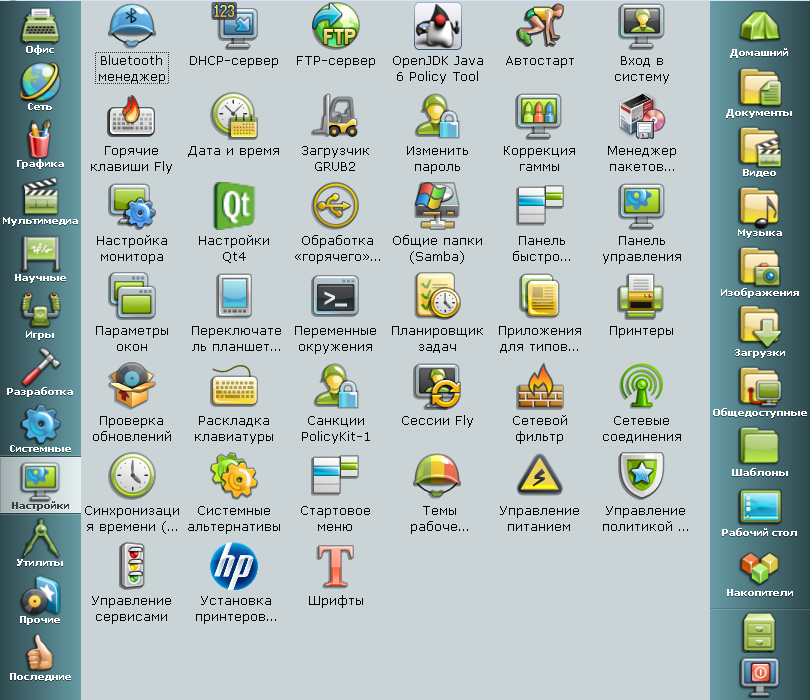
A description of all the programs for setting up the system would take impermissibly a lot of space, so I’ll just give a screenshot of this section of the Fly menu bar, which is called up by clicking on the red star in the lower left part of the screen.
The programs from the “settings” section allow you to make most of the necessary changes to the system configuration exclusively in windowed mode (within the framework limited by their functionality).
Development tools
The creation of fly applications is governed by the Astra Linux Common Edition (pdf) General Purpose Application Software Design Guidelines . This document lists all the development tools available in the system.
The main development framework for Astra Linux is Qt 4.8.6 for version 1.9 and 4.8.6 / 5.3.0 for version 1.10. When you select «Development Tools» when installing aster 1.10, only the set for Qt 5.3.0 will be installed, for 4.8.6 you need to install the libqt4-dev package.
Below is the contents of the tab «Development» of the launch panel menu.
Conclusion
Would I recommend installing Astra Linux Common Edition as a simple user desktop system? More likely no than yes, unless you have a need / interest.
The whole feature and the actual reason for creating Astra Linux (in my opinion) lies in its specialized version. Initially, this distribution was not created for home users. You can look at the page with a list of compatible equipment and understand that most users “installing” the system on their equipment will have compatibility problems (they had to install the Nvidia proprietary driver for a discrete card on the PC (since there were display problems with nouveau), laptop — driver for Wi-Fi).
But I am glad that the system is actively developing, the shortcomings that were in previous versions are being eliminated. I hope that in the next release the system will become even better.
