Arduino with Bluetooth: A Guide to Which Boards Have it and How to Add it
Typically the Arduino nano family is designed to work well in Bluetooth Low Energy applications, as well as function in regular Bluetooth modes as well. The UNO and MKR families also come with a model that supports Bluetooth as well (the WiFi Rev 2 and the WiFi 1010 respectively). The higher end boards (Vidor and Portenta) come with Bluetooth as well, though I’ve found they generally serve more niche applications than the general purpose boards (Nano, UNO, MKR etc.).
The popular Mega and Due families of boards do not come with Bluetooth built-in. Bluetooth can be added to these, and other boards which do not come with Bluetooth, using a Bluetooth shield or a serial to Bluetooth module. These typically cost between $10 and $20. I’ve included more detail in the guide below below.
If you’re interested in choosing the best Arduino for beginners, I compared all the popular models based on their costs, how easy they are to use, and whether they have features such as Bluetooth and WiFi built in. Check out my complete guide here: chipwired.com/best-arduino-for-beginners/
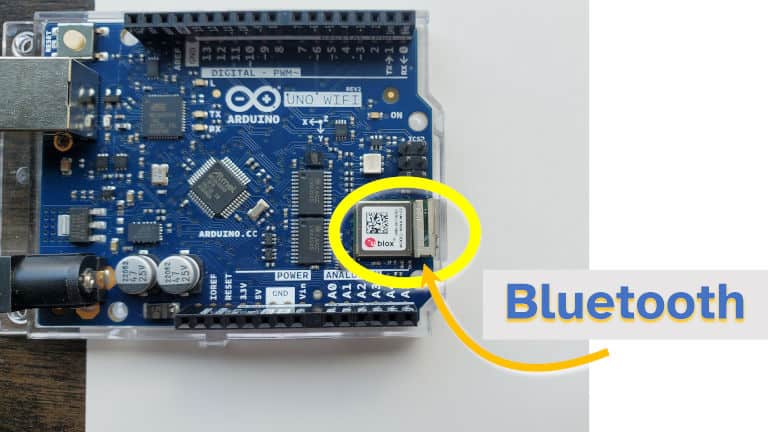
To identify if an Arduino has Bluetooth built in, look for the u-blox chip and antenna on the top of the Arduino board. The u-blox chip allows the Arduino to act as a client or host device with support for both BLE (Bluetooth Low Energy) and regular Bluetooth.
If your Arduino has Bluetooth built in, you can then use the ArduinoBLE library to add code to a sketch that works with Bluetooth. The library reference can be found here. If adding Bluetooth by shield or serial module (see below), then working with Bluetooth is accomplished using the serial interface/library.
In this guide I’ve also looked at at:
- Cost of Arduino boards that have Bluetooth included
- How to add Bluetooth to an Arduino board (and how much it typically costs)
- How to programme an Arduino using Bluetooth
- Example projects that use Bluetooth
How much an Arduino with Bluetooth Costs
An Arduino with Bluetooth can cost as little as $18, however the cost can go over $100 depending on other features of the board. For most Bluetooth-related projects, expect to spend between $20 and $45 on an Arduino with Bluetooth built in.
The table below lists all the Arduino models that come with Bluetooth built in, and how much each of them costs:
| Arduino Model | Typical Cost |
|---|---|
| Nano 33 IoT | $18.40 |
| Nano 33 BLE | $20.20 |
| Nano 33 BLE Sense | $31.10 |
| MKR WiFi 1010 | $32.10 |
| UNO WiFi Rev2 | $44.80 |
| MKR Vidor 4000 | $72.40 |
| Portenta H7 | $103.40 |
Typical costs of Arduino models with Bluetooth
The Nano 33 series are designed to be small form factor boards great for wearable devices and gathering data from sensors. Being equipped with Bluetooth, they can operate as a Bluetooth peripheral and be used to send data back to a host.
The Nano 33 series and the MKR WiFi 1010 operate at 3.3V. This means they may not always be compatible with 5V shields. There are work-arounds available to get them working with 5V shields, but if you have a shield in mind then it may be best to check the compatibility before buying one of these boards. I chose the UNO WiFi Rev2 for my first board because of its support for a variety of shields.
Other popular Arduino boards, such as the Mega family and the Due, do not come with Bluetooth included. In the next section of this guide I’ve included how to add Bluetooth to an Arduino which doesn’t already come with it.
How to Add Bluetooth to an Arduino
Bluetooth can be added to any Arduino using either a shield or by connecting a Bluetooth transceiver with a serial connection. It typically costs between $10 and $20 to add Bluetooth to an Arduino depending on if a shield is used (more expensive) or if a serial connection is used (cheaper).
To add Bluetooth to an Arduino:
- Select the shield or serial module that you want to use
- Add the appropriate code/sketch and upload this to the board
- Start communicating via Bluetooth as you would with any other Arduino
The code to add should be based on the serial communication library rather than the ArduinoBLE library (as this library is for the Nano and similar devices with Bluetooth built in).
Arduino themselves no longer makes Bluetooth shields as far as I can tell, however examples from third parties can be found here and here. These typically cost just under $20.
There are also some Bluetooth serial transceivers that can be configured to communicate with an Arduino. These are a bit cheaper than a shield, typically costing around $10 (examples here and here). I can imagine they are more difficult to configure however. I also found a tutorial here if you need help setting up serial Bluetooth.
Personally I’ve never tried either of these options (usually I use an Arduino with Bluetooth already built in), but if you’re having trouble with it please let me know and I’ll see what I can do to help.
Bluetooth Project Examples
Some examples of interesting Bluetooth projects I found (if you’re looking for inspiration):
The project I had in mind when I wrote this article was to make a simple Bluetooth input device to a computer using my Arduino. But I feel it’s not as impressive of a project as some of the ones listed above.
Bottom Line
- Bluetooth is built in to most boards in the Nano family, as well as select boards of the UNO and MKR families;
- ArduinoBLE is the library that can be used to access features of the in-built Bluetooth chip;
- Bluetooth can be added to other Arduino boards using a shield of a serial to Bluetooth module, this typically costs $10 to $20.
Chris is an electronics engineer by training looking to get back to his roots by building useful electronics projects. A Bluetooth peripheral device is one of the first he wants to explore.
Engineer and electronics enthusiast. Enjoys solving problems with electronics and programming.
Recent Posts
Have you ever wondered whether Raspberry Pi can talk to a satellite? I put this guide together to show you how a Raspberry Pi can indeed connect to a satellite to send and receive short.
I believe sensor projects are one of the best ways to use a Raspberry Pi. A Pi can easily be setup to collect data from sensors, and use that data to make decisions. This is fundamental to many great.
About
Unleashing the power of small computers. I believe cheap small computers have incredible potential and I want to help unleash that potential with you.
Hi! My name’s Chris, I’m an engineer, a consultant, and I enjoy getting things done with electronics. I’m here to help you unlock the value of small computers and embedded computer systems.
Урок 15. Bluetooth модуль HC-06 подключение к Arduino. Управление устройствами с телефона.
ГЛАВНАЯ / Уроки и проекты / Урок 15. Bluetooth модуль HC-06 подключение к Arduino. Управление устройствами с телефона.
Очень часто в ваших проектах возникает необходимость в дистанционном управлении или передачи данных с ваших телефонных гаджетов.
Один из самых популярных и распространенных методов обмена данными посредством Bluetooth.
Сегодня мы разберем простые примеры как можно подключить Bluetooth модуль к Arduino и настроить дистанционное управление с телефона.
Нам понадобится:
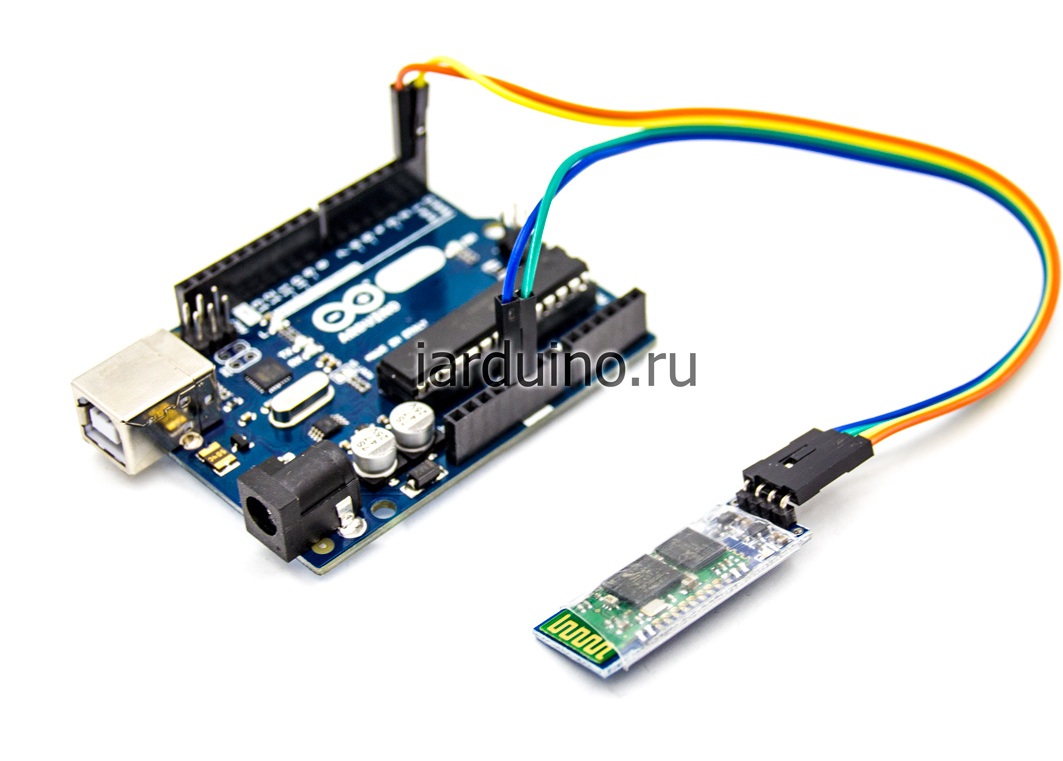
Схема подключения Bluetooth к Arduino:
Подключать Bluetooth модуль к микроконтроллеру Arduino удобнее всего с помощью проводков ПАПА-МАМА.
| Arduino | Bluetooth |
|---|---|
| Pin 1 (TX) | RXD |
| Pin 0 (RX) | TXD |
| GND | GND |
| 5V | VCC |
Будьте внимательны, подключать подключать нужно TX -> RXD ,RX -> TXD.
Теперь необходимо записать пробный код программы:
Во время загрузки скетча необходимо что бы Bluetooth модуль был отключен от микроконтроллера arduino. В противном случае скетч не запишется, потому что связь с Bluetooth модулем происходит по одному и томуже порту RX и TX, что и USB.
int val; int LED = 13; void setup() < Serial.begin(9600); pinMode(LED, OUTPUT); digitalWrite(LED, HIGH); >void loop() < if (Serial.available()) < val = Serial.read(); // При символе "1" включаем светодиод if (val == '1') < digitalWrite(LED, HIGH); >// При символе "0" выключаем светодиод if ( val == '0') < digitalWrite(LED, LOW); >> >
После того как скетч записан и Bluetooth модуль подключен к Arduino, можно перейти к следующему шагу.
Подключение Bluetooth к телефону
Желательно в качестве источника питания для arduino использовать не USB, а внешний Блок питания на 9 В.
- Включаем Bluetooth на телефоне и ищем новые устройства
- Находим в списке расстройств «HC-06″ и подключаемся к нему.
- Телефон спросит пин-код. необходимо ввести «1234» или «0000«
- Ура. Устройство подключено.
Теперь нужно скачать bluetooth terminal на ваш телефон. Мы рассмотрим на примере платформы Android.
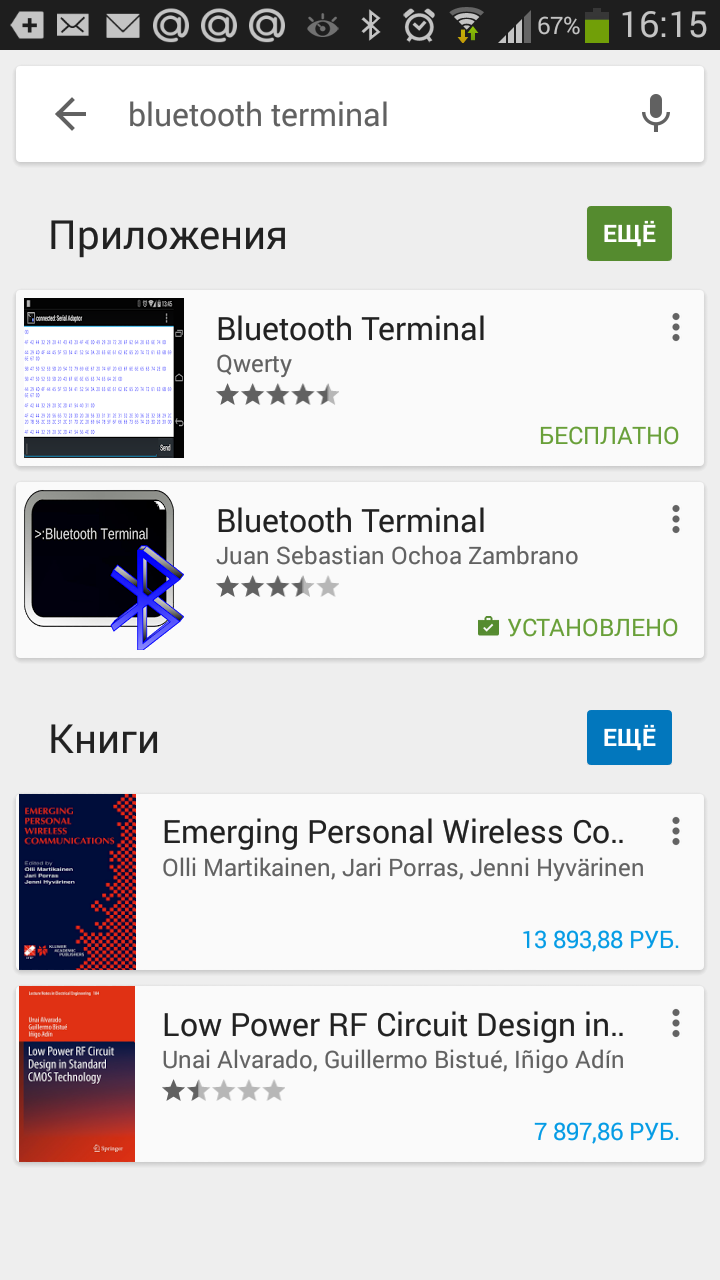
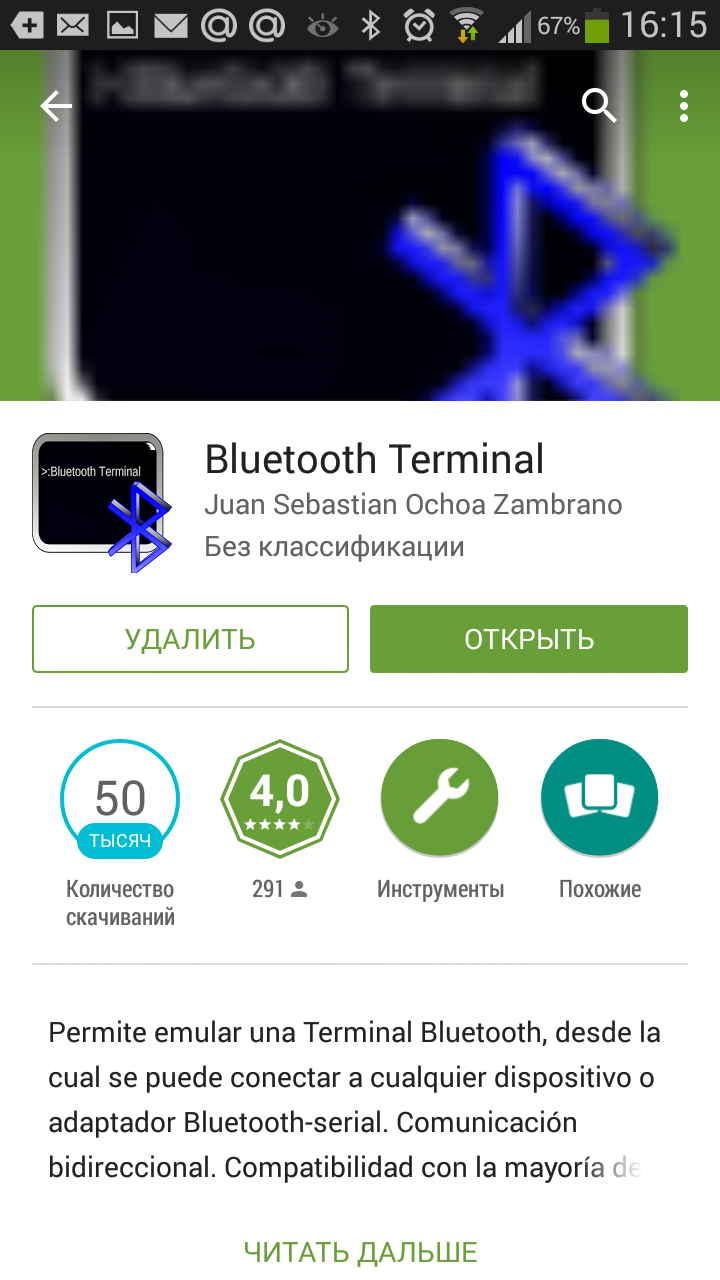
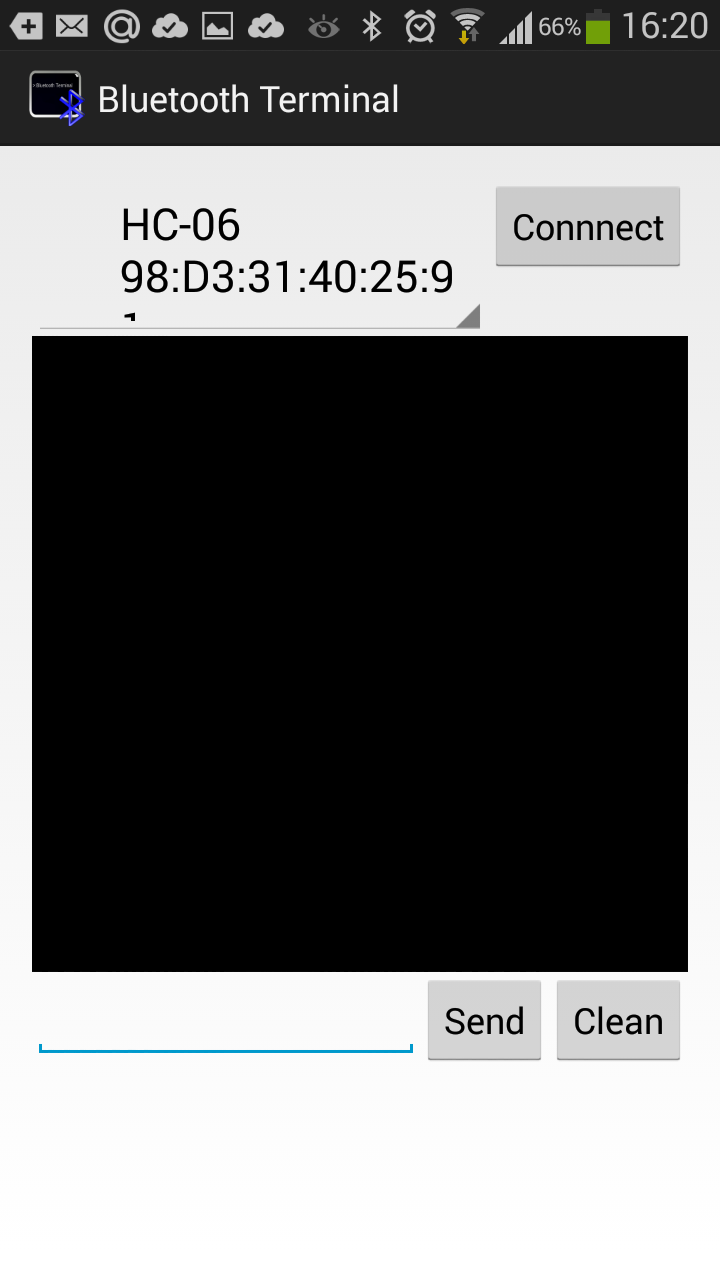
Вы можете установить разные bluetooth терминалы, как правило они отличаются только разными дизайнами, функционал от этого не меняется. Так же можно найти и терминал и для продуктов ios.
После того как мы установили терминал, запускаем его выбираем наш bluetooth модуль HC-06 и подключаемся к нему.
Пришло время попробовать проект в деле. Пишем в терминале цифру «0» и отправляем. Светодиод L который находится на плате arduino рядом с pin 13, должен погаснуть. Теперь отправим через терминал цифру «1» и светодиод L должен зажечься.
Демонстрация работы:

Домашняя работа:
- Изменить скетч так, что бы светодиод зажигался и потухал с помощью одной и той же команды например «G».
- Дописать скетч и научить его преобразовывать текстовые данные приходящие через блютус в цифровые и реализовать димер, зажигать светодиод с помощью ШИМ, на заданную яркость от 0 до 254 приходящую через bluetooth.