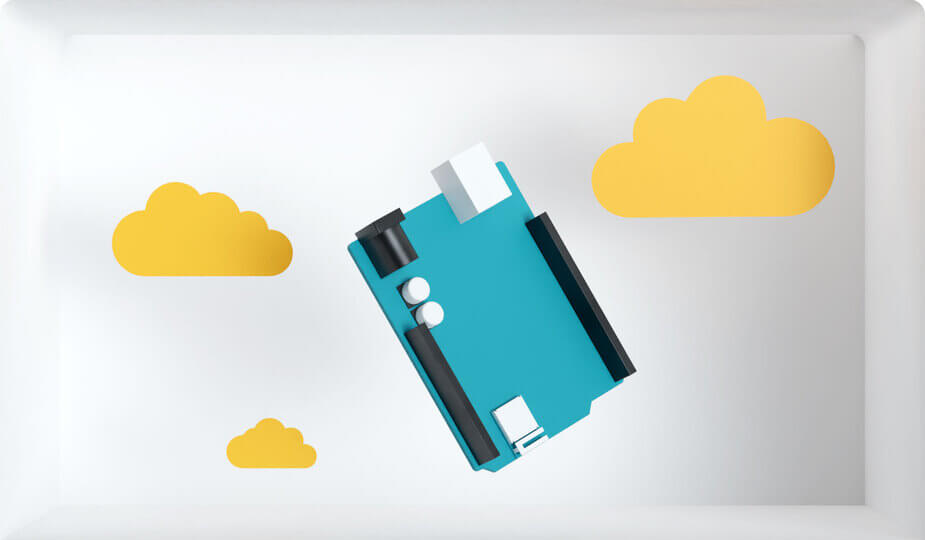
- Робот на Arduino, управляемый по Bluetooth со смартфона
- Ссылки на уроки по L298N и Bluetooth модулю
- Описание робота
- Инструкция по сборке робота
- Bluetooth rc controller скетч
- Arduino Bluetooth RC Car (Android Controlled)
- Introduction: Arduino Bluetooth RC Car (Android Controlled)
- Step 1: Remove the Existing Rc Circuit
- Step 2: Breadboard Schematic
- Step 3: Code
- Attachments
- Step 4: Android Bluetooth Controller
- Step 5: Video of My BT ArduiCar
- 13 People Made This Project!
- Recommendations
- Project-Based Learning Contest
- Metal Contest
- Colors of the Rainbow Contest
- 192 Comments
- Silverlit RC 1:16 Enzo Ferrari
- Simple Bluetooth RC Car (Arduino Nano + HC-05)
- Introduction: Simple Bluetooth RC Car (Arduino Nano + HC-05)
- Step 1: The Hardware
- Step 2: Connections
- Step 3: Codding
- Attachments
- Step 4: Testing
- Be the First to Share
- Recommendations
- Make It Bridge
- Unusual Uses Contest
- Metal Contest
- 12 Comments
Робот на Arduino, управляемый по Bluetooth со смартфона
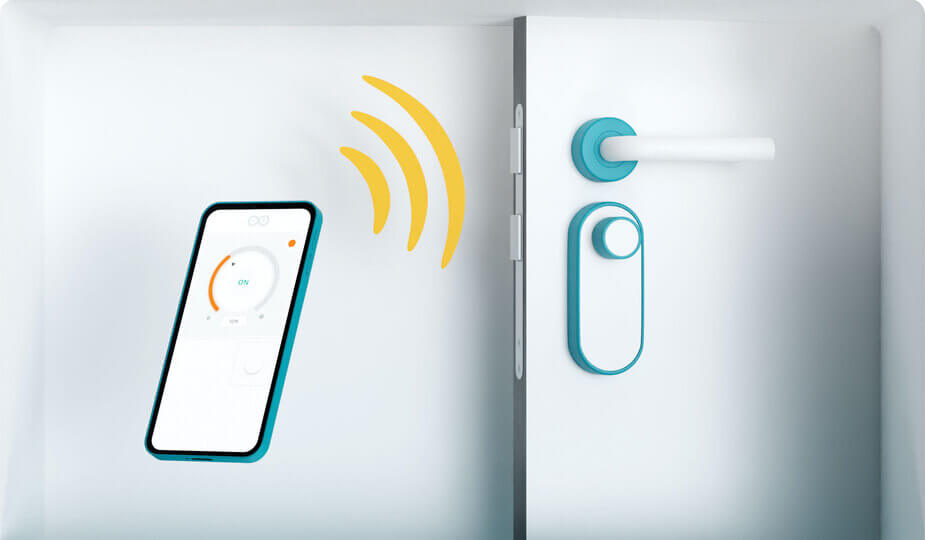
Всем привет! Сегодня я покажу вам как создать робота, управляемого по Bluetooth со смартфона. В этом уроке использованы:
1. Плата Arduino Uno с кабелем для подключения к компьютеру
2. Компьютер с установленной Arduino IDE и драйверами для плат
4. Драйвер двигателей L298N
5. Bluetooth модуль HC-05 или HC-06
8. Аккумуляторы 18650 2 штуки и бокс для них
Ссылки на уроки по L298N и Bluetooth модулю
Вот ссылки на мои уроки по Bluetooth модулю и драйверу L298N:
Описание робота
Корпус робота, двигатели и электронные компоненты я взял из набора «Мобильные роботы на базе Arduino». Натолкнулся я на этот набор когда ещё только начал заниматься Arduino. Помню, как провозился целый месяц, чтобы робот наконец-то начал слушаться смартфона))) Заказать его можно как в некоторых интернет магазинах, так и на официальном сайте . Вместе с набором идут компоненты для сборки роботов, о которых я расскажу в своих дальнейших статьях.
Вот как выглядит робот из набора (извиняюсь за качество фото, лучше сделать не могу):
Робот имеет четыре мотора с четырьмя колёсами. Управляться он будет со смартфона с помощью программы Bluetooth RC Controller, о которой я уже писал в статье про Bluetooth модуль. Давайте же приступим к написанию программы для нашего робота, но сначала нужно его собрать.
Инструкция по сборке робота
Вот инструкция по сборке робота из набора (листайте по стрелочкам):
Bluetooth rc controller скетч


Rather than buying something, make it.
Browse thousands of projects created by the Arduino community
793143 views • 605 comments • 415 respects

Arduino Based Mini CNC 2D Plotter
164465 views • 40 comments • 214 respects
212026 views • 90 comments • 57 respects
156815 views • 63 comments • 60 respects

Ultrasonic Security System
162446 views • 142 comments • 188 respects
Measure Heart Rate and SpO2 with MAX30102
321429 views • 154 comments • 244 respects

Share and Compete in Project of the Month!
Unlock amazing rewards by submitting your project today.


Create projects fast, with no coding
Import, use and customize ready-made templates for your IoT projects
Dream big, we will take care of the rest
See what you can create with Arduino Cloud
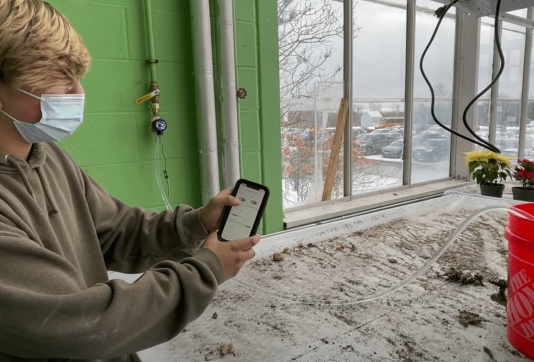
White Mountains Regional High School
Discover how this school is working with remote sensing applications that allow them to do things like automate lighting, regulate temperature, adjust humidity, and check on the greenhouse from their phones.
Smart ovens take a leap into the future
How a strong partnership and the Arduino Portenta Machine Control led historical company Rinaldi Superforni to revolutionize their business


The new Portenta X8 and Max Carrier
Industrial Arduino and Linux combined to get the best of both worlds
Arduino Bluetooth RC Car (Android Controlled)


Introduction: Arduino Bluetooth RC Car (Android Controlled)


Hello, in this project I will show you how to transform an RC toy car to Bluetooth controlled through your Android smartphone!
Before starting, make sure that you have:
- Arduino uno board
- L293D motor driver
- HC-06 Bluetooth module
- RC Car that can fit all the above !
- 1M & 100K resistor for battery level
- 4x leds for lights
- 1x speaker/buzzer for horn sound
For power, you can use the existing batteries (4x 1.5V AA), or replace them with a LiOn rechargeable battery pack.
(I used 12V LiOn rechargeable battery pack)

Step 1: Remove the Existing Rc Circuit
Before starting, remove the existing rc circuit. You will not need it any more. you will make a better one from the beginning with Arduino uno 😉
Now, with one battery AA 1.5V you must find the polarity of 2 c motors.
- For movement motor (back side) the positive polarity cable will be that moves the car forward.
- For direction motor (front side) the positive polarity cable will be that moves the wheels left.
Step 2: Breadboard Schematic
Ι suggest you to build your circuit on (small) breadboard first.
You can use on/off switch of car like this:
If you have a «big» rc car it will need more power so you can use L298 module board. L293D motor driver will give max 0.5A per channel and it will be come very hot after while. L298 module board has a heat sink and can give 1A per channel, but is bigger than L293D.
Step 3: Code
Download and open file with Arduino ide. Read every line of code (+comments) to understand how it’s working and then upload it to your Arduino uno board!
(for programming arduino uno board you must disconnect first the RX & TX pins of Bluetooth module)
Attachments
Step 4: Android Bluetooth Controller
To control your new Bluetooth car, download and install this android application:
First enable Bluetooth and establish connection with BT module.
(ex. HC-06, password 1234)
Use «Help & info» button if you can not understand how it is working.
Accelelometer function is under developing, use with attention!
If you have problem with this app on your android device you can also use this one.
Step 5: Video of My BT ArduiCar
Video is in Greek language but I believe that you can understand it.
Remember that Bluetooth technology will give you max 15-20 meters of control.

13 People Made This Project!


Did you make this project? Share it with us!
Recommendations


Project-Based Learning Contest

Metal Contest

Colors of the Rainbow Contest

192 Comments

bro i want to add a ultrea sonic [distance sensoer] to the same code that is the car will stop automatically when objects come naear 2meters,plz pm me harinadh.38@gmail.com

could you kindly send this also to me? i am also planning to add the ultrasonic sensor 🙂 thank you, my email is jmangubat528@gmail.com
IM SOORY I DID NOT SEE YOUR MESSAGE
PING ME AT harinadh.38@gmail.com
if isuccess i will send u

Hey I have an HC-05 can I use it.

I made it, but changed it, but used lighter weight materials. I created another branch of instructables at https://www.instructables.com/id/Bluetooth-RC-Car-With-STM32F103C-and-L293D-Inexpen/.
Thank you, Vasilakis Michalis!

Hello, I have made this project and run well. But when I press forward or other button continuously, the system became hang and not respond to any command from android. After I press reset button on Arduino, it back to normal again. At first I think arduino deficient power because I use 1 battery source. So I try to separate battery for arduino and for motor DC and configure the jumper on L293D motor driver shield. But it still hang when I run the car with continuous pressing. What should I do? anybody have the same problem like me? thanks in advance.


The Bluetooth module must be configured otherwise it will NOT work! https://www.youtube.com/watch?v=ZdvKh3c_yoQ . . That’s why my module doesn’t give life signs.
How much mah battery we have to use ?

I was using this app for a while and now it sends only S on any button can you help me?
I made rc car that is a bit bigger than it’s shown. My problem is that there is too low voltage to turn front wheels. I don’t know what to add or change to put more voltage. I think that arduino puts out too low voltage. 10V battery sould be enough. Could you help me out?


You can use L298N motor driver and add additional battery to use the motor.

Can i use l298n in this programing
Hello, can I change my iOS Bluetooth controlled car to Remote Control? I have
Silverlit RC 1:16 Enzo Ferrari

Can I use HC-05 bluetooth module instead of 06 and is there any AT mode settings in this project

Can i have the android apps code.
Can I use here 10000mah 5V powerbank instead of 12v LiOn battery; and instead of bluetooth module can I use wifi module instead? thanks!
Simple Bluetooth RC Car (Arduino Nano + HC-05)
Introduction: Simple Bluetooth RC Car (Arduino Nano + HC-05)
I will share my simple project on how to use your android phone to control robot car.
Step 1: The Hardware
- 1 x Arduino Nano
- 1 x HC-05 Bluetooth module
- 1 x Motor Driver Module (TB6612FNG)
- 2 x Motors ( with Wheel)
- 1 x Battery for Arduino
- 2 x Battery for Motors
Step 2: Connections
- D3 — PWMA
- D4 — AIN2
- D5 — AIN1
- D6 — STBY
- D7 — BIN1
- D8 — BIN2
- D9 — PWMB
- GND — GND
Step 3: Codding
/* RC_Bluetooth_2018_v6
* By: Khamlek HOMSOMBATH * Date: Jan 17, 2018 * Download Controller for Android : https://play.google.com/store/apps/details?id=com. > */ #include // arduino>>bluetooth // D10 (as RX) >>> Tx // D11 (as TX) >>> Rx SoftwareSerial bluetooth(10, 11); // RX, TX #define ledpin 13 // Connected to LED #define PWMA 3 #define AIN2 4 #define AIN1 5 #define STBY 6 #define BIN1 7 #define BIN2 8 #define PWMB 9
String data = ""; void loop() < while(bluetooth.available())< char a = bluetooth.read(); if(a==')') < setData(data); data = ""; return; >data += a; > >
int ledVal = 0; void setData(String data)< data.trim(); int index = data.indexOf(","); if(index != -1)< int angle = data.substring(0,index).toInt(); int strength = data.substring(index + 1).toInt(); digitalWrite(BIN1,0); digitalWrite(BIN2,0); digitalWrite(AIN1,0); digitalWrite(AIN2,0); if (angle < 180)< digitalWrite(BIN1,1); digitalWrite(AIN1,1); if(angle < 90)< analogWrite(PWMA, strength * 255 / 100); analogWrite(PWMB, strength * (angle * 255 / 90) / 100); >else if(angle > 90)< analogWrite(PWMA, strength * ((180 - angle) * 255 / 90) / 100); analogWrite(PWMB, strength * 255 / 100); >else < analogWrite(PWMA, strength * 255 / 100); analogWrite(PWMB, strength * 255 / 100); >>else if(angle > 180) < digitalWrite(BIN2,1); digitalWrite(AIN2,1); if(angle >270)< analogWrite(PWMA, strength * 255 / 100); analogWrite(PWMB, strength * ((360 - angle) * 255 / 90) / 100); >else if(angle < 270)< analogWrite(PWMA, strength * ((90 - (270 - angle)) * 255 / 90) / 100); analogWrite(PWMB, strength * 255 / 100); >else < analogWrite(PWMA, strength * 255 / 100); analogWrite(PWMB, strength * 255 / 100); >> return; > if(data.equals("a")) < if(ledVal==1) ledVal=0; else ledVal=1; digitalWrite(ledpin, ledVal); return; >Serial.print("Recieved: "); Serial.println(data); > Attachments
Step 4: Testing
Please download Duino Joy Android App at
- Pair your Arduino Car to your Mobile phone in bluetooth setting on your phone
- Open Duino Joy app
- Click ‘Connect’ button
- Select ‘HC-05’ or any name you set for your HC-05
- Let’s play!!
Be the First to Share
Did you make this project? Share it with us!
Recommendations


Make It Bridge

Unusual Uses Contest

Metal Contest
12 Comments

can we give power using only 4*3.7v 1850mah ?

Sir, Can u tell the connections of HC-05 and Motor driver

Hi, It is just VCC and GND

Sir could you explain the black wire coming from 9v to TB6612FNG and from there to the bluetooth module. What is that connection? Please help as its not provided in the above procedure.

Hi, I want to add something else for future readers, since it has several power sources, it is necessary that the GND be common throughout the electronic circuit 🙂
Thank you for comment, These are GND connection, you can link from Arduino to Bluetooth module directly.

old post, but does this code only work for the Duino Joy app?
This code is write to work with Duino Joy app, but you can make some change to work with other app too.

1.Hola genio! Estoy armando uno, con un motor de destornillador electrico, una placa nano, el modulo y el controlador de motor, me podrías pasar una configuracion de arduino para que funcione con tu app? tambien pienso implementar leds! desde ya gracias
Hi, I don’t understand Spanish, but hoe this help.
You can test Arduino with my app by Simple code below:
SoftwareSerial bluetooth(10, 11); // RX, TX
Serial.begin(19200); // Display to Arduino IDE Serial Monitor
bluetooth.begin(9600); // Communicate with Bluetooth module
while(bluetooth.available()) // Wait for data from bluetooth
char a = bluetooth.read(); // Read Data as Char from Software Serial
Serial.println(a); // Print data to Serial Monitor
Could you please make one with l9110s module. I have tried making with different drivers such as l293d but i failed. At the moment i have arduino nano and l9110s but i keep failing again and again. Am totally new to connections and coding but tutorials didnt help either. Need help!