Контроллер RGBW LED ленты: очередная лажа
Я уже рассказывал про RGBW светодиодную ленту в одном из своих обзоров, теперь пришло время рассмотреть и контроллеры для них. В этом посте – контроллер с Bluetooth. Расчленёнка внутри.
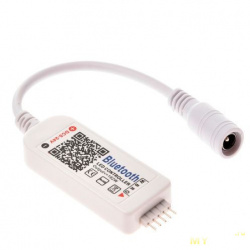
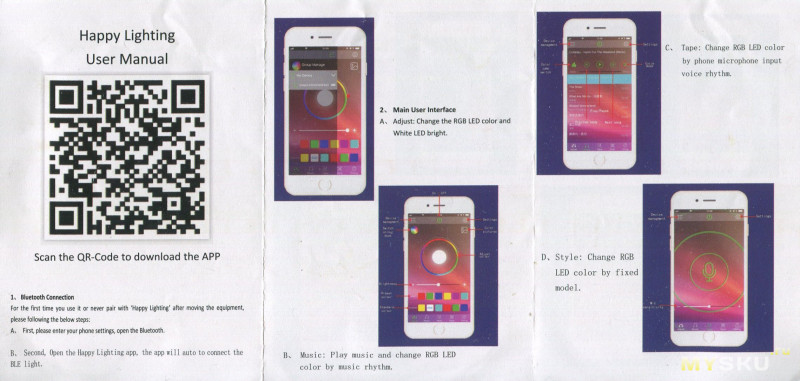
Поставляется контроллер в антистатическом пакете чуть больше него самого по размеру. Кроме устройства в комплекте только гребенка 5×1 с шагом между контактами 2 мм. для подключения ленты, и инструкция с QR кодом для скачивания приложения. 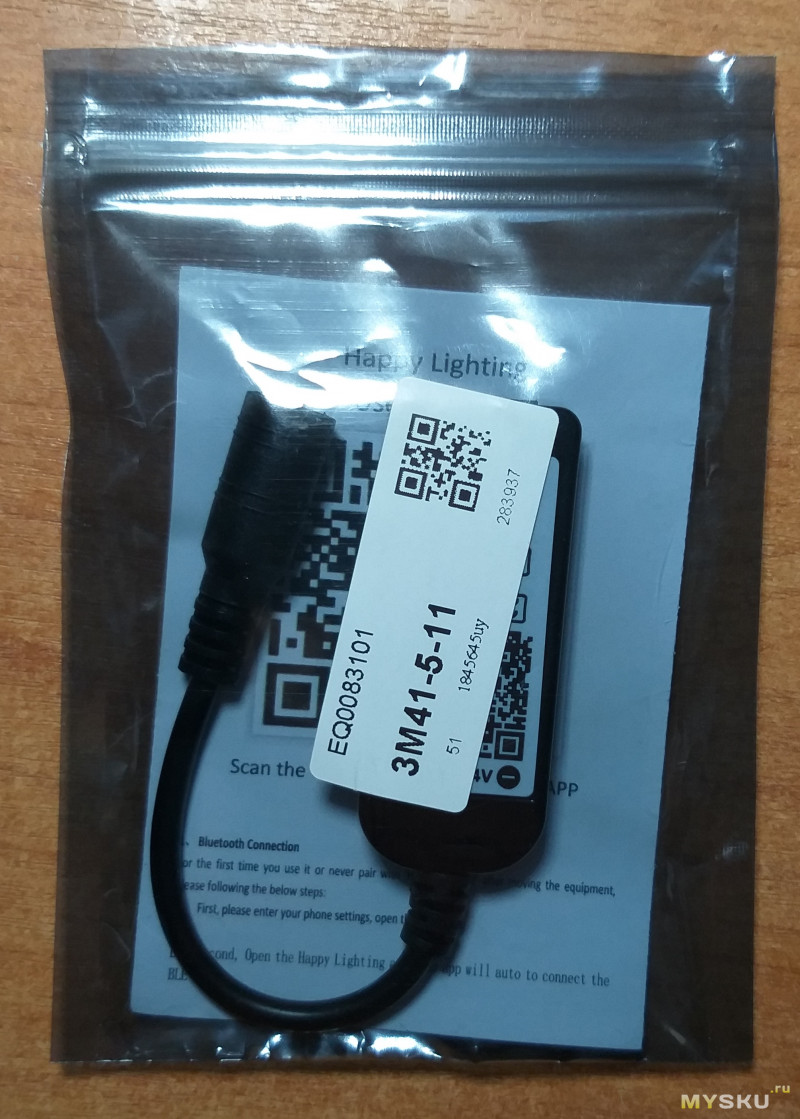
Напряжение питания составляет от 5 до 24 В.
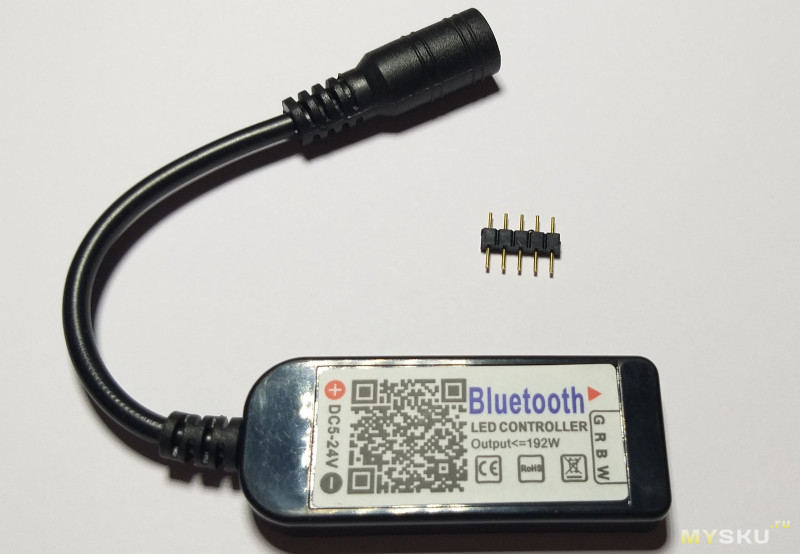
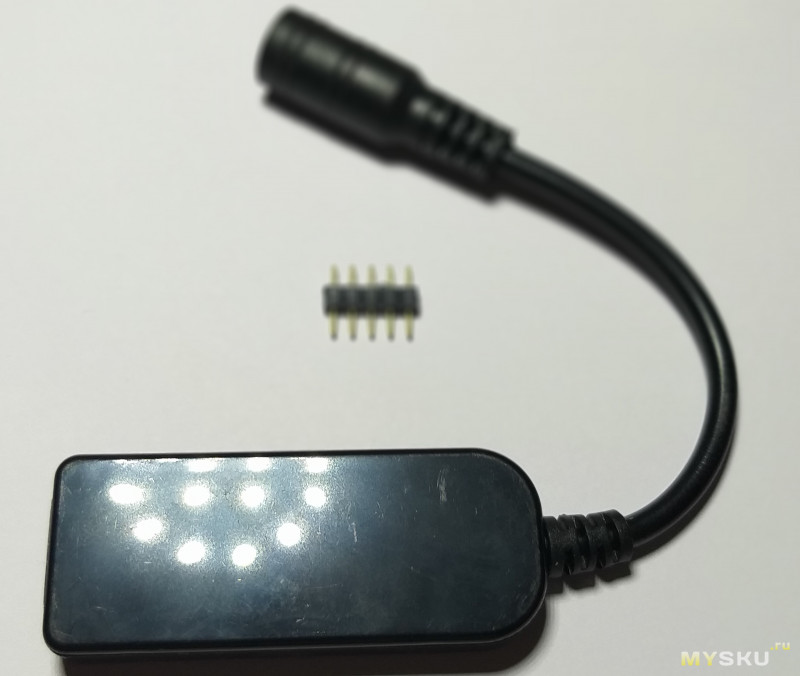
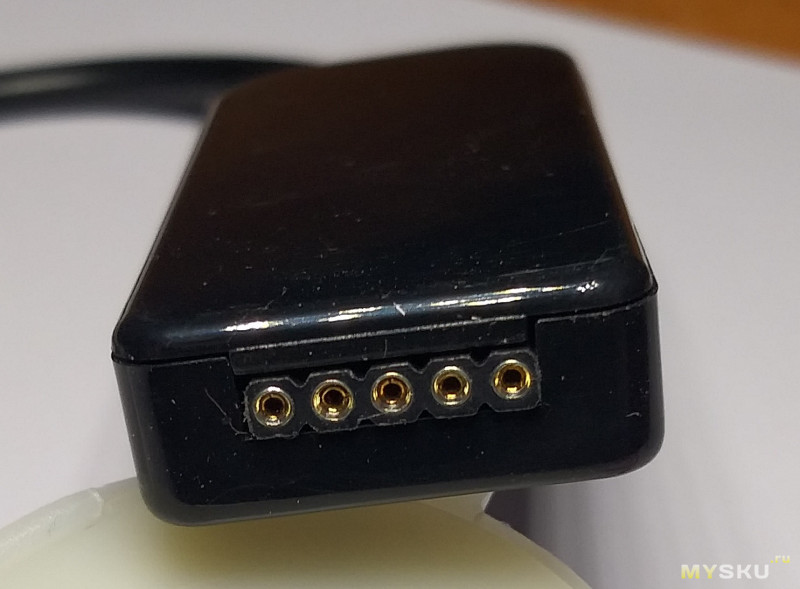
Устройство ничем не примечательно, из корпуса выглядывает только «хвост» с гнездом 5,5×2,1 мм. для подключения блока питания.
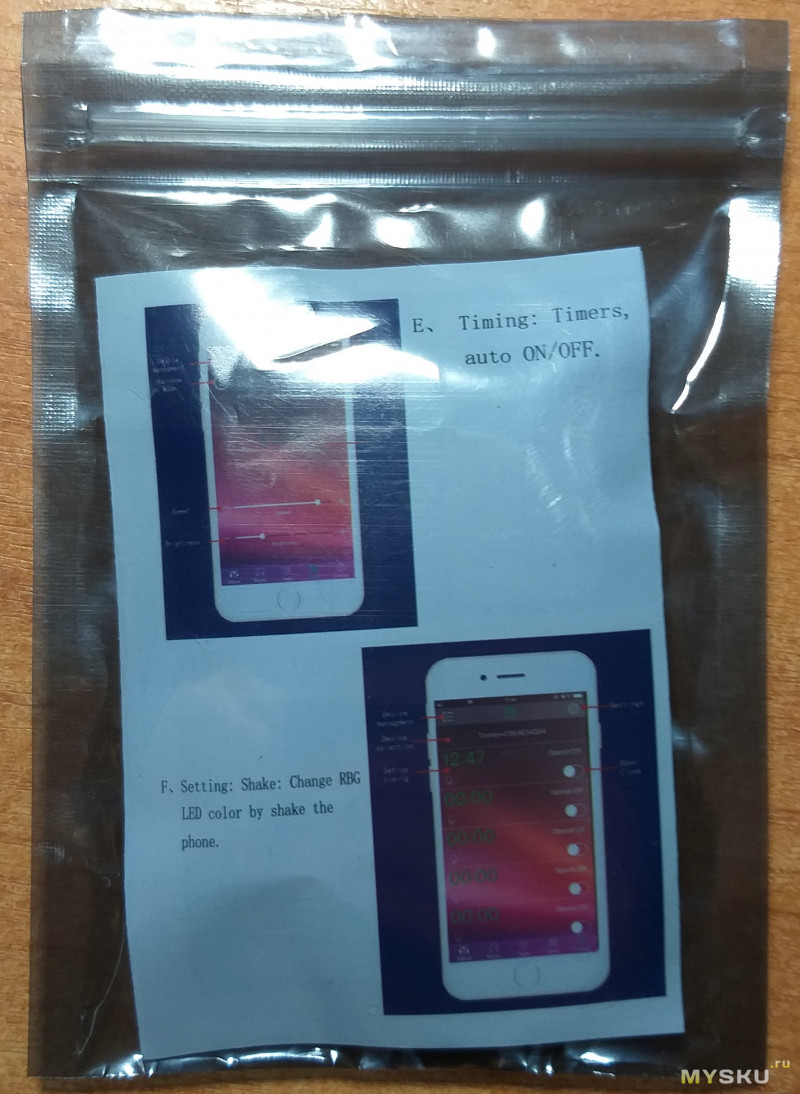
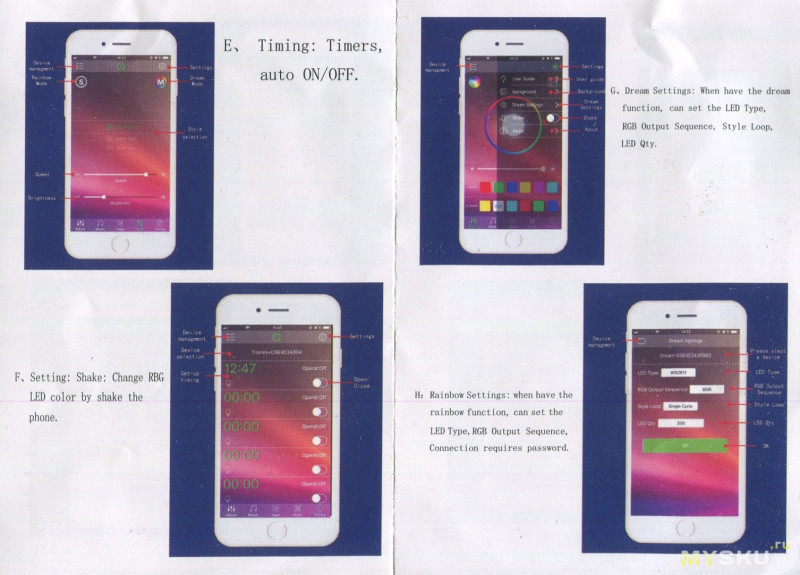
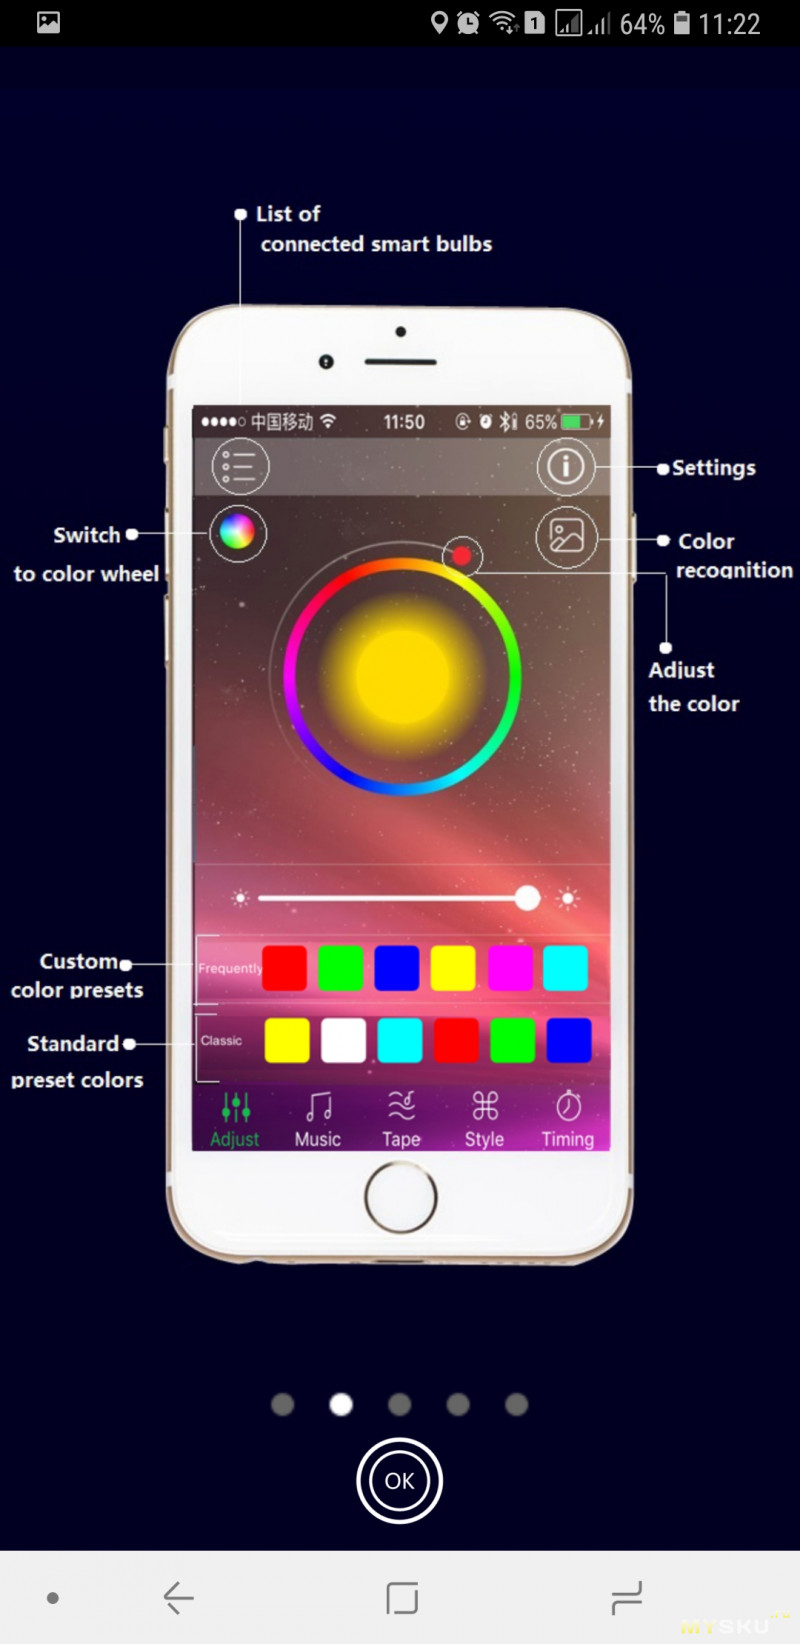
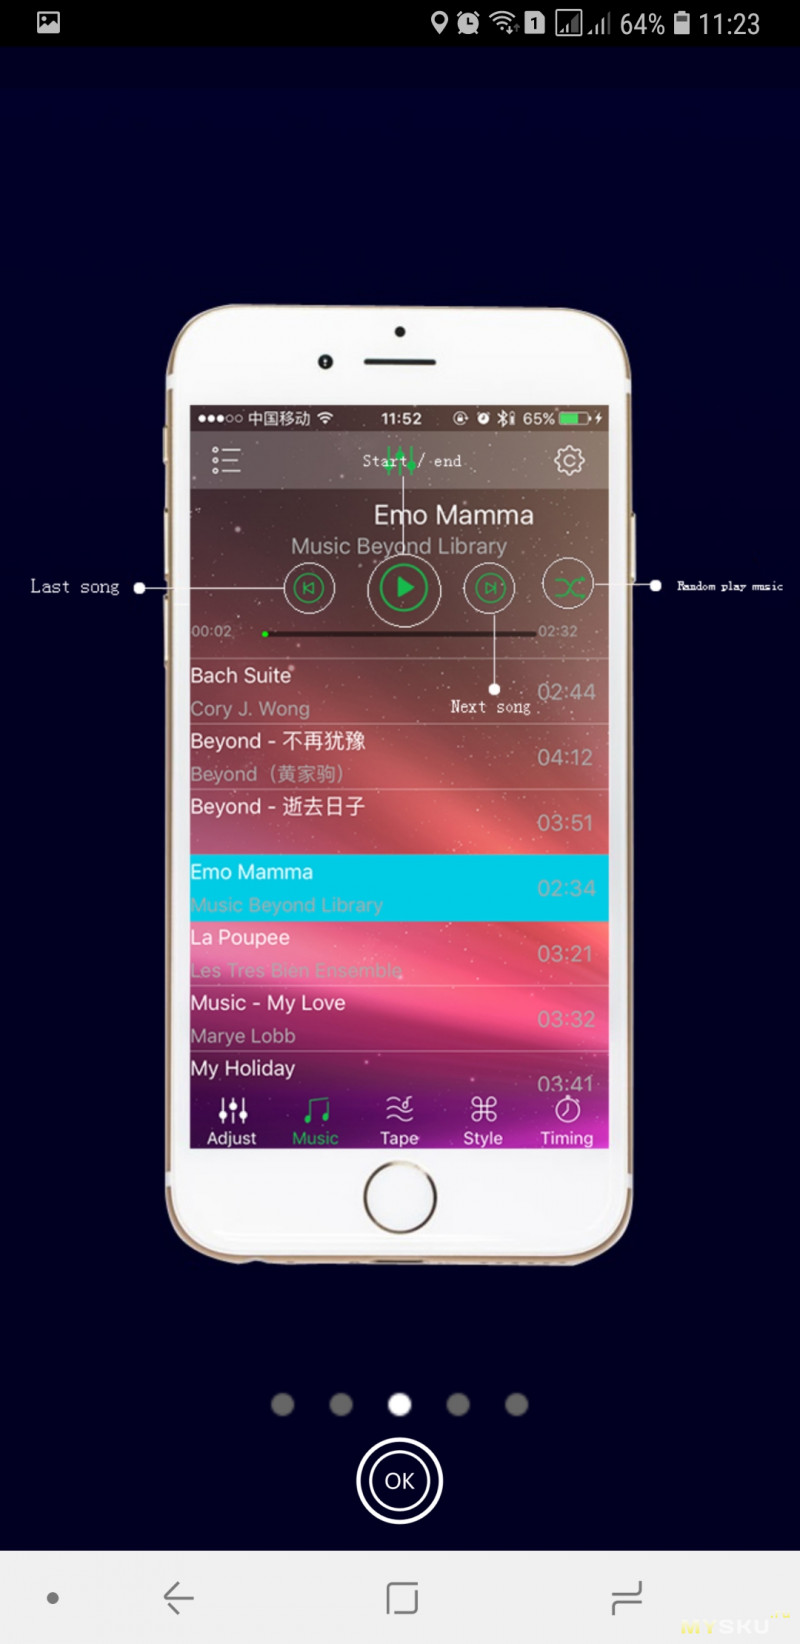
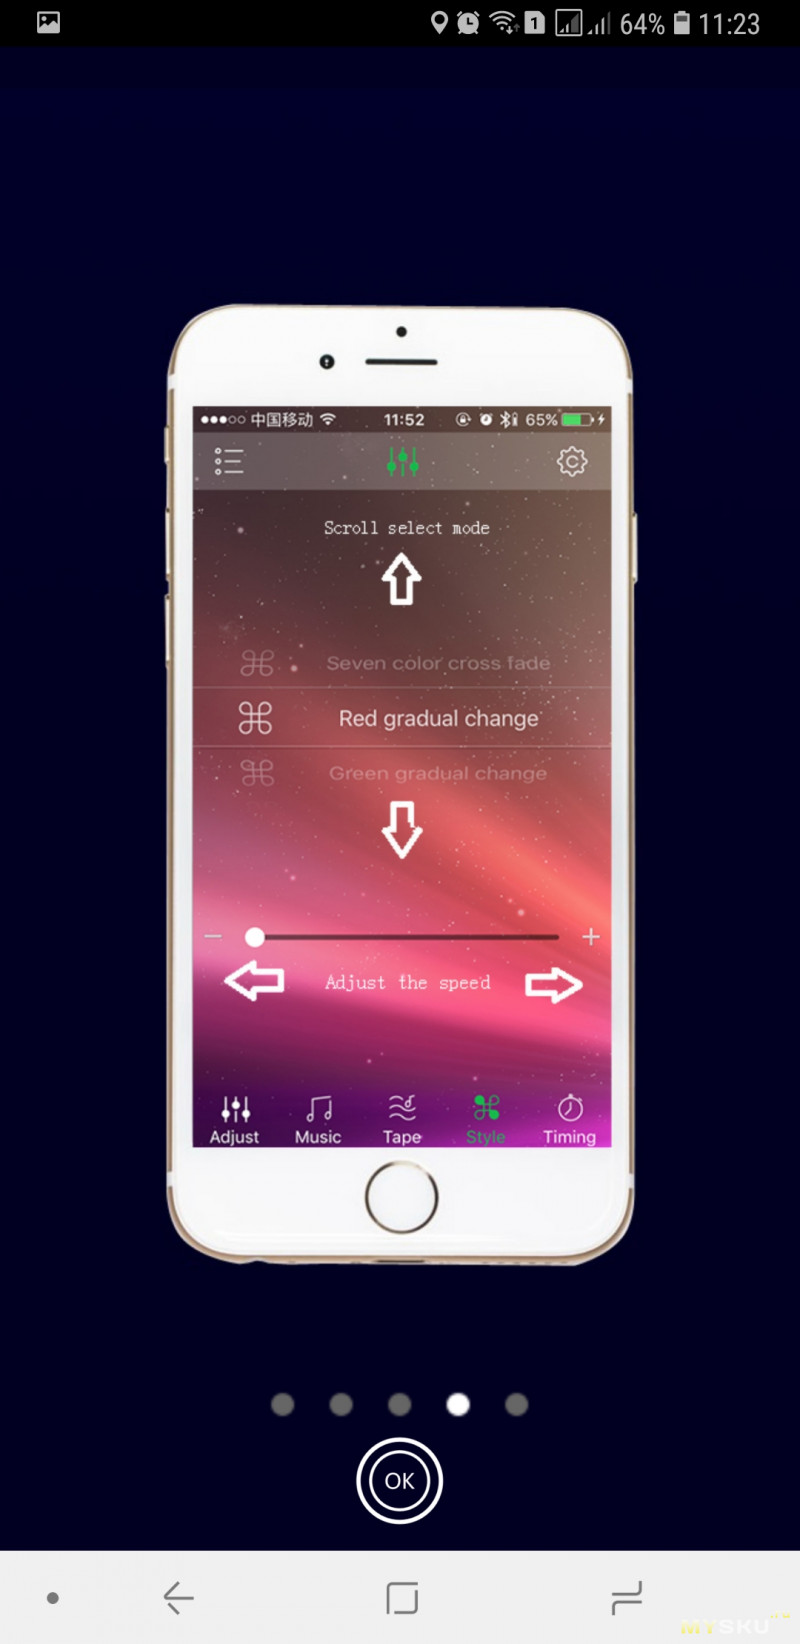
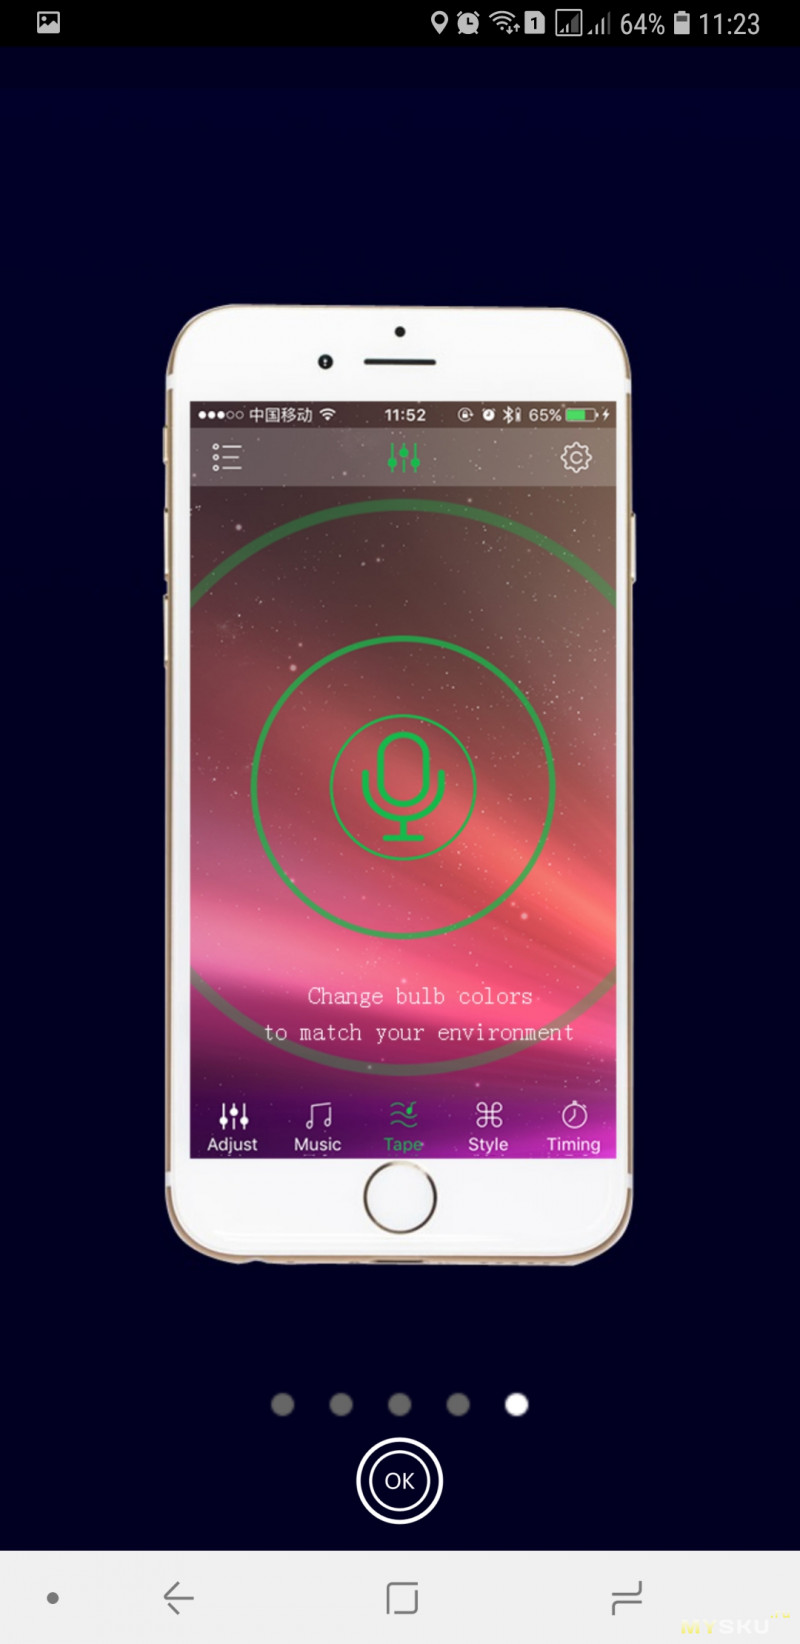
Подключение более чем незамысловатое – скачиваем приложение «Happy Lighting», включаем Bluetooth, и подключаемся к устройству. Все, можно работать! И ничего не работает.
Я скачивал приложение на следующие телефоны:
1) Samsung Galaxy A6+;
2) Samsung Galaxy Grand Prime;
3) LG G4s.
Поэтому вывод простой, дело не в телефоне (-ах), а в самом приложении.

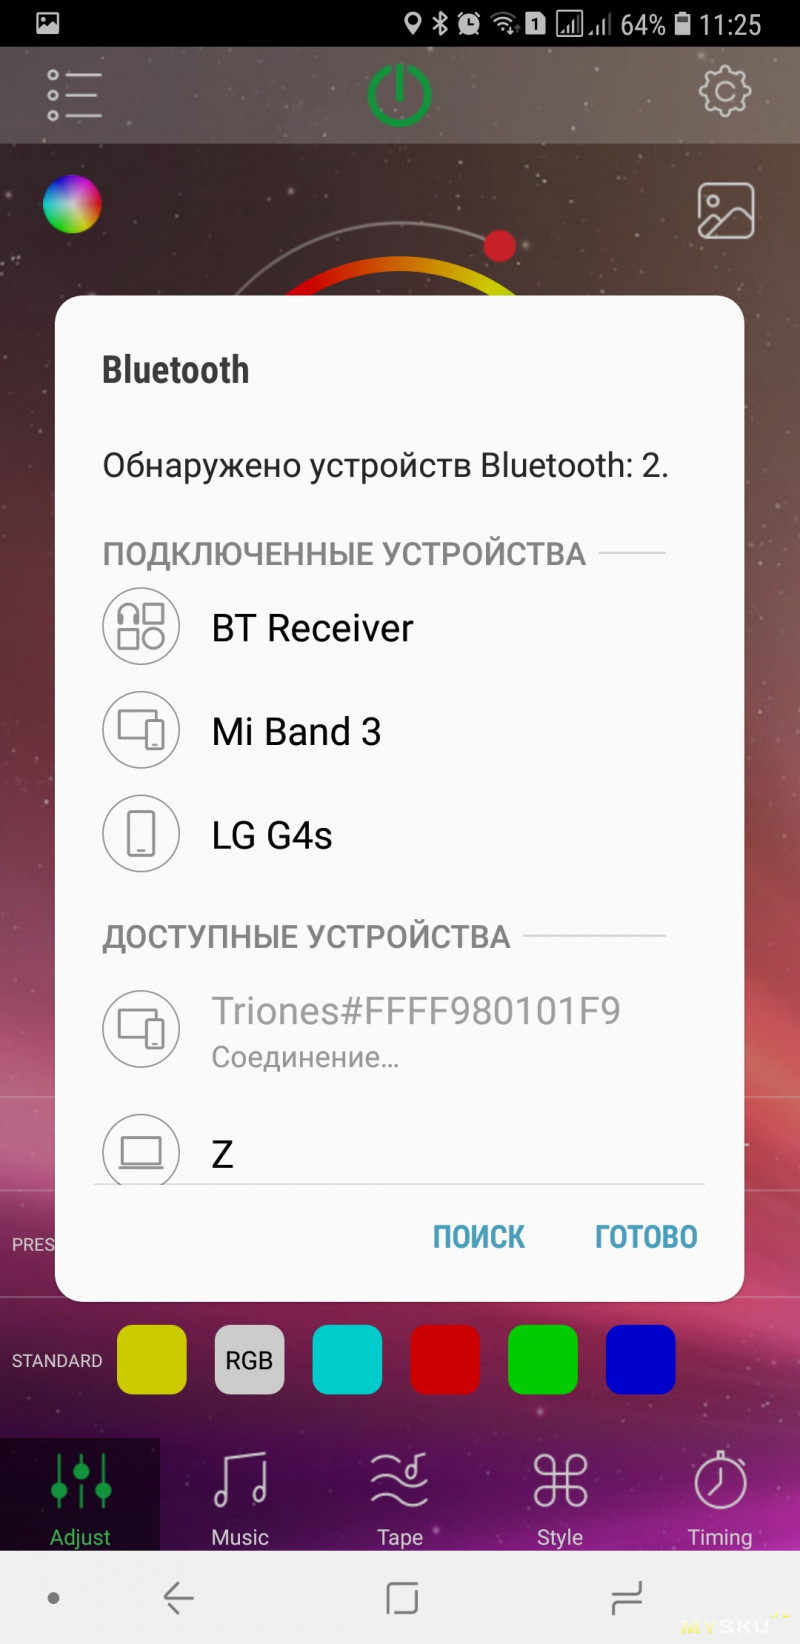
Похоже, приложение настолько кривое, что (судя по отзывам) у десятков людей, купивших контроллер, ничего не работает.
Тогда вскрываем?
Вот и обещанная расчлененка: 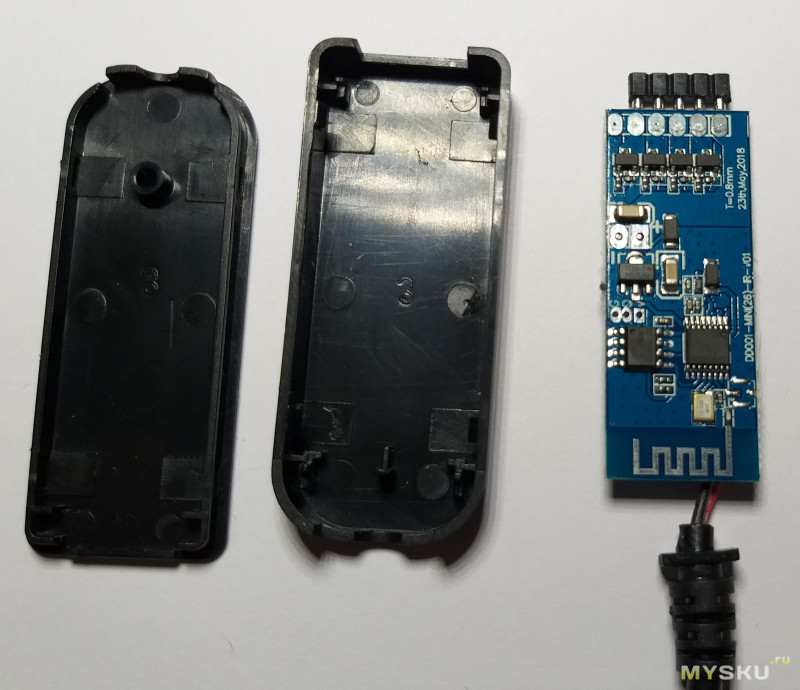
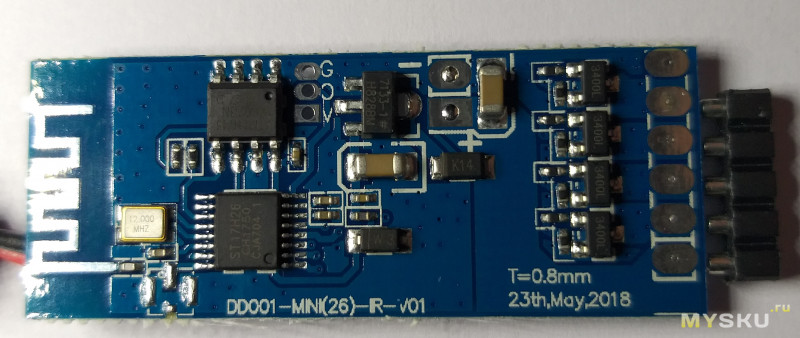
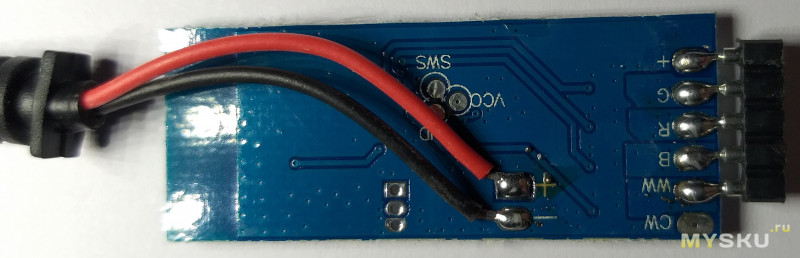
Рулит всем небезызвестный контроллер ST17H26ES16 китайской компании Lenze Technology, про который я рассказывал в одном из прошлых обзоров. Кстати, с устройством из того обзора тоже были косяки. Совпадение?
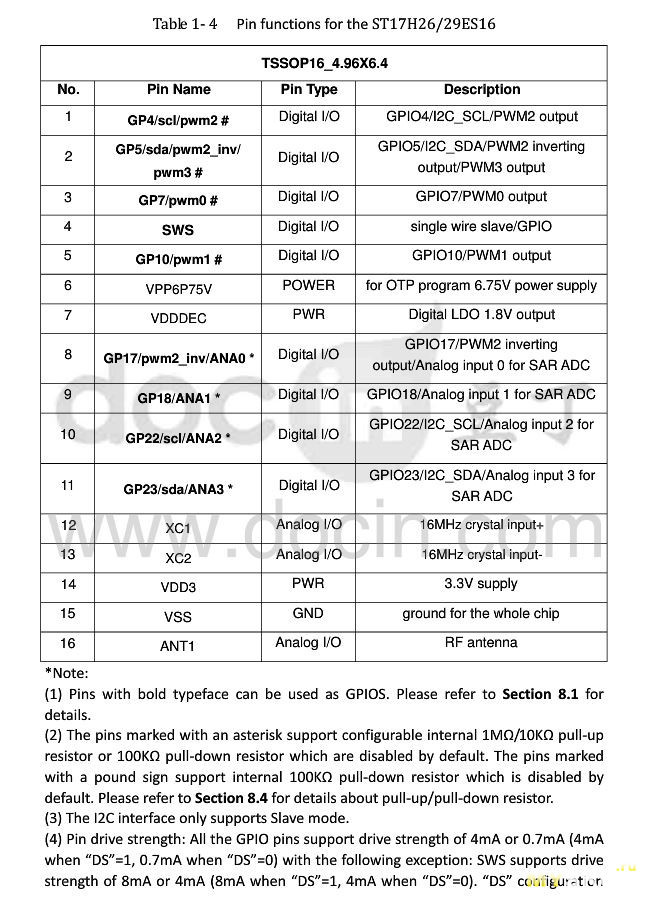
Еще раз приведу распиновку микросхемы: 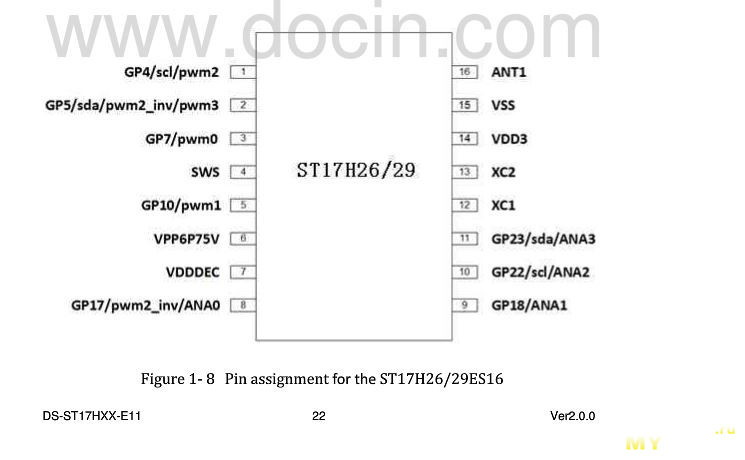
Помимо нее на борту стоит ATtiny45 и линейный стабилизатор HT7133-1 и 4 ключа 3400L.
Судя по плате, изготовлена она 28 мая 2018. Монтаж компонентов производился машиной, претензий к нему нет. Следы неотмытого флюса обнаружены только на проводах питания и у гребенки для подключения ленты.
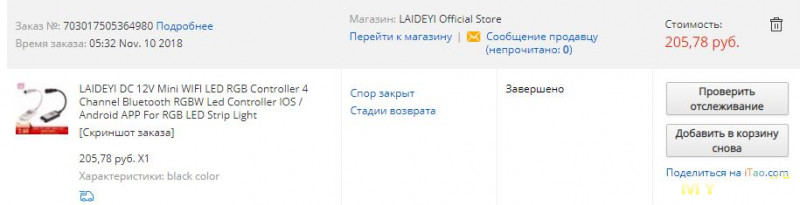
Естественно, был открыт спор, который я выиграл.
Товар не работает, к покупке не рекомендуется.
Controlling RGB LED Through Bluetooth®
Learn how to control the built in RGB LED on the Nano 33 BLE Sense board over Bluetooth®, using an app on your phone.
In this tutorial we will use an Arduino Nano 33 BLE Sense, to turn on an RGB LED over Bluetooth®, made possible by the communications chipset embedded on the board.
Goals
The goals of this project are:
- Learn what Bluetooth® Low Energy and Bluetooth® are.
- Use the Arduino BLE library.
- Learn how to create a new service.
- Learn how to turn on a RGB LED from an external device (smartphone).
Hardware & Software Needed
- This project uses no external sensors or components.
- In this tutorial we will use the Arduino Web Editor to program the board.
Bluetooth® Low Energy and Bluetooth®
Bluetooth® Low Energy separates itself from what is now known as “Bluetooth® Classic” by being optimized to use low power with low data rates. There are two different types of Bluetooth® devices: central or peripheral. A central Bluetooth® device is designed to read data from peripheral devices, while the peripheral devices are designed to do the opposite. Peripheral devices continuously post data for other devices to read, and it is precisely what we will be focusing on this tutorial.
Service & Characteristics
A service can be made up of different data measurements. For example, if we have a device that measures wind speed, temperature and humidity, we can set up a service that is called “Weather Data”. Let’s say the device also records battery levels and energy consumption, we can set up a service that is called “Energy information”. These services can then be subscribed to central Bluetooth® devices.
Characteristics are components of the service we mentioned above. For example, the temperature or battery level are both characteristics, which record data and update continuously.
Unique Universal Identifier (UUID)
When we read data from a service, it is important to know what type of data we are reading. For this, we use UUIDs, who basically give a name to the characteristics. For example, if we are recording temperature, we want to label that characteristic as temperature, and to do that, we have to find the UUID, which in this case is “2A6E”. When we are connecting to the device, this service will then appear as “temperature”. This is very useful when tracking multiple values.
If you want to read more about UUIDs, services, and characteristics, check the links below:
Creating the Program
1. Setting up
Let’s start by opening the Arduino Web Editor, click on the Libraries tab and search for the ArduinoBLE library. Then in > Examples > Peripheral, open the LED sketch and once it opens, you could rename it as desired.

2. Connecting the board
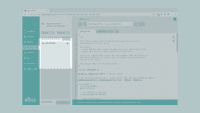
Now, connect the Arduino Nano 33 BLE Sense to the computer and make sure that the Web Editor recognizes it, if so, the board and port should appear as shown in the image below. If they don’t appear, follow the instructions to install the plugin that will allow the Editor to recognize your board.
3.Turning ON the LED
Now we will need to modify the code on the example, in order to turn the RGB LED on in different colors, based on the information we sent through the smartphone.
1BLEService ledService("180A"); // BLE LED Service 2 3 // BLE LED Switch Characteristic - custom 128-bit UUID, read and writable by central 4BLEByteCharacteristic switchCharacteristic("2A57", BLERead | BLEWrite);1// set LED pin to output mode 2 pinMode(LEDR, OUTPUT); 3 pinMode(LEDG, OUTPUT); 4 pinMode(LEDB, OUTPUT); 5 pinMode(LED_BUILTIN, OUTPUT); 6 7 digitalWrite(LED_BUILTIN, LOW); // when the central disconnects, turn off the LED 8 digitalWrite(LEDR, HIGH); // will turn the LED off 9 digitalWrite(LEDG, HIGH); // will turn the LED off 10 digitalWrite(LEDB, HIGH); // will turn the LED off1// set advertised local name and service UUID: 2 BLE.setLocalName("Nano 33 BLE Sense"); 3 BLE.setAdvertisedService(ledService);Serial.println(central.address());1// print the central's MAC address: 2 Serial.println(central.address()); 3 digitalWrite(LED_BUILTIN, HIGH); // turn on the LED to indicate the connectionThen we replace the second
1// while the central is still connected to peripheral: 2 while (central.connected()) 3 4 // if the remote device wrote to the characteristic, 5 // use the value to control the LED: 6 7 if (switchCharacteristic.written()) 8 switch (switchCharacteristic.value()) // any value other than 0 9 case 01: 10 Serial.println("Red LED on"); 11 digitalWrite(LEDR, LOW); // will turn the LED on 12 digitalWrite(LEDG, HIGH); // will turn the LED off 13 digitalWrite(LEDB, HIGH); // will turn the LED off 14 break; 15 case 02: 16 Serial.println("Green LED on"); 17 digitalWrite(LEDR, HIGH); // will turn the LED off 18 digitalWrite(LEDG, LOW); // will turn the LED on 19 digitalWrite(LEDB, HIGH); // will turn the LED off 20 break; 21 case 03: 22 Serial.println("Blue LED on"); 23 digitalWrite(LEDR, HIGH); // will turn the LED off 24 digitalWrite(LEDG, HIGH); // will turn the LED off 25 digitalWrite(LEDB, LOW); // will turn the LED on 26 break; 27 default: 28 Serial.println(F("LEDs off")); 29 digitalWrite(LEDR, HIGH); // will turn the LED off 30 digitalWrite(LEDG, HIGH); // will turn the LED off 31 digitalWrite(LEDB, HIGH); // will turn the LED off 32 break; 33 > 34 > 35 >1// when the central disconnects, print it out: 2 Serial.print(F("Disconnected from central: ")); 3 Serial.println(central.address()); 4 digitalWrite(LED_BUILTIN, LOW); // when the central disconnects, turn off the LED 5 digitalWrite(LEDR, HIGH); // will turn the LED off 6 digitalWrite(LEDG, HIGH); // will turn the LED off 7 digitalWrite(LEDB, HIGH); // will turn the LED off 8 > 9 >4. Complete code
If you choose to skip the code building section, the complete code can be found below:
1#include 2 3BLEService ledService("180A"); // BLE LED Service 4 5 // BLE LED Switch Characteristic - custom 128-bit UUID, read and writable by central 6BLEByteCharacteristic switchCharacteristic("2A57", BLERead | BLEWrite); 7 8 void setup() 9 Serial.begin(9600); 10 while (!Serial); 11 12 // set LED's pin to output mode 13 pinMode(LEDR, OUTPUT); 14 pinMode(LEDG, OUTPUT); 15 pinMode(LEDB, OUTPUT); 16 pinMode(LED_BUILTIN, OUTPUT); 17 18 digitalWrite(LED_BUILTIN, LOW); // when the central disconnects, turn off the LED 19 digitalWrite(LEDR, HIGH); // will turn the LED off 20 digitalWrite(LEDG, HIGH); // will turn the LED off 21 digitalWrite(LEDB, HIGH); // will turn the LED off 22 23 // begin initialization 24 if (!BLE.begin()) 25 Serial.println("starting Bluetooth® Low Energy failed!"); 26 27 while (1); 28 > 29 30 // set advertised local name and service UUID: 31 BLE.setLocalName("Nano 33 BLE Sense"); 32 BLE.setAdvertisedService(ledService); 33 34 // add the characteristic to the service 35 ledService.addCharacteristic(switchCharacteristic); 36 37 // add service 38 BLE.addService(ledService); 39 40 // set the initial value for the characteristic: 41 switchCharacteristic.writeValue(0); 42 43 // start advertising 44 BLE.advertise(); 45 46 Serial.println("BLE LED Peripheral"); 47 > 48 49 void loop() 50 // listen for Bluetooth® Low Energy peripherals to connect: 51 BLEDevice central = BLE.central(); 52 53 // if a central is connected to peripheral: 54 if (central) 55 Serial.print("Connected to central: "); 56 // print the central's MAC address: 57 Serial.println(central.address()); 58 digitalWrite(LED_BUILTIN, HIGH); // turn on the LED to indicate the connection 59 60 // while the central is still connected to peripheral: 61 while (central.connected()) 62 // if the remote device wrote to the characteristic, 63 // use the value to control the LED: 64 if (switchCharacteristic.written()) 65 switch (switchCharacteristic.value()) // any value other than 0 66 case 01: 67 Serial.println("Red LED on"); 68 digitalWrite(LEDR, LOW); // will turn the LED on 69 digitalWrite(LEDG, HIGH); // will turn the LED off 70 digitalWrite(LEDB, HIGH); // will turn the LED off 71 break; 72 case 02: 73 Serial.println("Green LED on"); 74 digitalWrite(LEDR, HIGH); // will turn the LED off 75 digitalWrite(LEDG, LOW); // will turn the LED on 76 digitalWrite(LEDB, HIGH); // will turn the LED off 77 break; 78 case 03: 79 Serial.println("Blue LED on"); 80 digitalWrite(LEDR, HIGH); // will turn the LED off 81 digitalWrite(LEDG, HIGH); // will turn the LED off 82 digitalWrite(LEDB, LOW); // will turn the LED on 83 break; 84 default: 85 Serial.println(F("LEDs off")); 86 digitalWrite(LEDR, HIGH); // will turn the LED off 87 digitalWrite(LEDG, HIGH); // will turn the LED off 88 digitalWrite(LEDB, HIGH); // will turn the LED off 89 break; 90 > 91 > 92 > 93 94 // when the central disconnects, print it out: 95 Serial.print(F("Disconnected from central: ")); 96 Serial.println(central.address()); 97 digitalWrite(LED_BUILTIN, LOW); // when the central disconnects, turn off the LED 98 digitalWrite(LEDR, HIGH); // will turn the LED off 99 digitalWrite(LEDG, HIGH); // will turn the LED off 100 digitalWrite(LEDB, HIGH); // will turn the LED off 101 > 102 >Testing It Out
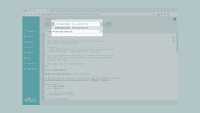
Once we are finished with the coding, we can upload the sketch to the board. When it has successfully uploaded, open the Serial Monitor. In the Serial Monitor, the text «BLE LED Peripheral» will appear as seen in the image below.
We can now discover our Nano 33 BLE Sense board in the list of available Bluetooth® devices. To access the service and characteristic we recommend using the LightBlue application. Follow this link for iPhones or this link for Android phones.
Once we have the application open, follow the image below for instructions:
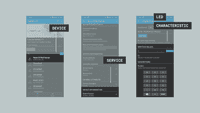
To control the RGB LED, we simply need to write 1,2 or 3 in the «WRITTEN VALUES» field to turn on the red, blue or the green LED and any other value to turn them off. This is within the «Digital Output» characteristic, which is located under «Device Information».
Troubleshoot
Sometimes errors occur, if the code is not working there are some common issues we can troubleshoot:
- Missing a bracket or a semicolon.
- Arduino board connected to the wrong port.
- We haven’t opened the Serial Monitor to initialize the program.
- The device you are using to connect has its Bluetooth® turned off.
Conclusion
In this tutorial we have created a basic Bluetooth® peripheral device. We learned how to create services and characteristics, and how to use UUIDs from the official Bluetooth® documentation. Lastly, we turn on different colors of the RGB LED based on the values sent from the smartphone.
Now that you have learned a little bit how to use the ArduinoBLE library, you can try out some of our other tutorials for the Nano 33 BLE Sense board. You can also check out the ArduinoBLE library for more examples and inspiration for creating Bluetooth® projects!