- How to Install Burp Suite on Linux
- 1st Method: How to Install Burp Suite on Linux with the help of Standalone Java Executable File?
- 2 ND Method: How to Install Burp Suite with the help of Linux Installer:
- How to configure Burp suite with your browser?
- How to Configure Firefox with Burp Suite
- Ovais Mirza
- Packages and Binaries:
- Installing Burp Suite Enterprise Edition
- Before installation
- Step 1: Download the installer
- Step 2: Extract and run the installer
- Windows:
- Linux:
- Step 3: Choose an install location
- Step 4: Select the components to install
- Note
- Step 5: Specify a logs directory
- Step 6: Specify a data directory
- Note
- Step 7: Select a user to run processes
- Step 8: Select database options
- Note
- Step 9: Specify a web server port
- Note
- Step 10: Specify a database backups directory
- Note
- After installation
- Warning
How to Install Burp Suite on Linux
Burp Suite is quite a powerful tool when it comes to testing different web applications. It is Graphical User Interface (GUI) based tool that includes the proxy server within it which enable the user to modify and intercept the communication between client and the server. This tool contains several other beneficial features when it comes to operate penetration testing of different web applications. PortSwigger web security builds and maintained this tool.
Burp Suite is available in both free and paid versions. The community version can be downloaded free of cost while the professional and enterprise versions of Burp Suite are available as the paid ones after the completion of the free trail.
In this article, we will be discussing about how to install and properly configure the Burp Suite free community version on the Linux platform in the Ubuntu machine. There are two different ways that we can download and install the Burp Suite to our Linux platform.
- With the help of standalone Java executable file (.jar)
- With the help of Linux installer (.sh)
1st Method: How to Install Burp Suite on Linux with the help of Standalone Java Executable File?
Step 1 st : In the first step, kindly ensure that you have installed Java on your Linux Machine. In order to verify, you can use the following command in your terminal:
Step 2 nd : If you find Java installed in your linux machine, than move to third step otherwise you can installed the Java by entering the following command:
sudo apt-get install openjdk-8-jre Step 3 rd : Now visit the official website of Portswigger here: https://portswigger.net/burp/communitydownload and download the file .jar of burp suite.
Step 4 th : Once download the file than move the .jar file to any location where you would like to keep it.
Step 5 th : Now, change the file permission of the .jar file and make it executable by simply inserting the following command in the Linux terminal:
chmod +x burpsuite_community_v1.7.36.jarStep 6 th : Now, finally execute the .jar file with following command in the terminal:
./burpsuite_community_v1.7.36.jar2 ND Method: How to Install Burp Suite with the help of Linux Installer:
Step 1 st : Visit the website of Portswigger and download the installer file from here: https://portswigger.net/burp/communitydownload
Step 2 nd : Now, execute the installer with the help of following command in the terminal:
sh burpsuite_community_linux_v1_7_36.shStep 3 rd : Here, you will get the Burp Suite Wizard
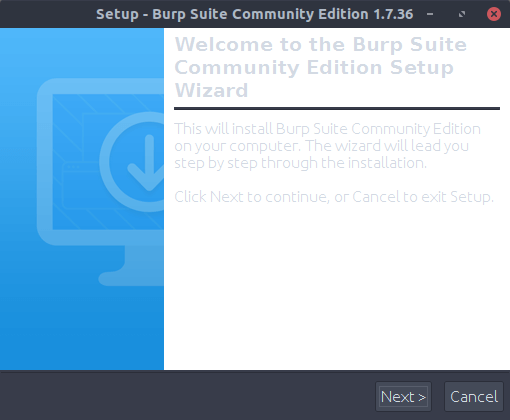
Step 4 th : Properly, complete the burp suite wizard and you are ready to move on.
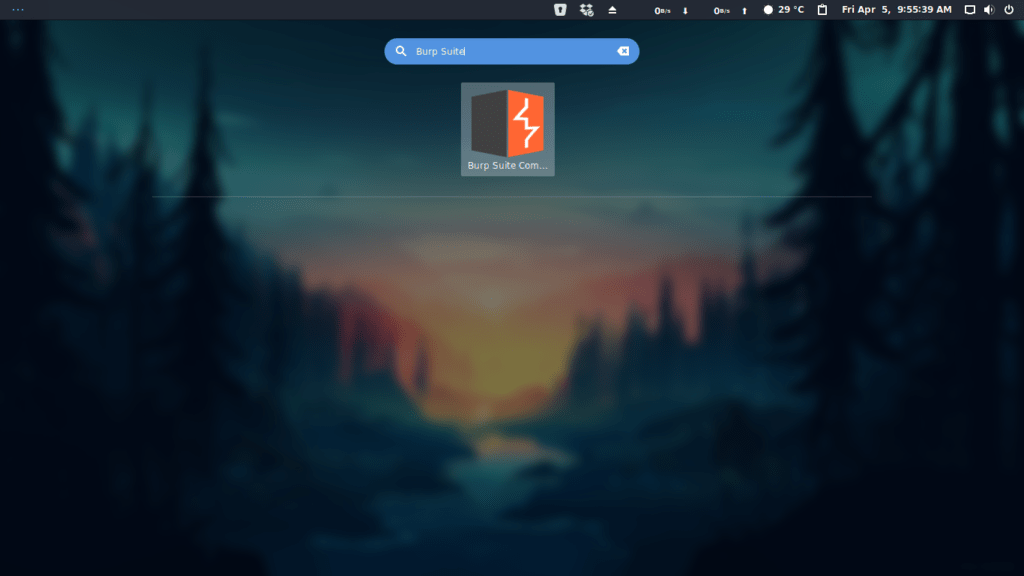
Step 5 th : Once completing the burp suite wizard, look out for Burp Suite in the Ubuntu search. Ubuntu search can be appear just by pressing window key + S from the keyboard.
How to configure Burp suite with your browser?
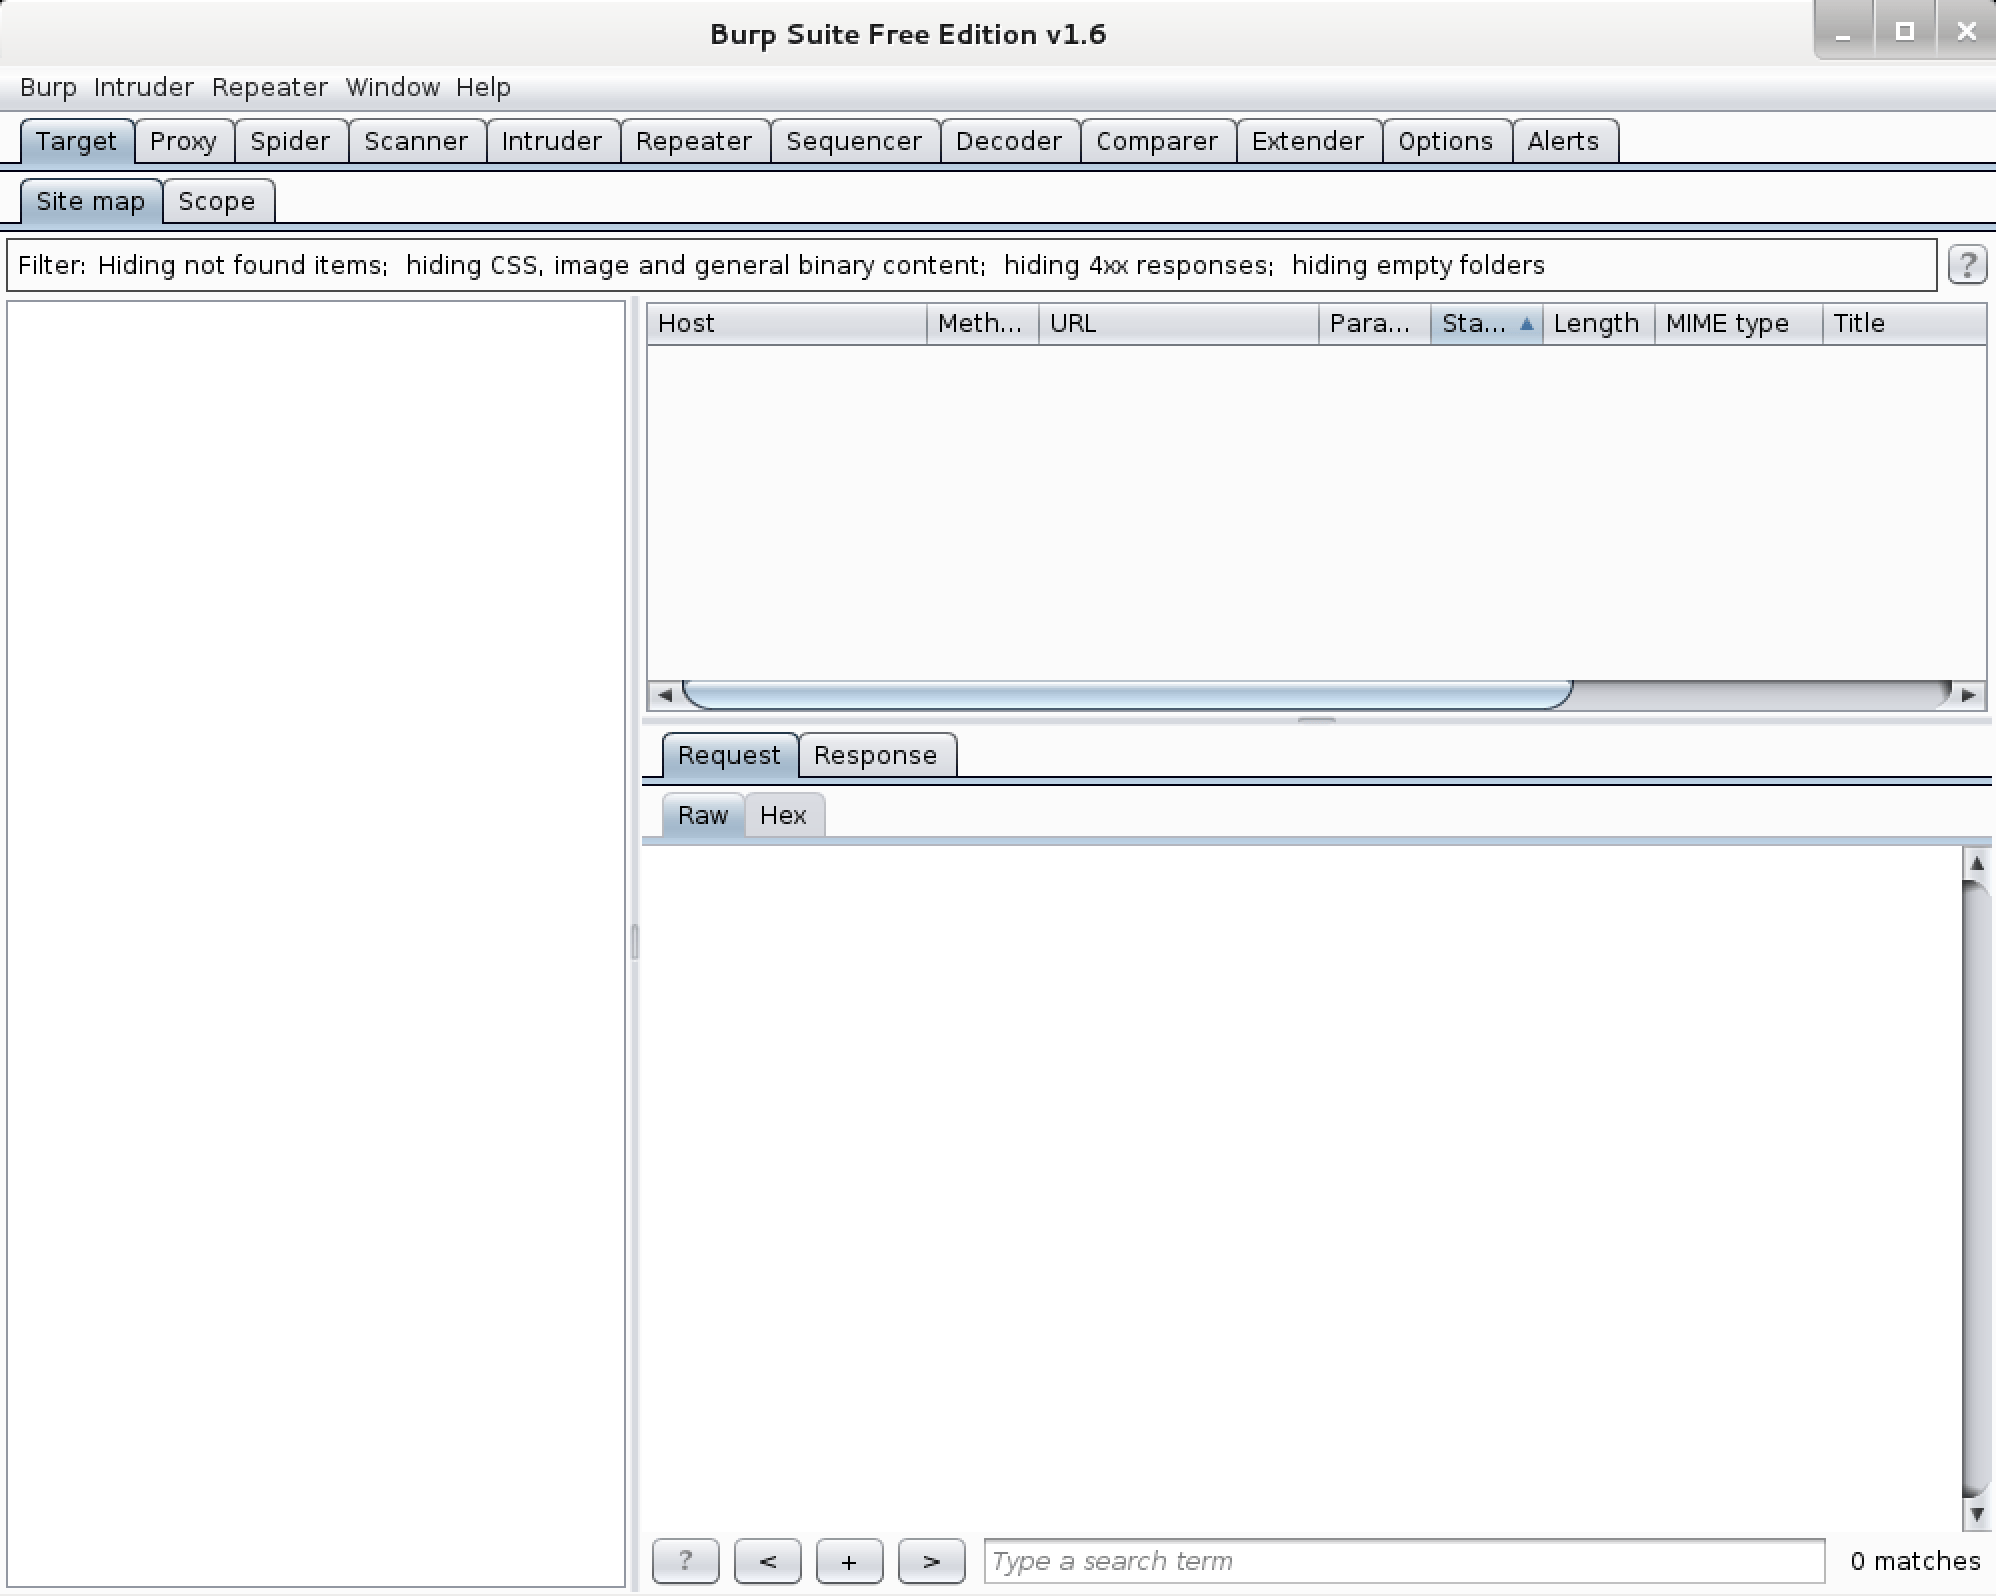
Step 1 st : After installing the Burp Suite, you should also confirm whether it is properly configured with your browser or not. To ensure this open the Burp Suite terminal and go to Proxy > Options, here check out the proxy listeners section.
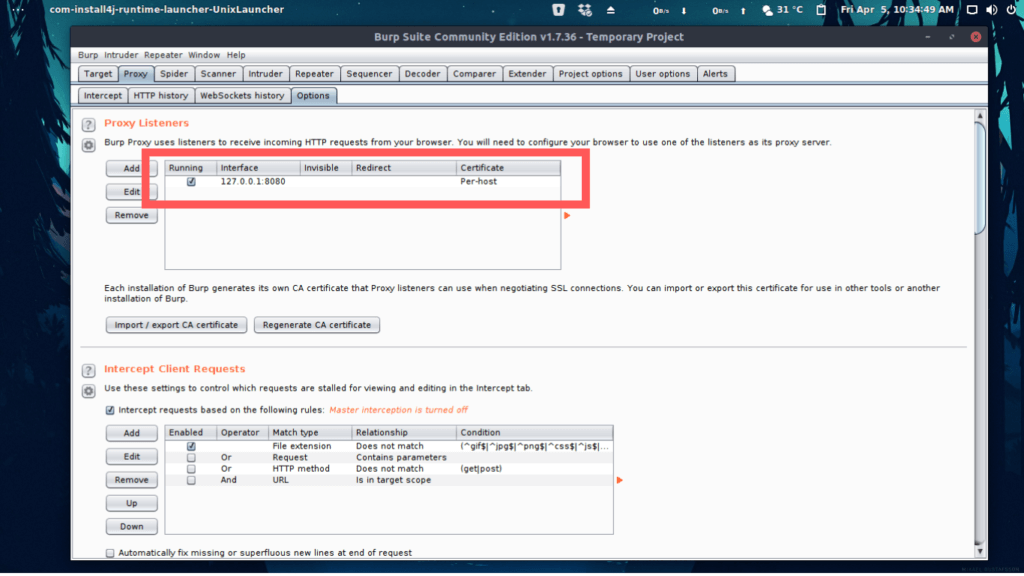
Step 2 nd : If you see a table entry in the proxy listener as you can see in the image above, the configuration is correct otherwise go to documentation of Proxy Listeners.Also ensure that checkbox in the column is checked.
Step 3 rd : At the 3 rd step, you need to configure your browser to make it compatible with burp proxy. In order to do this, you have to change the browser’s proxy settings as below:
How to Configure Firefox with Burp Suite
Step 1 st : Open the Firefox browser and got the menu of firefox and here choose preferences > Options.
Step 2 nd : Opt for the General Tab here and scroll down the mouse at the end of the tab.
Step 3 rd : Here at the bottom of it, you will find the “Network Proxy Settings”.
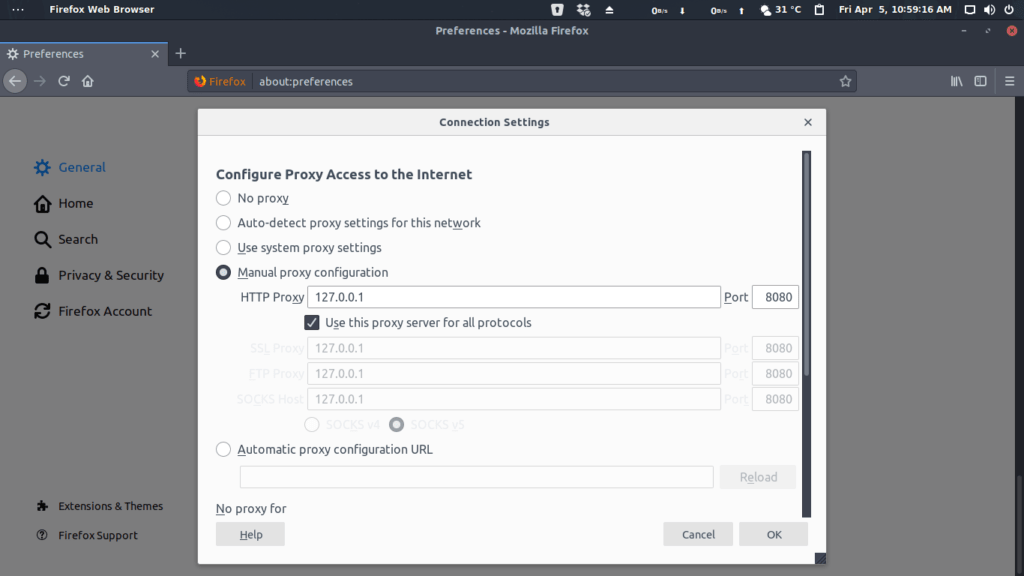
Step 4 th : Click on Settings button and choose the “Manual Proxy Configuration” option here.
Step 5 th : Here enter the Burp Proxy listener address. Also enter the Burp proxy listener port in the “HTTP Proxy” field.
Step 6 th : Make it sure that “Use this proxy server for all protocols” option is checked.
Step 7 th : If you find anything in the “No proxy for” field, than delete it.
Step 8 th : Finally, click “OK” button to close all the dialogue boxes.
So, here is how you can successfully install the burp suite on Linux machine, and on Ubuntu platform. Hope you find every step of installing burp suite helpful. If you successfully installed the burp suite, do leave a comment in the comment box and also if you are facing any difficulty, do let me know in the comment box and I will help you out.
Ovais Mirza
Ovais Mirza is a professional Blogger and writing for many interesting topics related to Hacking, Gaming, Digital Marketing and Stock Market. Here you will find some interesting tips and tricks related to Hacking and Gaming.
Disclaimer: The articles has been written for educational purpose only. We don’t encourage hacking or cracking. In fact we are here discussing the ways that hackers are using to hack our digital assets. If we know, what methods they are using to hack, we are in very well position to secure us. It is therefore at the end of the article we also mention the prevention measures to secure us.
![]()
Follow us
Packages and Binaries:
Burp Suite is an integrated platform for performing security testing of web applications. Its various tools work seamlessly together to support the entire testing process, from initial mapping and analysis of an application’s attack surface, through to finding and exploiting security vulnerabilities.
Burp gives you full control, letting you combine advanced manual techniques with state-of-the-art automation, to make your work faster, more effective, and more fun.
Installed size: 225.93 MB
How to install: sudo apt install burpsuite
burpsuite
[email protected]:~# burpsuite --help Usage: --help Print this message --version Print version details --disable-extensions Prevent loading of extensions on startup --diagnostics Print diagnostic information --use-defaults Start with default settings --collaborator-server Run in Collaborator server mode --collaborator-config Specify Collaborator server configuration file; defaults to collaborator.config --data-dir Specify data directory --project-file Open the specified project file; this will be created as a new project if the file does not exist --developer-extension-class-name Fully qualified name of locally-developed extension class; extension will be loaded from the classpath --config-file Load the specified project configuration file(s); this option may be repeated to load multiple files --user-config-file Load the specified user configuration file(s); this option may be repeated to load multiple files --auto-repair Automatically repair a corrupted project file specified by the --project-file option --unpause-spider-and-scanner Do not pause the Spider and Scanner when opening an existing project --disable-auto-update Suppress auto update behavior Installing Burp Suite Enterprise Edition
This page explains how to perform a standard deployment of Burp Suite Enterprise Edition using the installer. You can run the standard Burp Suite Enterprise Edition installer on both on-premise and cloud-hosted machines.

Before installation
Before you install Burp Suite Enterprise Edition, you should make sure that you have read the Prerequisites for a standard installation page and have the relevant information to hand.
Step 1: Download the installer
Download the installer for Burp Suite Enterprise Edition. The link below opens the download page for the latest stable release in a new tab.
Download the installer
Run the installer and click Next to display the Select Destination Directory page.
Step 2: Extract and run the installer
This step is specific to your operating system.
Windows:
- Extract the installer burpsuite_enterprise_windows-x64_vYYYY_MM.exe from the installer zip file.
- Right-click the installer file and select Run as administrator.
Linux:
- Extract the installer burpsuite_enterprise_linux_vYYYY_MM.sh from the installer zip file.
- From the command line, run sudo sh -c .
Step 3: Choose an install location
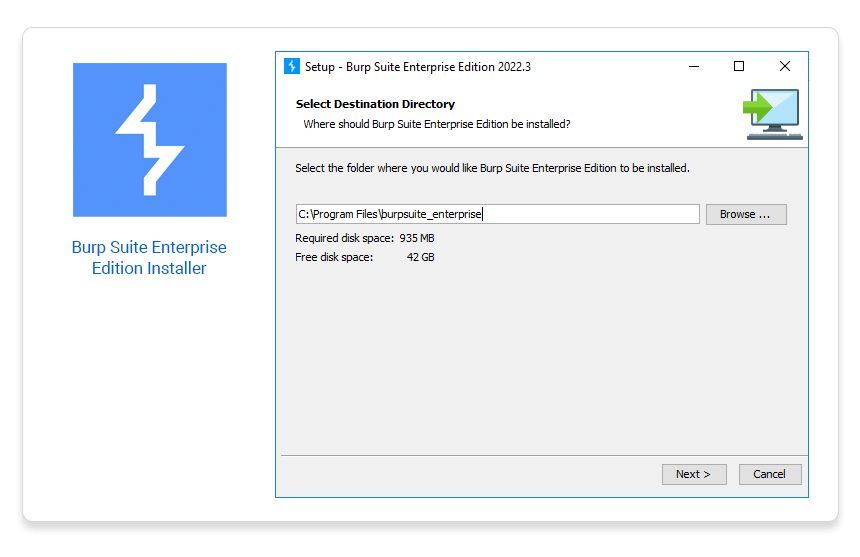
The destination directory is the directory in which the Enterprise server itself will be installed.
Enter or select a directory and then click Next to display the Installation options screen.
Step 4: Select the components to install

The Installation options screen enables you to choose which components of Burp Suite Enterprise Edition you want to install on your machine.
Your choice depends on the scanning configuration you want to run:
- If you want to run the Enterprise server, web server, and scanning machines all on the same computer, make sure that both the Running the Enterprise server and web server and Running scans boxes are selected.
- If you want to run scans on a separate machine to the Enterprise server and web server, uncheck the Running scans box.
Note
You need to install the scanning service on any machines that you want to run scans from. For more information, see Deploying additional scanning machines.
Click Next to display the Logs Directory screen.
Step 5: Specify a logs directory
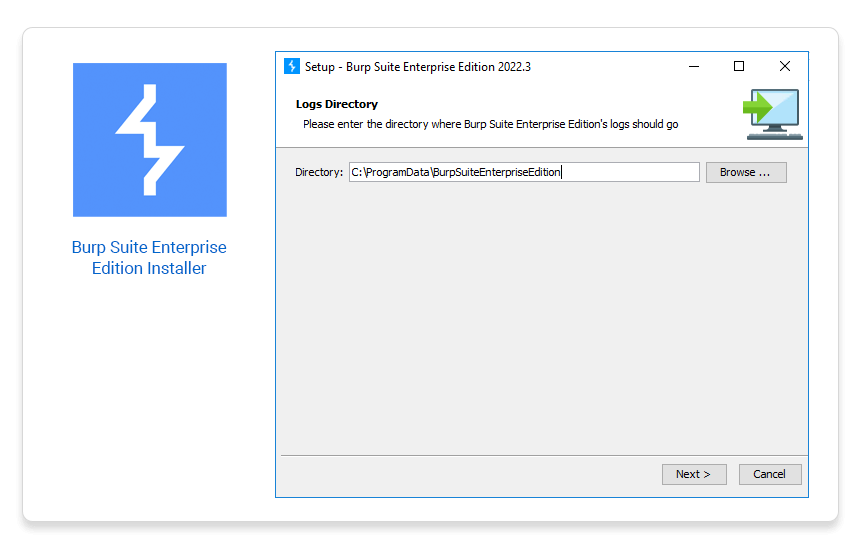
The logs directory is the folder that Burp Suite Enterprise Edition saves all generated logs to.
Enter or select a directory and then click Next to display the Data Directory page.
Step 6: Specify a data directory
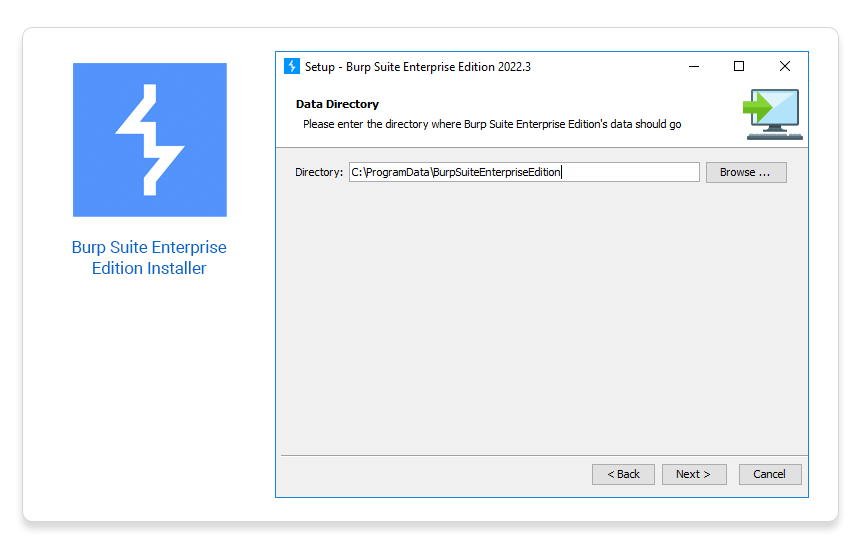
The data directory is the folder that Burp Suite Enterprise Edition saves application data to.
Enter or select a directory and then click Next.
Note
For Linux or Mac installs, you’ll see the Select User to Run Processes screen.
If you’re using Windows, go straight to Step 8.
Step 7: Select a user to run processes
Enter the Username of the system user (that is, the user on your machine as opposed to a Burp Suite Enterprise Edition user) that you want to run Burp Suite Enterprise Edition processes under. If this user does not already exist on your system then the installer creates a user at the end of the process with the default name burpsuite .
Click Next to display the Database screen.
Step 8: Select database options
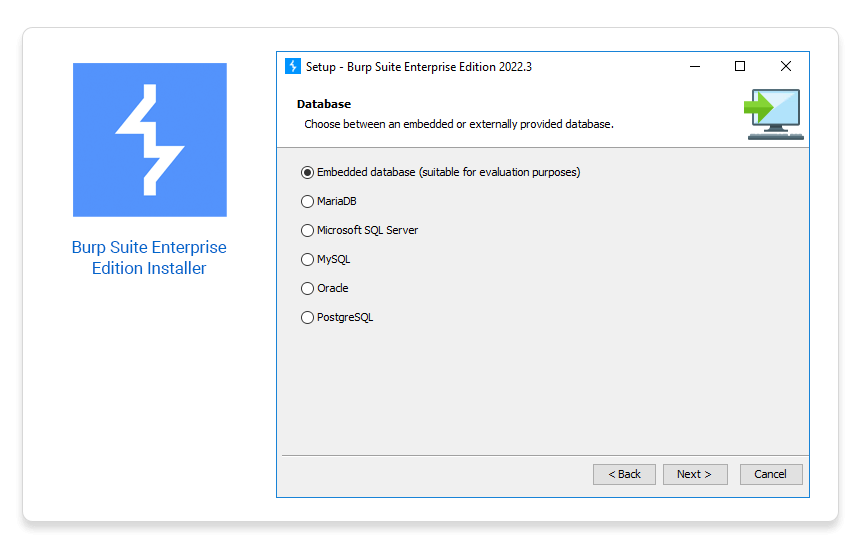
Select whether you want to use the Embedded database or your own external database. Only use the embedded database to evaluate Burp Suite Enterprise Edition. It is not intended for production use.
Note
Any external database you want to use must meet the Burp Suite Enterprise Edition database requirements. You should also make sure that you have correctly configured the database before proceeding. For more information, see Setting up the external database.
Click Next to display the Web Server Port screen.
Step 9: Specify a web server port
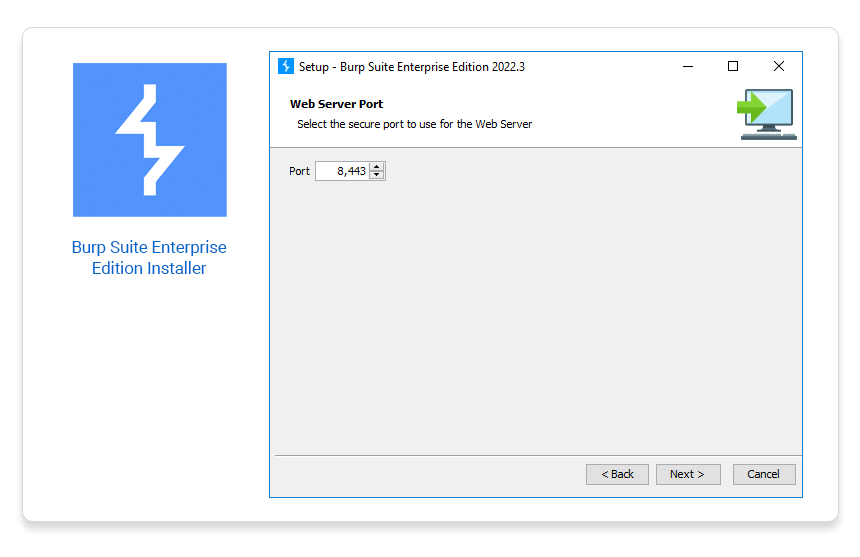
The web server port is the port through which you can access the Burp Suite Enterprise Edition application in your browser. By default, this is set to port 8080 if you are using the embedded database or 8443 if you are using an external database. However, you can specify a different port number if this port is not available on your machine.
Any port you specify must meet the following requirements:
- The port must be available for use on the machine that you want to install the Enterprise and web servers on.
- The operating system user must be allowed to bind to that port. On Linux and MacOS, low-privileged users are unable to bind to low port numbers (such as 80 or 433). If you want to use a low port number, you should configure port redirection at the OS level.
Click Next.
Note
The next step differs depending on whether you selected to use the embedded database or an external database:
- If you selected to use the embedded database then the installer displays the Database Backups Directory screen.
- If you selected to use an external database then the installer installs Burp Suite Enterprise Edition on your computer. Once installed, it displays a confirmation screen.
Step 10: Specify a database backups directory

The database backups directory is the folder that Burp Suite Enterprise Edition backs up the embedded database to.
Enter or select a directory and then click Next.
Note
If you’re using Windows, you’ll see the Select Start Menu Folder screen. Select a folder and click Next to install the application.
After installation
Now that you have installed Burp Suite Enterprise Edition, you need to complete the final part of the configuration in the app itself. Access the app in your browser. By default, this should be http://localhost:8080 or https://localhost:8443 .
Warning
There are potential security implications to leaving Burp Suite Enterprise Edition in an unconfigured state. We recommend completing the rest of the configuration as soon as possible.
Next step — Configure the application
An error occurred, please try again.