- Make Your Very Own Customized Linux Distro From Your Current Installation
- Ways To Make Current Installation’s ISO
- 1. Linux Respin
- 2. Systemback
- 3. Linux Live Kit
- Conclusion
- SHARE THIS POST
- Sohail
- YOU MIGHT ALSO LIKE
- Airdroid – Transfer Files Between Android And…
- How to Hibernate Ubuntu: A Step-by-Step Guide
- How to Create QR Codes In Ubuntu…
- Give your Linux Desktop a Clean and Professional Look
- Give your Linux Desktop a Clean and Professional Look:
- 1. Gnome Installation on a Linux:
- 2. Gnome Customization Tools:
- 3. Gnome Customization:
- 4. Theme
- 5. Conky (Widgets) and Wallpaper:
Make Your Very Own Customized Linux Distro From Your Current Installation
When we use Linux, one of the most common and useful features is the ability to personalise, clone, and remaster our Linux installation to meet our specific needs. Because Linux is so adaptable, we can install and use it in a variety of ways: we can install it from a CD, DVD, network, USB, or disc partition; and we can select between a standard installation medium and a medium that contains a live Linux system.
In addition, we may construct an ISO file of our present Linux installation and utilise it to create a bootable disc. In this article, you will learn how to build an ISO image of your current Linux system as well as the choices available to you.
Ways To Make Current Installation’s ISO
There are many applications to create an ISO from the current installation, so I’ve listed the applications that I know to do it easy.
1. Linux Respin
It’s a fork of the defunct Remastersys, which was a free application for personalising and creating custom distros, as well as making full system backups.

Linux Respin is new, you can get it from its official Website: Linux Respin
Also, you can get its source code from Github: GItHub Repository
2. Systemback
It’s a system utility for creating backups and restoring your system’s prior state. You may also use it to duplicate your system and create a Live System.

You can get it from its official website at Sourceforge: Systemback
3. Linux Live Kit
It’s a set of shell scripts to create your own Live Linux from the current Linux installation. I’m going to show you the process to make a Live Linux using Linux Live kit.
Squashfs is a Linux compressed read-only filesystem. Squashfs is intended for general read-only filesystem use, archival use (i.e. when a.tar.gz file can be utilised), and in restricted block device/memory systems (e.g. embedded devices) where little overhead is required.
You must install squashfs-tools in your system using the package manager:
# aptitude install squashfs-toolsNow you must download the Linux Live kit from its official website: Linux Live Kit
If you want, you should remove all unnecessary files from your system (for example man pages and all other files you don’t need), to make your Live Linux system as small as possible (this step is optional). You must move the Linux Live kit to /tmp, if you want you can read the documentation files in DOC/ to learn how it works. Also, you can edit .config file if you need to modify some variables.
Now is the moment to start with the creation of the Live System, switch to the root user using su and go to the Linux Live directory and execute the following script:
You should go for a cup of coffee because generally, this process takes a very long time.

Your Live Kit ISO image will be created in /tmp.
There is a screenshot of the process:

At this point, the process is finalizing.

If you see the root prompt again, it means that the process is complete.
Finally, you’ll find an ISO file for CD boot and a ZIP archive for USB boot located in /tmp, you copy these files to any other directory.
To make a bootable USB, unpack the generated zip archive (also from /tmp) to your USB device and run bootinst.sh from the boot subdirectory.
Conclusion
In conclusion, I’ve used Linux Live kit because it worked for me, but you can choose another. Also, this process can be useful to make a customized Linux distro using an already Linux installation.
SHARE THIS POST


Sohail
Mohd Sohail is a web developer and a Linux sysAdmin. He also loves to write how-to articles, applications reviews and loves to use new Linux distributions.
YOU MIGHT ALSO LIKE

Airdroid – Transfer Files Between Android And…

How to Hibernate Ubuntu: A Step-by-Step Guide

How to Create QR Codes In Ubuntu…
Cheers,
ISO and Archive generated succesfully – but could not get the bootable USB stick so far – although terminal says “Boot Installation finished” the USB Drive does not show up in the Boot Manager … trying the ISO now
Tried the ISO on several ways:
StartupDiskCreator does not accept ISO – the button keeps disabled
UNetbootin and ddrescue both perform the task, but the usb device is still not present in the Boot Manager
(tried an Ubuntu 16.04 6 from ubuntu.com created with rufus which worked)
My conclusion is that the ISO / zip archive is somehow broken :/ Maybe try CloneZilla ? idk
You can also go to linuxcustomizer.com and use build features (a structure with command segments) to customize and build your image… It’s free
http://www.linuxrespin.org is an uncompleted website with no links to any files on the download page.. so forget that one
Sounds like it was being updated at the time.
Press Debian or Ubuntu-based on the homepage and you will be taken to the sourceforge page.
Thumbs down to Respin.
Has an unresolved dependency and very poor websites.
I was able to get a bootable pen drive, well actually a very old SATA II SSD connected to a USB to SATA cable!
So it boots, but then fails on looking for data in /linux … despite the fact that I’ve followed the instructions and the linux directory is right there in the root of the drive, containing almost everything, other than one more directory at the root, called EFI, that was created from me running the boot script.
Am I doing something wrong?
How do I get it to find the data file?
The data file is right there in the /linux directory.
It it is owned by root and has permissions -rw-r–r–
Hi ! “To make bootable USB, unpack the generated zip archive (also from /tmp) to your USB device and run bootinst.sh from the boot subdirectory” this is on linux?
There are two files, a .bat to Windows and a .sh to Linux. So you must use .bat or .sh file with the system you are using now. I tried to make a bootable pendrive in Windows but it didn’t work…
Finally, you’ll find an ISO file for CD boot and a ZIP archive for USB boot located in /tmp, you copy these files to any other directory.
do i have to copy to another directory or can i just leave them in temp??
when i try to move these files i dont have the rights …
how do i change permissions on these files or this directory??
To make bootable USB, unpack the generated zip archive (also from /tmp) to your USB device and run bootinst.sh from the boot subdirectory.
by unpack do you mean extract?
i cant extract to my usb i dont have the permissions required
run boot inst.sh .
where is bootinst.sh?? in the usb or on my system hard drive?
what is the file path of bootinst.sh
what command in terminal can i use to run bootinst.sh
what is the recovery or boot up process like??
will it wipe my main systemdisk when i boot from usb?
i have my main disk partitioned and just want to boot the usb and use timeshift in case i break the system.
will this boot usb wipe my other partitions on the same disk?
all i need is to be able to boot back up after a crash and use timeshift to restore the system instead of re installing from scartch…
it would be nice also to use the usb to install ubuntu on other systems
Finished. Find your result in /tmp/linux-data-3149
To build ISO, run: /tmp/gen_linux_iso.sh
To build ZIP, run: /tmp/gen_linux_zip.sh
[email protected]:/home/r2d2/linux-live-2.3#
after the build process is complete you can build the zip file by entering /tmp/gen_linux_zip.sh in terminal
then you have to EXTRACT. the zip file you just created in terminal… using package manager.
double click on the linux-x86_64.zip located in ,tmp (opens archive manager)
then… click the plus button ( at the top left of archive manager )and select your thumbdrive from the list on the left.
then press extract (on the top right)
this should extract the files to your usb drive
open the usb drive (your extracted files should be in the usb drive) navagate to linux (directory in the usb) then boot (directory in the usb)
rightclick the filepath at the top of the screen … select open in terminal
once in terminal you should be able to type sudo ./bootinst.sh
this should return something saying it was created… youre done!
if you cant extract to usb due to permissions then
Here’s the procedure:
Open “Disk Utility”, and look for your device, and click on it. This will let you be sure you know the correct filesystem type and device name for it. In my case, it was ‘ext4’ and ‘/dev/sdb1’ respectively. Next: Decide what you want to call your thumb drive. I called mine ‘USB16-C’, but you choose your own name. Before closing Disk Utility, click unmount. And USER should be your login name??
Then run steps 2 to 4 in a terminal window.
sudo mount -t ext4 -o rw /dev/sdb1 /media/USB16-C (check your usb in disks program to see device name ) it was /dev/sdb not /dev/sdb1 in my case
sudo chown -R USER:USER /media/USB16-C (also this user user all i did was type the name of my computer here)
if you dont sudo first youll get this
./bootinst.sh
. is device /dev/sdb
./extlinux.x64: cannot open device /dev/sdb
Error installing boot loader.
Read the errors above and press enter to exit…
first you need to edit the config file of linux live
the file is located in your home diredtory under linux-live-2.3
double click linux live and find bootfiles directory then find syslinux.cfg
open syslinux.cfg and edit the KERNEL /boot/vmlinuz line to read …….. KERNEL /boot/vmlinuz-5.4.0-65-generic
or whatever your kernel version is ( type uname -r in terminal to find your kernel)
dont forget to add the dash between vmlinuz and 5.4.0-65-generic (dont do this vmlinuz5.4.0-65-generic)
SAVE the syslinux.cfg .
makes me wonder if the author has tried his usb stick yet?? it probably wont boot his system if he hasnt edited syslinux.cfg …
ACTUALLY IM AN IDIOT!
you need to edit the config file linux-live-2.3 / config
change the LIVEKITNAME
change the VMLINUZ file path to reflect your computer
change the kernel (uname -r)
save the file
How to install the live-dvd created using the Respín? There isn’t any shortcut in the system to install it.
Installing Linux Respin destroys x/gui.
I have had to recover my data, and make a fresh install.
Give your Linux Desktop a Clean and Professional Look
In this article,
I’m going to show you how you can give your Linux Desktop Look Clean and Professional look in just a few steps. You’ll learn how to customize your Linux desktop look by using GNOME in any Linux distros.
I’ll show you how to customize your Linux desktop background, choose a brand new custom cursor, and add finishing touches to give your desktop that polished look, and Many more Linux customization things…
Give your Linux Desktop a Clean and Professional Look:
There are several ways to achieve a clean and professional look on a Linux desktop. Here is how you can customize your Linux desktop look:
Instructions:
1. Gnome Installation on a Linux:
While some Linux distributions come with the GNOME desktop environments pre-installed, not all do. For example, Ubuntu comes with the GNOME desktop environment by default, while other distributions such as Linux Mint or Fedora come with different desktop environments such as Cinnamon or KDE Plasma.
sudo apt install gnome-shell- During installation, you will be asked to choose a display manager. You can choose either GDM or LightDM
- Once the installation is complete, log out of your current session.
- On the login screen, select “GNOME” as your desktop environment.
Alternatively, you can switch to GNOME from the terminal by running the command:
sudo systemctl start gdm3That’s it! The GNOME desktop environment should now be installed on your system.
2. Gnome Customization Tools:
Install Gnome – Tweaks to get the best customization features
Install the gnome-tweaks desktop environment by running the command:
sudo apt install gnome-tweaks -yNow after installing the tweaks also install gnome-extensions by running the command:
sudo apt install gnome-extensions3. Gnome Customization:
Now follow the instructions shown in the video to customize Gnome 🙂
4. Theme
For icons, you can use any of your favorite icon themes but for this customization, We are using:
Reversal theme (For Icon)
Tokyo Night GTK Theme (For app Interface)
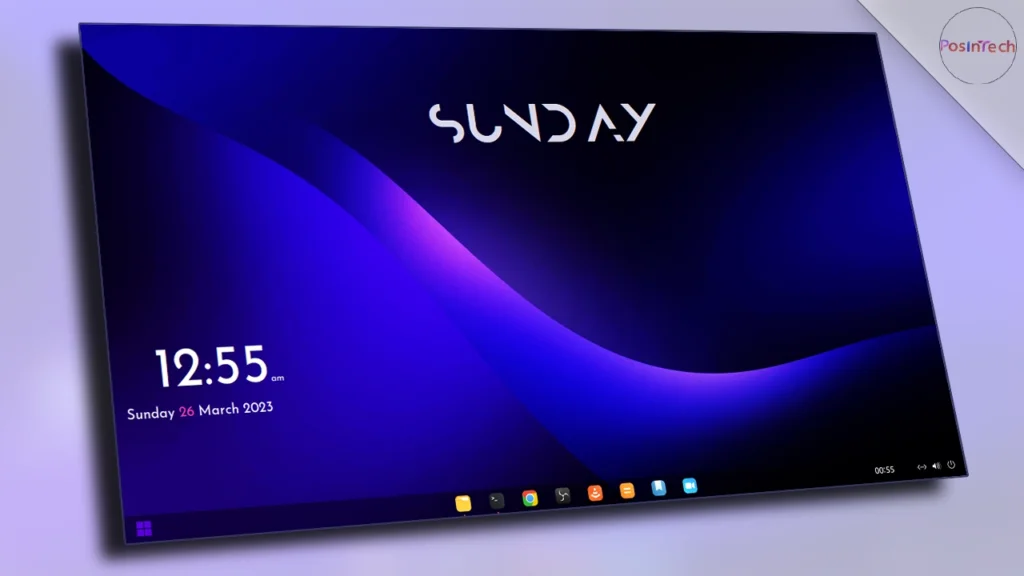
5. Conky (Widgets) and Wallpaper:
Firstly we have to install Conky on Linux, Run the following command:
NOTE: it can be different in other Linux distros.
Then download the conky and wallpaper file and follow along with the tutorial.
Conky Theme – (PosInTech)
Wallpaper – (PosInTech)