- Cisco IOS: сохранение конфигурации
- Настройка оборудования
- Блог о модемах, роутерах и GPON терминалах Ростелеком
- Сохранение конфигурации Cisco
- Understand how to Backup and Restore Configuration Files
- Contents
- Introduction
- Prerequisites
- Requirements
- Components Used
- Conventions
- Make a Backup of the Configuration
- Use a TFTP Server to Backup and Restore a Configuration
- Use an FTP Server to Backup and Restore a Configuration
- Use a Terminal Emulation Program to Backup and Restore a Configuration
- Automatic Backup of Configuration with the Kron Method
- Backup Configuration to a TFTP Server
- Verify
Cisco IOS: сохранение конфигурации
![]()
Конфигурация вашей сети Cisco хранится в двух основных местах: одно находится в ОЗУ, а другое — в текущей конфигурации (running configuration). Когда вы вводите команды, они активируются немедленно и сохраняются в текущей конфигурации, которая хранится в ОЗУ.
Поэтому при выключении питания конфигурация теряется. Чтобы сохранить эту конфигурацию, скопируйте ее в загрузочную конфигурацию (startup-configuration), что означает, что она хранится в энергонезависимой ОЗУ (NVRAM), чтобы конфигурация сохранялась при выключении питания.
Вы можете использовать две команды для сохранения вашей конфигурации: команду записи или команду копирования. Команда записи устарела, но будет выглядеть так:
Router#write memory Building configuration. [OK]
Более новая версия команды — это команда копирования, которая выглядит как:
Router#copy running-config startup-config Destination filename [startup-config]? Building configuration. [OK]
Команда копирования предлагает больше гибкости и возможностей. Вы можете не только скопировать данные текущей конфигурации в файл начальной конфигурации, но и скопировать их в файл на флэш-памяти или на TFTP-сервер в вашей сети.
Для любой команды вам нужно набрать столько букв, сколько требуется IOS для однозначной идентификации команды. Например:
Настройка оборудования
Блог о модемах, роутерах и GPON терминалах Ростелеком

Сохранение конфигурации Cisco
Сохранение конфигурации IOS Cisco.
Грамотный администратор никогда не брезгует лишний раз сохранить конфигурацию подшефного оборудования после очередного её изменения. Эта процедура совсем несложна, но в случае системного сбоя либо какой-либо неполадки, она серьёзно сократит время на восстановление работоспособности оборудования.
В этой статье я приведу самый простой способ — коннект по ssh или с помощью telnet к железяке и далее делаем бекап на tftp-сервер. Это можно оформить в виде скрипта. Минус такого способа в том что он затрачивает много времени при большом количестве обслуживаемых маршрутизатором. Но зато он самый надёжный.
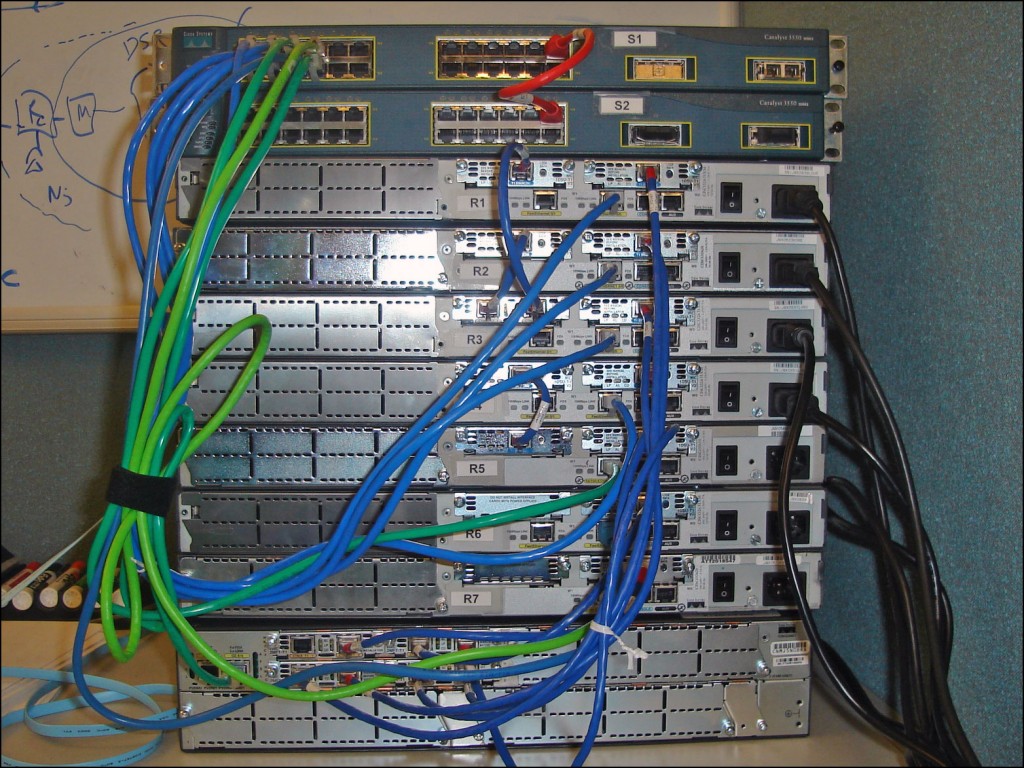
В маршрутизаторах Cisco предусмотрено две конфигурации:
running configuration — рабочая конфигурация — активная конфигурация маршрутизатора(коммутатора). Рабочая конфигурация храниться в оперативной памяти маршрутизатора. При любой настройке оборудования — изменения записываются в рабочую конфигурацию.
startup configuration — стартовая конфигурация или конфигурация запуска. Данная конфигурация загружается при включении маршрутизатора, а посему храниться она в постоянной энергонезависимой памяти устройства. Система IOS организована так, что напрямую внести изменения в стартовую конфигурацию у вас не получится, так как все вводимые команды будут записаны в текущую рабочую конфигурацию. Но рабочий конфиг можно скопировать в конфиг запуска.
Для этого используется следующая команда:
#copy running-config startup-config — эта команда копирует текущую рабочую конфигурацию в стартовую;
Destination filename [startup-config]? — здесь система спрашивает имя для конфигурации — оставляем по-умолчанию и нажимаем Enter.
Building configuration…
[OK]
Теперь сделаем резервную копию(backup) текущей рабочей конфигурации. Для этого нам понадобится TFTP-сервер в сети (например TFTP32).
Далее на нашем маршрутизаторе выполняем команду:
#copy running-config tftp://10.0.0.1 — здесь tftp://10.0.0.1 — адрес вашего TFTP-сервера.
Address or name of remote host [10.0.0.1]? — система спрашивает еще раз правилен ли адрес — проверяем и нажимаем Enter.
Destination filename [router-confg]?
.
5460 bytes copied in 1.14 secs (2900 bytes/sec)
Итак, наша конфигурация сохранена и теперь можно спать спокойно 😉
Understand how to Backup and Restore Configuration Files
The documentation set for this product strives to use bias-free language. For the purposes of this documentation set, bias-free is defined as language that does not imply discrimination based on age, disability, gender, racial identity, ethnic identity, sexual orientation, socioeconomic status, and intersectionality. Exceptions may be present in the documentation due to language that is hardcoded in the user interfaces of the product software, language used based on RFP documentation, or language that is used by a referenced third-party product. Learn more about how Cisco is using Inclusive Language.
Contents
Introduction
This document describes how to migrate a configuration from a current router to a new router.
Prerequisites
Requirements
Cisco recommends that you have knowledge of these topics and have the required accesses:
- Access to a Trivial File Transfer Protocol (TFTP) or File Transfer Protocol (FTP) server.
- Connectivity — Routers must be able to access the FTP or TFTP server. Use thepingcommand to verify connectivity.
Components Used
This document is not restricted to specific software and hardware versions.
The information in this document was created from the devices in a specific lab environment. All of the devices used in this document started with a cleared (default) configuration. If your network is live, ensure that you understand the potential impact of any command.
Conventions
Refer toCisco Technical Tips Conventionsfor more information on document conventions.
Make a Backup of the Configuration
There are several methods to choose from in order to back up and restore a configuration:
Use a TFTP Server to Backup and Restore a Configuration
This is a step-by-step approach to copy a configuration from a router to a TFTP server, and back to another router. Before you proceed with this method, make sure you have a TFTP server on the network to which you have IP connectivity.
- At theRouter>prompt, issue theenablecommand, and provide the required password when prompted. The prompt changes toRouter#, which indicates that the router is now in privileged mode.
- Copy this configuration file to the TFTP server:
CE_2#copy running-config tftp: Address or name of remote host []? 10.104.207.171 Destination filename [ce_2-confg]? backup_cfg_for_my_router !! 1030 bytes copied in 2.489 secs (395 bytes/sec) CE_2#
Router#copy tftp: running-config Address or name of remote host []? 10.104.207.171 Source filename []? backup_cfg_for_my_router Destination filename [running-config]? Accessing tftp://10.66.64.10/backup_cfg_for_my_router. Loading backup_cfg_for_router from 10.104.207.171 (via FastEthernet0/0): ! [OK - 1030 bytes] 1030 bytes copied in 9.612 secs (107 bytes/sec) CE_2#
Use an FTP Server to Backup and Restore a Configuration
In this procedure, an FTP server can be used in place of a TFTP server.
- At theRouter>prompt, issue theenablecommand, and provide the required password when prompted. The prompt changes toRouter#, which indicates that the router is now in privileged mode.
- Configure the FTP username and password.
CE_2#configure terminal CE_2(config)#ip ftp username cisco CE_2(config)#ip ftp password cisco123 CE_2(config)#end CE_2#
CE_2#copy running-config ftp: Address or name of remote host []? 10.66.64.10 Destination filename [ce_2-confg]? backup_cfg_for_router Writing backup_cfg_for_router ! 1030 bytes copied in 3.341 secs (308 bytes/sec) CE_2#
Router#copy ftp: running-config Address or name of remote host [10.66.64.10]? Source filename [backup_cfg_for_router]? Destination filename [running-config]? Accessing ftp://10.66.64.10/backup_cfg_for_router. Loading backup_cfg_for_router ! [OK - 1030/4096 bytes] 1030 bytes copied in 13.213 secs (78 bytes/sec) CE_2#
Use a Terminal Emulation Program to Backup and Restore a Configuration
A terminal emulation program can be used to back up and restore a configuration. This is a description of the procedure with Microsoft HyperTerminal Emulation software, but you can use the concept and follow this example with the Terminal Emulation software of your preference:
- If the configuration needs to be copied from another router, connect to that router through the console or Telnet.
- At theRouter>prompt, issue theenablecommand, and provide the required password when prompted. The prompt changes toRouter#, which indicates that the router is now in privileged mode.
- Issue theterminal length 0command in order to force the router to return the entire response at once, rather than one screen at a time. This allows you to capture the configuration without extraneous--more--prompts generated when the router responds one screen at a time.
- On the HyperTerminal menu, chooseTransfer > Capture Text. The Capture Text window appears.
- Name this file «config.txt.»
- ClickStartin order to dismiss the Capture Text window and begin the capture.
- Issue theshow running-configcommand and allow time for the router to complete its response. You can see:
Automatic Backup of Configuration with the Kron Method
In order to get a router to copy the running-config to startup-config, for example every Sunday at 23:00, complete these steps:
- Create a kron policy list—This is the script that lists what commands the router must run at the scheduled time.
Router(config)#kron policy-list SaveConfig Router(config-kron-policy)#cli write Router(config-kron-policy)#exit - cli—Specifies EXEC CLI commands within a Command Scheduler policy list.
- Policy-list—Specifies the policy list associated with a Command Scheduler occurrence.
Note: The reason whywritewas used rather thancopy running-config startup-configis because kron does not support interactive prompts and thecopy running-config startup-configcommand requires interaction. It is important to remember this when you create commands. Also, note that kron does not support configuration commands.
Router(config)#kron occurrence SaveConfigSchedule at 23:00 Sun recurring Router(config-kron-occurrence)#policy-list SaveConfig
- SaveConfigSchedule—This is the name of occurrence. Length of occurrence-name is from 1 to 31 characters. If the occurrence-name is new, an occurrence structure can be created. If the occurrence-name is not new, the current occurrence can be edited.
- at—Identifies that the occurrence is to run at a specified calendar date and time.
- recurring—Identifies that the occurrence is to run on a recurring basis.
Router#show kron schedule Kron Occurrence Schedule SaveConfigSchedule inactive, can run again in 1 days 12:37:47 at 23:00 on Sun
- inactive—Means that kron is not running the command(s) at present.
- Active—Means that kron is running the current command(s).
Router#show running-configuration kron occurrence SaveConfigSchedule at 23:00 Sun recurring policy-list SaveConfig kron policy-list SaveConfig cli write
Backup Configuration to a TFTP Server
This example is to save the current config to a TFTP server (10.1.1.1) every Sunday at 23:00:
Router(config)#kron policy-list Backup Router(config-kron-policy)#cli show run | redirect tftp://10.1.1.1/test.cfg Router(config-kron-policy)#exit ! Router(config)#kron occurrence Backup at 23:00 Sun recurring Router(config-kron-occurrence)#policy-list Backup
Verify
Use theshow running-configcommand to confirm that the configuration file has been copied to the destination router.