- Clone linux to vmware
- Prerequisites
- Procedure
- Перенос сервера Linux на виртуальную машину VMware
- Создание образа диска
- Конвертируем образ в формат vmdk
- Конвертируем в формат ovf (Open Virtualization Format)
- Convert a Physical Linux Server to a VMware VM
- Install VMware vCenter Converter Standalone
- Migrate a physical server to a virtual one
- Conclusion
Clone linux to vmware
Before you perform virtual machine cloning, you must create a virtual machine template that the clones are based on.
Prerequisites
- Verify that your deployment meets the requirements for supporting Linux desktops. See System Requirements For Horizon 7 for Linux.
- Familiarize yourself with the steps for creating virtual machines in vCenter Server and installing guest operating systems. See «Creating and Preparing Virtual Machines» in the Setting Up Virtual Desktops in Horizon 7 document.
- Familiarize yourself with the required video memory (vRAM) values for the monitors you must use with the virtual machine. See Virtual Machine Settings for 2D Graphics.
- Familiarize yourself with the steps for AD integration. See Setting Up Active Directory Integration and User Authentication Features for Linux Desktops.
- Familiarize yourself with the steps to install Horizon Agent on Linux. See Installing Horizon Agent.
- If necessary, familiarize yourself with the steps to configure options using the Horizon 7 configuration files. See Configuration Options for Linux Desktops.
- If you plan to set up graphics, familiarize yourself with the steps. See Setting Up Graphics for Linux Desktops.
Procedure
- In vSphere Web Client or vSphere Client, create a new virtual machine.
- Configure custom configuration options.
- Right-click the virtual machine and click Edit Settings .
- Specify the number of vCPUs and the vMemory size.
Set the vRAM size in vSphere Web Client for virtual machines that use 2D graphics, which use the VMware driver. The vRAM size has no effect on vDGA or NVIDIA GRID vGPU machines, which use NVIDIA drivers. Follow the guidelines in Virtual Machine Settings for 2D Graphics. Do not use the Video Memory Calculator.
With this line in /etc/sudoers , no password is required to run sudo as ViewUser. When you run the sample script to install Horizon Agent that is provided in this chapter, you specify ViewUser as an input.
Defaults requiretty Defaults !visiblepw
- If the Linux distribution is running a version of Open VM Tools earlier than 9.10, install the deployPkg plug-in.
sudo ./install_viewagent.sh -A yesПеренос сервера Linux на виртуальную машину VMware
Любой физический можно относительно легко подвергнуть виртуализации. В этой статье будет показано, как превратить физический сервер под управлением Linux в виртуальную машину VMware.
Создание образа диска
Первым делом нужно снять образ диска для VMware с нашего физического . Никакое дополнительное программное обеспечение для начала виртуализации нам не нужно, поскольку образ можно создать стандартной командой dd:
dd if=/dev/sda of=/mnt/share/sda.img bs=8M conv=sync,noerror
Здесь мы параметром if задаем входящий файл — весь диск /dev/sda. В качестве выходного файла (of) мы устанавливаем /mnt/share/sda.img — это и будет наш образ диска. Параметр bs задает размер блока для ускорения процедуры копирования (по умолчанию 512 байт, следовательно, данные при виртуализации будут сбрасываться небольшими блоками по 512 байт, что существенно замедлит процедуру создания образа). Последний параметр указывает на необходимость копирования с игнорированием ошибок и создания точной () копии физического диска.
Примечание. В точке монтирования /mnt/share должно быть достаточно места. Как минимум, должно быть свободно столько, сколько займет копируемый физический диск после виртуализации.
Конвертируем образ в формат vmdk
После того, как образ создан, его нужно конвертировать в формат VMWare. Для этого мы будем использовать qemu, точнее утилиту , входящую в состав этого пакета эмуляции. К сожалению, для проведения виртуализации физического сервера придется установить весь пакет:
Данная команда подойдет для Ubuntu и Debian, в Fedora нужно использовать dnf, а в CentOS — yum:
sudo dnf install qemu
sudo yum install qemuКоманда конвертирования выглядит так:
convert -o compat6 /mnt/share/sda.img -O vmdk /mnt/share/vmware.vmdk
Обратите внимание, что в /mnt/share должно быть достаточно места для хранения файла vmware.vmdk, который также будет большого размера.
Конвертируем в формат ovf (Open Virtualization Format)
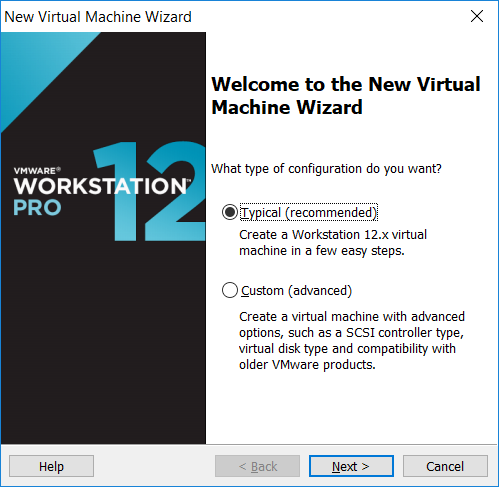
Для конвертирования в формат ovf нам понадобится программа VMWare Workstation, которую можно бесплатно скачать после регистрации на сайте компании. Установите приложение и создайте новую виртуальную машину (рис. 1).

Рис. 1. Создание новой виртуальной машины в VMWare Workstation
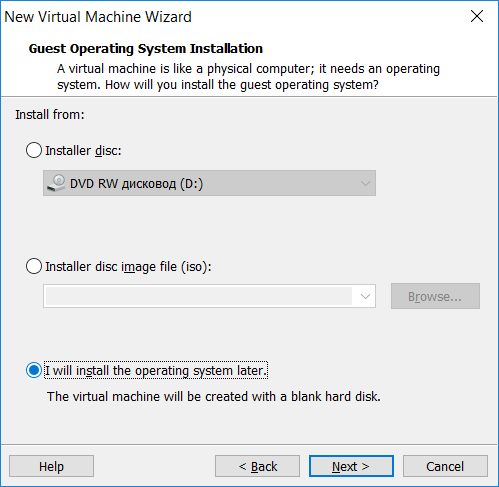
Выберите, что вы установите операционную систему позже (рис. 2).
Рис. 2. Установим операционную систему позже
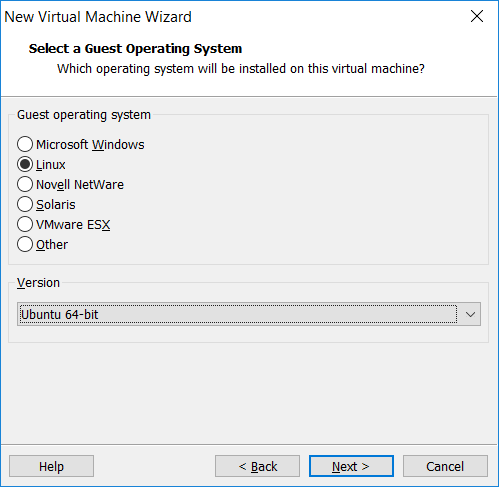
Выберите тип операционной системы — Linux и выберите ваш дистрибутив (либо его ближайшего «родственника»), см. рис. 3.
Рис. 3. Выбор типа операционной системы
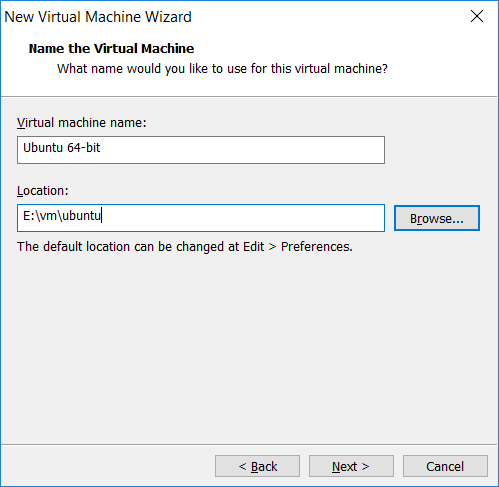
Введите название виртуальной машины VMware и путь к ней (рис. 4).
Рис. 4. Имя и путь к виртуальной машине
Convert a Physical Linux Server to a VMware VM
When you implement a virtual infrastructure, you may want to convert your physical servers to virtual ones to improve your datacenter consolidation. In this topic, we will see how to convert a physical Linux server to a VMware VM. To make this conversion, I used VMware vCenter Converter Standalone.
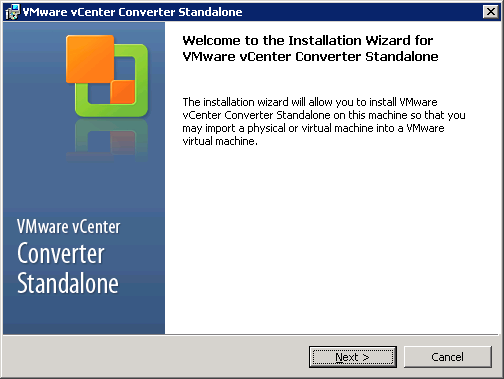
Install VMware vCenter Converter Standalone
To host VMware vCenter Converter Standalone, you need a physical or virtual machine based on Windows Server. Usually, when I run this tool, I use a virtual machine. Then, I run the executable to process the product installation. In the first window, just click Next.

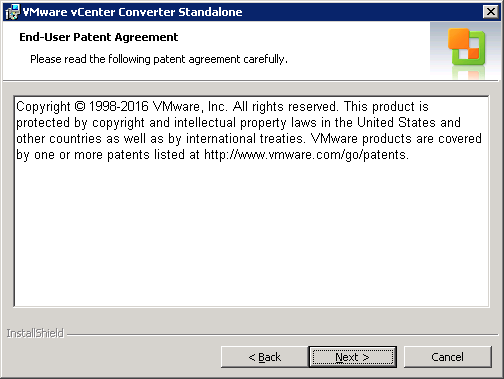
Next, accept the End-User Patent agreement and click Next.
Then accept the license agreement and click Next.
Next, choose a destination folder for VMware vCenter Converter Standalone and click Next.
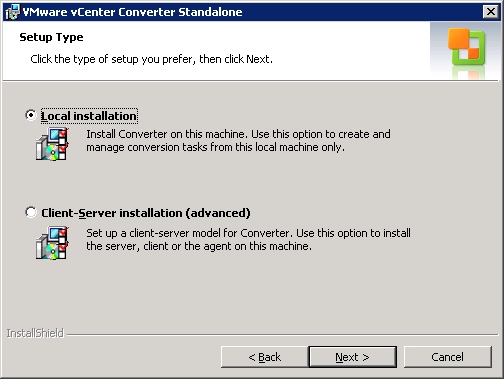
Then choose a setup-type: local installation to deploy only VMware vCenter Converter Standalone, or Client-Server installation if you want to install agent and client additionally. I choose local installation because I don’t want to convert the server where I deploy VMware vCenter Converter Standalone.
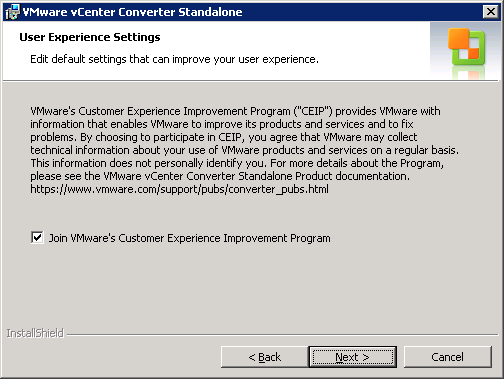
Next, choose if you want to join the VMware CEIP or not, and click Next.
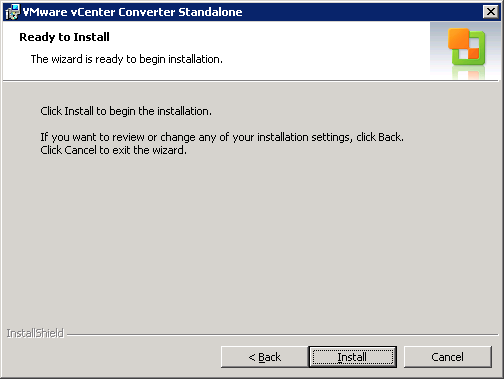
To run the installation, click Install.
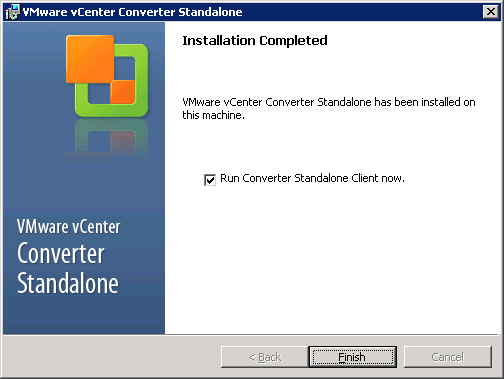
When the installation is finished, you can run the Converter Standalone Client.
Migrate a physical server to a virtual one
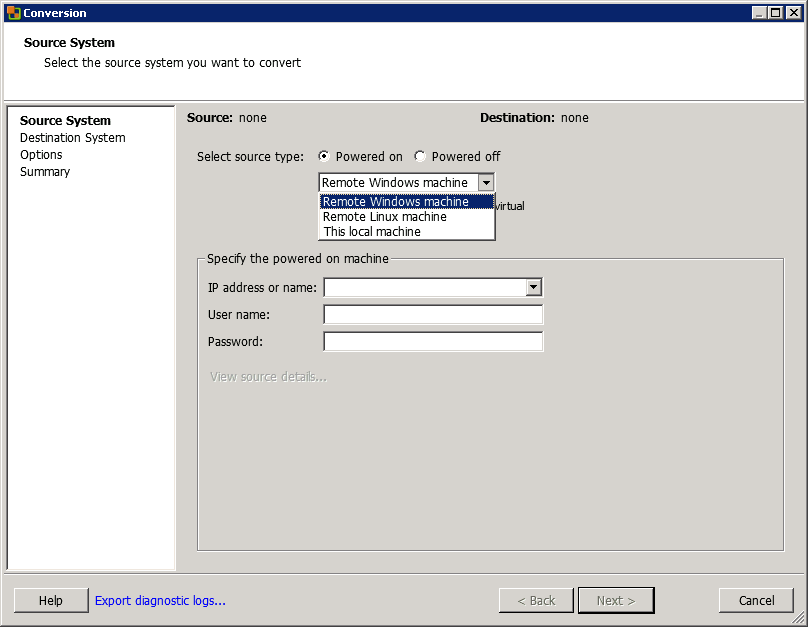
In the VMware vCenter Converter Standalone client, click Convert machine.

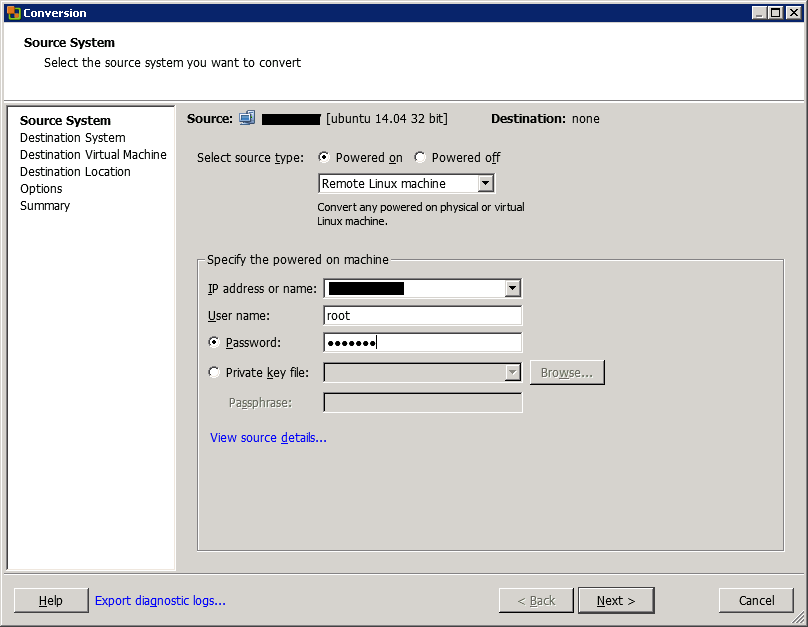
Then, choose if your source is powered on or off. Be careful: if you choose Powered Off, you won’t be able to convert the physical server. When you select Powered on, you can choose Windows or Linux remote server or local machine. I choose Remote Linux machine.

Then, specify the IP address or name and the root credentials.
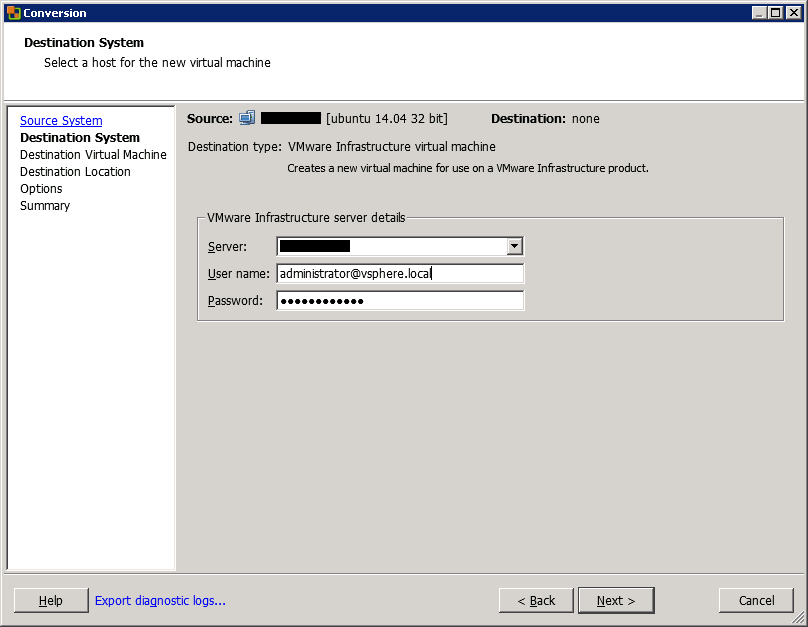
Next, specify the destination. If the destination ESXi is managed by vCenter, specify the vCenter name or IP. Otherwise, specify the ESXi name or IP address. In the example below, I’m connecting to vCenter with administrator credentials.
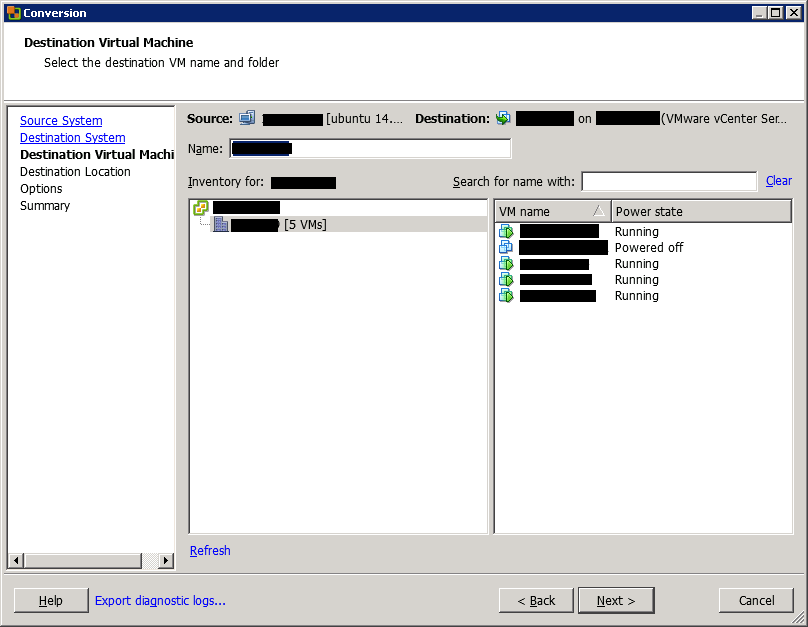
Then, choose the destination VM folder or datacenter, and click Next.
Then, choose the destination ESXi (or cluster) and the datastore. You can also choose the VM version.
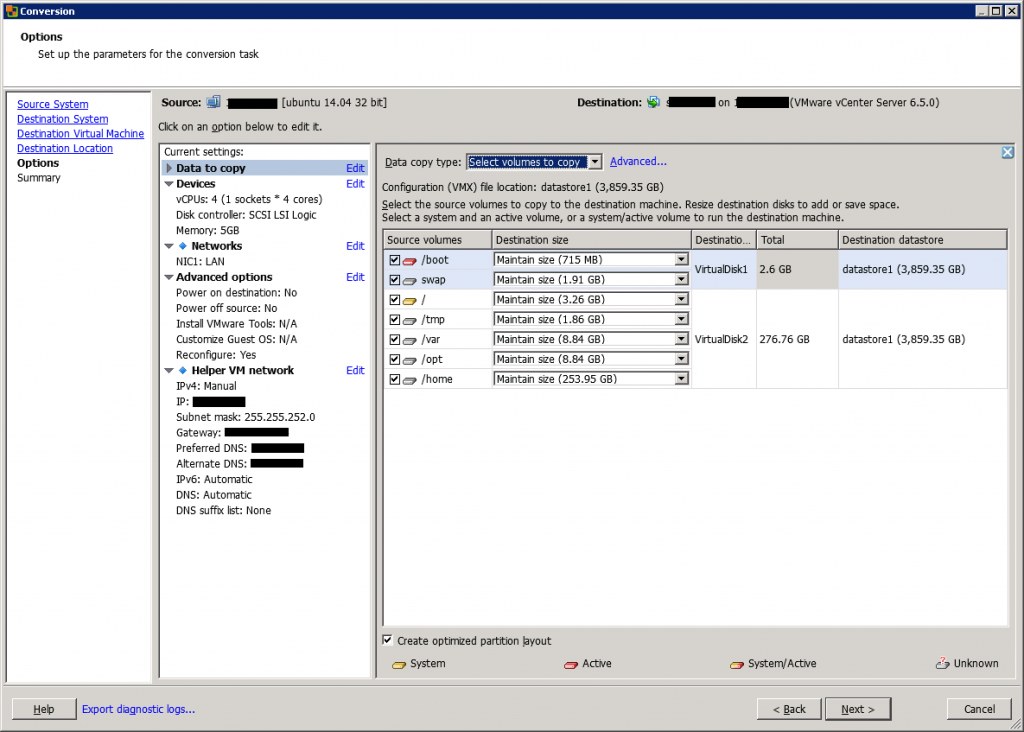
In the next screen, you can manage the VM configuration. First, you can choose which data to copy and you can get the information about partition on the source server.

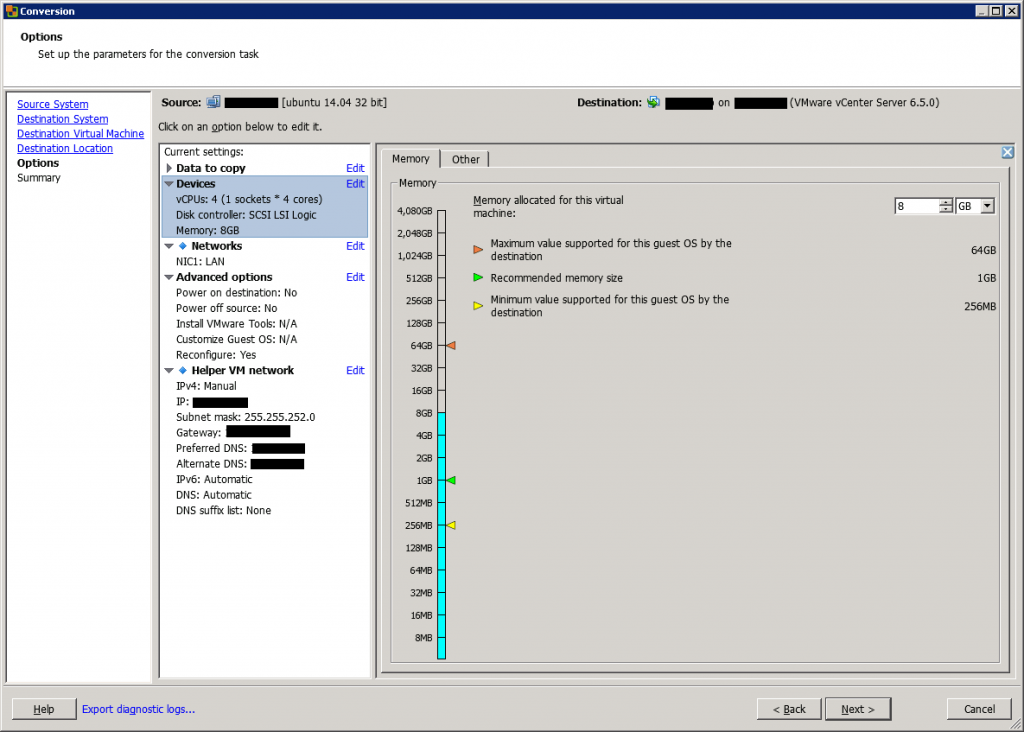
Then, you can edit the CPU and memory information of the virtual machine. You can also change the disk controller.
When you convert a physical server with many network adapters, you may want to not convert all of them to virtual network adapters. To do so, select the number of network adapters to connect. You can also select the controller type (like VMXNET 3).
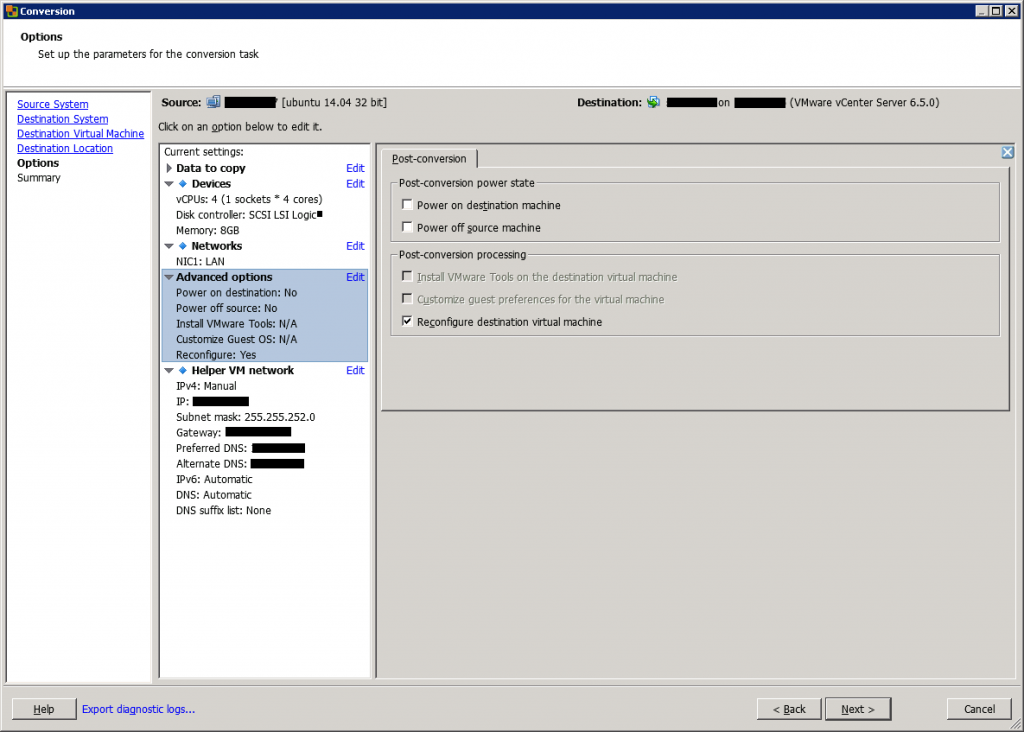
In the next screen, you can enable some post-processing settings, such as power off source machine and power on destination machine.
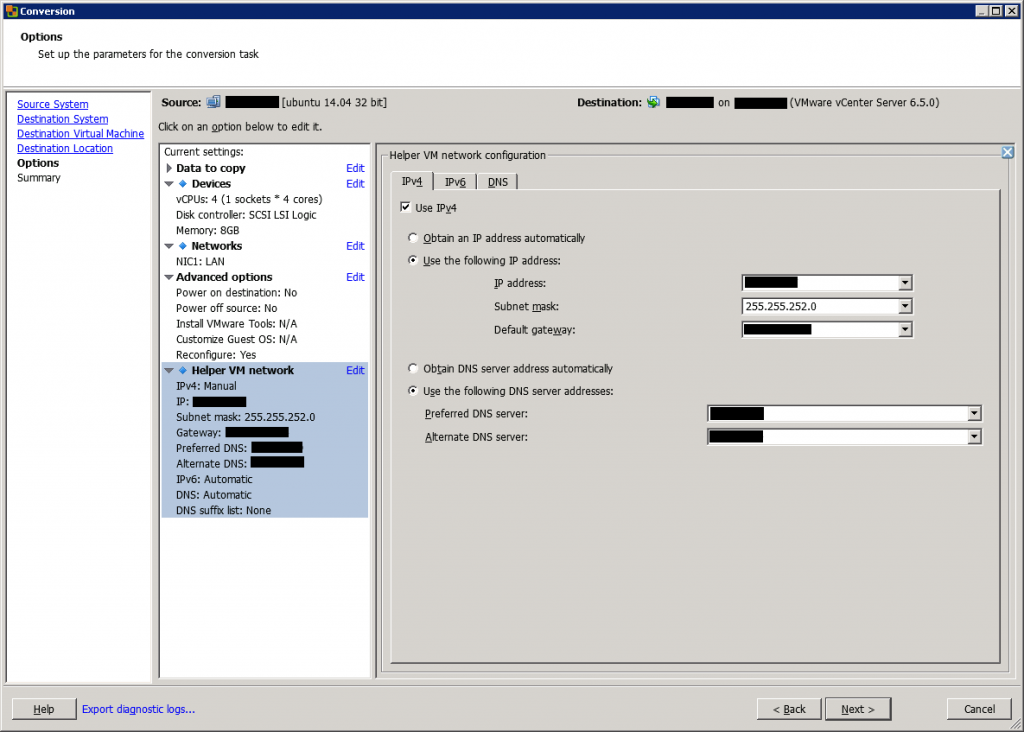
Next, you can set the IP address in the destination machine. If you choose to make a conversion from a powered-on machine, do not specify the same IP address as the source in order to avoid conflicting IP addresses.
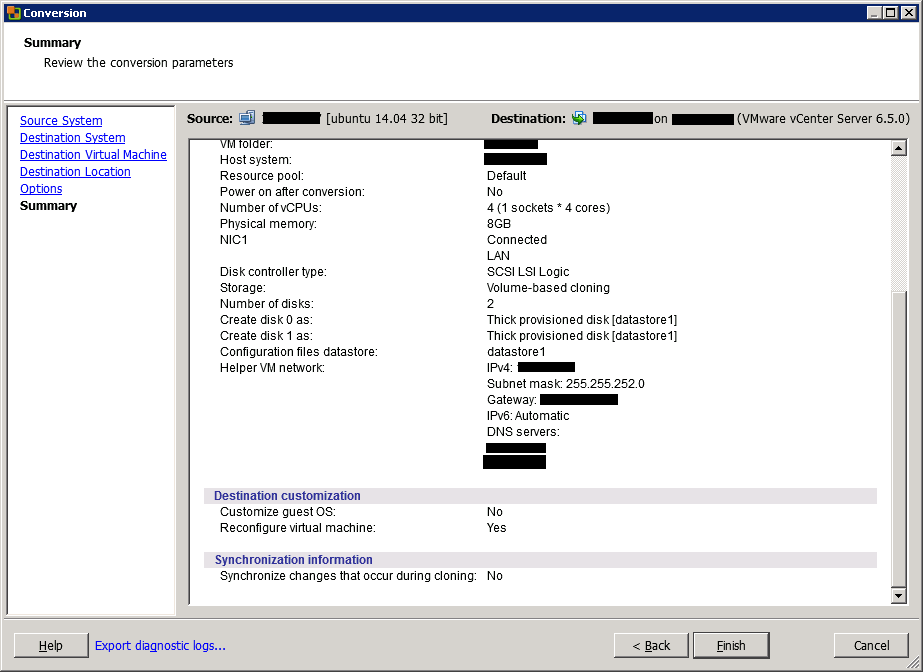
In the next screen, a conversion summary is shown. Review the settings and click on Finish to run the conversion.

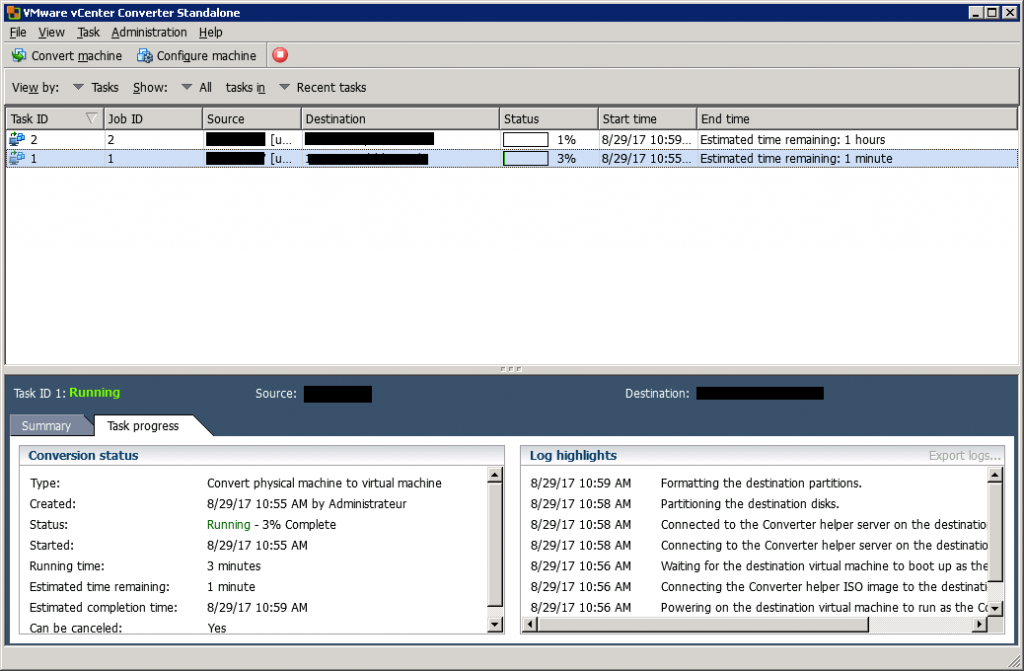
After you’ve clicked on Finish, the migration will start running.

When the conversion is finished, you can check the VM version, VMware tools and configure the IP address in destination VM.
Conclusion
VMware vCenter Converter Standalone is an easy tool that enables you to convert physical servers (Windows or Linux) to virtual machines. If you have a small number of machines to convert, you can use this tool because it’s free. If you need to convert thousands of VMs, you should use another tool that brings more automation (such as Double-Take Move).
Related materials:
Filed under:
Software by Romain Serre