- How To Install VSCode For PHP On Ubuntu
- Step 1 — Download Visual Studio Code
- Step 2 — Install Visual Studio Code
- Step 3 — Marketplace
- Step 4 — Install Extensions
- Step 5 — Getting started with PHP — Hello World
- 5 Best Free PHP IDEs for Linux
- 1. NetBeans IDE
- 2. Eclipse PDT (PHP Development Tools)
- 3. Aptana Studio 3
- 4. Komodo IDE
- 5. CodeLite
- Coding php in linux
- 1. Синтаксис
- XAMPP
- 14. Собираем страничку
- Литература
- Шпаргалки
- YouTube-каналы и курсы
- PHP в «Библиотеке Программиста»
- Итог
How To Install VSCode For PHP On Ubuntu
It provides steps required to install Visual Studio Code or VSCode for PHP development on Ubuntu 18.04 LTS and getting started with PHP development using the Hello World project.
Visual Studio Code or VSCode is a cross-platform, lightweight editor and became popular in a very short span. It provides support for several programming languages. It also supports plugin development and there are several community-driven plugins available for it.
In this tutorial, we will discuss how to install and prepare Visual Studio Code or VSCode for PHP development on the popular Linux distribution i.e. Ubuntu. It provides several features for PHP development including IntelliSense, Syntax Highlighting, Bracket Matching, Snippets, Linting, etc. This tutorial provides all the steps required to install VSCode on Ubuntu 18.04 LTS, though the steps should be similar for other Linux systems.
It assumes that PHP is already installed on the system. You may also be interested in How To Install LAMP and How To Install PHP 7 On Ubuntu 18.04 LTS.
Step 1 — Download Visual Studio Code
We can download Visual Studio from the official download page. It provides options for Ubuntu as shown in Fig 1.
Click on the .deb Download Button to start the download. You can also download the gz file to install it directly without using the deb package. This tutorial provides steps to install VSCode using the Debian package.
Step 2 — Install Visual Studio Code
In this step, we will install the Visual Studio Code downloaded by us in the previous step. Double click the installer to execute it. It will show the installer screen as shown in Fig 2.
Click on the Install Button to start installing VSCode. It will show installation progress as shown in Fig 3.
After successful installation, it will show the final screen as shown in Fig 4.
Now close the screen to complete the installation. Click on the Show Applications icon at the bottom right corner of Ubuntu 18.04. It should show Visual Studio Code as shown in Fig 5.
You may add it to your Favorite Apps or create a desktop shortcut icon based on your preferences. Launch VSCode to start coding in PHP. It will show the welcome screen as shown in Fig 6.
Step 3 — Marketplace
You can see all the available plugins on the Marketplace dedicated for Visual Studio Code. Type php in the search box and click on the Search Button. The results should be similar to one as shown in Fig 7.
We can also browse the available extensions within the IDE by clicking on View -> Extensions or press Ctrl + Shift + x. Enter php on the Search Box and hit Enter Key. It will show the same extensions list within the IDE as we saw on the Marketplace Page as shown in Fig 8.
Step 4 — Install Extensions
We will install the most important extensions as part of this tutorial. Also, make sure that you are using the most recent version of PHP. Your system should have at least PHP 7.2 to use the new features available in PHP 7.
PHP IntelliSense and PHP Debug are the most important extensions that every PHP developer must install for Visual Studio Code or VSCode. The other extensions can be installed based on the requirements. Install both the extensions as shown in Fig 9 and Fig 10. You may also install the JavaScript extension similar to PHP.
Step 5 — Getting started with PHP — Hello World
In this section, we will create our Hello World project i.e. HelloPHP project and write and execute the first script using Visual Studio Code.
Click on File -> Open Folder or press Cntrl + K and Cntrl + O to open the File Chooser to select the project folder. It will open the selected folder as highlighted in Fig 11.
Now click on the New File Icon as highlighted in Fig 12.
Enter the file name as index.php and hit the Enter Key. It will create the PHP file as shown in Fig 13.
Update the file and write the first program to print Hello PHP as shown in Fig 14.
Now right-click the file and choose the option Open In Terminal. It will open the terminal within the editor as shown in Fig 15.
Notes: You can also use the Code Runner extension to execute the code.
We can execute the PHP file on the terminal as we do on command prompt by giving the PHP command as highlighted in Fig 16. It also shows the output on the terminal.
Other option to execute the program is to install the Code Runner Extension as shown below.
Now execute the program and view the output as shown in Fig 17 and 18.
This is how we can install Visual Studio Code for PHP development on Ubuntu. We have also written our first hello world program and executed it within the editor using the terminal.
5 Best Free PHP IDEs for Linux
There are many PHP code editor or basic and lightweight IDEs That may share some features of PHP IDE platforms, Code Editors with basic IDE functionality likes Komodo Edit, Geany Light Weight IDE, gPHPedit, GNU Emacs, Sublime, Kwrite, and CodeLobster free version are the best and all have Syntax highlighting, Code completion, Hints and Auto completion of constructs and functions list, Terminal emulation, Javascript, CSS, XML and HTML Support and Many supported filetypes like C, Java, HTML, Python, Perl, Pascal, and more.
IDE Integrated Development Environment is a self contained packages that allow you to Managing your project integrations and write, compile, execute, analyze, debug code, and more in the same Environment .
Here is The best of Linux Community Free PHP IDEs list
1. NetBeans IDE

NetBeans is an open source Integrated Development Environment which supports all major programming languages including Java, JavaScript, PHP, HTML5, CSS, and More with features like highlighting source code syntactically and semantically, lets you easily refactor code, with a range of handy and powerful tools. NetBeans also provides editors, wizards, and templates to help you create applications in PHP and many other languages.
NetBeans extend features with community plugins ie WordPress CMS project plugin
2. Eclipse PDT (PHP Development Tools)
Eclipse PHP Development Tools is a language IDE plugin for the Eclipse platform
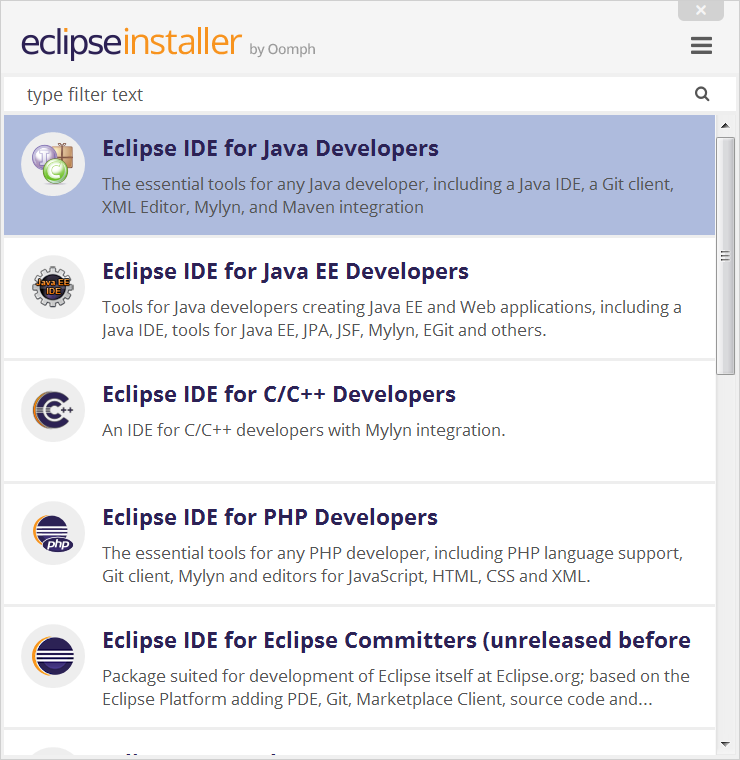
You can download Eclipse PDT The PHP IDE project directly from here, which delivers a PHP Integrated Development Environment framework for the Eclipse platform.
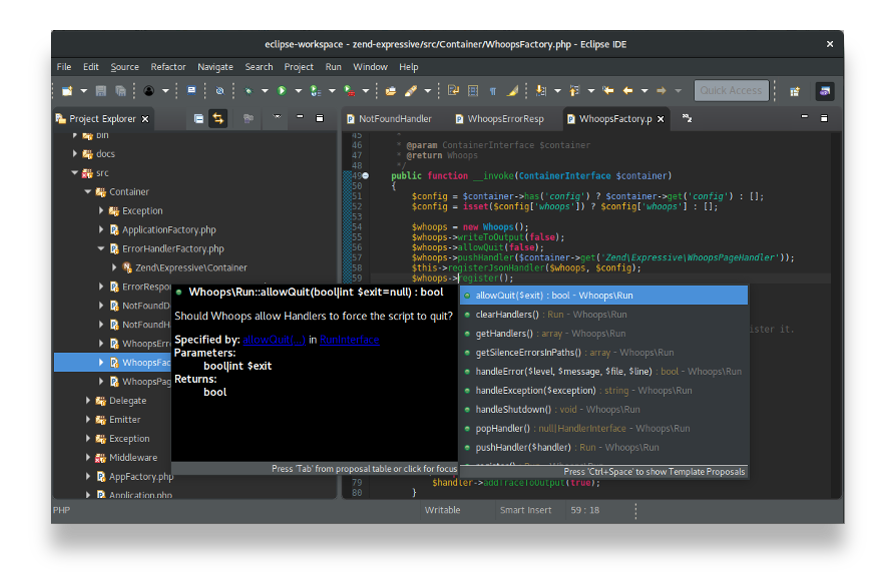
The essential starting point for PHP developers, including a PHP language support, a Git client, XML Editor and Mylyn, Terminal, and more extended plugins and features like
- Syntax Highlighting
- Syntax Validation
- Content Assist
- Code Navigation
- PHP Debugging (Zend Debugger / Xdebug)
- PHP Profiling (Zend Debugger / Xdebug)
- PHPUnit
- Code Formatter
- Refactoring
- Code Templates
- Remote Projects
- Power of Eclipse Ecosystem
3. Aptana Studio 3
Aptana Studio is the dedicated IDE for PHP, Python, CSS and JavaScript. It is built from Eclipse Scratch. It Supports most of features like NetBeans also light weight IDE that HTML, CSS, and JavaScript Code Assist.
Aids in authoring of HTML, CSS, JavaScript, PHP, and Ruby. Supports the latest HTML5 specifications. Includes information about the level of support for each element in the major web browsers.
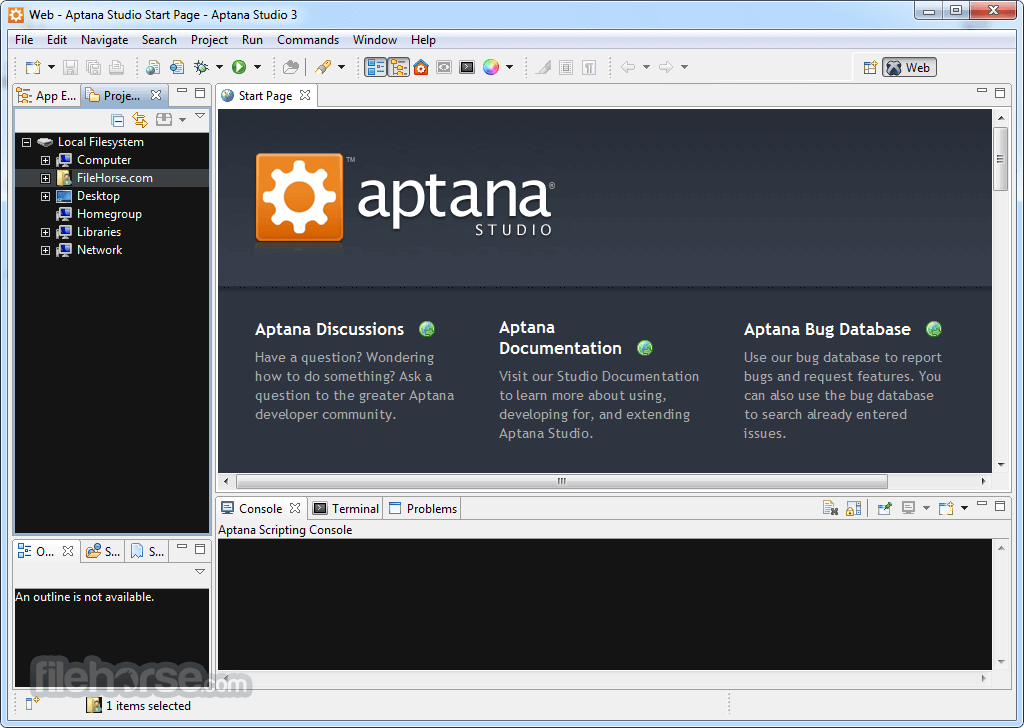
Download Aptana Studio 3
4. Komodo IDE
Komodo platform present One IDE For All Languages to help code faster for web languages Python, PHP, Perl, Golang, Ruby and more.
Komodo IDE is now free as part of the ActiveState Platform.
Komodo IDE Features with Graphical Debugger, Chrome Debugging, Multi-Process Debugging, Breakpoint Configuration, Analyze performance, Database Explorer, Integrated Unit Testing, and more…
Download Komodo IDE.
5. CodeLite
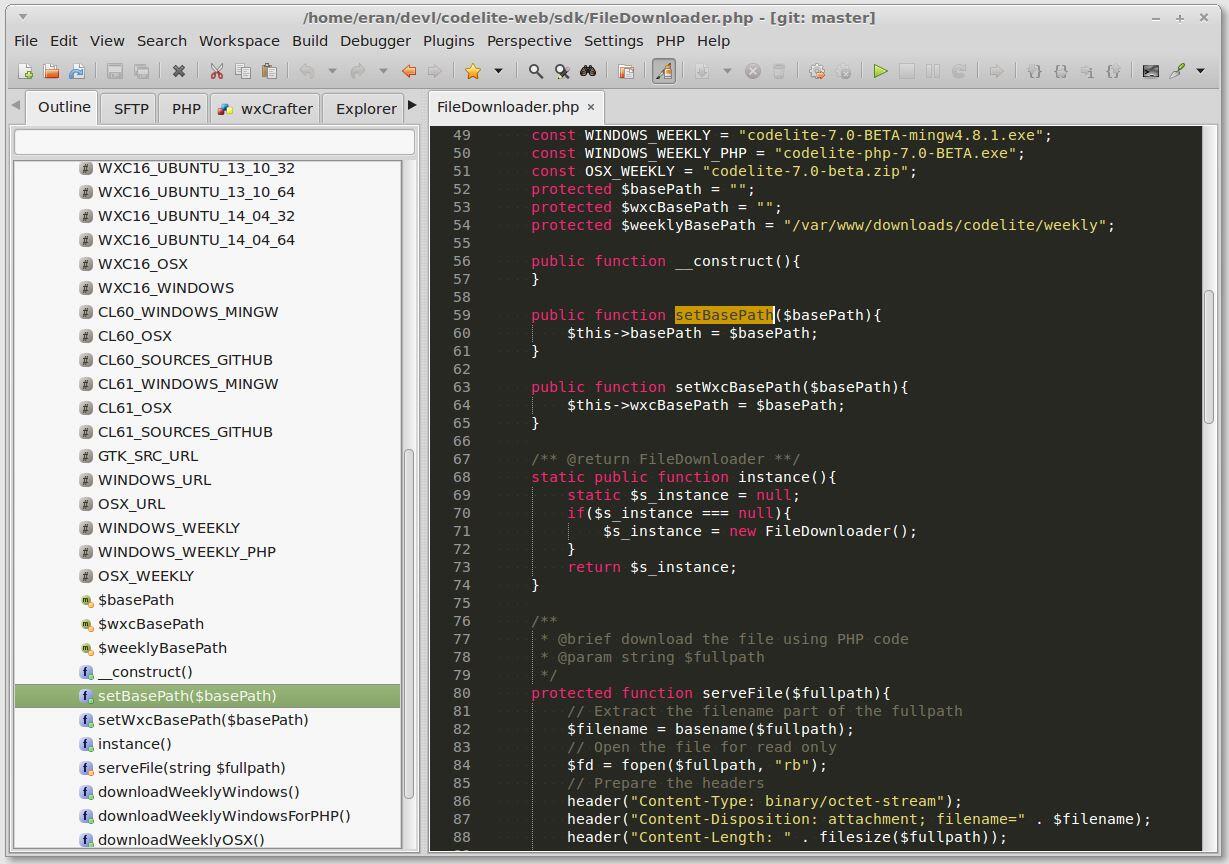
CodeLite is a free, open source, cross platform IDE specialized in C, C++, PHP and JavaScript (mainly for backend developers using Node.js) programming languages, which runs best on all major platforms (Windows, macOS and Linux).
As of CodeLite 7.0, PHP support in CodeLite has been extended to provide a fully workable PHP environment for editing and building a PHP application or a simple website.
The PHP plugin supports (but is not limited to) the following:
- Code Completion
- Debugging capabilities via XDebug
- Syntax checking
- Simplified project management
- Class wizard
- Remote synchronizing over SFTP
- Re-factoring
Coding php in linux

1. Синтаксис
Код в PHP заключается в открывающий теги. Согласно стандарту кодирования PSR-12, закрывающий тег должен быть опущен в файлах, содержащих только код PHP . В конце строки ставят разделитель строк – точку с запятой ; . Если забыть поставить разделитель, то следующая строка кода соединится с предыдущей и интерпретатор PHP выдаст ошибку.
Выведем на экран строку Hello World (заключена в кавычки) с помощью команды echo :
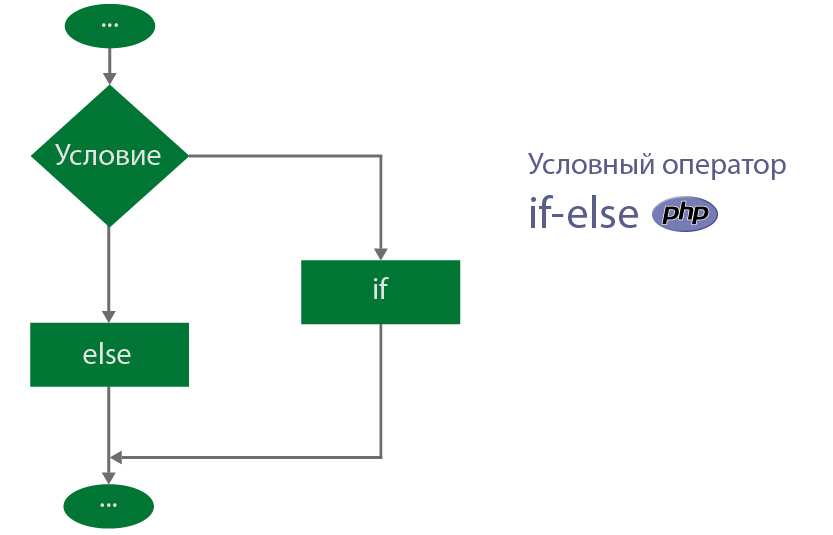
Оператор if выполняет код, если выполняется условие. В противном случае выполняется код после else, который переводится, как «иначе», «в другом случае».
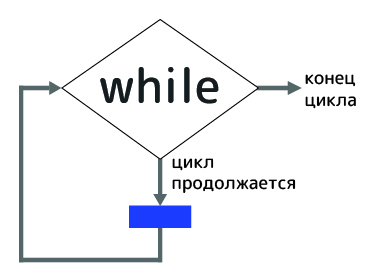
Оператор while выполняет код до тех пор, пока значение условия не станет ложным.
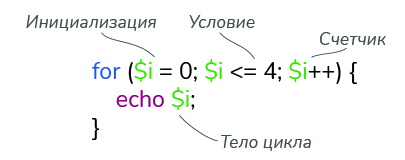
Когда нам известно количество итераций, вместо цикла while лучше использовать цикл for .
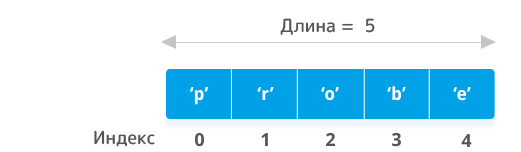
Массивы – упорядоченная коллекция элементов с доступом по индексу или ключу. Индексный массив создается двумя способами:

Если мы получили ошибку 404, значит сервер запущен.
XAMPP
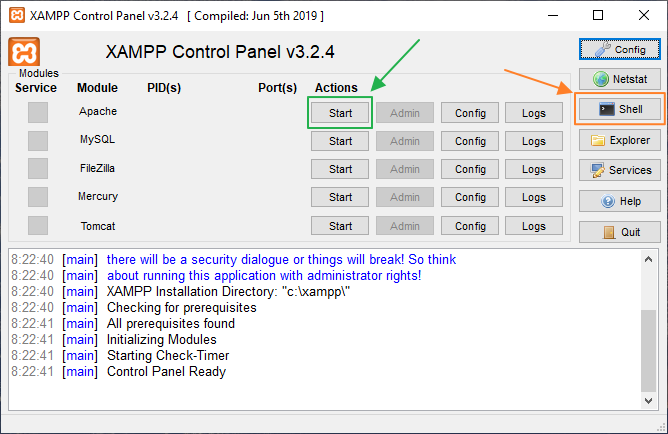
Скачаем и установим XAMPP . В папке C:\xampp\htdocs\ создадим папку нашей странички page . Запустим веб-сервер Apache, кликнув по кнопке Start . Узнаем версию PHP, введя в консоли (Shell) команду php -v .
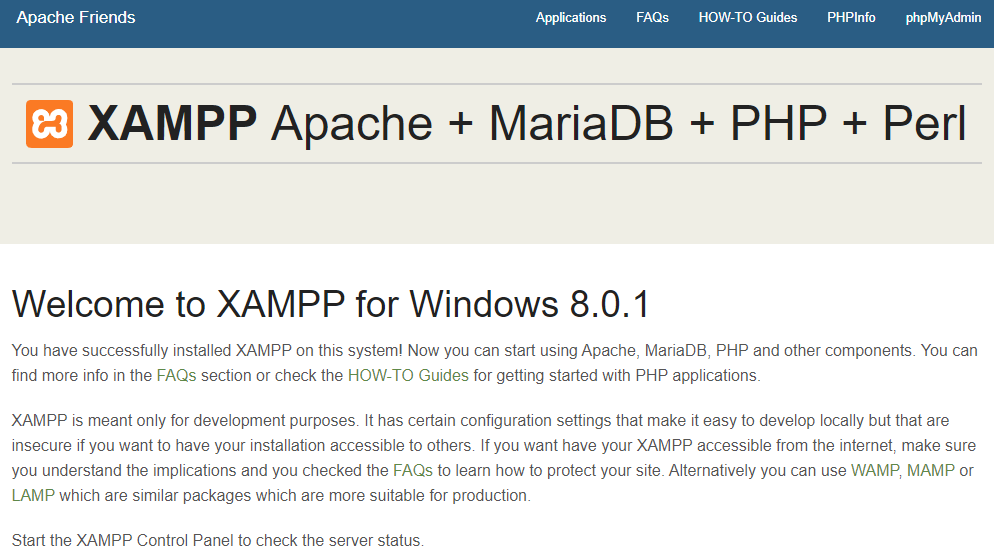
Проверим, запущен ли сервер, перейдя по адресу http://localhost/ . Если появилось приветственное сообщение, значит сервер запущен.
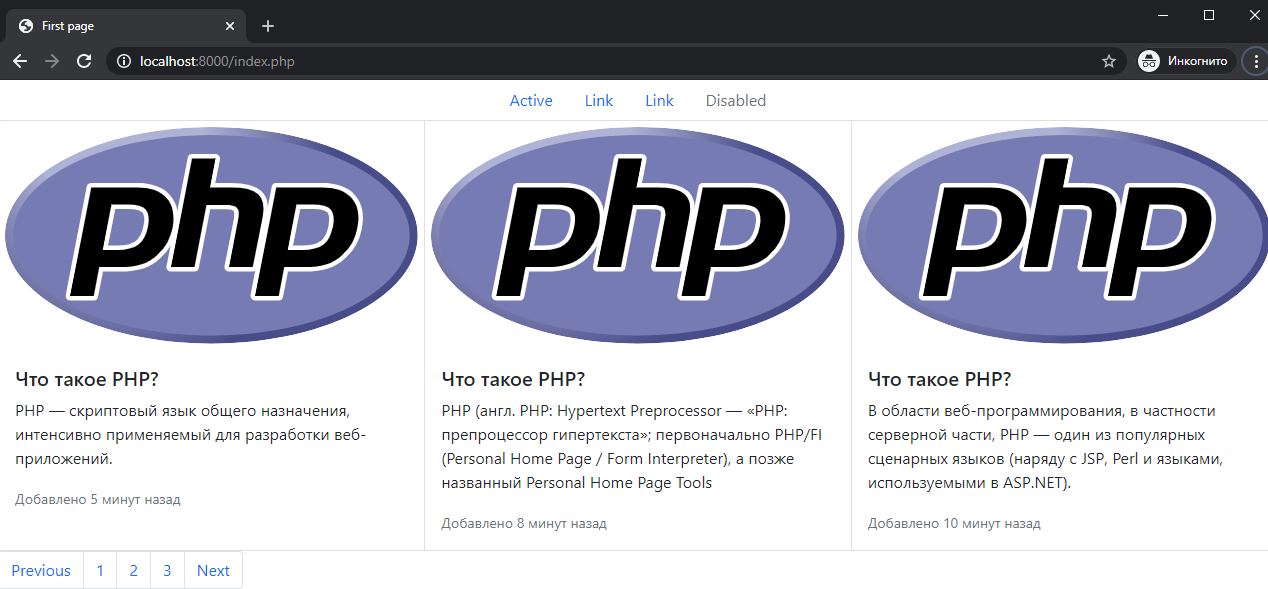
14. Собираем страничку
Теперь создадим несколько PHP-файлов, из которых соберем страничку. Перейдем в папку page и создадим четыре файла: index.php , header.php , body.php , footer.php .
Структура простого HTML-документа выглядит следующим образом:
Литература
- Робин Никсон. Создаем динамические веб-сайты с помощью PHP, MySQL, JavaScript, CSS и HTML5;
- Котеров, Симдянов. PHP 7;
- Веллинг, Томсон. Разработка веб-приложений с помощью PHP и MySQL;
Шпаргалки
YouTube-каналы и курсы
Бесплатные курсы на русском языке:
- Основы php с нуля. Новейший курс 2020 – двадцать четыре урока от основ до регулярных выражений и функций;
- Базовый курс по PHP 7 – узнаете про базовые понятия, GET-параметры, методы, функции и ООП;
- Учим PHP за 1 Час – основы за полтора часа;
- Изучение PHP для начинающих – научитесь работать с массивами, подключать файлы, обрабатывать формы, работать с куки и базой данных MySQL;
- Уроки PHP 7 – много уроков по ООП;
- PHP для начинающих – курс на Stepik для начинающих разработчиков, не требует специальных знаний;
- PHP – первое знакомство – азы программирования на PHP (Stepik).
PHP в «Библиотеке Программиста»
- подписывайтесь на тег PHP , чтобы получать уведомления о новых статьях;
- телеграм-канал «Библиотека пхпшника»;
- книги по программированию в нашем телеграм-канале «Книги для программистов».
Итог
- вы познакомились с синтаксисом PHP и типами данных;
- узнали, как работают условные операторы и циклы;
- запустили веб-сервер в Ubuntu и Windows;
- собрали страничку HTML из файлов PHP.