- What Is the Best Compression Tool in Linux?
- Compression Benchmark Test
- Default Compression Results
- Highest Compression Results
- And the Winner Is…
- Potential for Varying Results
- Compatibility
- Conclusion
- 1 thought on “What Is the Best Compression Tool in Linux?”
- Linux File Compression Options and Comparison
- Compression types
- Linux compression
- Zip For Compression
- Tar for Compression on Linux
- Gzip for Compression on Linux
- Bzip2 for Compression on Linux
- XZ for Compression on Linux
- Extracting compressed archives
- Final thoughts
What Is the Best Compression Tool in Linux?
In this article, we will compare all the best and most popular Linux compression tools. This will include benchmark tests to see which compression method performs the best, and we’ll also weigh the pros and cons of compatibility and other areas. Compression methods covered will be gzip, xz, bzip2, 7zip, zip, rar, and zstd (Zstandard).
Linux gives us a lot of options when we need to compress files. While that’s definitely a good thing, it can lead to confusion about which one should be used. Let’s start by comparing each method across a few key areas.
Compression Benchmark Test
Although compression ratio should not be the only determining factor when deciding on which tool to use, it will definitely play a big role.
For our benchmark test, we’ll try compressing a copy of the 2002 video game Age of Mythology with a variety of tools. Older video games like AOM make for a good test, since compression methods weren’t up to par with today’s technology and video games contain a wide range of file formats, like audio, video, images, binary files, text, etc. The total size of this video game installation is 1350 MB.
Default Compression Results
Here are the results of our compression test when we use each tool’s default compression level. You can see the resulting compressed size, time elpased, and the precise commands we used to perform the compression.
| Compression | Size | Time Elapsed | Command |
|---|---|---|---|
| gzip | 955 MB | 1:45 | tar cfz AOM.tar.gz AOM/ |
| xz | 856 MB | 16:06 | tar cfJ AOM.tar.xz AOM/ |
| bzip2 | 943 MB | 5:36 | tar cfj AOM.tar.bz2 AOM/ |
| 7zip | 851 MB | 10:59 | 7z a AOM.7z AOM/ |
| zip | 956 MB | 1:41 | zip -r AOM.zip AOM/ |
| rar | 877 MB | 6:37 | rar a AOM.rar AOM/* |
| zstd | 934 MB | 0:43 | tar —zstd -cf AOM.tar.zst AOM/ |
Highest Compression Results
And here are the results when we use each tool’s maximum compression level. A higher compression level usually results in some minor space savings, but can take the tool a lot longer to perform the job. The commands we use below are utilizing the absolute maximum compression level for each tool.
| Compression | Size | Time Elapsed | Command |
|---|---|---|---|
| gzip | 954 MB | 2:10 | tar cf — AOM/ | gzip -9 — > AOM.tar.gz |
| xz | 847 MB | 27:32 | tar cf — AOM/ | xz -9e — > AOM.tar.xz |
| bzip2 | 943 MB | 5:42 | tar cf — AOM/ | bzip2 -9 — > AOM.tar.bz2 |
| 7zip | 845 MB | 16:41 | 7z a -mx=9 AOM.7z AOM/ |
| zip | 955 MB | 2:05 | zip -9 -r AOM.zip AOM/ |
| rar | 876 MB | 6:31 | rar a -m5 AOM.rar AOM/* |
| zstd | 873 MB | 22:19 | tar -I ‘zstd —ultra -22’ -cf AOM.tar.zst AOM/ |
And the Winner Is…
According to our benchmark test:
For compression ratio, the best compression tool on Linux is 7zip.
For compression speed, the best compression tool on Linux is Zstandard (zstd).
Potential for Varying Results
Keep in mind that you should take these benchmark results with a grain of salt. Depending on the type of files you’re compressing, and the hardware of your PC or server, you could get very different results in compression ratio and speed. This benchmark test works well as a very general measurement of the compression tools listed, but every situation is going to be different. If in doubt, try out a few of them yourself – that’s why we’ve given you the commands for each compression tool.
Note also that we used the normal compression level and maximum compression level for each tool. There are a lot of other choices than just these two options. You could use some value in between, or even use a lesser compression level so the files compress very quickly.
Compatibility
Compression ratio and speed aren’t the only concern. Not always, anyway.
On Linux systems, tar is the usual format for archives. Compression is then added to the tar file, resulting in extensions like .tar.gz and .tar.bz2 and .tar.xz . The tar format is able to combine files into a single archive, while preserving all of the Linux file permissions. Its compatibility with Linux file systems is why it’s preferred on Linux.
On other operating systems, like Windows, the .zip format is much more common. Zip files are usually pretty painless to open on Linux, but tar files don’t always enjoy the same privilege on Windows. Zip files also won’t preserve file permissions on Linux.
Why’s this matter? Well, depending on what you’re doing with your compressed archive, you may need to take the filetype into consideration. For example, it’s better to share zip files with Windows users. If you’re sharing the archive with Linux users, then it won’t matter as much. Users of both systems usually need extra software if they’re going to extract the contents of a 7z, rar, or zstd file.
Remember your target audience when you compress files, and think about whether or not the users will have an easy time extracting files from the archive. Of course, if these files are for your eyes only, then this may not matter at all.
Conclusion
After taking benchmark results and compatibility into consideration, the answer to “which compression tool is best?” is just it depends. Are you in a hurry? Does every last megabyte count? Can users easily open your archive? It’s always going to depend on these factors. Using the information in this guide should help you make the right choice, but the “right choice” may change in different situations.
1 thought on “What Is the Best Compression Tool in Linux?”
Great article!
I’m using GNU tar v1.30 in AlmaLinux 8 so I need to use tar —use-compress-program zstd -cf directory.tar.zst directory/ instead of tar —zstd Regards,
Mauricio
Linux File Compression Options and Comparison
Compression, in general, is a useful method that is essentially encoding information using less data than the original one. In the case of Linux, there are various compression options, each with its own benefits.
A generic Linux distro offers access to a handful of really useful and simple compression mechanisms. This article will only focus on them.
Compression types
Compression is encoding and representing information using fewer bits than it originally was. In the case of file compression, a compression method utilizes its own algorithm and mathematical calculation to generate an output that’s generally less than the size of the original file. Because of how different compression works and the random nature of files, the mileage may vary greatly.
There are 2 types of compression.
- Lossy compression: This is a risky type of compression that doesn’t guarantee data integrity. Essentially, once compressed, there’s a risk that the original file can’t be reconstructed using the compressed archive.
A solid example of this type of compression is the well-known MP3 format. When an MP3 is created from the original audio file, it’s significantly smaller than the original source music file. This causes loss of some audio quality. - Lossless compression: This is the most widely used type of compression. Using a “lossless” compression method, the original file can be reconstructed from the compressed file. The compression methods I’ll discuss in this article are all lossless compression methods.
Linux compression
Majority of the compression methods are available from the tool tar. As for the “zip” compression, we’ll be using the zip tool. Assuming that your system already has these tools installed, let’s get started.
At first, we need a test file. Run the following command to create one.
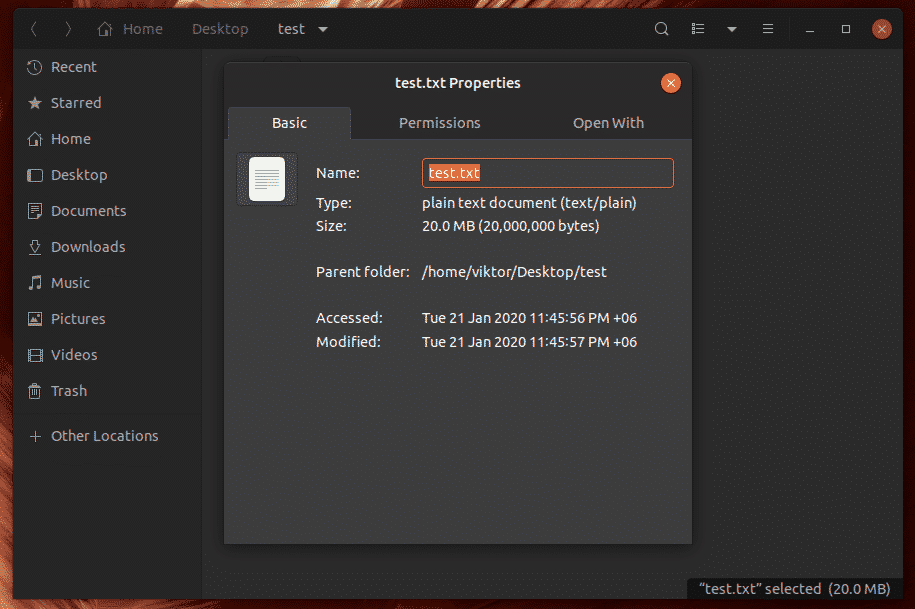
It’ll create a text file with 20MB size.
Now, let’s create 10 copies of the file. Together, it’s 200 MB.
Zip For Compression
Zip is quite common. For creating a zip file, the zip tool requires the following command structure.
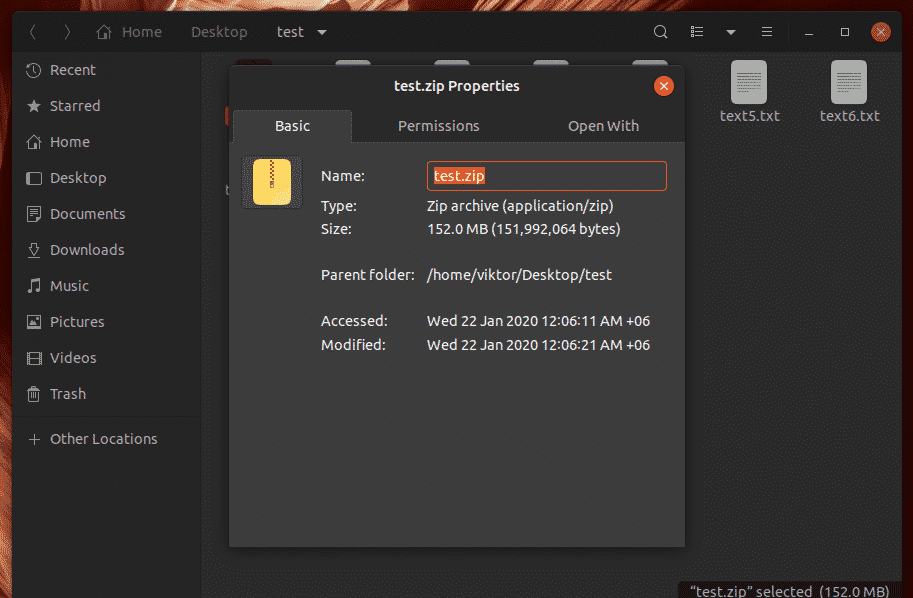
To compress all the files under the test directory in a single zip file, run this command.
The input size was 200 MB. After compression, it’s now 152 MB!
By default, the zip tool will apply the DEFLATE compression. However, it’s also capable of using bzip2 compression. Not only that, you can also create password-protected zip files! Learn more about zip.
Tar for Compression on Linux
Tar isn’t a compression method. Instead, it’s most often used for creating archives. However, it can implement a number of popular compression methods to the archive.
For handling tar (also known as “tarball”) archive, there’s the tar tool. Learn more about tar. Generally, the tar tool uses the following command structure.
To add the test files into a single tar archive, run the following command.
Here, the file size remains the same.
Gzip for Compression on Linux
GNU Zip or gzip is another popular compression method that, in my opinion, is better than the traditional zip because of its better compression. It’s an open-source product created by Mark Adler and Jean-Loup Gailly that was originally destined to replace the UNIX compress utility.
For managing gzip archives, there are 2 tools available: tar and gzip. Let’s check out both of them.
First, the gzip tool. Here’s how the gzip command structure looks.
For example, the following command will replace test1.txt with test1.txt.gz compressed file.
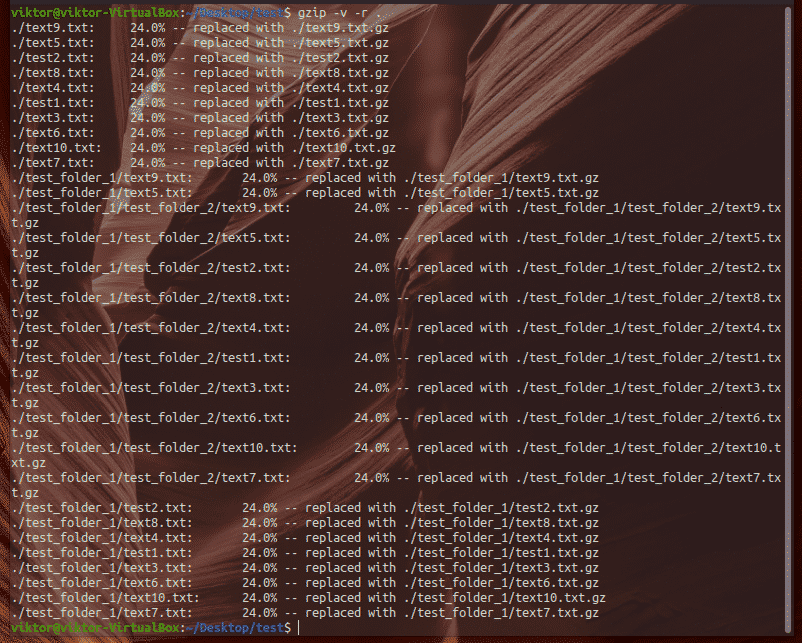
If you want to compress an entire directory using gzip, run this command. Here, the “-r” flag is for “recursive” compression. Gzip will go through all the folders and compress the individual file(s) in each of them.
Gzip supports various compression strength value, starting from 1 (least compression, fastest) to 9 (best compression, slowest).
For better control over the output and ease-of-use, tar is better for the task. Run the following command.
The result is similar to zip using DEFLATE, resulting in 152 MB after compression.
Bzip2 for Compression on Linux
Bzip2 is a free and open-source tool that uses the Burrows-Wheeler algorithm for compression. First introduced back in 1996, bzip2 is heavily used as an alternative to the gzip compression.
Like gzip, there are 2 tools to work with bzip2: tar and bzip2.
The bzip2 tool works similar to the gzip tool. It can only work with just a single file at a time. Here’s the command structure.
Let’s compress the test1.txt file. Here, the “-v” flag is for verbose mode.
Similar to gzip, bzip2 also supports different level of compression, starting from 1 (default, less memory usage) to 9 (extreme compression, high memory usage).
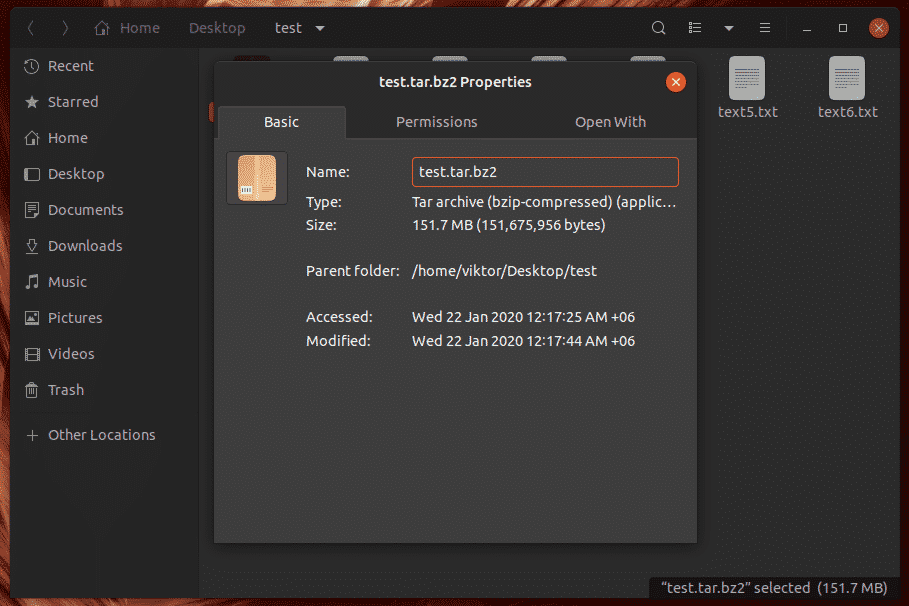
The better way of using bzip2 compression is by using tar. Use the following command.
The compression is slightly improved than the previous ones. Now, the file size has shrunk to 151.7 MB.
XZ for Compression on Linux
It’s a relative newcomer in the field of compression. First released in 2009, it has seen a steady growth of usage since then.
The xz compression tool uses the LZMA2 algorithm that’s known for greater compression ratio compared to gzip and bzip2, making it a great choice when you want to save the maximum amount of disk space. However, this comes with the cost of higher memory requirements and time consumption.
File created by the XZ compression tool has the extension .xz. For compressing a single file, you can directly call the XZ tool.
For example, run the following command to compress the test1.txt file.
Similar to other compression methods mentioned, xz also supports various range of compression strength, starting from 1 (lowest compression, fastest) to 9 (best compression, slowest). If you don’t have any regard for time and just want to save space, then go for the extreme.
To create a compressed XZ file from all the test files, run this command.
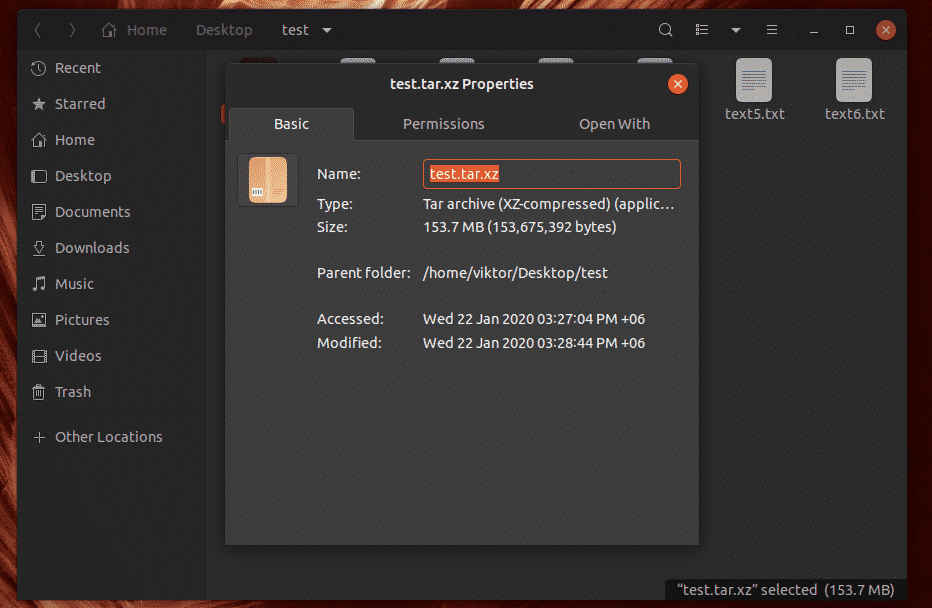
Here, the output file size is 153.7 MB.
Extracting compressed archives
Extracting the archives we created is easier than creating them. To extract a zip file, use the following command structure.
To extract the zip archive we created, run this command. This will extract all the contents in the same directory.
For extracting tar, tar.gz, tar.bz2 and tar.xz archives, we have to use the tar tool. The following tar command is applicable for extracting all of them.
For example, let’s extract all the files from the bz2 compressed archive.
To decompress a gzip (not tar.gz) file, run this command.
Similarly, the following command will decompress bzip2 archive.
Same command structure applies for xz archive.
Final thoughts
Hopefully, now you have enough knowledge to handle the compression tasks in different circumstances. Depending on the specific requirement, all the compression methods offer very attractive features.
One important thing to note is, the compression result won’t be the same all the time. With different data input, the output will be different. For example, in some cases, xz can offer insane compression result whereas in this example, it didn’t. Same goes for other methods.
To learn more in-depth about these tools, check out their respective man page.


