- Управление кулером Linux
- Подготовка системы
- Установка lm_sensors
- Настройка lm_sensors
- Управление кулером Linux
- Ручное управление оборотами кулера
- Выводы
- How To Display and Change Fan Speed in Ubuntu
- How To Display and Change Fan Speed in Ubuntu
- Using Command-Line Interface
- Using Graphical-User Interface
- Conclusion
- About the author
- Prateek Jangid
Управление кулером Linux
Читаете, вы, сейчас эти строки и слышите равномерный, в меру громкий шум кулера. Однозначно слышите, иначе вас бы не заинтересовала эта статья. На самом деле громкая работа кулера в Linux довольно частая проблема недавно перешедших с Windows-пользователей. А ведь он не должен так шуметь.
В Windows, обороты вентилятора и многие другие параметры управляются автоматически в зависимости от нагрузки на систему и следовательно температуры оборудования, здесь же из коробки вентилятор всегда крутится на полную мощность, независимо от того, играете вы тяжелую игру, компилируете программу или просто просматриваете интернет страницы. Это нужно исправлять. В этой инструкции мы рассмотрим управление кулером Linux и настройку автоматической регуляции оборотов в зависимости от температуры.
Подготовка системы
Чтобы правильно управлять и ничего не спалить, ну на самом деле и ничего не сгорит, компьютер просто уйдет в перезагрузку, но все же… нам нужно знать температуру оборудования в данный момент. Для снятия показаний со всяких датчиков на материнской плате используется набор программ lm_sensors. Сначала настроим lm_sensors затем управление кулером linux.
Установка lm_sensors
Это, можно сказать, системный компонент, поэтому он есть в репозиториях всех дистрибутивов.
Для Ubuntu или Debian команда установки выглядит следующим образом:
sudo apt install lm-sensors
sudo yum installlm-sensors
Также для Gentoo в ядре необходимо будет включить следующие функции:
Device Drivers —>
-*- I2C support —>
I2C device interface
Hardware Monitoring support —>
//вообще говоря, лучше включить все драйвера оборудования а потом посмотреть какие загрузятся и отключить ненужные.
[M] Intel Core/Core2/Atom temperature sensor (coretemp)
Не забудьте пересобрать все пакеты с флагом lm_sensors
Настройка lm_sensors
Теперь нам нужно найти и записать информацию обо всех доступных сенсорах, для этого выполните:
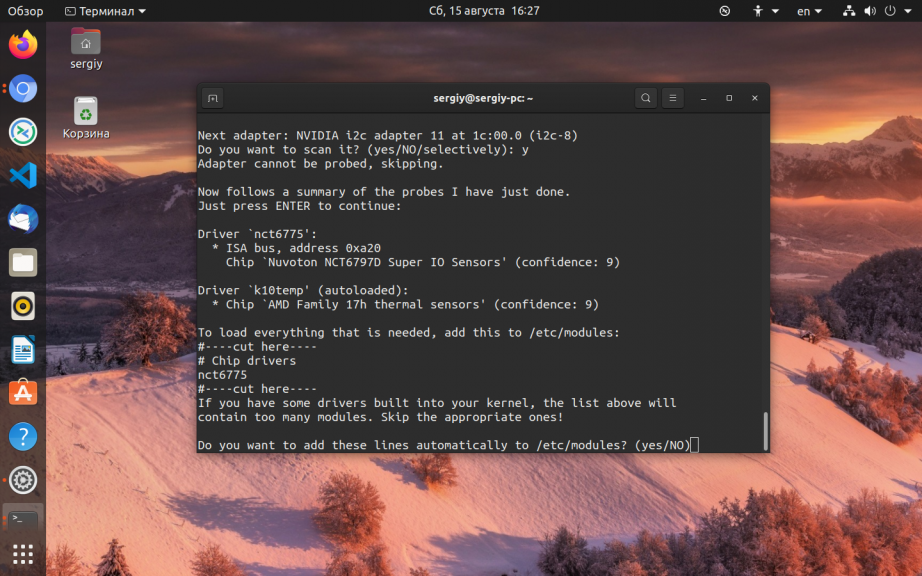
После запуска команды нужно будет последовательно нажимать y, чтобы подтвердить сканирование следующей группы устройств, затем Enter:
Now follows a summary of the probes I have just done.
Just press ENTER to continue:
А потом опять y для сохранения собранной конфигурации в файл:
Do you want to overwrite /etc/conf.d/lm_sensors? Enter s to specify other file name?
(yes/NO/s):
Далее, добавляем сервис в автозагрузку:
sudo systemctl enable lm-sensors
sudo systemctl start lm-sensors
Уже можем посмотреть показания сенсоров:
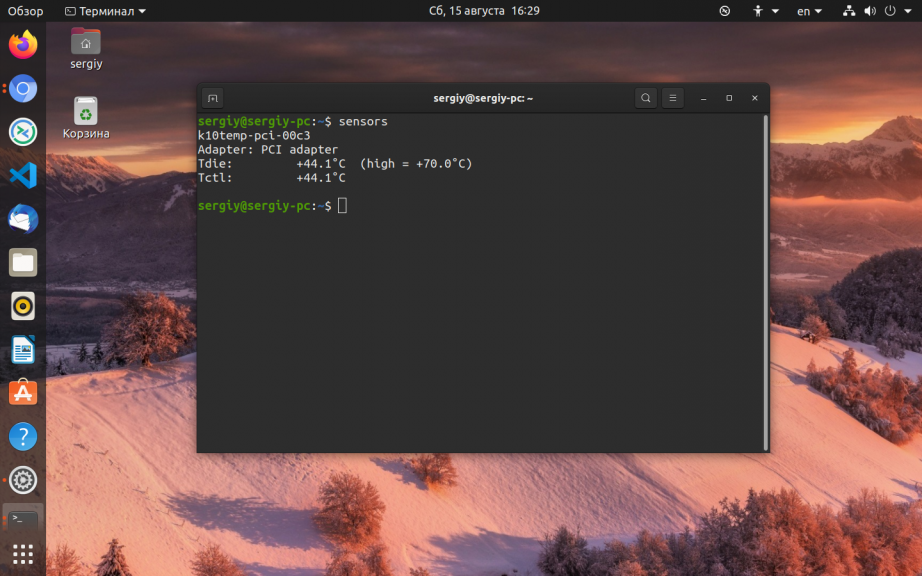
В зависимости от драйвера здесь показаны не только температура, но и обороты кулера, а также напряжение. Но это не главное, у нас есть информация и мы можем переходить к следующему пункту.
Управление кулером Linux
Управление оборотами вентилятора linux выполняется с помощью сервиса fancontrol. Для установки в Ubuntu:
sudo apt install fancontrol
sudo yum install fancontrol
После установки переходим к настройке автоматического регулирования оборотов кулера. Сначала нужно программно связать каждый кулер с соответствующим ему датчиком температуры, и настроить допустимый уровень температур. Для этого выполните:
pwmconfig revision 6166 (2013-05-01)
This program will search your sensors for pulse width modulation (pwm)
controls, and test each one to see if it controls a fan on
your motherboard. Note that many motherboards do not have pwm
circuitry installed, even if your sensor chip supports pwm.
We will attempt to briefly stop each fan using the pwm controls.
The program will attempt to restore each fan to full speed
after testing. However, it is ** very important ** that you
physically verify that the fans have been to full speed
after the program has completed.
Сначала программа покажет доступные драйверы вентиляторов:
Found the following fan sensors:
hwmon1/device/fan1_input current speed: 3292 RPM
hwmon1/device/fan2_input current speed: 0 … skipping!
hwmon1/device/fan3_input current speed: 0 … skipping!
Здесь вы видите предупреждение о том что вентиляторы linux будут отключены на некоторое время (5 секунд), как прочитаете нажмите Enter. Дальше будет выполнено тестирование доступных скоростей кулера:
Testing pwm control hwmon1/device/pwm1 …
hwmon1/device/fan1_input … speed was 3292 now 1051
It appears that fan hwmon1/device/fan1_input
is controlled by pwm hwmon1/device/pwm1
Would you like to generate a detailed correlation (y)? y
Note: If you had gnuplot installed, I could generate a graphical plot.
PWM 255 FAN 3276
PWM 240 FAN 3169
PWM 225 FAN 3026
…
Дальше настроим максимальную, минимальную и рабочую температуры, сначала выберите кулер, например 1:
Select fan output to configure, or other action:
1) hwmon1/device/pwm3 3) Change INTERVAL 5) Save and quit
2) hwmon1/device/pwm1 4) Just quit 6) Show configuration
Теперь выберите датчик температуры для этого кулера:
Devices:
hwmon0 is k10temp
hwmon1/device is it8712
Current temperature readings are as follows:
hwmon0/temp1_input 37
hwmon1/device/temp1_input 47
hwmon1/device/temp2_input 40
hwmon1/device/temp3_input -128
Select a temperature sensor as source for hwmon1/device/pwm3:
1) hwmon0/temp1_input
2) hwmon1/device/temp1_input
3) hwmon1/device/temp2_input
4) hwmon1/device/temp3_input
5) None (Do not affect this PWM output)
Теперь укажите температуру, при которой вентилятор linux будет вращаться на минимальной скорости:
Enter the low temperature (degree C)
below which the fan should spin at minimum speed (20): 45
Затем температуру, при которой нужно переходить на максимальные обороты:
Enter the high temperature (degree C)
over which the fan should spin at maximum speed (60): 60
Далее, нужно указать минимальное значение оборотов pwm, можно узнать нажав кнопку t
Enter the minimum PWM value (0-255)
at which the fan STOPS spinning (press t to test) (100):2
Какое значение pwm использовать если температура превышает минимальную, по сути, это рабочие обороты:
Enter the PWM value (0-2) to use when the temperature
is below the low temperature limit 100
Какое значение использовать при превышении максимальной температуры:
Enter the PWM value (2-255) to use when the temperature
is over the high temperature limit (255): 255
Готово теперь, остается настроить таким же образом другие кулеры, если у вас их несколько и можно сохранять:
Select fan output to configure, or other action:
1) hwmon1/device/pwm3 3) Change INTERVAL 5) Save and quit
2) hwmon1/device/pwm1 4) Just quit 6) Show configuration
select (1-n): 5
Сохранить и выйти под номером 5. Добавте fancontrol в автозагрузку:
sudo systemctl enable fancontrol
sudo systemctl start fancontrol
Чувствуете? тишина… теперь fancontrol управляет вашими кулерами и шума без надобности больше не будет.
Ручное управление оборотами кулера
Меня всегда интересовало, как вручную выключить кулер. Сразу забегая на перед скажу, что ничего не сгорит, температура просто будет плавно расти. Если запущен fancontrol останавливаем, чтобы не мешал:
sudo systemctl stop fancontrol
Смотрим доступные устройства:
ls /sys/class/hwmon/hwmon1/device/ | grep pwm
Здесь pwm1, pwm2.. это файлы кулеров. Разрешаем ручное управление вентилятором linux, например, для pwm1:
echo 1 >>/sys/class/hwmon/hwmon1/device/pwm1_enable
echo 255 >> /sys/class/hwmon/hwmon1/device/pwm1
echo 0 >> /sys/class/hwmon/hwmon1/device/pwm1
Выводы
Теперь вы достаточно знаете и управление кулером не вызовет у вас проблем. Вы можете заставить свой компьютер или ноутбук не шуметь и не мешать вам спать ночью. В современных системах это вовсе может не понадобится, там кулером управляет UEFI и не допускает того чтобы он крутился быстрее, чем это необходимо. Если остались вопросы, пишите их в комментариях!
Обнаружили ошибку в тексте? Сообщите мне об этом. Выделите текст с ошибкой и нажмите Ctrl+Enter.
How To Display and Change Fan Speed in Ubuntu
![]()
You can measure your system performance while measuring fan speed. Sometimes, you need to check and want to display and change your fan speed. The lm_sensors is a Linux monitoring sensor you need to use for displaying the fan speed.
This open-source CLI tool provides drivers and commands for monitoring GPU/CPU fan speed, voltage, and temperature and changing them accordingly. In this guide, we go through the installation process of lm_sensors and explain how to display and change the fan speed in Ubuntu.
How To Display and Change Fan Speed in Ubuntu
You can display the fan speed in Ubuntu by following simple steps. Here, we explain two methods by which you can exactly understand the fan speed and its temperature.
Using Command-Line Interface
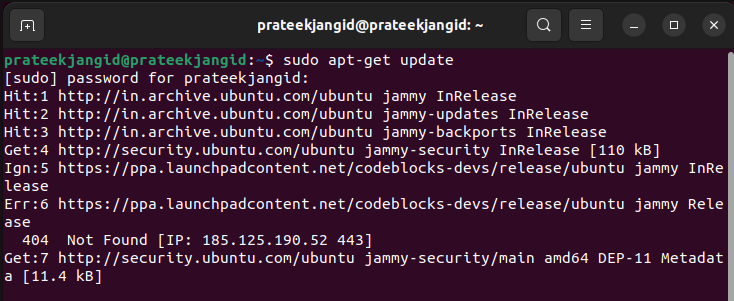
You can install the lm-sensors package through the package manager. To install the lm-sensors in Ubuntu, update the database of your system through the following command:
To install lm-sensors in Ubuntu, type and execute the following command:

After the successful installation of lm-sensors, you can generate and detect a list of kernel modules using the following command:
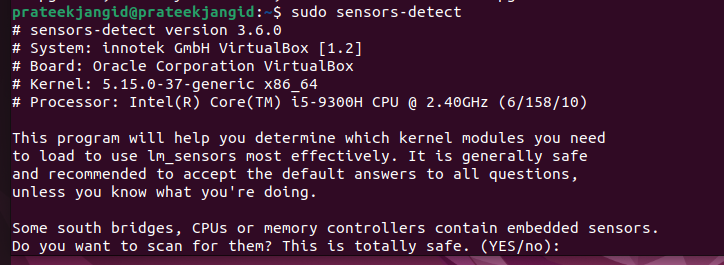
Hardware probing will start after running the previous command. To create the /etc/sensors3.conf file, you must press the Enter key to all the questions. This file starts service automatically at boot time and loads Linux kernel modules.
You can display the /etc/sensors3.conf file using the following cat command:
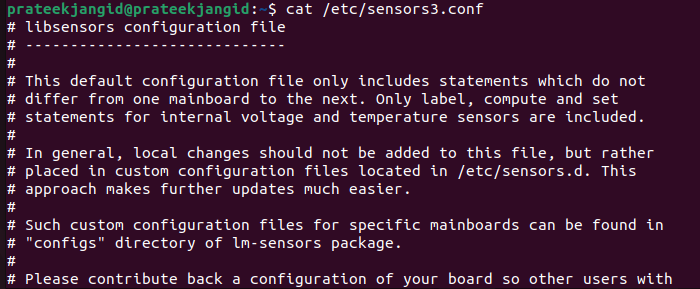
To display the fan speed in Ubuntu, please type the following command into the terminal:
The previous output shows the fan speed and temperature that you need.
Alternatively, you can use the grep command to filter the previous data.
You can also display the fan speed on the screen using one of the following watch commands:
watch -n1 -d ‘ sensors | grep fan’
watch -n1 -d ‘sensors | egrep «fan|temp» | grep -v «0.0»‘
Using Graphical-User Interface
Ubuntu offers many applications through which you can easily view the fan speed. Several are Psensors, xsensors, plugin, applet, and Plasma 5 applet. You can easily install one and display the fan speed using a graphical user interface.
Now, we will install the Psensor and explain the GUI method by which you can display the fan speed.
First, install the previous application using the following sudo command:
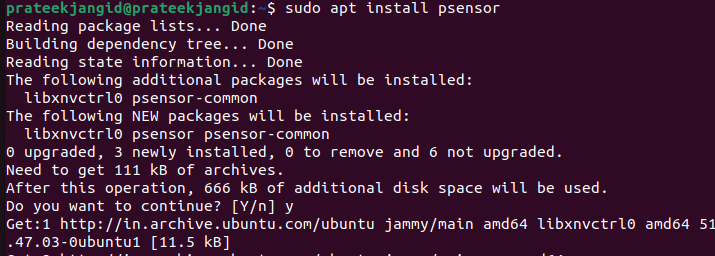
To open the Psensor application, search it in the application menu or execute the following command:
Now, you can easily see the fan speed in Ubuntu by simply opening one application.
You can also install the GKrellM GUI tool to get information about the fan speed to control them. Execute the following command in the terminal to install GKrellM in Ubuntu:
Once you install GKrellM, run the following command in the terminal to open it:
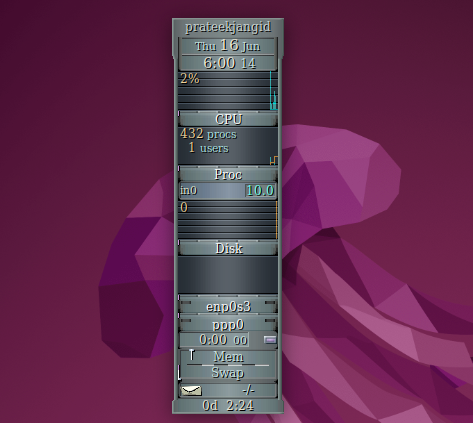
First, right-click on your username and then click on Configuration to configure the tool.

Now, click on the sensors. Here, you can configure the fan speed and control according to your system requirements:

It will help you to change and check the fan speed in Ubuntu.
Conclusion
Checking and controlling the fan speed is easy in Ubuntu because you only need to configure the sensors in the system. In this guide, we explained different methods to display and control the fan speed. First, we installed lm_sensors in the CLI method and saw how you could display the fan speed and other parameters. On the other hand, with the GUI method, you can install any of the applications previously mentioned and measure the fan speed directly through said application.
About the author
Prateek Jangid
A passionate Linux user for personal and professional reasons, always exploring what is new in the world of Linux and sharing with my readers.