- How to Copy Files in Linux
- How to Copy Files in Linux
- 1. cp
- 2. rsync
- 3. xcp
- Copying Files in Linux Using Regular Expression
- Special Copying of Files Using Tar Command
- Wrapping Up
- Команда tar в Linux — создаём резервные копии быстро и эффективно
- Итак, как создать архив в Linux, используя команду tar
- Использование tar вместе с find
- Автоматическое резервное копирование, с помощью tar и cron
How to Copy Files in Linux
File copying is one of the most common tasks for PC users. Of course, you can use a file manager, navigate to a directory with your file, and copy files using a graphical interface. It is pretty simple. But in this article I will show how to copy files in the Linux terminal.
The graphical interface may be not available due to system crashes on home PCs. Although serves do not have it at all. In addition, copying files in the terminal is more flexible and powerful. In this article, I will not only cover the most popular cp command but also other commands such as tar, rsync, and find.
How to Copy Files in Linux
1. cp
The cp command is the most commonly used command for copying files in Unix-like operating systems. It is available out of the box in all distributions and has a lot of features. You can read in detail about this command in the article Command cp in Linux. In this article, I will provide multiple basic examples of using this utility.
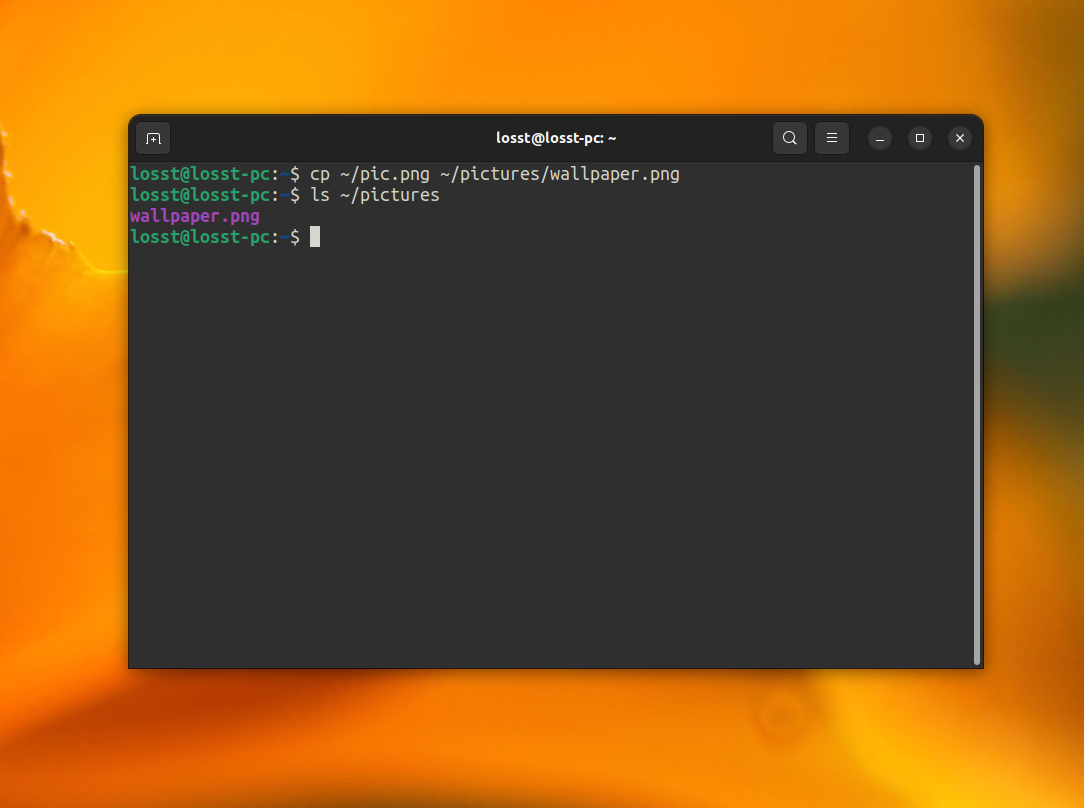
Copying files into another folder is the simplest case. For example, use the following command to copy a picture from the home directory into a directory named pictures:

Additionally, you can specify the name explicitly:
cp ~/pic.png ~/pictures/wallpaper.png
If you want to copy one directory into another, use the -r option:
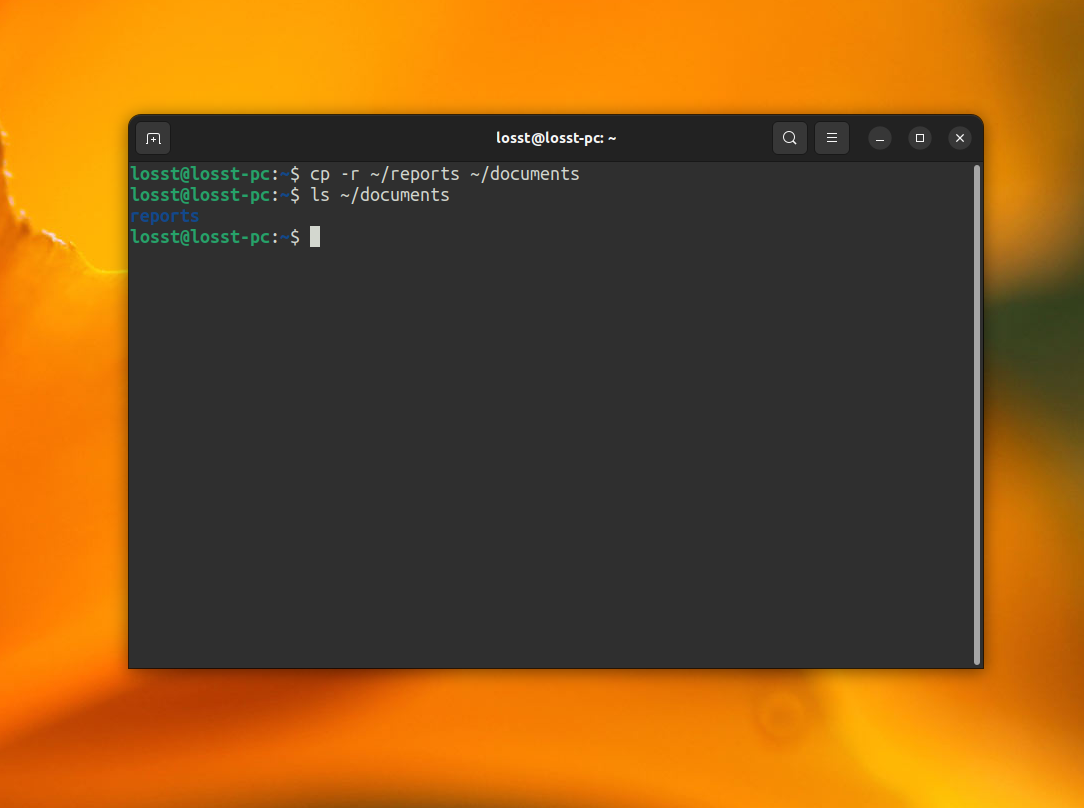
In this case, the reports directory will be copied into the documents folder. If you want to copy the contents of the reports folder into ~/documents, use the -T option:

This command also supports special wildcard symbols * and ?. For example, the following command will copy all files whose names start with april:
cp ~/reports/april* ~/documents

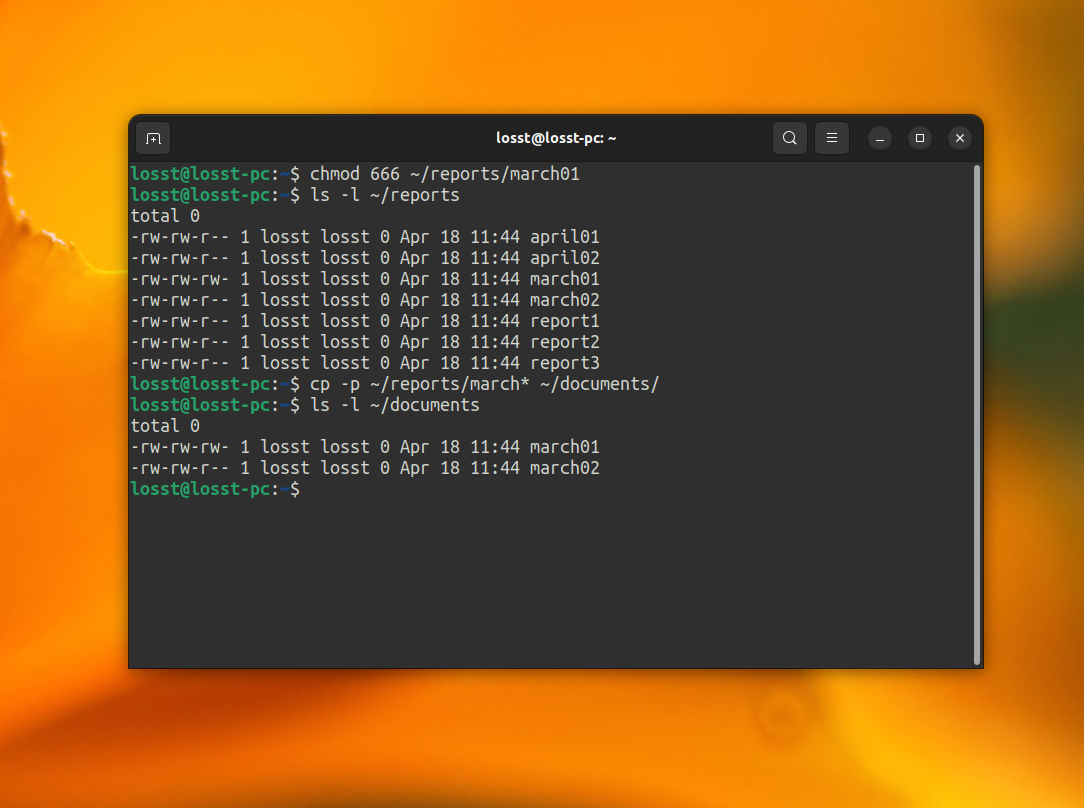
If you want to preserve permissions mode and ownership, use the -p option:
cp -p ~/reports/march* ~/documents/
Finally, there is an interesting use case for creating backups of files. You can Bash brace expansion syntax to make your command shorter, for example:
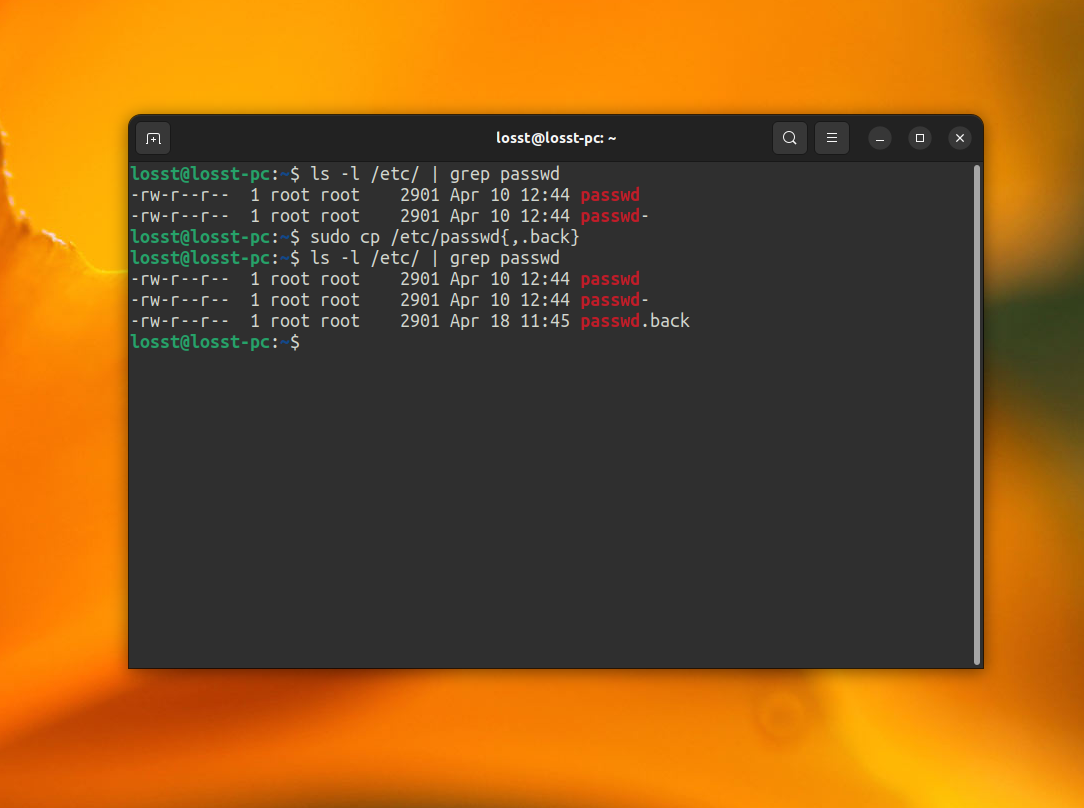
This command will create a file with the same name and the .back extension.
By default, cp does not print the progress bar for file copying. It can be inconvenient when you are copying large files. However, you can use the progress command to show the progress for all commands from the CoreUtils package. Alternatively, you can use the rsync command instead of cp.
2. rsync
This command was designed to create backups for files and directories. It allows not only to copy files, but also synchronize the content of directories, and it supports transferring files through a network, for example, SSH.
To copy a picture into the ~/pictures directory use this command:

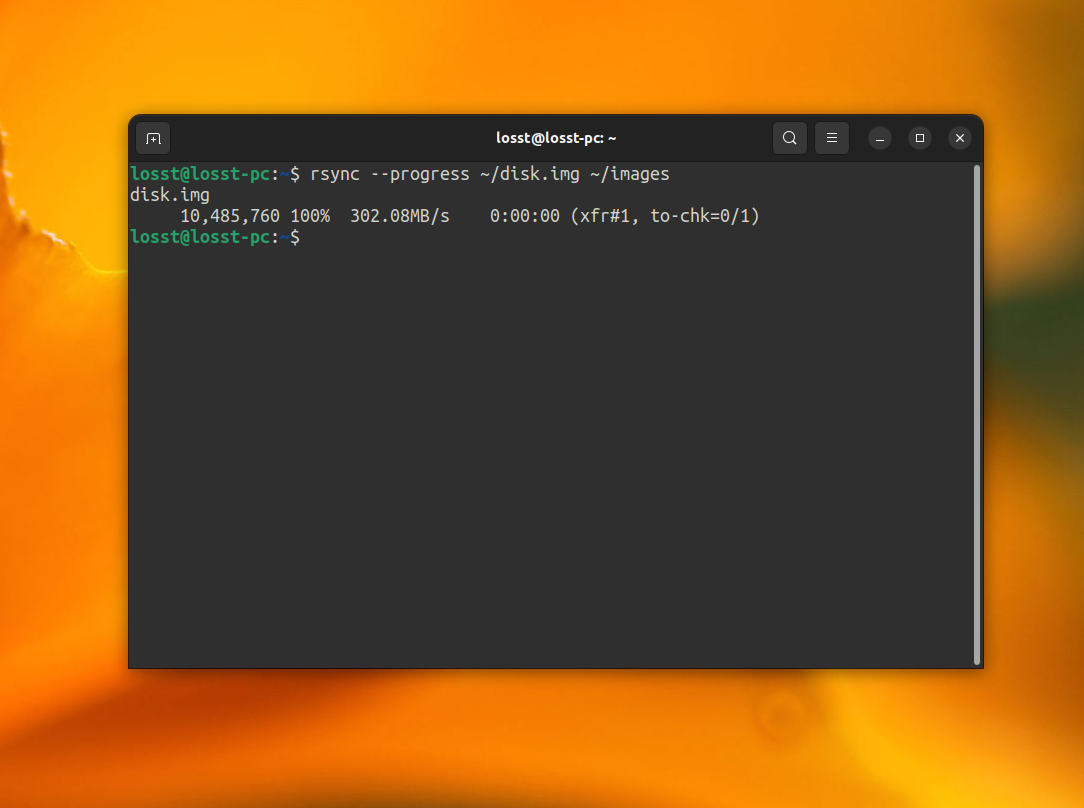
Here you can specify the file name as well as when you use cp. But this utility is more convenient because it can print information about the copying process. You can enable it using the —progress option:
rsync —progress ~/disk.img ~/images
If you want to copy the contents of one directory into another, use the -r option. For example:
rsync -r ~/reports/ ~/documents/

Note, that if you want to copy only the content of the source directory, its name should end with a slash. But if you want to copy the directory itself, just don’t add the slash:
rsync -r ~/reports ~/documents/

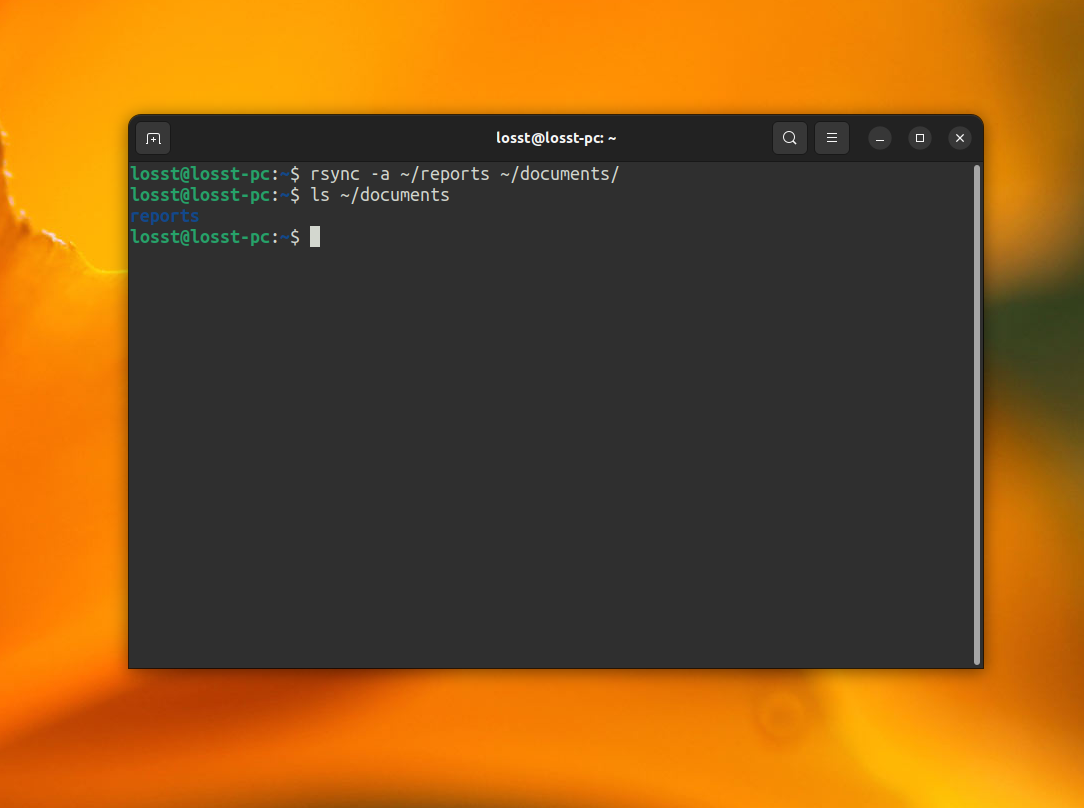
If you want to preserve permission mode and ownership, use the -a option:
rsync -a ~/reports ~/documents/
3. xcp
Currently, there are several alternatives to the CoreUtils utilities that are written in Rust. These alternatives are optimized for modern systems and are more user-friendly. One such alternative is the xcp command, which is an alternative to the cp command. To install xcp, use cargo:
cargo install xcp
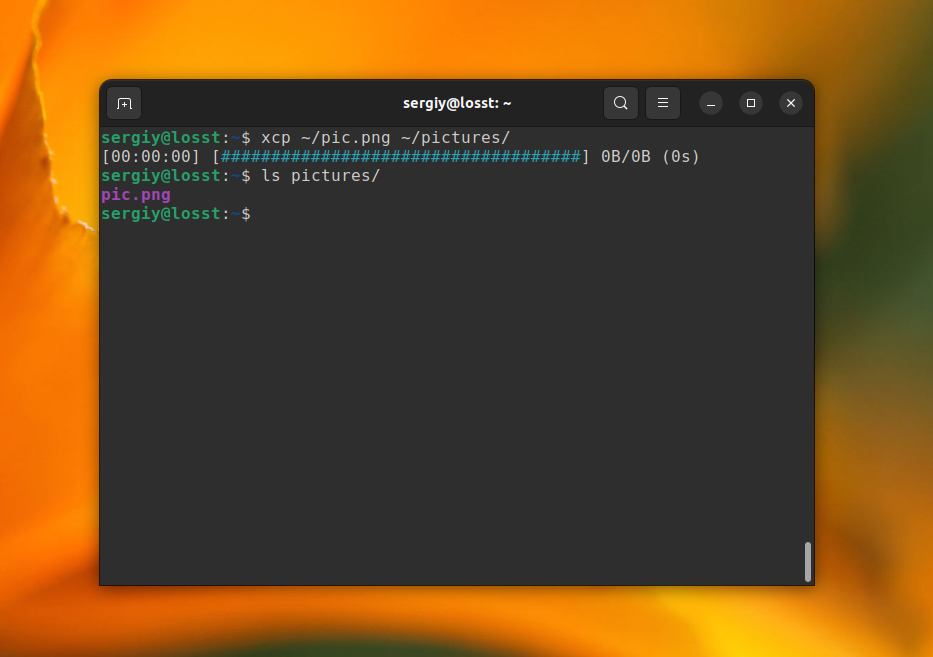
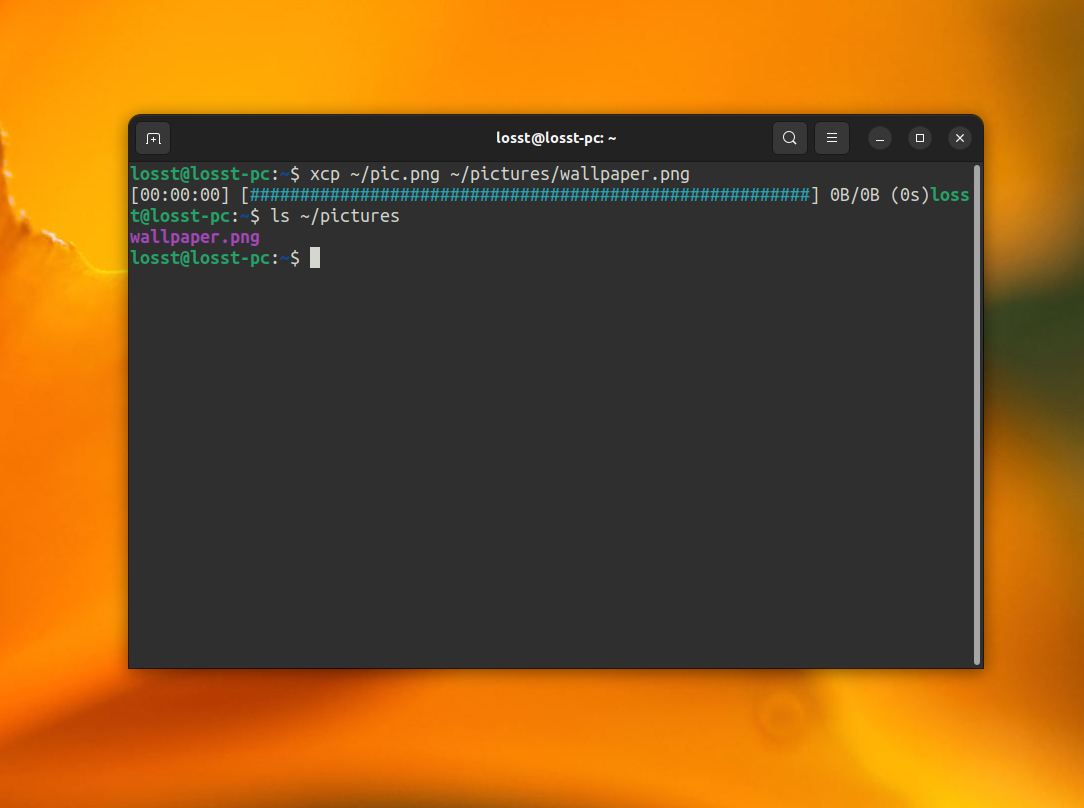
The xcp command can copy a file from one directory to another just like the cp command, but it also features a progress bar. For example:
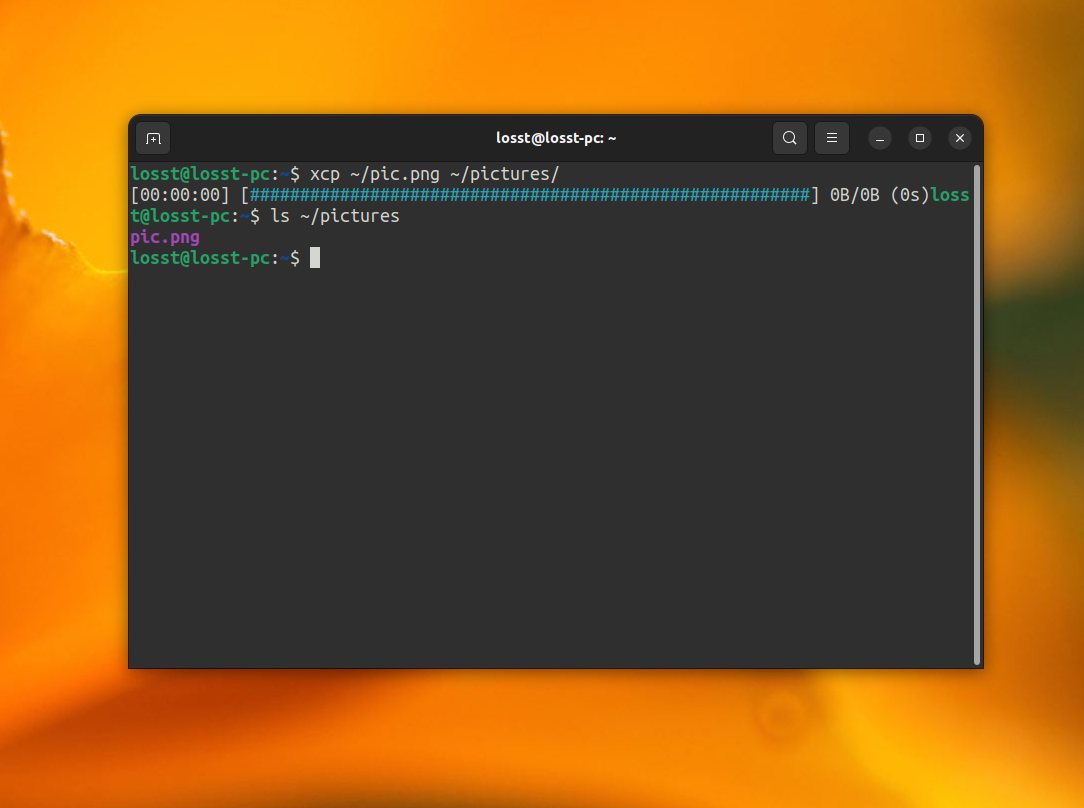
You can also specify a new name for the file:
xcp ~/pic.png ~/pictures/wallpaper.png
Copying directories is also straightforward. All contents of the source directory are copied into the destination directory by default:

But if you want to copy the ~/reports directory into ~/documents itself, use the -T option:

Now, you know basic commands that can help to copy files in Linux. Let’s have a look at filtering files for copying.
Copying Files in Linux Using Regular Expression
Sometimes, you may want to filter files for copying by regular expression. You can use the find command to do this. It allows to apply different conditions and regular expressions for searching files and then run a specific command for each file, such as cp, rsync and even xcp.
For example, use this command to copy all files whose names contain the march word and numbers from the ~/reports directory into documents:
find ./reports -regex ‘./[^/]*/march3*’ -exec cp <> ~/documents ;
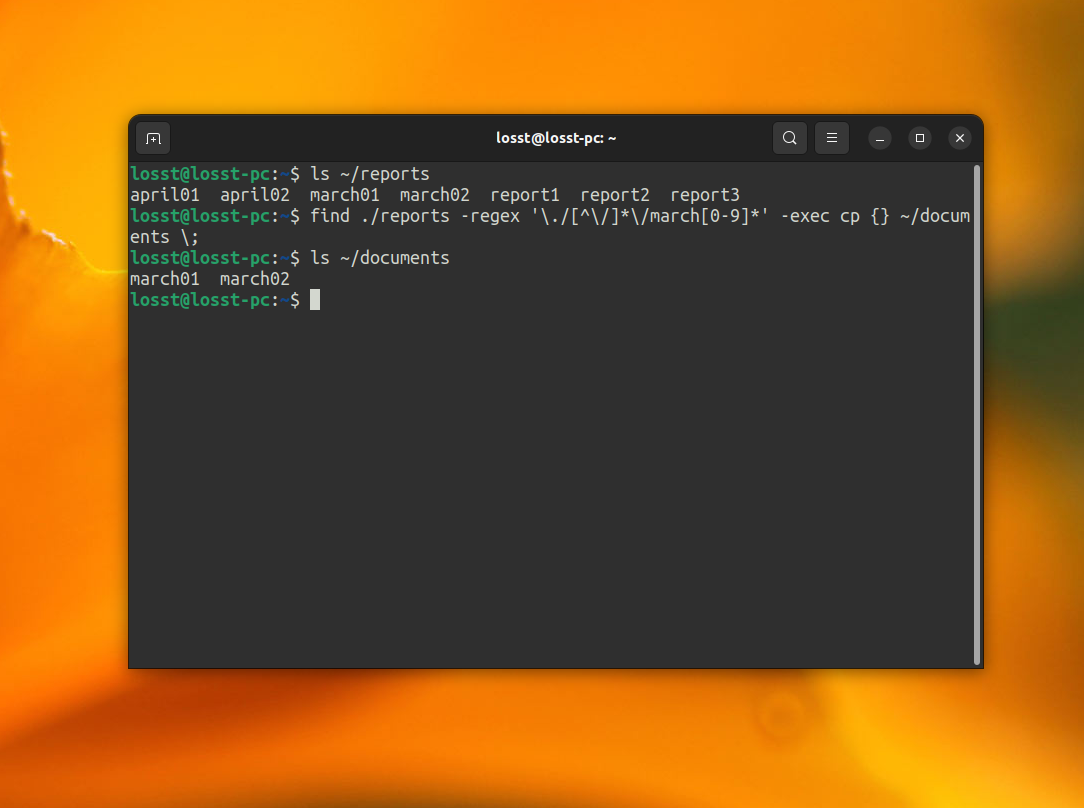
The regex parameter is used to specify a regular expression for filtering files. Note, that the regular expression is applied to a whole file path. The exec parameter specifies a command which should be executed for each file. The <> is a placeholder that will be replaced with the name of each file that matches the regular expression, and the ; is used to terminate the -exec option. You can use other find conditions in the same way.
Special Copying of Files Using Tar Command
Linux provides multiple ways to perform the same task, and that’s what makes it interesting for many users. Copying files in Linux can be done not only by using cp or other copying tools. For instance, you can use the cat utility and Bash output redirection operators to copy the contents of a file to another file:
cat report > ~/reports/report
This command copies only the content of the file. It can be useful for small text files.
If you want to copy multiple files you can use the tar command. For example, if you want to create a system backup while preserving all permissions, ownership, and symbolic links, you can use tar with Bash pipeline where tar will archive the required files and send the result to stdout, and another tar instance will extract the files into the specified folder. Here’s an example command:
tar cf — /var | ( cd /mnt/var && tar xvf — )
This command will copy all contents from /var into /mnt/var. You can use it to copy Linux folders or a whole root of a system. The cp command can also be used for this purpose, but you need to specify the -a option to preserve permissions and links.
Wrapping Up
Now, you know how to copy files in Linux. As you can see, copying in the terminal is more flexible, and sometimes faster than in a GUI if you remember the proper commands. If you have any questions, feel free to leave them in the comments below!
Found a mistake in the text? Let me know about that. Highlight the text with the mistake and press Ctrl+Enter.
Команда tar в Linux — создаём резервные копии быстро и эффективно

Tar — самая удобная, простая для понимания и быстрая команда для архивирования файлов и папок. Поскольку большинство сайтов расположены на серверах с ОС Linux, чаще всего данную команду используют для создания резервных копий сайтов и важных файлов проекта. В данной статье я расскажу про особенности работы с командой tar, выборочное (инкрементное) резервное копирование, автоматизацию создания архивов и многое другое.
Итак, как создать архив в Linux, используя команду tar
Для более полного понимания работы tar, давайте для начала создадим тестовую папку, в которой создадим множество других папок:
А затем наполним её файлами, чтобы нам было с чем экспериментировать:
С помощью этих двух команд мы создали папку test , в ней разместили 100 папок вида dir-001 .. dir-100 и в каждую из 100 папок поместили файлы вида file-A.txt .. file-Z.txt
Теперь давайте выполним команду для архивирования:
В той папке, в которой мы находимся, появится архив test.tgz , в котором будет папка test и все вложенные в неё папки. Флаг » c » внутри команды означает «создать архив», » z » — сжать файлы. Флаг » f » ничего не означает и присутствует во всех командах, связанных с tar .
Если мы захотим посмотреть содержимое нашего архива — можно воспользоваться командой:
которая отобразит содержимое нашего архива в простом формате отображения. Для просмотра подробного списка архива добавим флаг » v «:
А теперь давайте распакуем архив. Для этого сначала есть смысл удалить имеющуюся папку test (используем команду rm -rf test ), а затем используем команду извлечения данных из нашего архива:
После этого архив распакуется и у нас снова появится папка test со всем её содержимым.
Кстати, мы можем извлекать файлы как по одному, так и выборочно. Например, извлекаем 1 файл:
tar xf test.tgz путь_к_файлу
А если мы хотим извлечь несколько файлов, то при использовании параметра —wildcards мы имеем возможность прописать групповые символы ( * и прочие ). Допустим, мы хотим извлечь все файлы с именем file-A.txt из всех 100 наших папок. Для этого используем команду:
tar xf test.tgz --wildcards 'test/dir-*/file-A.txt'
Обратите внимание на то, что мы должны указать относительный путь к нашим файлам. Т.е. путь без ‘ / ‘ в котором мы должны указать полный путь, исходя из структуры нашего имеющегося архива.
Групповые символы — это отличная возможность извлекать из больших архивов отдельные группы файлов, например, за доли секунд мы можем извлечь из огромного архива все файлы изображений.
Есть один ньюанс, который нужно понимать при работе с архиватором. Если при создании архива мы укажем абсолютный путь (от корня диска), то при создании архива в него будут включена вся структура каталогов, начиная от корня диска. Чтобы было понятнее, давайте попробуем это на деле. Сначала давайте выполним команду pwd , чтобы у нас отобразился полный путь к текущей рабочей директории. Далее выполняем команду:
tar czf test.tgz путь_к_текущей_директории_далее_слэш_и_имя_папки
tar czf test.tgz /home/den/Desktop/test
Обратите внимание на получившийся архив: все файлы имеют абсолютные пути, например, такого вида: /home/den/Desktop/test/dir-001/file-A.txt
Этот момент обязательно нужно учитывать при создании архивов и использовать именно тот вариант, который необходим для конкретно данной ситуации.
Использование tar вместе с find
Команду tar часто используют вместе с командой find (с помощью которой мы ищем файлы и папки). Например, мы хотим найти в папке все файлы с именем file-A.txt и добавить их внутрь имеющего архива, то это можно сделать командой:
find test -name 'file-A.txt' -exec tar rf test.tgz '<>' '+'
В данном примере флаг » r » используется для инкрементного добавления файлов внутрь имеющегося архива. Отличная и очень удобная на практике возможность! К примеру, мы можем с помощью find находить файлы, созданные не позже опреденённой даты и добавлять их к нашему архиву.
Также, tar умеет считывать данные со стандартного ввода и вывода. Пример:
find test -name 'file-A' | tar czf test.tgz -T -
Когда архиватору tar передается имя файла — (дефис), то под этим имеется ввиду либо стандартный ввод, либо стандартный вывод (и зависит это от контекста).
А ещё, можно использовать tar для передачи файлов через SSH . Пример:
ssh логин@хост_удалённой_машины 'tar cf - ИмяПапки' | tar xf -
Здесь мы скопировали с удалённой машины папку ‘ ИмяПапки ‘ в текущий рабочий каталог. С помощью SSH мы можем выполнить любой запрос на удаленной машине. Используя это, мы с помощью tar создали архив (флаг » c «) и вывели его не в файл, а в стандартный вывод (флаг » f » с дефисом в качестве аргумента), вследствие чего архив передается через SSH-туннель на локальную машину. В локальной машине мы вызываем tar для того чтобы распаковать архив (флаг » x «), полученный со стандартного ввода.
Автоматическое резервное копирование, с помощью tar и cron
Для создания регулярной резервной копии мы можем настроить планировщик cron . Если у Вас стандартный хостинг без root-доступа, то cron настраивается в панели управления Вашего хостинга. Если же у Вас выделенный сервер, тогда делаем всё стандартным образом через crontab -e
Пример записи cron для резервного копирования 1 раз в неделю:
@weekly /usr/bin/tar czf /home/den/archive-`date+"\%d_\%m_\%y"`.tgz /home/den/Desktop/test
В данном примере мы раз в неделю, в полночь, архивируем папку (включая всё её содержимое) по адресу /home/den/Desktop/test и размещаем полученный архив внутрь папки /home/den/ , вписывая при этом в имя архива текущую дату.
Подписывайтесь на группу в ВКонтакте, вступайте в сообщество на Facebook, чтобы всегда быть в курсе актуальных выпусков
W e b d e v e l o p m e n t b l o g !