- Install and Setup ZFS on Debian 11
- Table of Contents:
- Features of the ZFS Filesystem:
- Limits of the ZFS Filesystem:
- Enabling Debian contrib Package Repository:
- Installing ZFS Filesystem Dependencies:
- Installing the ZFS Filesystem:
- Creating ZFS Pools:
- Creating ZFS Datasets:
- Setting ZFS Dataset Quotas:
- Removing ZFS Datasets:
- Removing ZFS Pools:
- Conclusion:
- References:
- About the author
- Shahriar Shovon
- RELATED LINUX HINT POSTS
Install and Setup ZFS on Debian 11
![]()
The full form of ZFS is Zettabyte File System. The ZFS filesystem is a 128-bit filesystem. The ZFS supported filesystem size is 3×10 24 TB. You may never encounter such a big filesystem in real life. The ZFS filesystem was designed to keep and access an insane amount of data.
In this article, I will show you how to install and set up the ZFS filesystem on Debian 11. So, let’s get started.
Table of Contents:
- Features of the ZFS Filesystem
- Limits of the ZFS Filesystem
- Enabling Debian contrib Package Repository
- Installing ZFS Filesystem Dependencies
- Installing the ZFS Filesystem
- Creating ZFS Pools
- Creating ZFS Datasets
- Setting ZFS Dataset Quotas
- Removing ZFS Datasets
- Removing ZFS Pools
- Conclusion
- References
Features of the ZFS Filesystem:
Other than the huge filesystem size support, ZFS also has some impressive features:
- ZFS has a built-in volume manager.
- Built-in support for different types of RAIDs.
- Built-in encryption support.
- Built-in data/metadata checksum support.
- Built-in filesystem compression support.
- Built-in quota support.
- Built-in data deduplication support.
- Filesystem snapshot support.
Limits of the ZFS Filesystem:
Despite the amazing features, the ZFS filesystem has some limits:
- Maximum size of a single file can be 2 64 bytes or 16 exbibytes (EB).
- In any individual directory, you can create a maximum of 2 64 files/directories.
- Maximum size of any ZFS pool can be 2 128 bytes or 256 quadrillion zebibytes.
- You can create 2 64 ZFS pools on your computer.
- In any single ZFS pool, you can add a maximum of 2 64 storage devices (HDDs/SSDs).
- You can create 2 64 filesystems in any single ZFS storage pool.
Enabling Debian contrib Package Repository:
The ZFS filesystem packages are available in the official Debian 11 contrib package repository. The contrib package repository is not enabled on Debian 11 by default. But you can easily enable it from the command-line.
To enable the contrib package repository, open a Terminal and run the following command:

The official Debian contrib repository should be enabled.

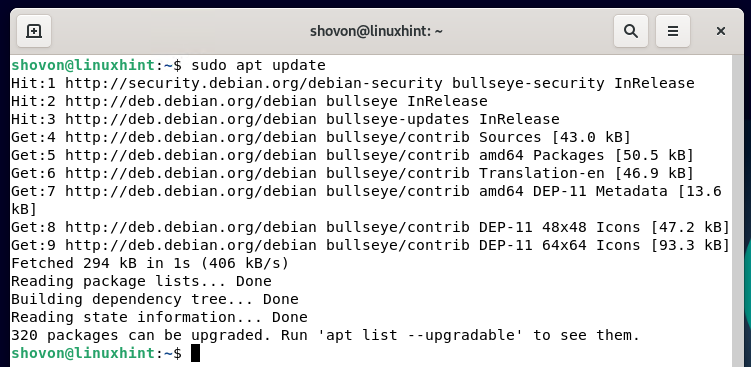
Update the APT package repository cache with the following command:
Installing ZFS Filesystem Dependencies:
You must install the libraries that the ZFS filesystem kernel module depends on before installing the ZFS filesystem on Debian 11.
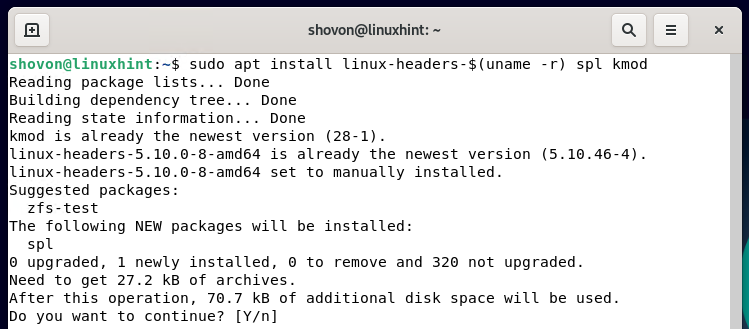
You can install all the libraries that the ZFS kernel module depends on with the following command:

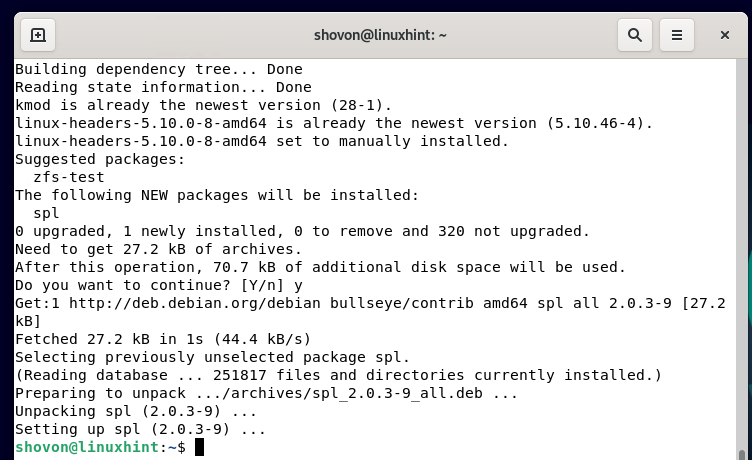
To confirm the installation, press Y and then press .
All the required dependency libraries should be installed.
Installing the ZFS Filesystem:
Now, you can install the ZFS filesystem on Debian 11 with the following command:

To confirm the installation, press Y and then press .
The APT package manager will download all the required packages from the internet. It may take a while to complete.
You will be asked to accept the OpenZFS license. To accept the OpenZFS license (used by the ZFS kernel module), select OK and press .
All the required packages will be installed one by one. It will take a while to complete.
The ZFS kernel module is being installed and configured. It will take a few seconds to complete.
All the ZFS systemd services are being started. It will take a few seconds to complete.
At this point, the ZFS filesystem should be installed.
Creating ZFS Pools:
Once you’ve installed the ZFS filesystem on your computer, you can create a ZFS pool using one or more drives.
You can list all the storage devices of your computer with the following command:
As you can see, all the storage devices of my computer are listed.
In this article, I will use the drives sdb and sdc to create a ZFS pool.
To create a new ZFS pool pool1 using the drives sdb and sdc, run the following command:
As you can see, a new ZFS pool pool1 has been created.
As you can see, the ZFS pool pool1 is ONLINE, and it uses the drives sdb and sdc.
After pool1 is created, the pool should be mounted in the /pool1/ (same directory name as the pool) directory, as shown in the screenshot below.
As you can see, a directory with the same name as the pool name pool1 is created in the root directory /.
Creating ZFS Datasets:
ZFS datasets are like filesystem partitions. You can create a lot of ZFS datasets in a single ZFS pool.
To create a new ZFS dataset ds1 in the pool pool1, run the following command:
To create another ZFS dataset, ds2 in the pool pool1, run the following command:
As you can see, 2 ZFS datasets, ds1 and ds2 are created in the pool pool1.
The ZFS datasets ds1 and ds2 should be mounted in their respective directories in the /pool1/ directory, as shown below.
As you can see, new directories for the datasets ds1 and ds2 are created in the /pool1/ directory.
Now, you can change the owner and the group of the pool1/ds1 dataset to your login username and primary group with the following command:
As you can see, I can copy files to the pool1/ds1 dataset.
I have copied the /etc/hosts file to the pool1/ds1 dataset. As you can see in the screenshot below, the file is in the /pool1/ds1/ directory.
Setting ZFS Dataset Quotas:
You can limit the amount of disk space that a ZFS dataset can use from a ZFS pool using quotas.
For example, to allow the ZFS dataset ds1 to use only 10 GB of storage from the ZFS pool pool1, run the following command:
As you can see, a quota of 10 GB is set for the pool1/ds1 dataset.
As you can see, once the 10 GB quota is set, the dataset ds1 can only use 10 GB of disk space out of 38.5 GB from the storage pool pool1.
Removing ZFS Datasets:
If you don’t need a ZFS dataset, you can remove it.
For example, let’s say you want to remove the dataset ds1 from the pool pool1.
You can remove the dataset ds1 from the pool pool1 with the following command:
As you can see, the dataset ds1 is removed from the pool pool1.
The ds1/ directory and all the files from the ds1/ directory should also be removed from the /pool1/ directory, as you can see in the screenshot below.
Removing ZFS Pools:
You can remove a ZFS pool as well.
To remove the ZFS pool pool1, you can run the following command:
If the pool you want to remove has one or more datasets actively used by some users/programs, you may see an error while removing the pool.
In that case, you will have to remove the pool with the -f option as follows:
As you can see, the pool pool1 is removed.
Conclusion:
In this article, I have shown you how to install the ZFS filesystem on Debian 11. I have shown you how to create and remove ZFS pools as well as ZFS datasets. I have shown you how to set quotas in ZFS datasets as well. This article should help you get started with the ZFS filesystem on Debian 11.
References:
About the author
Shahriar Shovon
Freelancer & Linux System Administrator. Also loves Web API development with Node.js and JavaScript. I was born in Bangladesh. I am currently studying Electronics and Communication Engineering at Khulna University of Engineering & Technology (KUET), one of the demanding public engineering universities of Bangladesh.
RELATED LINUX HINT POSTS
Linux Hint LLC, editor@linuxhint.com
1309 S Mary Ave Suite 210, Sunnyvale, CA 94087
Privacy Policy and Terms of Use