- Bluetooth Proxy
- Configuration:
- Improving reception performance
- Complete sample recommended configuration for an ethernet-connected Bluetooth proxy
- See Also
- Guide: Bluetooth Proxy to Home Assistant using ESPHome
- ESP32, ESPHome and Bluetooth Proxy
- Required Hardware
- Installing ESPHome into Home Assistant
- Flashing Bluetooth Proxy
- Create a new config
- Flashing the device
- Adding the proxy to Home Assistant
- Discovering Bluetooth devices
- Creating an enclosure (optional)
- The end
Bluetooth Proxy
Home Assistant can expand its Bluetooth reach by communicating through the Bluetooth proxy component in ESPHome. The individual device integrations in Home Assistant (such as BTHome) will receive the data from the Bluetooth Integration in Home Assistant which automatically aggregates all ESPHome Bluetooth proxies with any USB Bluetooth Adapters you might have. This exceptional feature offers fault tolerant connection between the Bluetooth devices and Home Assistant.
Note that while ths component is named bluetooth_proxy , only BLE devices (and their Home Assistant integrations) are supported.
If you’re looking to create an ESPHome node that is just a Bluetooth Proxy, see our Bluetooth Proxy installer website.
The Bluetooth proxy of ESPHome provides Home Assistant with a maximum number of 3 simultaneous active connections. Devices which maintain a continuous active connection will consume one of these constantly, whilst devices which do periodic disconnections and reconnections will permit using more than 3 of them (on a statistical basis). Passively broadcasted sensor data (that is advertised by certain devices without active connections) is received separately from these, and is not limited to a specific number.
The ESP32 Platform component should be configured to use the esp-idf framework, as the arduino framework uses significantly more memory and performs poorly with the Bluetooth proxy enabled. When switching from arduino to esp-idf , make sure to update the device with a serial cable as the partition table is different between the two frameworks as OTA Update Component updates will not change the partition table.
The Web Server Component component should be disabled as the device is likely to run out of memory and will malfunction when both components are enabled simultaneously.
Not all devices are supported and ESPHome does not decode or keep a list. To find out if your device is supported, please search for it in the Home Assistant Integrations list.
Configuration:
- active (Optional, boolean): Enables proxying active connections. Defaults to false . Requires Home Assistant 2022.10 or later.
- cache_services (Optional, boolean): Enables caching GATT services in NVS flash storage which significantly speeds up active connections. Defaults to true when using the ESP-IDF framework.
The Bluetooth proxy depends on ESP32 Bluetooth Low Energy Tracker Hub so make sure to add that to your configuration.
Bluetooth proxy requires Home Assistant 2022.9 or later. ESPHome 2022.12.0 and Home Assistant 2022.12.6 or later is recommended.
Improving reception performance
Use a board with an Ethernet connection to the network, to offload ESP32’s radio module from WiFi traffic, this gains performance on Bluetooth side. To maximize the chances of catching advertisements of the sensors, you can set interval equal to window in ESP32 Bluetooth Low Energy Tracker Hub scan parameter settings:
esp32_ble_tracker: scan_parameters: interval: 1100ms window: 1100ms
For WiFi-based proxies, changing the interval or window from their default values may result in an unstable WiFi connection. Using the default values for interval and window will usually resolve any instability.
Avoid placing the ESP node in racks, close to routers/switches or other network equipment as EMI interference will degrade Bluetooth signal reception. For best results put as far away as possible, at least 3 meters distance from any other such equipment. Place your ESPHome devices close to the Bluetooth devices that you want to interact with for the best experience.
Complete sample recommended configuration for an ethernet-connected Bluetooth proxy
Below is a complete sample recommended configuration for an ethernet-connected Bluetooth proxy. This configuration is not for a Wi-Fi based proxy. If you experience issues with your proxy, try reducing your configuration to be as similar to this as possible.
This configuration is for an Olimex ESP32-PoE-ISO board with an Ethernet connection to the network. If you use a different board, you must change the board substitution to match your board.
substitutions: name: my-bluetooth-proxy board: esp32-poe-iso esphome: name: $ name_add_mac_suffix: true esp32: board: $ framework: type: esp-idf ethernet: type: LAN8720 mdc_pin: GPIO23 mdio_pin: GPIO18 clk_mode: GPIO17_OUT phy_addr: 0 power_pin: GPIO12 # Enable logging logger: # Enable Home Assistant API api: ota: esp32_ble_tracker: scan_parameters: interval: 1100ms window: 1100ms active: true bluetooth_proxy: active: true
See Also
Guide: Bluetooth Proxy to Home Assistant using ESPHome
In previous post I briefly looked into SwitchBot Bluetooth ecosystem and promised to write a post about setting up a Bluetooth Proxy using ESP32 and ESPHome. In this post I’m going through the process of installing ESPHome and flashing Bluetooth Proxy into an ESP32 device and connecting BLE device to Home Assistant through it.
ESP32, ESPHome and Bluetooth Proxy
ESP32, ESPHome and Bluetooth Proxy? A little introduction to get used to these terms..
ESP32 is a MCU with integrated WiFi and Bluetooth (successor of popular ESP8266). ESP32 a very powerful and has low power consumption. In theory, it can be battery operated if put on a deep sleep, but with casual use cases a permanent power connection is required. ESP32 software can be developed with easy to learn Arduino, but is not excluded to only that.
ESPHome is a platform developed for ESP32/ESP8266 and is mainly used for Smart Home devices. ESPHome has tons of ready made configurations, libraries and examples. In 2021 Nabu Casa (Home Assistant developer company) acquired ESPHome and integrated the whole ESPHome system more deep into the Home Assistant Core. These days ESPHome can be installed directly from Home Assistant Add-On store and configured from Home Assistant UI!
Bluetooth Proxy is a gateway software that listens for ‘all’ Bluetooth traffic and forwards them to the Home Assistant instance. Basically BLE to WiFi gateway.
Required Hardware
In this project we are going to need few items:
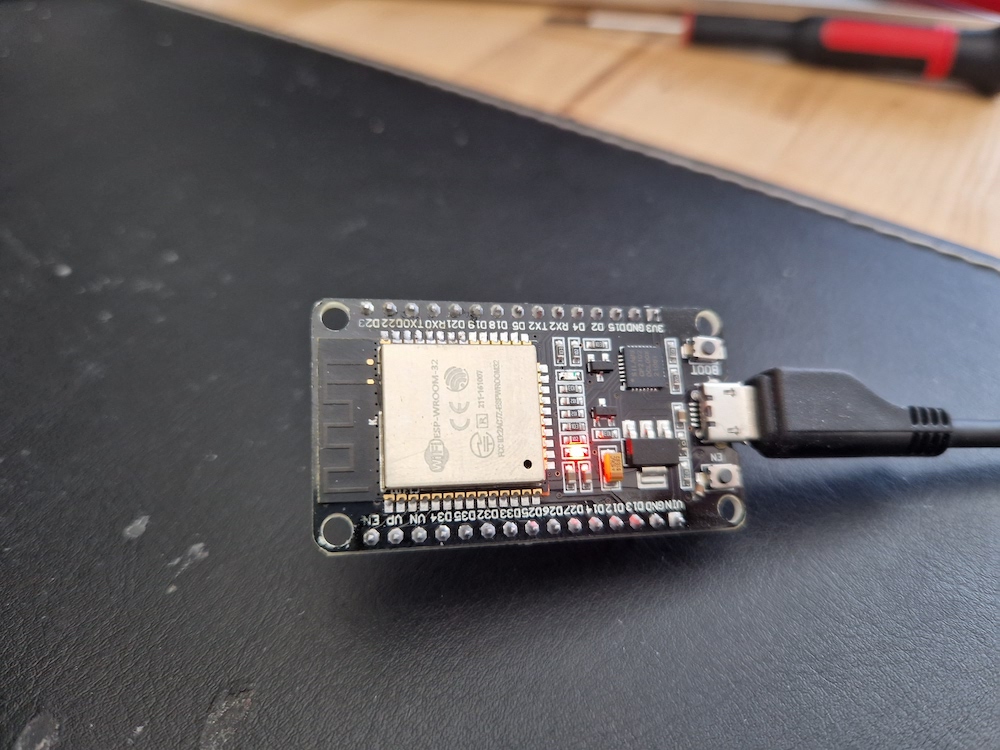
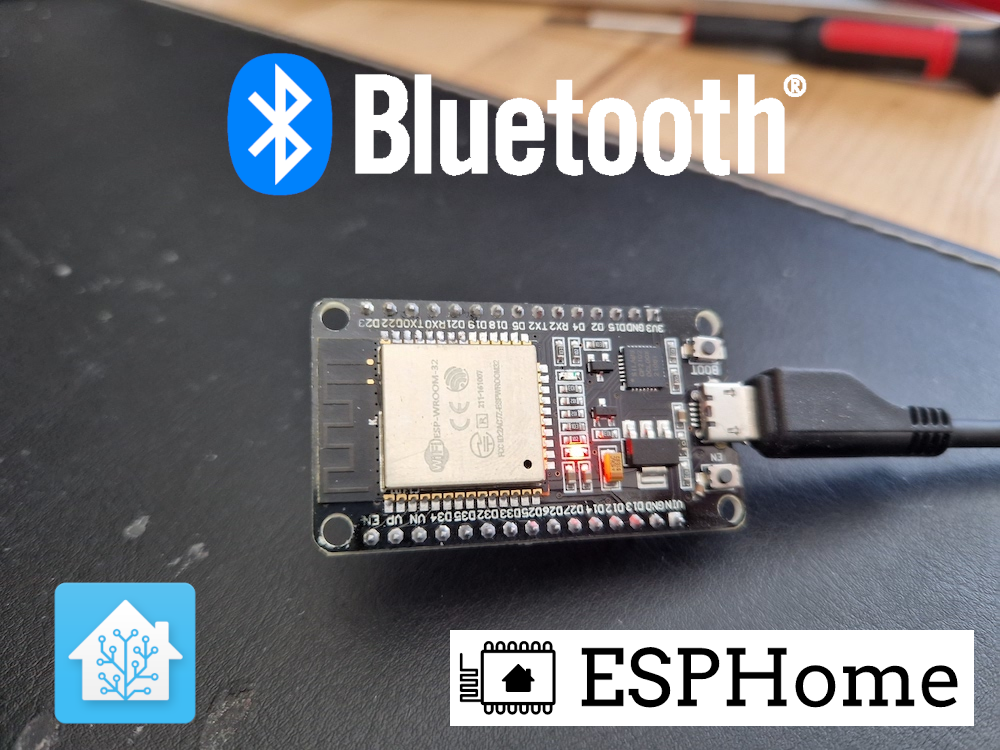
- ESP32 development board
- ESP32 development board has an ESP32 chip (Bluetooth and Wifi already integrated) plus an USB interface for powering up flashing.
Note: I’ve tested this with two different development boards, ESP32 Wroom devkit v1 and ESP32 Wroom devkit v2, but for some odd reason the devkit v2 did not work properly with flashing esp-idf type of framework. You can find the exact device I’ve used from Amazon store. Most probably other ESP32 dev kits works as well, but I’ve not tested them my self, so can’t say 100% sure that others works the same.
Installing ESPHome into Home Assistant
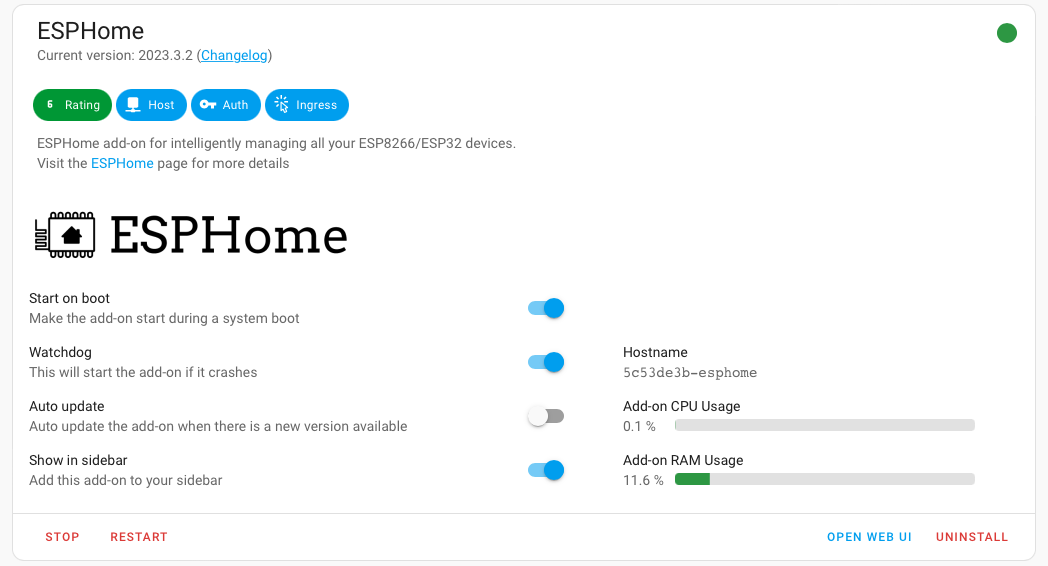
ESPHome is now days hosted within the Official Home Assistant Add-On Store and can be installed to the Home Assistant without any problems. Just head over to Home Assistant Settings -> Add-On Store -> Select ESPHome and press the install.
Once installed I’d suggest to set on the Watchdog switch in order for ESPHome to restart it if crashing at anytime for any reason. Also press ‘start’ button to start the ESPHome container in your environment.
Now the ESPHome service should be fully running and can be opened from “Open Web UI” -button bottom of the ESPHome Add-on page.

Flashing Bluetooth Proxy
Now it’s time to get really things started and setup the proper configurations for the ESP32! Open ESPHome UI from ESPHome Add-on page and connect the ESP32 device to your PC using a micro USB cable.
Create a new config
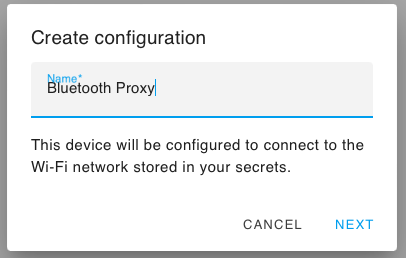
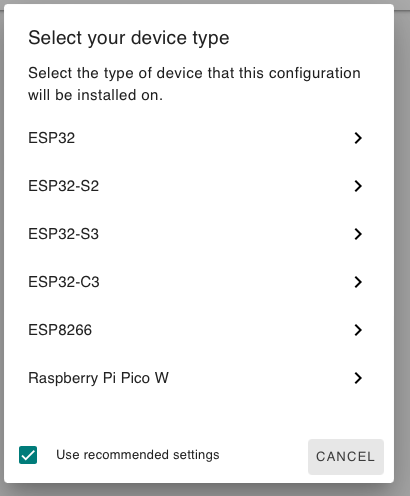
First initial configuration is needed to be created. Let’s start by pressing the plus-button in the bottom right corner and let’s name the device as “Bluetooth Proxy“. Next select a Generic ESP32 as a device (unless you have some other specific ESP32 dev board that is in the list).
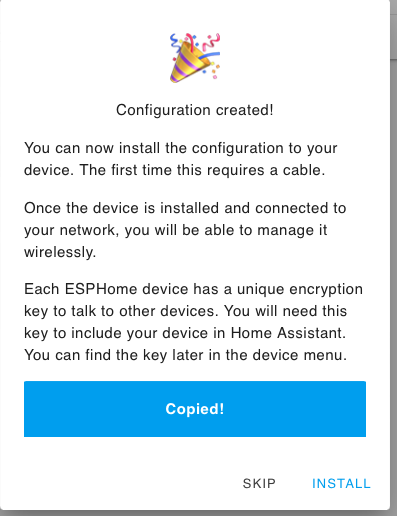
Generated encryption key should be now shown, but you can safely ignore it. It will be automatically added to the configuration once finished. So just press “Skip” button and we continue editing in the edit view.
After finished and initial config is created, open the newly created configuration by pressing “edit” from the Bluetooth Proxy device at ESPHome WEB UI.
Now we need to add the Bluetooth Proxy support for our configuration. Fill in the missing parts of the configuration from the code below (esp32_ble_tracker and bluetooth_proxy -blocks). Also remember to change the framework type to esp-idf! This is important, since the bluetooth proxy performance is quite poor on default Arduino framework. Don’t copy the below configuration totally, since the encryption key and other password should be unique to your device and environment. I’ve altered those values in my configuration shown here.
esphome: name: bluetooth-proxy friendly_name: Bluetooth Proxy esp32: board: esp32dev framework: type: esp-idf # Enable logging logger: # Enable Home Assistant API api: encryption: key: "REMOVED" ota: password: "REMOVED" wifi: ssid: !secret wifi_ssid password: !secret wifi_password # Enable fallback hotspot in case wifi connection fails ap: ssid: "Bluetooth-Proxy Fallback Hotspot" password: "REMOVED" esp32_ble_tracker: scan_parameters: interval: 1100ms window: 1100ms active: true bluetooth_proxy: active: trueFlashing the device
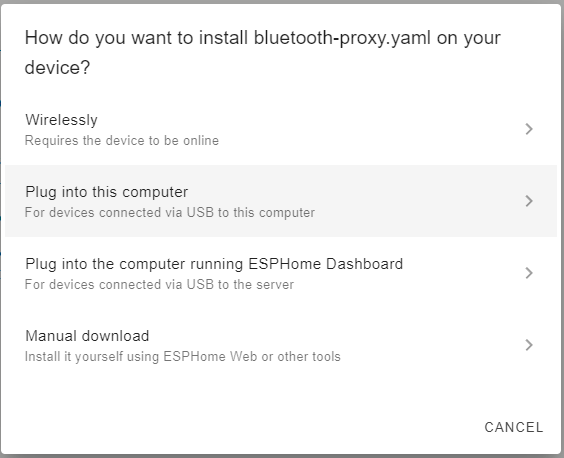
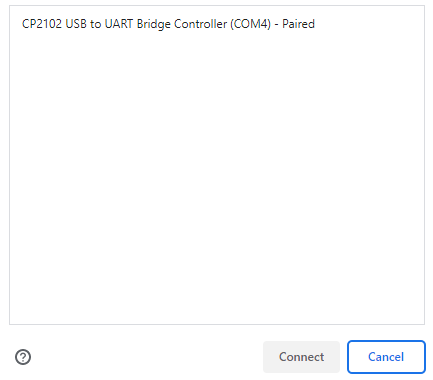
Once modifications are in place, we just need to flash it on the ESP32 device. For this, Google Chrome or Microsoft Edge browser is required. So using Google Chrome press the “install” button in the current view and select the corresponding com port the device is connected to using USB cable. Port name should be something like: ‘CP2102 USB to UART Bridge Controller (Com 4)‘
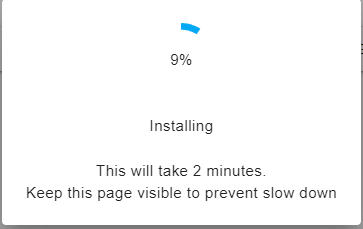
After this step the programming should begin processing and will take couple of minutes until completed.
After the first time flashing the device, it can be re-flashed wirelessly. In fact, Home Assistant will notify if ESPHome is updated and will ask you to update the device (wirelessly) when a new ESPHome update is pushed out.
Once done, move to the next step.
Adding the proxy to Home Assistant
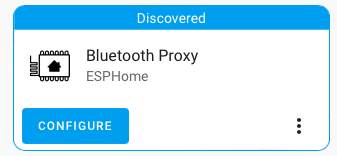
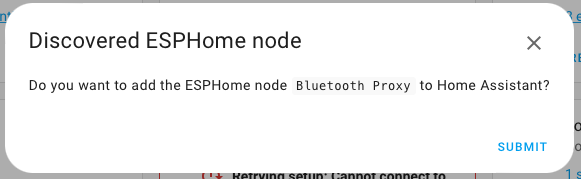
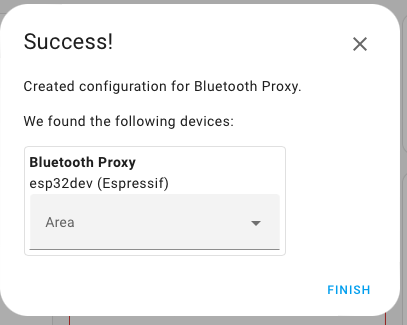
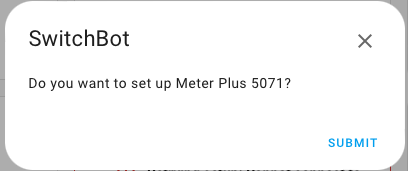
After installation, when ESP32 has properly started up, a notification of a new device should appear in the Home Assistant notification center. Clicking this notification will take you to the Home Assistant devices & integrations -view and will kindly ask you to configure the Bluetooth Proxy device. So click it, add an area you are planning to place the device and you’re all done! The proxy is now ready for use!
Discovering Bluetooth devices
You can now disconnect the device from PC and connect it to the power supply using a micro USB cable.
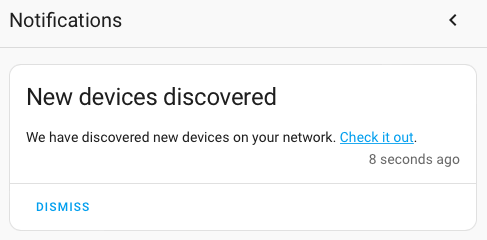
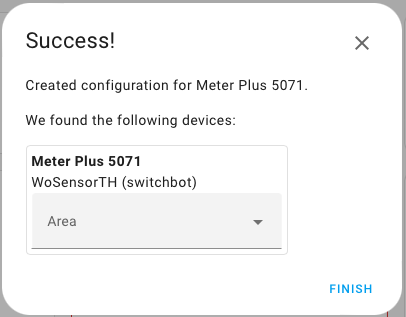
Proxy should now start and automatically discover all nearby supported Bluetooth devices in range. All of those devices will be notified in the same Home Assistant notification area and clicking those notifications will take you to the Home Assistant devices & integrations page once again.. and again kindly ask you to configure the bluetooth devices.
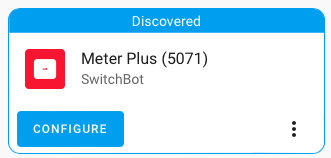
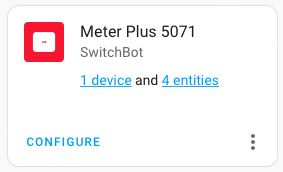
In my case, the SwitchBot Meter Plus was discovered as should and configuration was to just add the device area. Once that was done the device started sending values for the Home Assistant immediately!
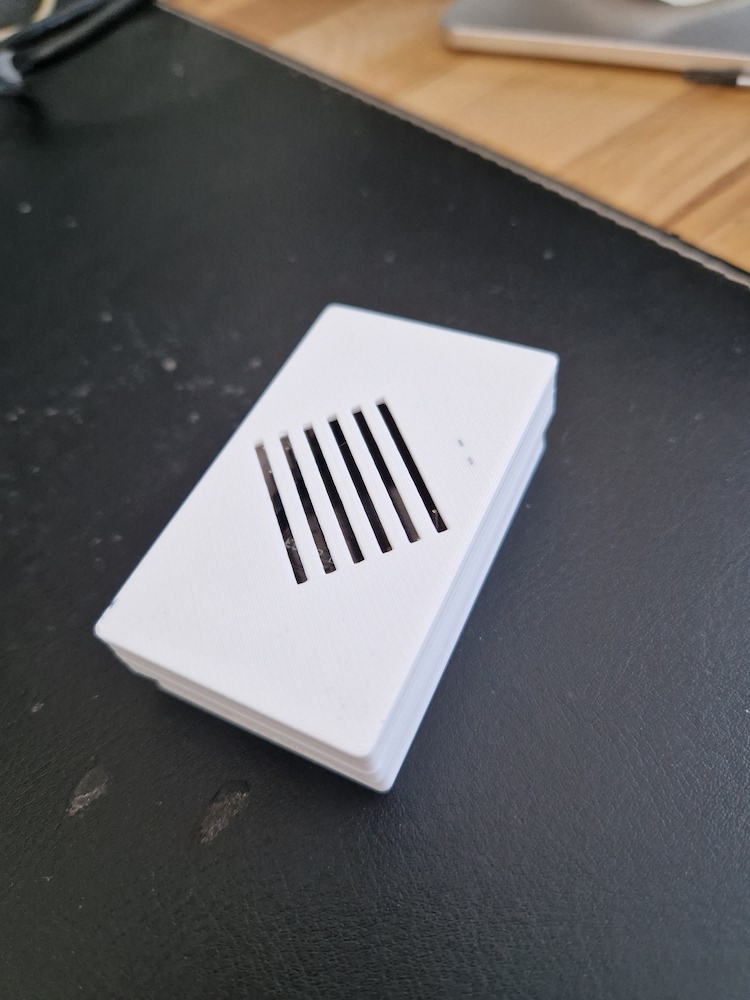
Creating an enclosure (optional)
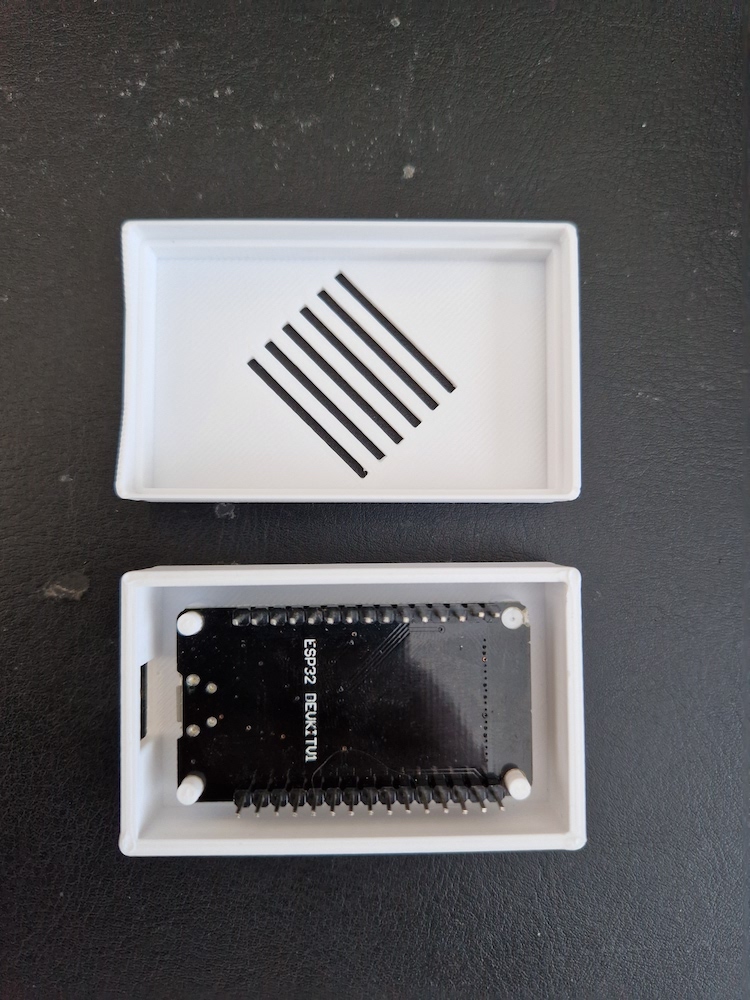
It’s not a good practice to install electrical devices exposed to dust, so it’s nice to have an enclosure for the device. If you have a 3D Printer available, I’d suggest to find a 3D model for the ESP32 case (depending on your dev board) from e.g. Thingiverse. As said earlier, I’m using a Wroom32 devkit v1 and found this specific case to fit for my needs. That enclosure does require a bit glue to close the lid tight, but otherwise it’s a perfect fit.
If you don’t have a 3D printer available, you can use any plastic case. Just add some hot glue to the bottom of the enclosure and glue the ESP32 device on it so it won’t move inside accidentally. Also create a hole for the USB power cable.
The end
Everything is now ready and the proxy device should be passing ‘all’ bluetooth device data directly to your Home Assistant instance. I’ve been using this for about week now and I’ve had zero connection drops and everything has been working as great as expected. It’s very easy now to expand Bluetooth range by just placing more of these proxy devices in the house!
Promotional message:
Need a SwitchBot device? You can get 10% off with the creatingsmarthome.com code “10UPF4RLGELVDV” directly from the SwitchBot store.