- How to Install and Configure Git on Linux Mint 20
- Installation Guide
- Step 1: Update and upgrade the existing packages
- Step 2: Install Git
- Step 3: Verify installation
- Configuration Guide
- Step 1: Set Global Username
- Step 2: Set Global User Email
- Step 3: Verify username and email
- How to Install Git on Linux Mint 20
- Installing Git on Linux Mint
- Configuring the Git on Linux Mint 20
- Conclusion
- About the author
- Kamran Sattar Awaisi
- How to Install Git on Linux Mint 21
- How To Install Git on Linux Mint 21
- How to Configure Git on Linux Mint 21
- Conclusion
- About the author
- Syeda Wardah Batool
- Git install linux mint
- Step 2: Install Git
- Step 3: Verify installation
- Configuration Guide
- Step 1: Set Global Username
- Step 2: Set Global User Email
- Step 3: Verify username and email
How to Install and Configure Git on Linux Mint 20
Git is a free and open-source distributed version control system created to manage everything from small to massive projects with speed and efficiency. It is a software that is designed to keep track of changes in files, usually used for work collaborations among programmers developing source code during software development.
In this document, we will learn how to install Git on our system with the help of a few easy-to-follow commands. We have used Linux Mint distribution for this purpose. We will also see how to configure git so that it can interact with GitLab. GitLab is an open-source DevOps platform that allows the user to develop, secure, and operate software in a single application.
Installation Guide
Step 1: Update and upgrade the existing packages
We will start with updating and upgrading the packages that already exist on our system.
To update the packages, run this command with sudo:

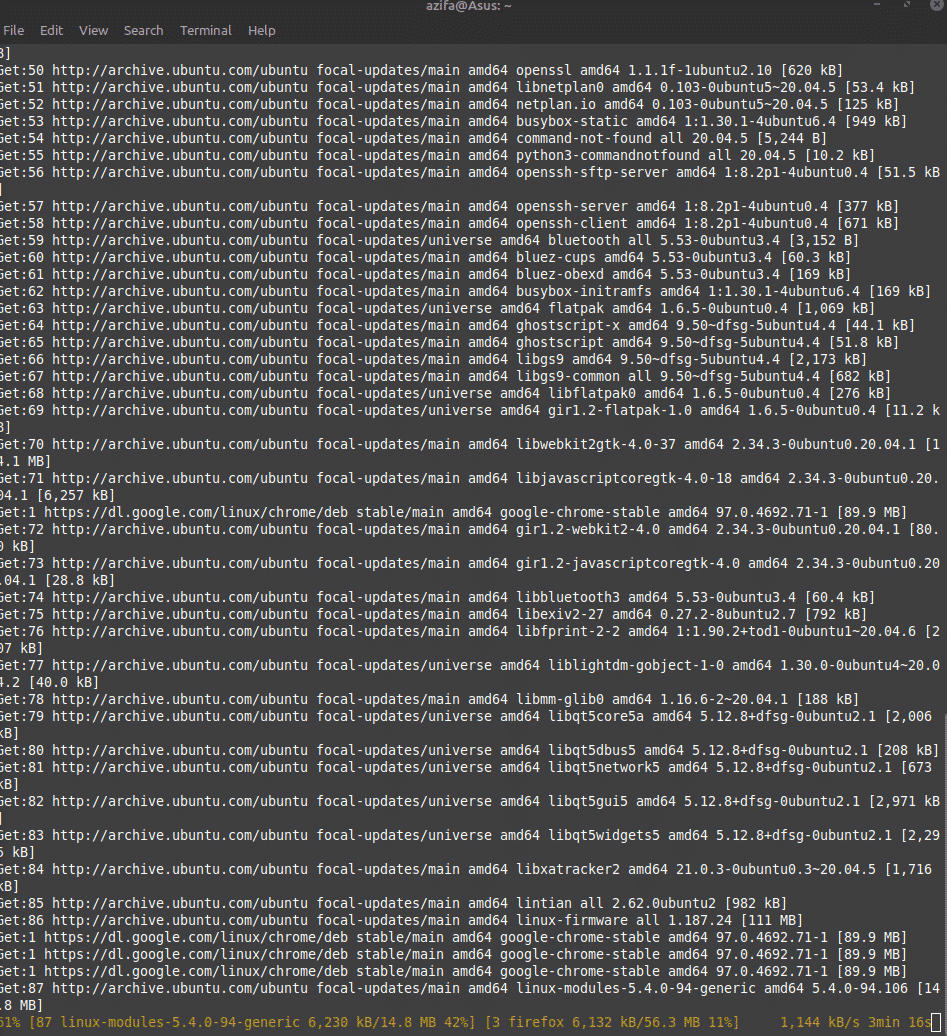
After this, all the packages will be updated. However, they still need to be upgraded. To do that, run the upgrade command with sudo as shown below:

This is how the terminal screen will appear after running the command:
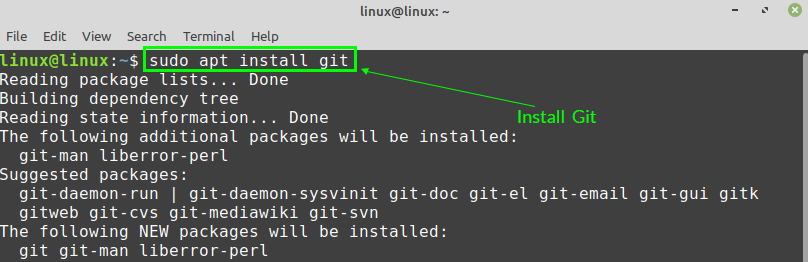
Step 2: Install Git
Once all the packages are successfully upgraded, we will run a command to install Git.
This command will install Git:

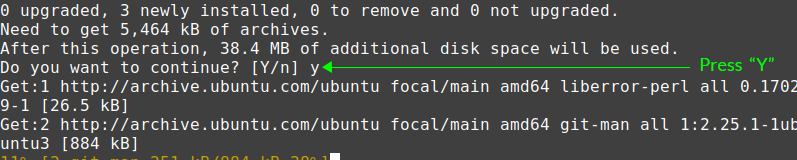
After running the command, you will be informed that how much additional disk space will be used. It will use 38.4 MB of space. Type Y and hit enter to continue the installation process.

Step 3: Verify installation
After the installation is completed, you need to check if git is now installed on your system or not. Run the git version command to verify if git exists. This will also tell you the version number of the git you just installed on your system.

If you don’t see the above output, it means the installation didn’t happen properly. Try to reinstall it following the previous steps. Also, make sure your internet connection is fine before you try installing it again.
Configuration Guide
Now that we have verified that Git software exists on our system, let’s now configure it. We will do it using the terminal.
Step 1: Set Global Username
Following the command syntax mentioned below, set a username that will be needed while committing changes on the Git repository.
git config --global user.name "Your name"

Step 2: Set Global User Email
Next, set the user email that will also be required to commit changes on the Git repository. To do that, use this command syntax:
git config --global user.email “Your Email”
Step 3: Verify username and email
When you will run the command mentioned below, it will show you the username and email that you just set in the previous steps. Check carefully.


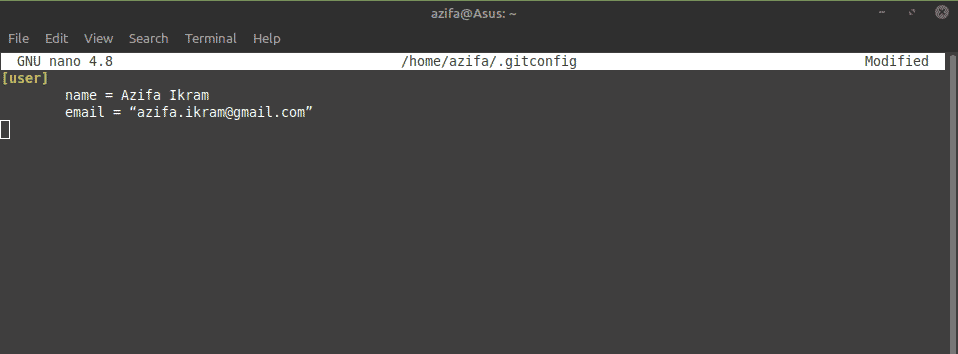
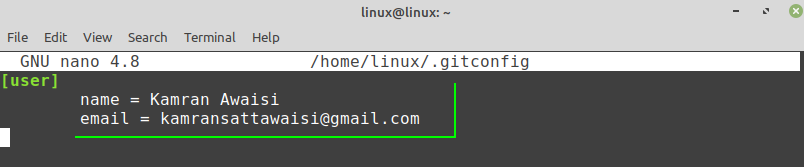
In case you find an error like a spelling mistake or something else, you can correct it by editing the git configuration file.
To do that run the command below. We have used a nano editor to open the file. Once the file is open, correct the mistake and save the file.

In this guide, you saw how straightforward is the installation process for Git on Linux Mint 20. The installation will take around less than 15 minutes. After this, you will be able to use git to push and pull your projects to GitLab or do whatever you like.
To see how you can configure and use Git on Debian, visit:
Karim Buzdar holds a degree in telecommunication engineering and holds several sysadmin certifications including CCNA RS, SCP, and ACE. As an IT engineer and technical author, he writes for various websites.
How to Install Git on Linux Mint 20
![]()
Git, developed by Linus Torvalds, is the most popular distributed system for version control. Git is a very efficient platform for open-source projects. Using Git, you can collaborate with the other developers, upload the new changes, keep track of the changes, and many more.
Installing Git on Linux Mint
The Git is included in Linux Mint 20 standard repositories can be installed easily using the apt command.
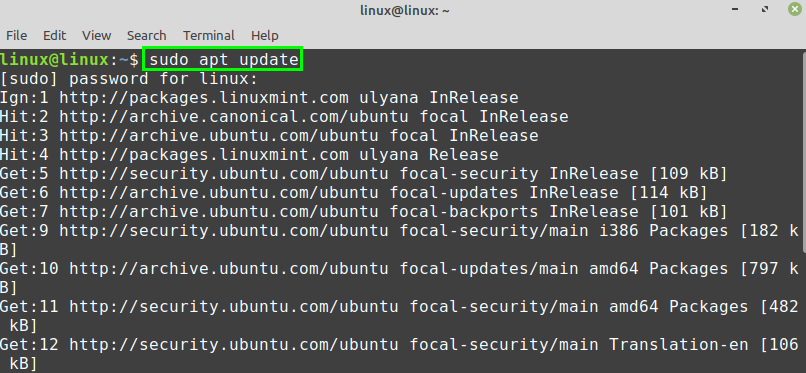
As always, update and upgrade your Linux Mint 20 system before installing the Git package.
Type the below-given command to update the apt package listing:
Next, upgrade the system with the command:
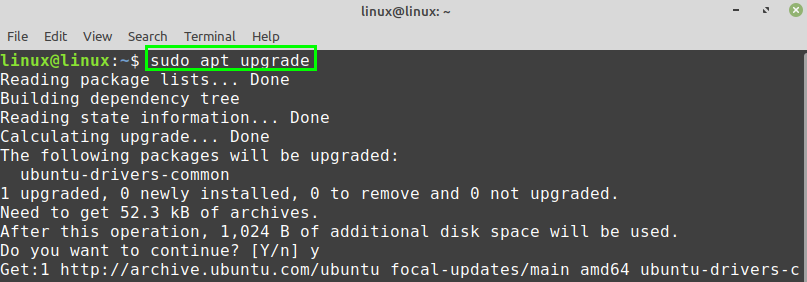
After successfully updating and upgrading the Linux Mint 20 system, install Git with the command:
Press ‘y’ to continue installing Git.
When the Git is successfully installed, verify the installation:

Git 2.25.1 is successfully installed on my Linux Mint 20.
Configuring the Git on Linux Mint 20
Next, we have to configure Git. The Git can be configured from the command line. Configuring Git refers to setting a name and email address. The name and email are used while committing changes on the Git repository.
Fire up the terminal and use the below-given command syntax to set a global commit name:

Type the below-given command to set the global commit email:

Finally, when the global commit name and email are set, run the below-given command to check and verify the changes:

The output shows that the global commit name and email are sent successfully.
If the changes are not made correctly, or you want to change the global commit name and email any time, then you can edit the configuration settings any time by using the command:

The Git configuration file is opened in the nano editor. You can make any changes in the Git configuration file if you wish to.
Conclusion
Installing Git on Linux Mint 20 is very straightforward. Git is part of the Linux Mint 20 base repositories and can be downloaded and installed with apt command.
About the author
Kamran Sattar Awaisi
I am a software engineer and a research scholar. I like to write article and make tutorial on various IT topics including Python, Cloud Computing, Fog Computing and Deep Learning. I love to use Linux based operating systems.
How to Install Git on Linux Mint 21
![]()
Git actively maintained a distributed version control system which is free of cost. This efficient platform was authored by Linus Torvalds in 2005. The main purpose behind developing Git was to help developers to create small to very large projects in collaboration with other developers. It allows the user to maintain and revert to the previous version of code or as Git repository saves all of the updated versions.
Git has two types of repositories i-e, remote and local. Git server contains a remote repository whereas each developer has a local repository in the system. This explains that not only code or project is saved on the server but each copy is also stored in the developer’s machine.
The above introduction is enough for the beginner if he’s using Git for the first time.
Let’s come to the installation and configuration process of Git on Linux Mint 21.
How To Install Git on Linux Mint 21
As Git is a worldwide platform, you can get it on most of the Linux Distributions. The installation process is quite easy if you follow the instructions and steps carefully.
Before getting started, use the command to update all apt packages on Linux Mint:
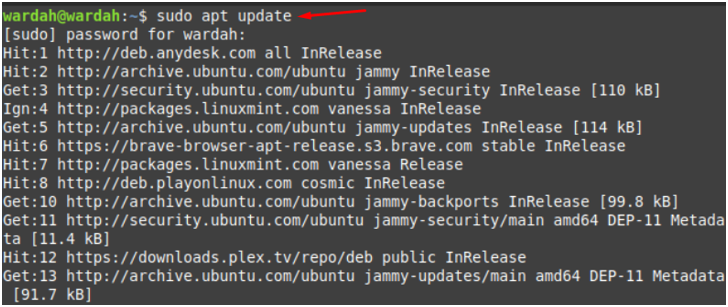
Keep in mind that for the updated packages, always update and upgrade your system. So, after updating all packages, next step is to upgrade system by using the command:
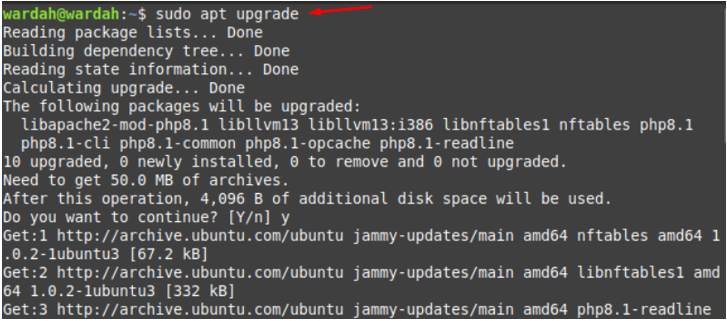
Now, execute the below-mentioned installation command of Git to get it on system:
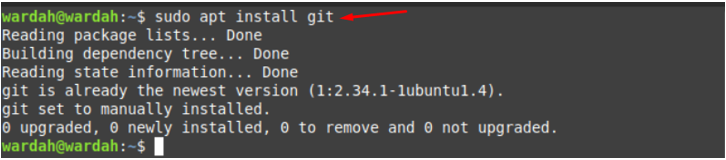
As according to the running process, git is successfully installed on the system, but to confirm it, run the version command. It will show you which updated version is installed:

So, you get Git installation successfully on Linux Mint 21 system.
How to Configure Git on Linux Mint 21
Next step is the configuration of Git repository which can be done by following the mentioned steps:
Step 1: Set-up the global name with the help of mentioned command:

Step 2: Set-up the email using command:

Step 3: Verify if our changes i-e name and email has made successfully through command:

As according to our output, global commit name and email has been added successfully.
Conclusion
Git is a famous open-source version control system that helps the coder to efficiently maintain code in collaboration with other developers. All developers work parallel using the Git repository and any time revert to the old version. Each version of code is stored in a repository, not only server repository but also copy of code is stored at developer’s system. This article has covered how to install Git on Linux mint 21 and what steps users should take to configure Git on the system.
About the author
Syeda Wardah Batool
I am a Software Engineer Graduate and Self Motivated Linux writer. I also love to read latest Linux books. Moreover, in my free time, i love to read books on Personal development.
Git install linux mint
We will start with updating and upgrading the packages that already exist on our system.
To update the packages, run this command with sudo:
After this, all the packages will be updated. However, they still need to be upgraded. To do that, run the upgrade command with sudo as shown below:
This is how the terminal screen will appear after running the command:
Step 2: Install Git
Once all the packages are successfully upgraded, we will run a command to install Git.
This command will install Git:
After running the command, you will be informed that how much additional disk space will be used. It will use 38.4 MB of space. Type Y and hit enter to continue the installation process.
Step 3: Verify installation
After the installation is completed, you need to check if git is now installed on your system or not. Run the git version command to verify if git exists. This will also tell you the version number of the git you just installed on your system.
If you don’t see the above output, it means the installation didn’t happen properly. Try to reinstall it following the previous steps. Also, make sure your internet connection is fine before you try installing it again.
Configuration Guide
Now that we have verified that Git software exists on our system, let’s now configure it. We will do it using the terminal.
Step 1: Set Global Username
Following the command syntax mentioned below, set a username that will be needed while committing changes on the Git repository.
git config --global user.name "Your name"
Step 2: Set Global User Email
Next, set the user email that will also be required to commit changes on the Git repository. To do that, use this command syntax:
git config --global user.email “Your Email”
Step 3: Verify username and email
When you will run the command mentioned below, it will show you the username and email that you just set in the previous steps. Check carefully.
In case you find an error like a spelling mistake or something else, you can correct it by editing the git configuration file.
To do that run the command below. We have used a nano editor to open the file. Once the file is open, correct the mistake and save the file.