How to Install and Use GitHub Desktop on Ubuntu?
A GitHub Desktop is a git application that is free to use. It is implemented using typescript. GitHub works as the repository of the source codes, and it can be installed and used in different types of operating systems. Brendan Forster developed the GitHub Desktop for Linux users. This application can be used by running AppImage and installing it on the Linux operating system. How the GitHub Desktop can be installed on Ubuntu has been shown in this tutorial.
Download the GitHub Desktop
Open the terminal and run the following command to download GitHub Desktop from the given URL address:
$ sudo wget https: // github.com / shiftkey / desktop / releases / download / release-2.6.3-linux1 / GitHubDesktop-linux-2.6.3-linux1.deb
The following output will appear when the download is completed.
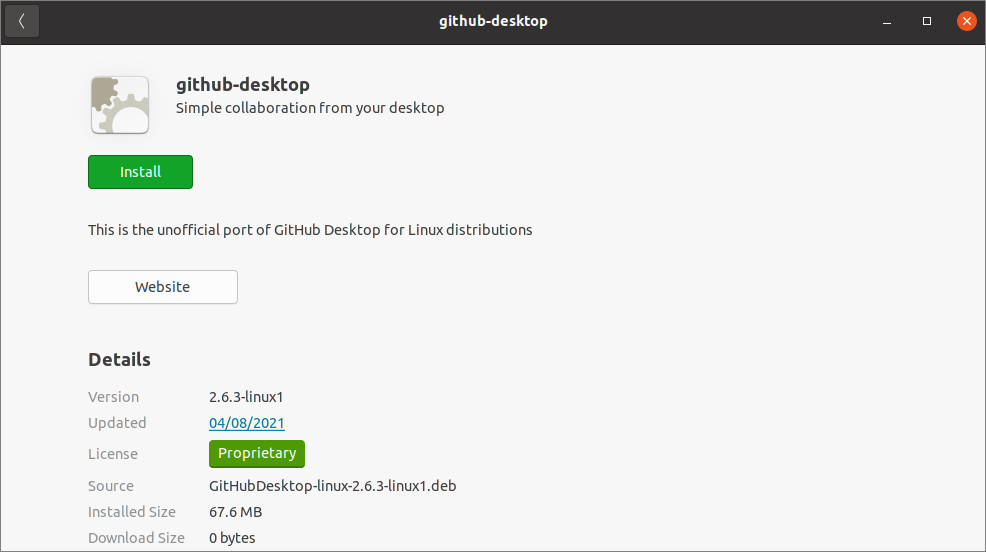
Click on the “Show Applications” icon from the left side of the desktop and search the word “Github”. The following dialog box will appear if the user clicks on the downloaded option of the “github-desktop”. Click on the “Install” button and provide the root password to start the installation process.
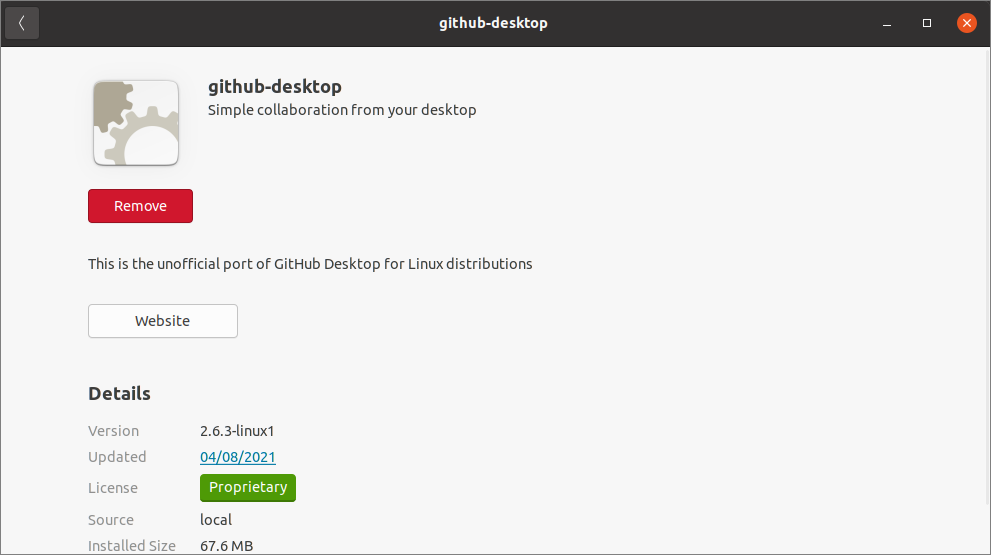
The dialog box will contain the following button and the information after completing the installation. GitHub Desktop version 2.6.3 has been installed here. If you want to remove the application, click on the “Remove” button.
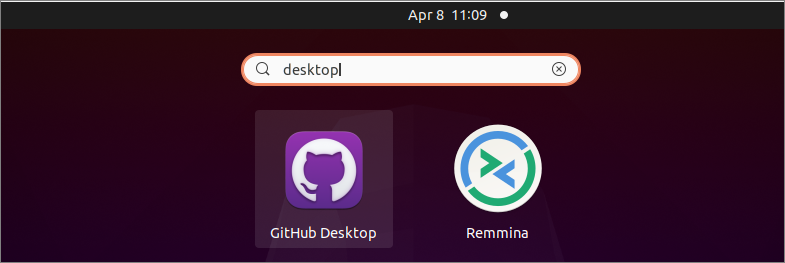
Next, click on the “Show Applications” icon again and search the word “GitHub”. If the GitHub Desktop application is installed properly, then you will get the “GitHub Desktop” icon. Click on the icon to open the application.
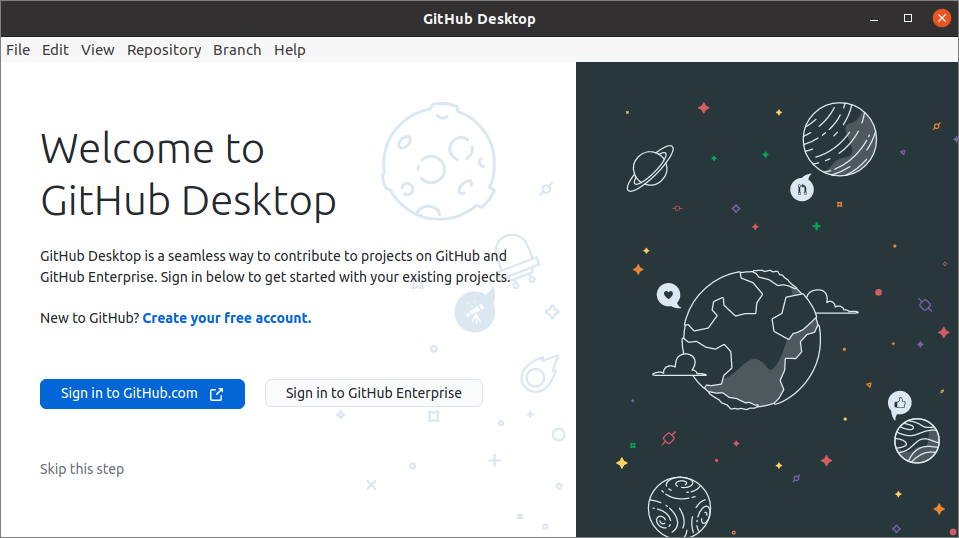
The following dialog box will appear when the application is opened for the first time. If you have an account in GitHub.com, click on the “Sign in to GitHub.com” button and if you have an account in GitHub Enterprise, click on the “Sign in to GitHub Enterprise” button. If you are a new user and want to create an account, click on the “Create your free account” link. If you don’t want to access or create the account, click on the “skip the step” link. The way of creating and accessing git account using GitHub Desktop has been shown in the next part of this tutorial.
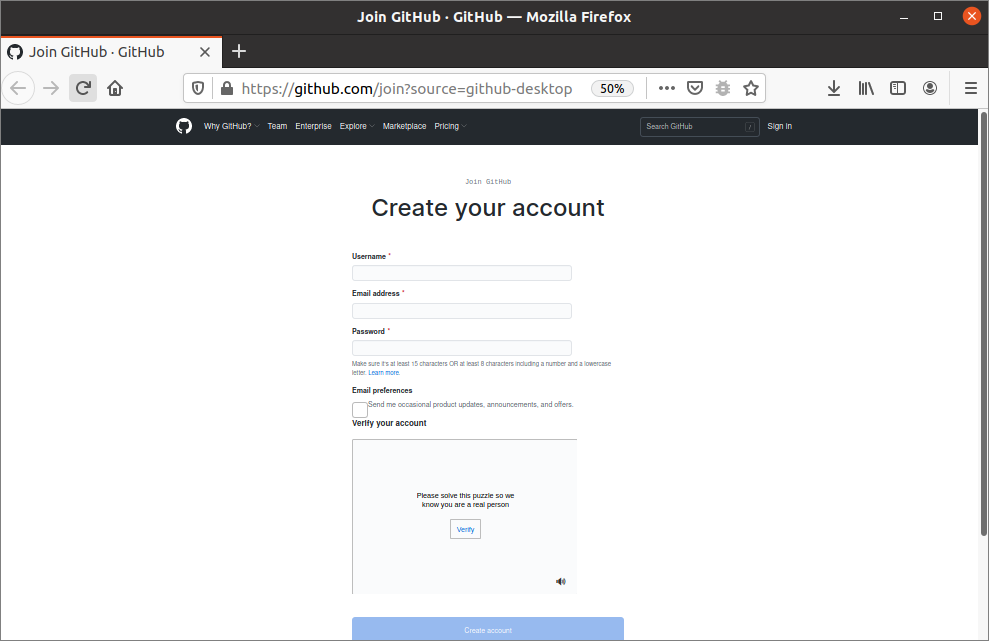
If you click on the “Create your free account” link, the following page will appear in the browser. Click on the “Create account” button after providing the valid information in the following form.
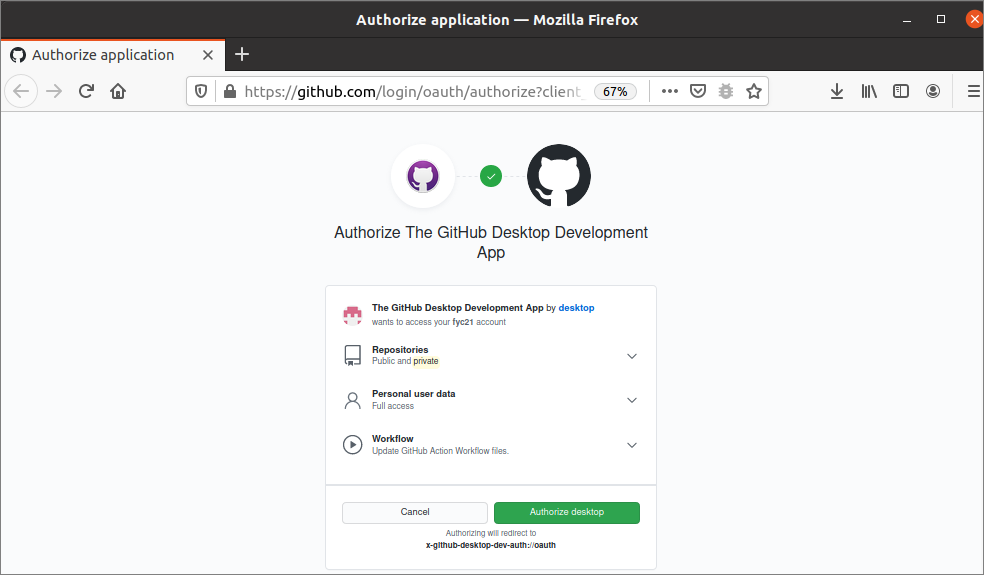
The following page will appear after creating the account. Four application features are mentioned here for authorization. The first feature is “The GitHub Desktop Development App by Desktop” to access the GitHub account from Ubuntu Desktop using the GitHub Desktop application. The second feature is “Repositories“. The GitHub users use repositories to store their developed work in the GitHub. The repositories can be public or private. If the GitHub user wants to share his/her task with anyone then the user will store the developed work as the public repository. If the GitHub user wants to create a repository for personal use only then he/she will store the developed work as a private repository that is not accessible to others. The third feature is “Personal user data” that can be accessed fully by GitHub Desktop. The fourth feature is “Workflow“, which will update the GitHub file that is updated locally in the workflow. If you click on the “Authorize desktop” button, these four features will be enabled for your GitHub account and you can use these features with the use of GitHub Desktop.
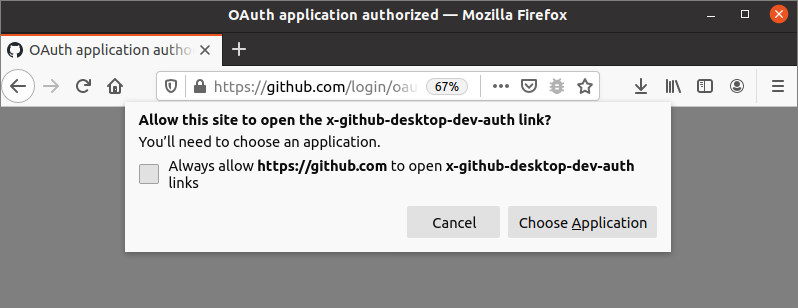
The following pop-up window will appear if you click on the “Authorize desktop” button. It is asking permission for allowing github.com to open the x-github-desktop-dev-auth link. Click on the “Choose Application” button to select GitHub Desktop application.
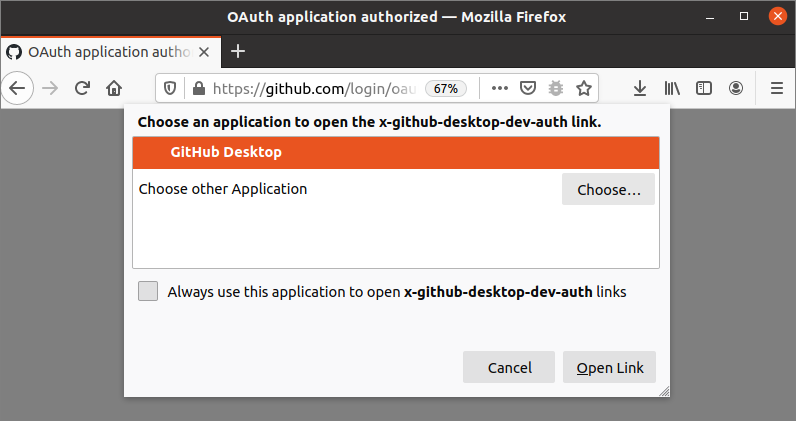
Select the “GitHub Desktop” application and click on the “Open Link” button.
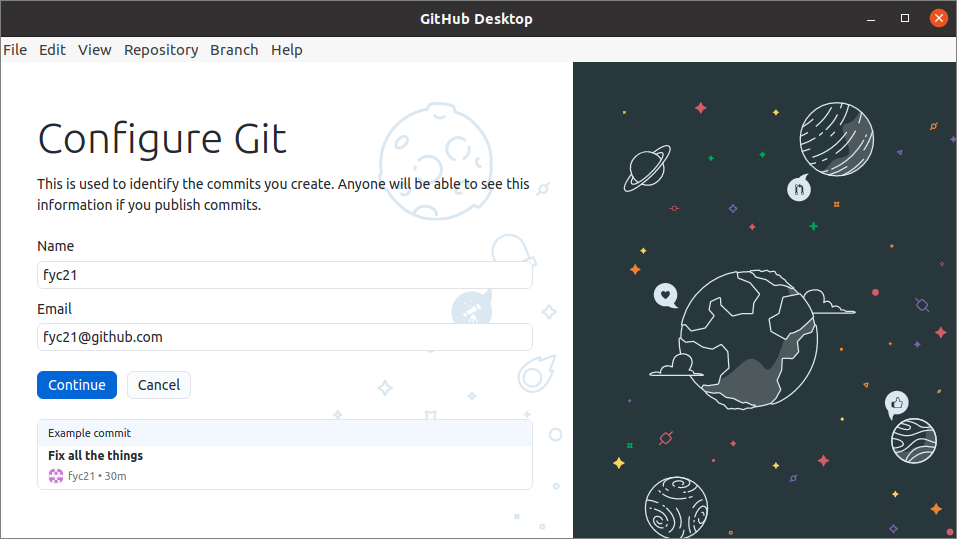
Now, if you open the installed GitHub Desktop application, the following form will appear to configure Git. The username and the email address of the GitHub account that was set at the time of creating the GitHub account will appear here. Click on the “Continue” button to configure Git for identifying the commits done by the GitHub user.
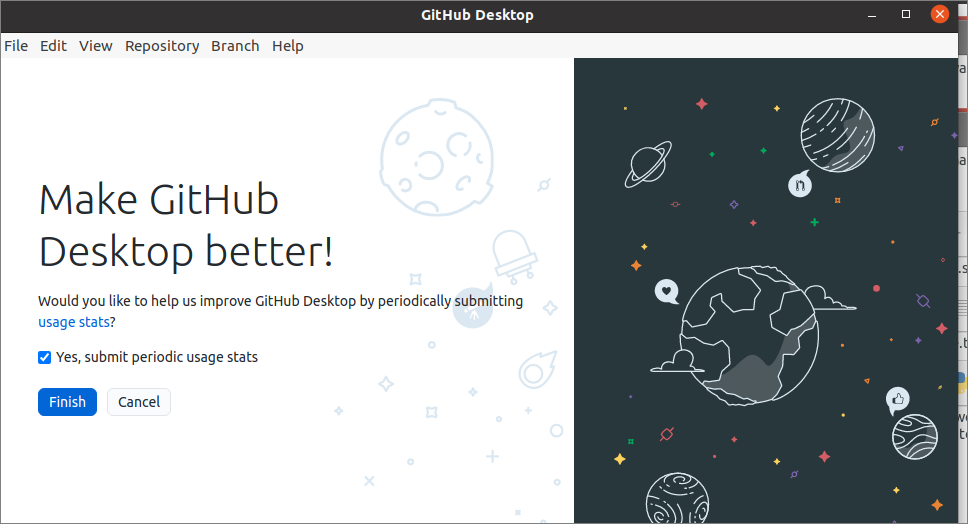
The following information will appear if everything is set up properly for the GitHub Desktop. Click on the “Finish” button to complete the setup.
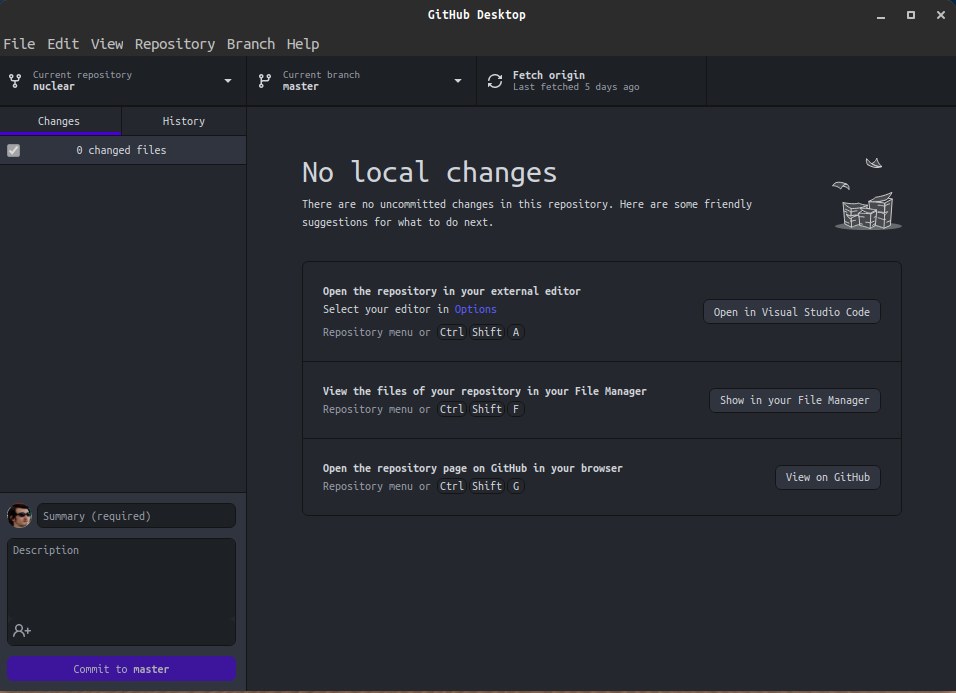
If the GitHub Desktop is installed and configured properly on Ubuntu then the following option will appear. The ways of creating four types of repositories have been mentioned here. The “Create a tutorial repository…” option is used to create a tutorial repository in the local machine that can be published in the GitHub account. The “Clone a repository from the internet…” option is used to clone a repository from the GitHub account or the GitHub Enterprise account or the URL. The “Create a New Repository on your hard drive…” option is used to create a new repository locally. The “Add an Existing Repository from your hard drive…” option is used to add any previously created repository from the local drive. The repository from the GitHub account can be searched using the “Filter your repositories” search box for cloning the repository. If no repository is published in the GitHub account then the repository list will be empty. After publishing any repository in the GitHub account, you have to click on the refresh link to get the list of the recently published repository. There is a menu bar at the top of the application window to do the different types of repository-related tasks.
Conclusion:
GitHub Desktop is a very useful application for GitHub users. It helps the users control all repository-related tasks easily. The user can create the local repository and publish it when all tasks are completed and merged. The steps for downloading, installing, and configuring GitHub Desktop have been explained in this tutorial to help the reader who wants to install this application in their Ubuntu operating system.
About the author
Fahmida Yesmin
I am a trainer of web programming courses. I like to write article or tutorial on various IT topics. I have a YouTube channel where many types of tutorials based on Ubuntu, Windows, Word, Excel, WordPress, Magento, Laravel etc. are published: Tutorials4u Help.
Github Desktop Linux Install
Depending on the version of Linux you are using, you can install github desktop Linux by following the following commands.
GitHub Desktop is not officially available for Linux, but you can still use a similar Git GUI client on Linux. Here are the steps to install a Git GUI client on Linux:
Ubuntu/Debian( Linux Mint, Kali Linux, Pardus, Knoppix, Deepin, SteamOS, MX Linux, PureOS, Raspbian)
First install our GPG certificate:
$ wget -qO - https://mirror.mwt.me/ghd/gpgkey | sudo tee /etc/apt/trusted.gpg.d/shiftkey-desktop.asc > /dev/null To setup the package repository, run one of these commands:
# if you want to use packagecloud.io $ sudo sh -c 'echo "deb [arch=amd64] https://packagecloud.io/shiftkey/desktop/any/ any main" > /etc/apt/sources.list.d/packagecloud-shiftkey-desktop.list' # if you want to use the US mirror $ sudo sh -c 'echo "deb [arch=amd64] https://mirror.mwt.me/ghd/deb/ any main" > /etc/apt/sources.list.d/packagecloud-shiftkey-desktop.list' > /dev/null Then install GitHub Desktop:
$ sudo apt update && sudo apt install github-desktop > /dev/null You can also install immediately with gui without dealing with codes.
Fedora/Redhat/Centos
First install our GPG certificate:
$ sudo rpm --import https://mirror.mwt.me/ghd/gpgkey To setup the package repository, run one of these commands:
# if you want to use packagecloud.io $ sudo sh -c 'echo -e "[shiftkey]\nname=GitHub Desktop\nbaseurl=https://packagecloud.io/shiftkey/desktop/el/7/\$basearch\nenabled=1\ngpgcheck=0\nrepo_gpgcheck=1\ngpgkey=https://mirror.mwt.me/ghd/gpgkey" > /etc/yum.repos.d/shiftkey-desktop.repo' # if you want to use the US mirror $ sudo sh -c 'echo -e "[shiftkey]\nname=GitHub Desktop\nbaseurl=https://mirror.mwt.me/ghd/rpm\nenabled=1\ngpgcheck=0\nrepo_gpgcheck=1\ngpgkey=https://mirror.mwt.me/ghd/gpgkey" > /etc/yum.repos.d/shiftkey-desktop.repo'Then install GitHub Desktop:
# if yum is your package manager $ sudo yum install github-desktop # if dnf is your package manager $ sudo dnf install github-desktop OpenSUSE
First install our GPG certificate:
$ sudo rpm --import https://mirror.mwt.me/ghd/gpgkey To setup the package repository, run one of these commands:
# if you want to use packagecloud.io $ sudo sh -c 'echo -e "[shiftkey]\nname=GitHub Desktop\nbaseurl=https://packagecloud.io/shiftkey/desktop/el/7/\$basearch\nenabled=1\ngpgcheck=0\nrepo_gpgcheck=1\ngpgkey=https://mirror.mwt.me/ghd/gpgkey" > /etc/zypp/repos.d/shiftkey-desktop.repo' # if you want to use the US mirror $ sudo sh -c 'echo -e "[shiftkey]\nname=GitHub Desktop\nbaseurl=https://mirror.mwt.me/ghd/rpm\nenabled=1\ngpgcheck=0\nrepo_gpgcheck=1\ngpgkey=https://mirror.mwt.me/ghd/gpgkey" > /etc/zypp/repos.d/shiftkey-desktop.repo' Then install GitHub Desktop:
# if zypper is your package manager $ sudo zypper ref && sudo zypper in github-desktopArch Linux
Arch Linux users can install GitHub Desktop from the AUR.
gnome-keyring is required and the daemon must be launched either at login or when the X server is started. Normally this is handled by a display manager, but in other cases following the instructions found on the Arch Wiki will fix the issue of not being able to save login credentials.
GitHub Desktop is also available cross-platform as a Flatpak and AppImage.
You can also install immediately with gui without dealing with codes.


