- Saved searches
- Use saved searches to filter your results more quickly
- License
- JeremyEngram/ESP8266_Wifi-Jammer
- Name already in use
- Sign In Required
- Launching GitHub Desktop
- Launching GitHub Desktop
- Launching Xcode
- Launching Visual Studio Code
- Latest commit
- Git stats
- Files
- README.md
- About
- Очередной Wi-Fi Jammer на Очередной ESP8266
- Вступление
- Перейдем к железу
- Прошивка
- Корпус
- Новый корпус и формфактор.
- Возможности
- Выводы
Saved searches
Use saved searches to filter your results more quickly
You signed in with another tab or window. Reload to refresh your session. You signed out in another tab or window. Reload to refresh your session. You switched accounts on another tab or window. Reload to refresh your session.
Project: «OceanPhish Sweepstakes Jammer» = #CasinoPawn v2.0 | Web GUI Deauth Wifi Jammer
License
JeremyEngram/ESP8266_Wifi-Jammer
This commit does not belong to any branch on this repository, and may belong to a fork outside of the repository.
Name already in use
A tag already exists with the provided branch name. Many Git commands accept both tag and branch names, so creating this branch may cause unexpected behavior. Are you sure you want to create this branch?
Sign In Required
Please sign in to use Codespaces.
Launching GitHub Desktop
If nothing happens, download GitHub Desktop and try again.
Launching GitHub Desktop
If nothing happens, download GitHub Desktop and try again.
Launching Xcode
If nothing happens, download Xcode and try again.
Launching Visual Studio Code
Your codespace will open once ready.
There was a problem preparing your codespace, please try again.
Latest commit
Git stats
Files
Failed to load latest commit information.
README.md
ESP8266 Deauther Version 2
Scan for WiFi devices, block selected connections, create dozens of networks and confuse WiFi scanners!
Version 3 is in development. It is stable to use, but it is very different.
It is command line based, which allows it to offer not just more features, but make them more customizable.
| Feature | Version 2 | Version 3 |
|---|---|---|
| Web Interface | ✅ | |
| Display support | ✅ | |
| Serial Command Line | ✅ | ✅ |
| Scanner | ✅ | ✅ |
| Deauth attack | ✅ | ✅ |
| Beacon attack | ✅ | ✅ |
| Probe attack | ✅ | ✅ |
| Huhnitor support | ✅ | |
| Signal strength scanner | ✅ | |
| Authentication scanner | ✅ | |
| Rogue AP | ✅ |
Please refer to the installation guide in our wiki.
If you’re just looking for the .bin files, go to releases.
This software allows you to easily perform a variety of actions to test 802.11 wireless networks by using an inexpensive ESP8266 WiFi SoC (System On A Chip).
The main feature, the deauthentication attack, is used to disconnect devices from their WiFi network.
No one seems to care about this huge vulnerability in the official 802.11 WiFi standard, so I took action and enabled everyone who has less than 10 USD to spare to recreate this project.
I hope it raises more attention on the issue. In 2009 the WiFi Alliance actually fixed the problem (see 802.11w), but only a few companies implemented it into their devices and software.
To effectively prevent a deauthentication attack, both client and access point must support the 802.11w standard with protected management frames (PMF).
While most client devices seem to support it when the access point forces it, basically no WiFi access point has it enabled.
Feel free to test your hardware out, annoy these companies with the problem, share this project and push for a fix! This project is also a great way to learn more about WiFi, micro controllers, Arduino, hacking and electronics/programming in general.
But please use this tool responsibly and do not use it against others without their permission!
Many refer to this project as a WiFi jammer. This is problematic, because this firmware is not turning your ESP8266 into a radio or frequency jammer. But this is how most people imagine it without further explaination.
So if you like to learn more about the difference, we made a whole video about it:
Supported Development Boards
This firmware can run on any ESP8266, not however on the ESP32!
The most popular development boards, the NodeMCU and Wemos d1 mini , work great for this project.
If you like to support our work, you can buy get a boards made with this project in mind.
They come preflashed with the firmware, so you can start right away.
You can chose between:
Spacehuhn Store:
Our very own store where all revenue goes directly to us and towards the development of new and exciting projects 🙂
We manufacture and ship from Germany.
Maltronics:
We partnered with Maltronics to bring you high quality hacking gadgets.
They are based in the UK.
DSTIKE:
DSTIKE was our first partner. They manufactured the first official deauther boards.
They offer a wide range of deauthers in a variety of form factors, including a smart watch.
They are based in China, but their products are available through a variety of stores:
This project is a proof of concept for testing and educational purposes.
Neither the ESP8266, nor its SDK was meant or built for such purposes. Bugs can occur!
Use it only against your own networks and devices!
Please check the legal regulations in your country before using it.
We don’t take any responsibility for what you do with this program.
for helping out with various things regarding this project and keeping it alive!
Also thanks to everyone working on the libraries used for this project:
We also thank Espressif and their community for this awesome chip and all the software and hardware projects around it and the countless tutorials you can find online!
This software is licensed under the MIT License. See the license file for details.
About
Project: «OceanPhish Sweepstakes Jammer» = #CasinoPawn v2.0 | Web GUI Deauth Wifi Jammer
Очередной Wi-Fi Jammer на Очередной ESP8266
Я не являюсь автором ПО и, тем более, не зазываю Вас повторять подобные устройства, так как это может быть запрещено законом и преследуется наказанием. Спасибо.
Вступление
Я в свои практически 20 лет (на момент написания статьи — через 3 дня) уже как года 4 слежу за всякими интересностями на Ардуино и околоАрдуинных платах для разработки. Сначала купил Нанку, с которой не понимал, что делать, потом поступил на разработку ПО и начал понимать, шо да как. От этого мой интерес увеличился настолько, что это стало моим хобби. Да, я не силён в программировании до сих пор, так как я банально прогуливал пары, но зато у меня есть база, так сказать основа, с помощью которой я снова вхожу в программирование через визуализирование этого во всяких поделках на Ардуино и им подобных. Мне не нравилось программирование из-за того, что результат ты увидишь далеко не сразу, а с помощью микроконтроллеров этапы готовности можно посмотреть прямо на глазах, да и потрогать, пощелкать, попереключать.
Перейдем к железу
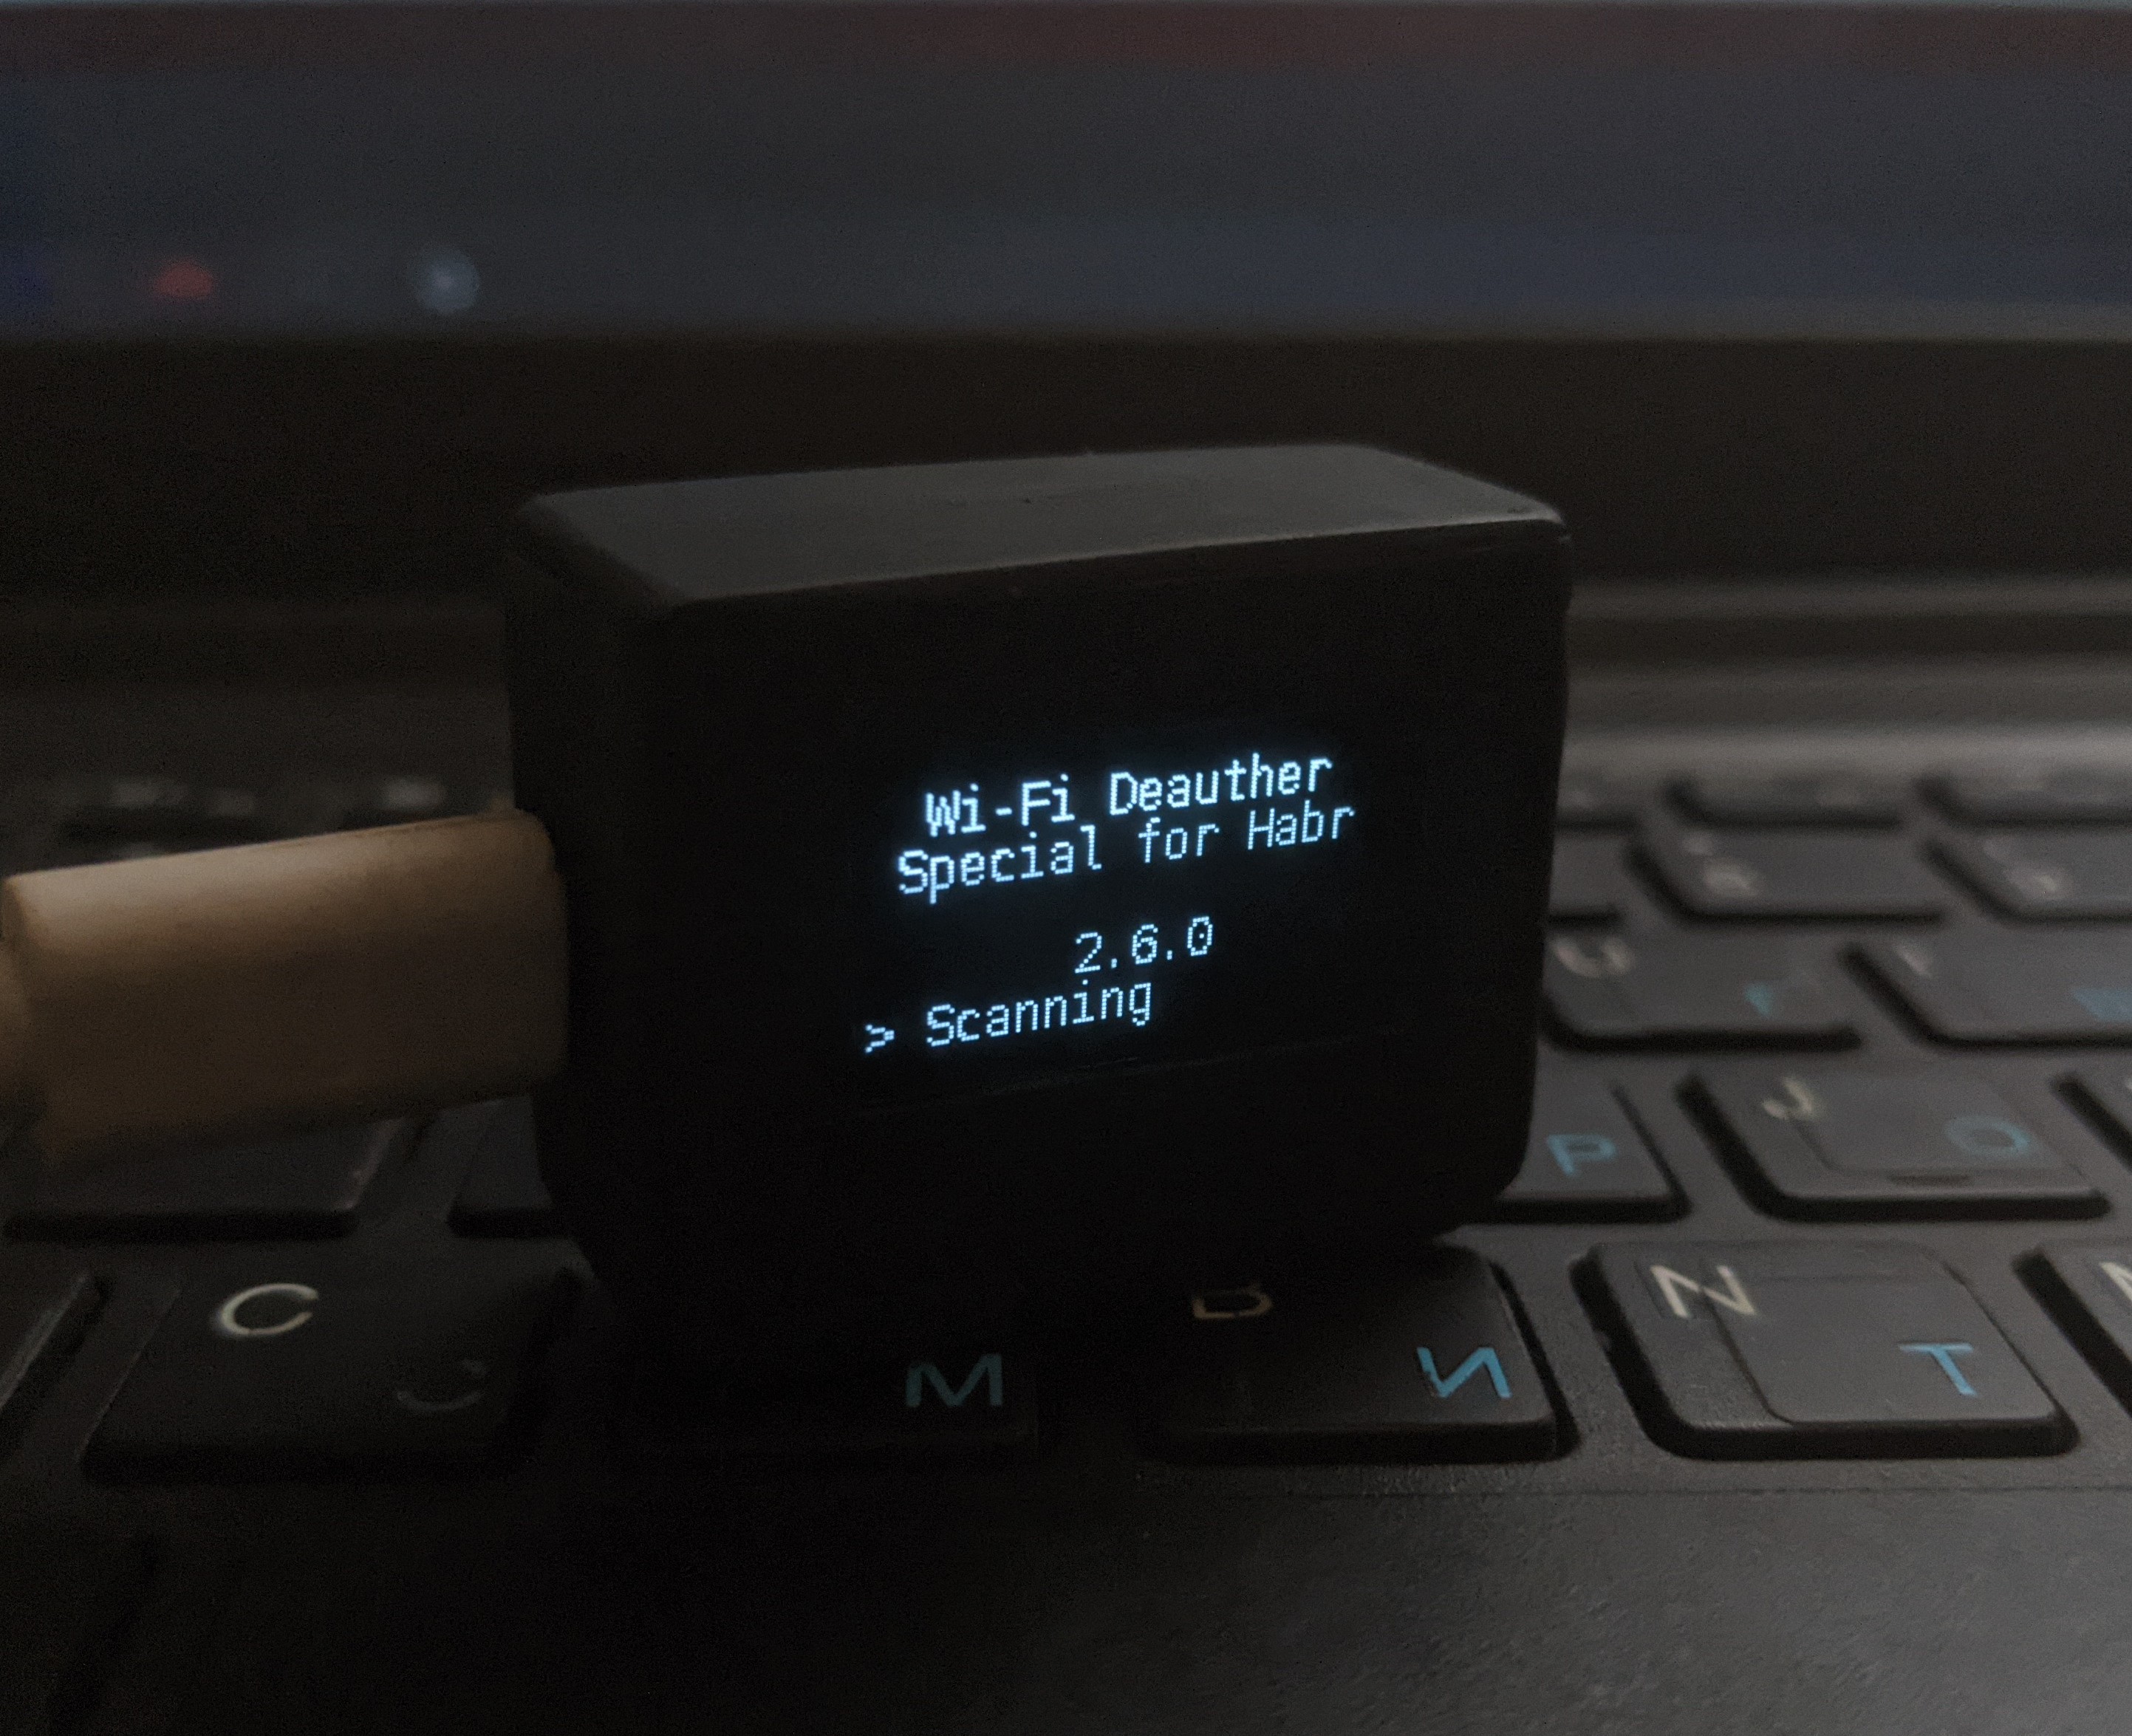
По железу все банально и просто: Китайский клон Wemos D1 Mini на базе ESP8266, I2C дисплейчик 128х64 и две кнопки, которые я вырвал с китайской магнитолы. В оригинале их 3, но у меня не влазило в корпус, поэтому решил оставить только кнопку «ок» и «вниз», так как если долистать меню до конца, то указатель начнет с самого начала. Да, больше времени уходит на листание менюшек, но зато компактнее .
Прошивка
Прошивку можно скачать по ссылочке ( ТЫЦ )
Так же там имеется подробная инструкция для таких, как я XD
Я не буду заостряться на подробностях настроек до прошивки, в конфиге все банально ясно. Есть два вида файлов: .bin, который шьется NodeMCU Flasher и исходный код со скетчем ардуино. Я использовал скетч, что бы настроить подключение дисплея, переназначить кнопки и изменить названия.
Корпус
Изначально я раскурочил старый 3G модем от МТС (который сейчас в Украине Vodafone), вырезал отверстия под дисплей и кнопки. Ровно после финальной сборки я понял, что выглядит не очень: кривые вырезы, лишние размеры для дисплея, болтающиеся кнопки, корпус плохо закрывался, питание подключалось путем разгибания нижней части корпуса. Короче, не комильфо. Надо думать что-то новое.
Новый корпус и формфактор.
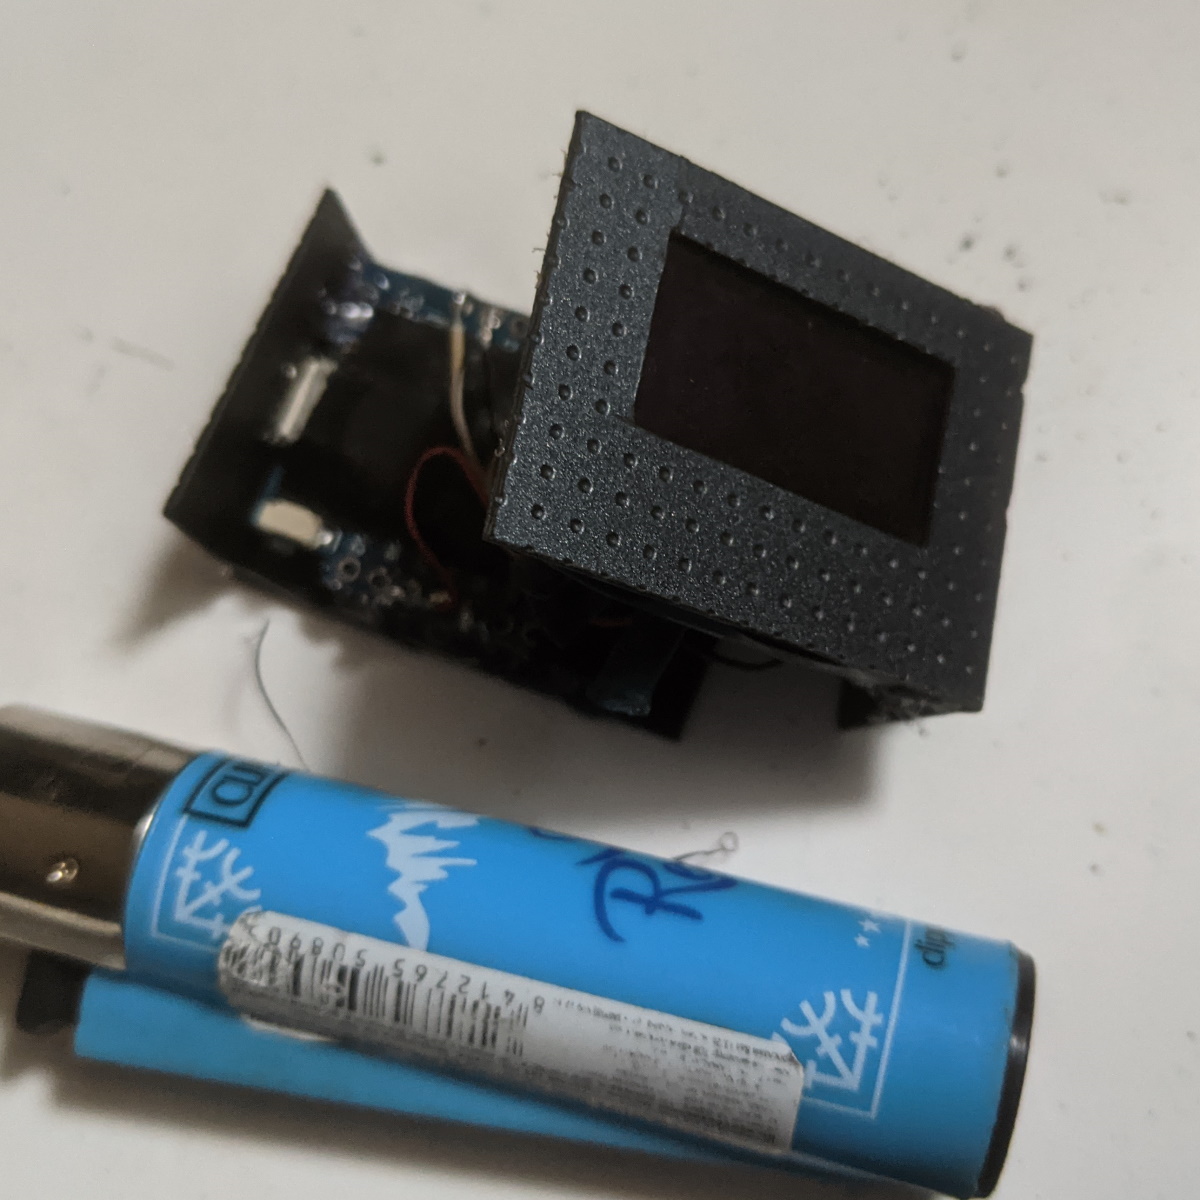
Решил я размещать компоненты не в одной плоскости, а бутербродом. Более подробные фото сборки показывать не буду, ибо это бешенный колхоз, так как в распоряжении у меня был только малярный нож, паяльник и клеевой пистолет с изолентой. Материалы корпуса — пластик, вырезанный с корпусов старых телефонов, которых у меня целый пакет и горстка. Собирал все на секундный суперклей для надежности паял пластик обычным паяльником. Ничего нового, короче. Позже зашкурил наждачкой и покрасил с баллончика.
По размерам устройство получилось 3х4см с учетом вылета кнопок с корпуса. И это меня очень радует. У меня не было конкретной цели собрать джаммер, я просто хотел своими руками сделать какое-то крутое устройство, да и еще в подобных размерах.
Возможности
Вкратце пройдемся по функциям новоиспеченного утройства, так как более подробная информация есть в источнике, упомянутом несколькими разделами выше.
- Сканирование сетей и устройств ( если они подключены к сетям) с последующим просмотром количества отправляемых пакетов, MAC-Адреса и мощность сигнала.
- Атака путем деаутентификации как полностью всей сети, так и конкретного устройства по MAC-адресу
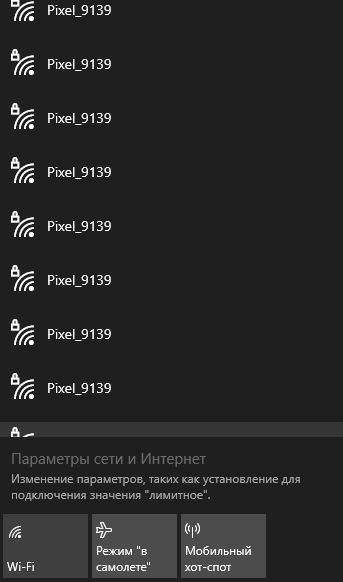
- Режим «Бекон», который создает до 80 точек доступа, названия которых можно скопировать с существующих сетей, записать свои или создать с помощью встроенного генератора.
- Режим «Probe» с которым я так и не разобрался, да и фиг с ним )
Помимо управления с помощью дисплея и кнопок, существует так же Веб-интерфейс. Устройство создает точку доступа, вы к ней подключаетесь, вводите в браузере Deauth.me и попадаете на страницу, похожую на веб-интерфейс роутера, в котором гораздо больше настроек, в отличии от автономного использования джаммера.
Выводы
Хоть моей целью не было воспроизведение конкретно этого устройства — результатами я очень доволен, так как это моё первое самодельное устройство, размеры которого не превышают распределительную коробку из строй магазина за 15 гривен
P.S. Чуть позже запишу видео, как сие чудо техники работает на примере своей точки доступа и ноутбука


