How to Use GRUB Rescue on Ubuntu 18.04, 20.04 and 22.04
![]()
GRUB is a bootloader software. It is widely used as the default bootloader for Linux. Although GRUB is used widely in Linux, GRUB can also boot Windows operating systems as well. It is very powerful and extensible.
GRUB bootloader has powerful command line interface that can be used to solve boot problems. It’s called GRUB Rescue.
In this article, I will show you how to use GRUB Rescue command line interface of GRUB. I am using Ubuntu 18.04 LTS for the demonstration. Let’s get started.
Getting into the GRUB Rescue Command Line Interface:
By default, if everything is alright, when you start your computer, you should be booted right into the operating system you’ve installed. In my case, it is the Ubuntu 18.04 LTS operating system.
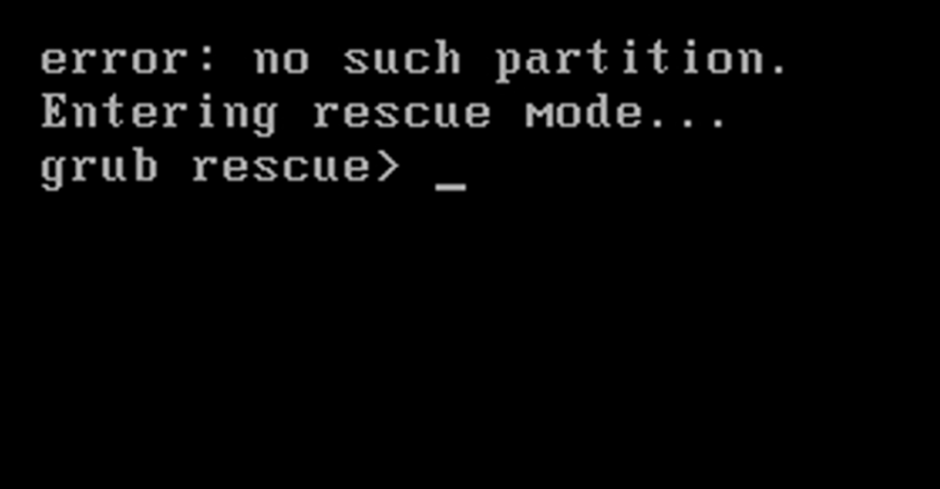
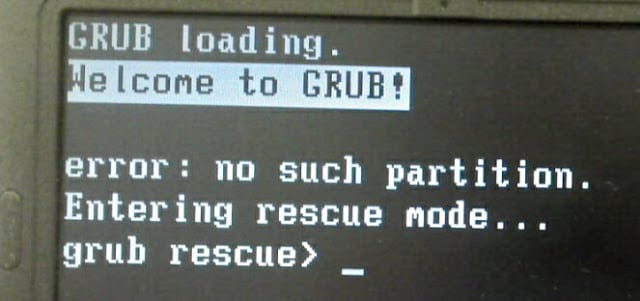
If anything goes wrong and it causes boot problems, then you most probably will see the GRUB rescue command line interface. It looks something like the screenshot given below.

At times, you will be able to see the GRUB menu as in the screenshot below. To go to the GRUB Rescue from here, press c.
You should be able to go to the GRUB Rescue command line mode as you can see from the screenshot below.

In the next section I will show you how to use GRUB Rescue. First, I will show you how to boot into Ubuntu 18.04 LTS operating system that I have installed. Then I will discuss some of the common GRUB Rescue commands.
Using GRUB Rescue to Boot into Ubuntu 18.04 LTS:
In the GRUB Rescue command line interface, you can list the hard drives and partitions you have installed with the following command:
As you can see, I have (hd0), (hd0, gpt1) and (hd0,gpt2) available. (hd0) represents the raw hard drive. (hd0,gpt1) and (hd0,gpt2) are the first and second GPT partitions of (hd0) respectively.

I’ve Ubuntu 18.04 LTS installed on UEFI hardware. So the first partition (hd0,gpt1) is the EFI partition and the second partition (hd0,gpt2) is the root partition. The files required to boot into the operating system is in the /boot directory of (hd0,gpt2) partition in my case. You may have /boot directory in a separate partition, in that case, make changes to the commands as you see fit.
You can list what files you have in a certain partition with ls command from the GRUB Rescue command line interface.
List the files and directories of the root partition (hd0,gpt2) with the following command:

As you can see, the files and directories are listed.

We are interested in the files we have in the /boot directories.
You should find two files in the /boot directory, vmlinuz and initrd as marked in the screenshot below. These files are required in order to boot correctly.

Now set the root variable to point to the root partition (hd0,gpt2) with the following command:

Now you have to use the linux command to make the relative path of vmlinuz file known to GRUB bootloader.
You can do that with the following command:

NOTE: Here root=/dev/sda2 is required. Otherwise you may not be able to boot. /dev/sda2 means, that it is the second partition of the first hard drive. I added a table to help you understand how it works.
| GRUB Identifier | Hard Drive | Partition | Linux Identifier |
| (hd0) | First | /dev/sda | |
| (hd0,gpt1) | First | First | /dev/sda1 |
| (hd0,gpt2) | First | Second | /dev/sda2 |
| (hd1) | Second | /dev/sdb | |
| (hd1,gpt2) | Second | Second | /dev/sdb2 |
| (hd1,gpt5) | Second | Fifth | /dev/sdb5 |
Also know that file and directory auto completion with the key works in the GRUB command line interface as well, just like it does in a Linux terminal. So you should not have hard time navigating around GRUB command line interface.
Now you have to run the initrd command to make the initrd image know to the GRUB bootloader.
You can do that with the following command:

Now that everything is set, you can run the following GRUB command to boot into your Ubuntu 18.04 LTS operating system.

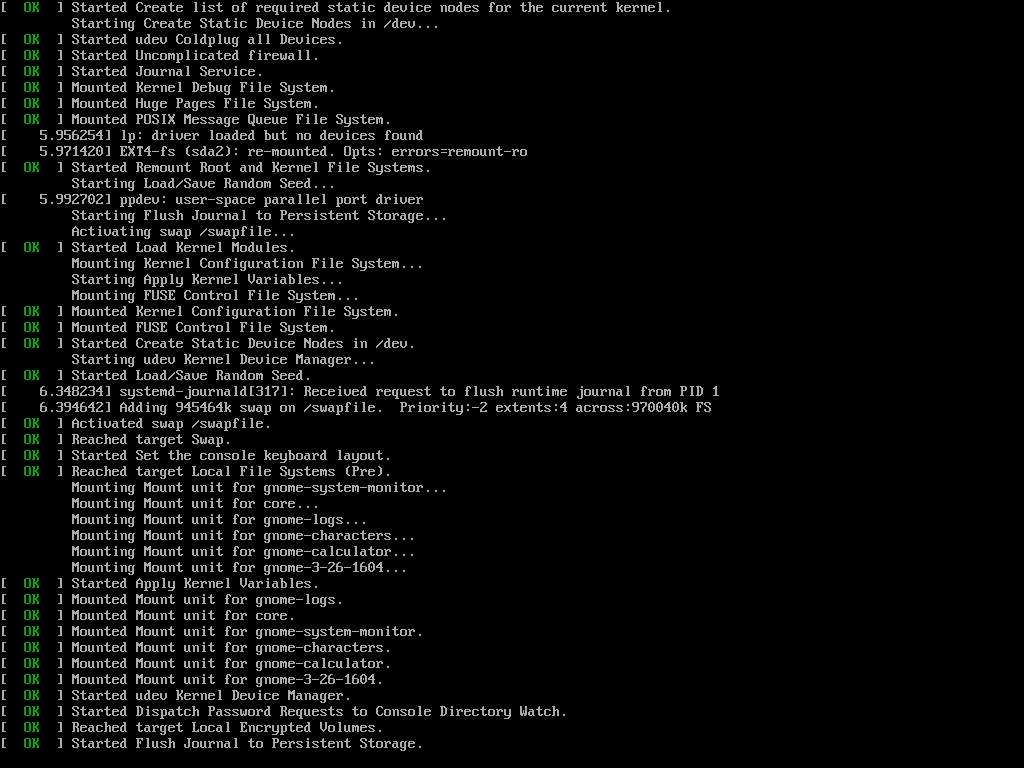
The boot process should start as you can see from the screenshot below.
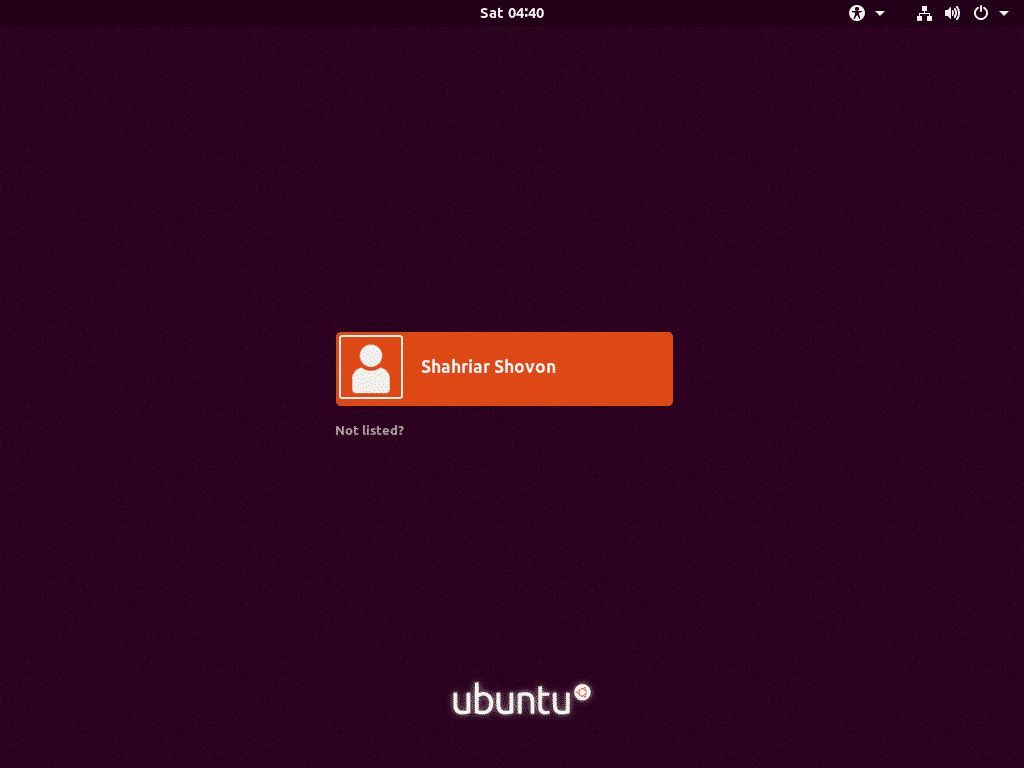
You should see the login screen afterward. Login to your Ubuntu 18.04 LTS system.
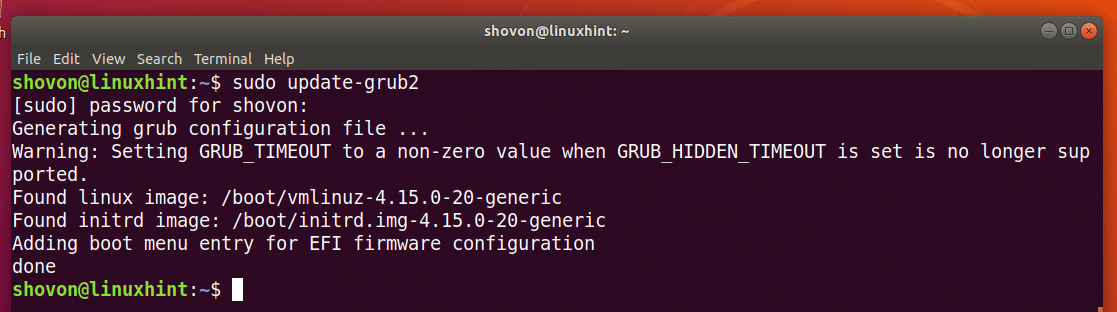
Now that you’re logged in, run the following command to update the GRUB 2 configuration file:

The GRUB 2 configuration should be updated.
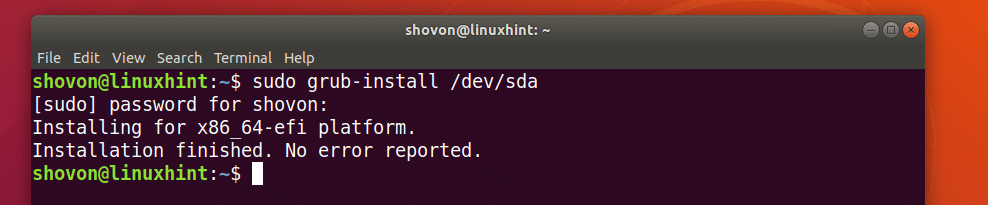
You may also need to re-install GRUB bootloader with the following command:
NOTE: Here /dev/sda is the hard drive where you want to install GRUB bootloader. Usually, it is the hard drive where you have your root partition.
Now that everything is working, you should be able to boot normally. If you still need something fixed, you can do it right now.
Loading Additional Modules:
At times, the GRUB command line interface prompt should be grub rescue> instead of
In that case, you need to run 2 additional commands. They are used to load GRUB modules that are not loaded by default. But are very important to boot the system.
Useful GRUB Rescue Commands:
In this section, I am going to list some of the common GRUB rescue commands that you may need in order to troubleshoot boot problems.
set pager=1 – If the output of any command is long enough that it doesn’t fit the screen, then this commands shows the outputs in a pager, like less in Linux terminal.
lsmod – It lists all the GRUB modules that are loaded.
cat – used to read files.
usb – list all the USB devices attached to your system.
clear – clears all the text from the GRUB command line window.
configfile grub.cfg_filePath – You can add a grub.cfg file using this command.
insmod – load GRUB module.
lspci – list all the attached PCI devices.
ls – list files, directories and block devices of your computer.
Although, this article is geared toward Ubuntu 18.04 LTS, it should work for any other modern Linux distribution that uses GRUB bootloader. Thanks for reading this article.
About the author
Shahriar Shovon
Freelancer & Linux System Administrator. Also loves Web API development with Node.js and JavaScript. I was born in Bangladesh. I am currently studying Electronics and Communication Engineering at Khulna University of Engineering & Technology (KUET), one of the demanding public engineering universities of Bangladesh.
Grub rescue загрузка linux
Не загружается Linux? Grub rescue – это режим, когда GRUB 2 не может найти папку GRUB или ее содержимое отсутствует/повреждено. Папка GRUB 2 содержит меню, модули и сохраненные данные об окружающей среде.
Это может произойти после каких-либо операций с разделами на диске или при добавлении новых устройств. Причин может быть много. Но чаще всего проблема решается всего в несколько команд, которые представлены ниже.
Посмотрим какие диски и разделы у нас есть.
grub rescue> ls
(hd0) (hd0,msdos2) (hd0,msdos1)
Видим, что есть диск (hd0) и разделы msdos2 и msdos1. Посмотрим что на разделах.
grub rescue> ls (hd0,msdos2)/
boot etc initrd.img lib32 libx32 media opt root sbin srv tmp var vmlinuz.old
bin dev home initrd.img.old lib lib64 lost+found mnt proc run snap sys usr vmlinuz
grub rescue> ls (hd0,msdos1)/
config-4.19.0-11-amd64 config-4.19.0-14-amd64 initrd.img-4.19.0-11-amd64 initrd.img-4.19.0-14-amd64 System.map-4.19.0-11-amd64 System.map-4.19.0-14-amd64 vmlinuz-4.19.0-12-amd64
config-4.19.0-12-amd64 grub initrd.img-4.19.0-12-amd64 lost+found System.map-4.19.0-12-amd64 vmlinuz-4.19.0-11-amd64 vmlinuz-4.19.0-14-amd64
Мы видим, что msdos2 – это корневой раздел / где хранятся все файлы системы, а msdos1 – это раздел boot (потому что там нужная нам директория grub и ядро) который монтируется к /boot. Возможен другой вариант, когда раздел один и директория boot не монтируется отдельным разделом,тогда ее найти можно так:
grub rescue> ls (hd0,msdos1)/boot/
config-4.19.0-11-amd64 config-4.19.0-14-amd64 initrd.img-4.19.0-11-amd64 initrd.img-4.19.0-14-amd64 System.map-4.19.0-11-amd64 System.map-4.19.0-14-amd64 vmlinuz-4.19.0-12-amd64
config-4.19.0-12-amd64 grub initrd.img-4.19.0-12-amd64 lost+found System.map-4.19.0-12-amd64 vmlinuz-4.19.0-11-amd64 vmlinuz-4.19.0-14-amd64
grub rescue> set prefix=(hd0,msdos1)/grub
grub rescue> set root=(hd0,msdos2)
grub rescue> insmod normal
grub rescue> normal
А для второго варианта с одним разделом
grub rescue> set prefix=(hd0,msdos1)/boot/grub
grub rescue> set root=(hd0,msdos1)
grub rescue> insmod normal
grub rescue> normal
После того, как ОС загрузится, откройте терминал под суперпользователем и установите GRUB на свой диск заново.
# update-grub
# grub-install /dev/sda
Где /dev/sda – это Ваш системный диск.
Конечно, grub rescue не всегда так просто можно исправить. Например, если у Вас система LVM или GPT разметка, то потребуется чуть больше команд… Можете задавать вопросы в комментариях и делиться своим опытом исправления проблемы загрузки Linux.