Avalonia Hello World (On Linux)
As I pick up doing cross-platform application desktop application development using AvaloniaUI I need to go through the obligatory hurdles of the “Hello World” program and following tutorials. I figure why not document them here for others too. Fortunately they actually provide some pretty solid getting started and tutorial guidelines so this should be more considered my personal notebook of those.
NOTE: This article is from 2019 and Avalonia has been under active development and improvement since that time. Please consult newer tutorials and documentation for how to use this against current releases of Avalonia.
The guide I’m following along with for this project is a riff on the Quick Start Guide published by the project. For each of the steps you’ll see two sets of instructions, one for Visual Studio on Windows and one for the .NET Core command line. I have zero intention of developing on Windows again so it’s command line or bust (well command line plus JetBrains Rider and/or Visual Studio Code on Linux or bust). So for each of the steps I followed along with the steps following the .NET core route for this hello world.
Of course the preamble to all of this is to actually install .NET and Avalonia into .NET too. The .NET SDK was easy enough to install, just go to the .NET Download Page , click on the Linux option and hit the SDK button. You’ll be taken to a page where you can select your Linux package manager of choice based on your operating system and processor type. Presently it’s all x64 but the number of Linux distributions is pretty solid. You just follow the instructions and then voila you should have .NET installed. Now it’s time to install Avalonia into your .NET Templates.
The templates are projects, object type, etc. templates that the .NET command line tool will use when you type dotnet new . Out of the box .NET when you do this has the following list in the present version (just type dotnet new with no arguments to generate):
Templates Short Name . ---------------------------------------------------------------------. Console Application console . Class library classlib . Unit Test Project mstest . NUnit 3 Test Project nunit . NUnit 3 Test Item nunit-test . xUnit Test Project xunit . Razor Page page . MVC ViewImports viewimports . MVC ViewStart viewstart . ASP.NET Core Empty web . ASP.NET Core Web App (Model-View-Controller) mvc . ASP.NET Core Web App webapp . ASP.NET Core with Angular angular . ASP.NET Core with React.js react . ASP.NET Core with React.js and Redux reactredux . Razor Class Library razorclasslib . ASP.NET Core Web API webapi . global.json file globaljson . NuGet Config nugetconfig . Web Config webconfig . Solution File sln . By adding the Avalonia templates we’ll be able to create the necessary Avalonia applications, Forms, Controls, etc. as we need to to build a real project. It’s as simple as going to the Avalonia Template Github Page , pulling it down and following the instructions for adding them to the .NET runtime. A word of caution however. The runtime is going to keep looking for these templates wherever they are when you add them so make sure you like the location before you put them. I just installed them in my home directory so the registration process was as easy as:
cd ~ git clone https://github.com/AvaloniaUI/avalonia-dotnet-templates.git cd avalonia-dotnet-templates/ dotnet new --install ./ Then when I look at the templates output by dotnet new like above I see the following (excerpted new stuf and surrounding only):
Templates Short Name . ----------------------------------------------------------------------------. Console Application console . . ASP.NET Core Web API webapi . Avalonia .NET Core App avalonia.app . Avalonia Window avalonia.window . Avalonia UserControl avalonia.usercontrol . Avalonia .NET Core MVVM App avalonia.mvvm . global.json file globaljson . . If you don’t see those, that means the template process went hairwire somewhere. If you do see it that means you are ready to roll. The next step for getting your Hello World project is easy as pie. First we create a new project:
dotnet new avalonia.mvvm -o MyApp As you saw there were two different apps available to us. Since I want to be following more of a WPF MVVM (Model-View-View Model) style design pattern I’m choosing that one. The -o option gives my app an explicit name. When dotnet creates the project it will create a subdirectory with that name. The directory structure for the app will look like:
├── App.xaml ├── App.xaml.cs ├── Assets │ └── avalonia-logo.ico ├── Models ├── MyApp3.csproj ├── nuget.config ├── Program.cs ├── ViewLocator.cs ├── ViewModels │ ├── MainWindowViewModel.cs │ └── ViewModelBase.cs └── Views ├── MainWindow.xaml └── MainWindow.xaml.cs The later tutorials will go into the specifics of these directories and files but interesting things to point out are: * How properly segmented the project is with respect to having sub-folders for Models, Views, and View Models (that’s kind of important for MVVM patterns obviously) * It created our C# Project file for us so it can readily be opened in Visual Studio, Rider, etc. * It setup the nuget.config for dependency management
Now it’s time to run it. Normally you can just run an app by typing dotnet run from the top level folder with the project. However because the project file is setup to allow for multiple deployment targets the .NET runtime is going to want you to specify which target you want to execute as. Yes, there is only one target actually listed, and yes I thought it should be able to figure it out. It didn’t however. So to run the project you simply type:
dotnet run --framework netcoreapp2.1 Where the Framework version is what you see listed in the CSPROJ file’s TargetFrameworks value. When you do that you’ll see a nice Hello World window that looks like this:
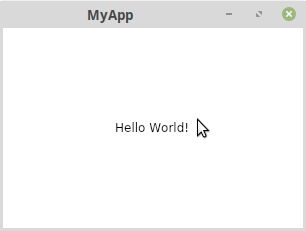
With that you are ready to move on to the tutorial or other next steps. I’m going to be doing my work in JetBrain’s Rider IDE . For that I’ve found that it works best when there is a solution file before importing. To create that from the root directory you simply type dotnet sln . You’ll now see a .sln file at the same level with the same name as the project file. You can then load this solution and build it in Rider right out of the box.
How to Install Rust on Linux Mint 21/20

Rust is a popular, efficient systems programming language known for its performance, security, and ability to handle complex tasks. It’s statically typed, focusing on performance and safety, eliminating common programming errors like null pointers and buffer overflows. This makes Rust ideal for developing secure and efficient software like operating systems, web browsers, and game engines.
Some of the features of Rust programming language can be summarised:
- Statically typed language
- Prioritizes performance and safety
- Rust avoids common programming errors like null pointers and buffer overflows
- Strict type system and memory safety guarantees
- Ideal for developing secure and efficient systems software
- Can be used for building operating systems, web browsers, and game engines
- Gaining popularity among developers and the programming community
- Modern and highly efficient
- Supports concurrent programming with built-in concurrency primitives and abstractions
- Interoperable with other languages including C and C++
- Growing and supportive community with an active development ecosystem
The purpose of this article is to provide a comprehensive guide to installing Rust on Linux Mint 21 or 20. Whether you’re a seasoned programmer or just starting, this article will help you get up and running with Rust on Linux Mint in no time using the command line terminal.
Step 1: Update Linux Mint
Before installing Rust on Linux Mint, updating your system is crucial. This can be accomplished by opening your command terminal and running the following command, which will check for updates and upgrade any necessary packages.
sudo apt update sudo apt upgradeStep 2: Install Dependecies
Before continuing, it’s important to install the necessary packages for installing and running Rust on your system. To do so, run the following command to install the well-known and commonly used packages required for this installation.
sudo apt install curl build-essential gcc make -yStep 3: Install Rust
Once these prerequisites have been resolved, you can download the Rust installation script by executing the curl command.
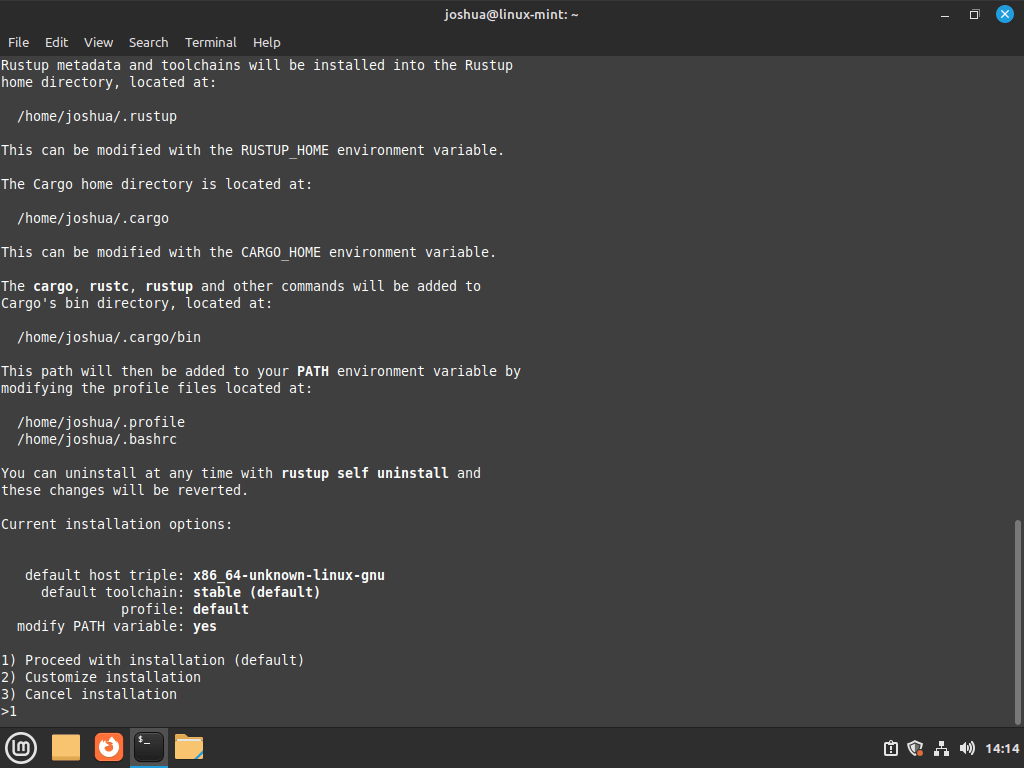
curl --proto '=https' --tlsv1.2 -sSf https://sh.rustup.rs | shAfter executing the previous command, you will have an output similar to the example below. This output includes a prompt asking whether you want to proceed with the default installation or customize it. Type “1” and press Enter to proceed with the default installation.
If you would like to make any customizations, you may do so by choosing a different option. Remember that customizing the installation may require additional steps and may not be necessary for most users.
Installing Rust programming language on your Linux Mint system is a quick process, typically taking anywhere from 1 to 5 minutes, depending on your server’s internet speed and hardware configuration.
After the installation is complete, activating the Rust environment for your current shell is necessary. This can be done by executing the command provided in the terminal output at the end of the installation process.
It is important to note that activation of the Rust environment is a crucial step, as it allows you to use Rust for your current shell session and any future sessions.
Verifying the version build is important to confirm that Rust has been successfully installed on your Linux Mint system. This can be done by executing a simple command that displays the Rust version installed on your system.
rustc 1.67.0 (fc594f156 2023-01-24)It’s important to note that if you cannot print the version build of Rust after verifying it, it may indicate that the Rust environment has not been activated for your current shell. If you encounter issues with printing the version build of Rust, it may be necessary to revisit the activation steps to ensure that the environment has been set up correctly.
Step 4: Create Rust Sample Project Application
After successfully installing Rust on your Linux Mint system, verifying that it is functioning as expected is important. One of the best ways to do this is by creating a simple test application, which will allow you to quickly and easily confirm that Rust is installed and configured correctly and that you can use it for your development projects.
Before you can start creating your test application in Rust, creating a directory that will serve as your workspace is important. This directory will be where you will create and store your Rust projects and code. Creating a dedicated workspace is the best practice for organizing your development projects and ensuring everything is in place.
Once you have created your workspace directory, the next step is to change the directory to the workspace and create a sample application.
cd rust-projects && nano helloworld.rsNext, you can test your Rust installation by entering the code to create a “Hello World” program.
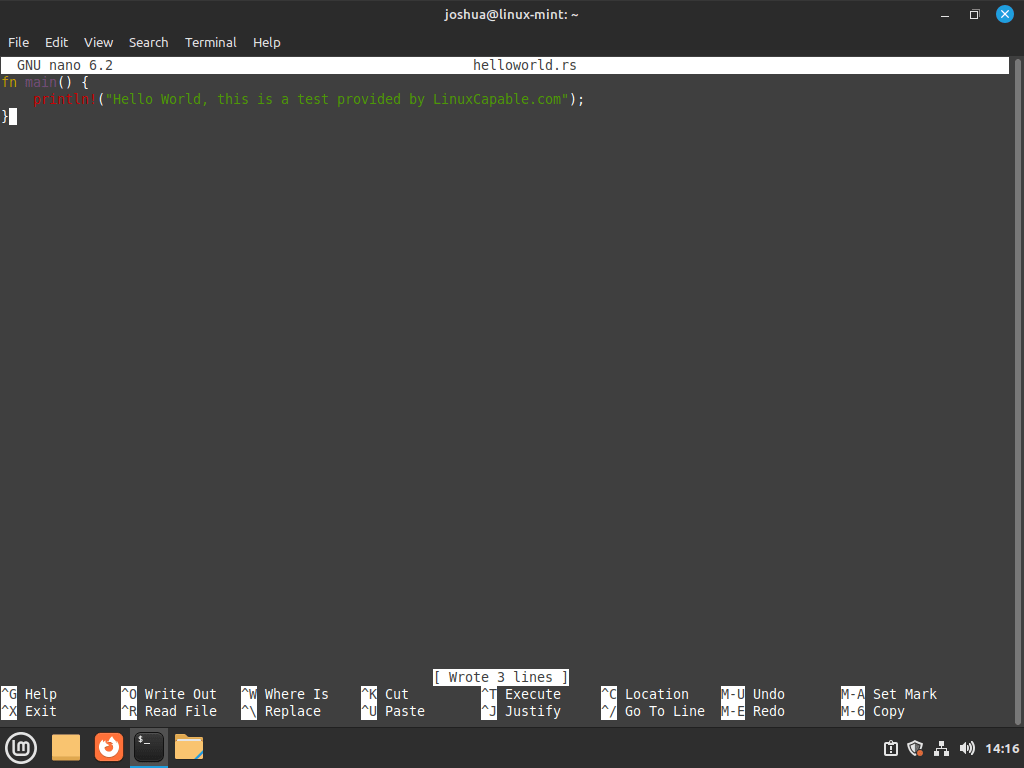
After entering the code, you can save and close the program using the “CTRL+O” and “CTRL+X” keys. Then, you can compile the program by executing the following command.
Once the compilation process is complete, a new executable application will be created in your current directory. You can verify the program’s output and confirm that the “Hello World” application has been created successfully.

To launch the “Hello World” application, you created with Rust, execute the program using the specified command.
Example output from the test application as below:

Additional Commands & Tips
Update Rust
Rust features a built-in updater, making it straightforward to keep the programming language up-to-date. To update Rust on your Linux Mint system, execute a single command in your terminal,

Remove (Uninstall) Rust
If you no longer need Rust on your Linux Mint system, you can easily remove it using its built-in uninstall script. Run the specified command to uninstall the Rust Programming Language thoroughly.
After executing the specified command, you should see a confirmation that Rust has been successfully uninstalled from your Linux Mint system.
Conclusion
In conclusion, installing Rust on Linux Mint is a straightforward process that offers many benefits to developers. As a modern and prevalent programming language, Rust is widely recognized for its performance, security, and reliability, making it an excellent choice for building robust and scalable applications. Following the steps outlined in this article, users can easily install Rust on their Linux Mint system and start taking advantage of its many features.