- How to Install and Switch Desktop Environments in Ubuntu
- How to Choose the Right Desktop Environment
- How to Install a Desktop Environment
- How to Switch Desktop Environments
- How to Remove a Desktop Environment
- Conclusion
- How to Change Debian Desktop Environment
- Desktop environment on Debian
- Installing desktop environment on Debian
- Listing all available desktop environments
- Installing GNOME
- Installing Xfce
- Installing KDE Plasma
- Installing LXDE
- Installing MATE desktop
- Installing Cinnamon desktop
- Installing desktop environments using tasksel
- Switching to a different desktop environment
- Final thoughts
- About the author
- Sidratul Muntaha
- Switching desktop environments
- Installing additional desktop environments
- Switching desktop environments using a graphical user interface (GUI)
- Using switchdesk
- Switching desktop environments using the command line interface (CLI)
- Manually editing the system configuration
How to Install and Switch Desktop Environments in Ubuntu
Desktop environments are a collection of software packages and different components that run on top of an operating system and manage the look and feel (GUI; Graphical User Interface) of the operating system. They consist of window managers, text editors, folders, drag and drop functionality, and many other features to make it easier for the user to use an operating system.
Desktop environments are super user-friendly and intuitive; they help the user access, manage and manipulate files easily. But they do not provide full control over the functionality/capabilities of the OS. To get the most out of an operating system CLI (command line interface) is still preferred.
How to Choose the Right Desktop Environment
Every Linux distribution comes with its own default desktop environment but you have the option to switch to the environment of your choice. Installing a desktop environment on Linux is very easy and can be done within a few minutes. However, choosing the right desktop environment can be confusing.
There are many desktop environments out there that are compatible with Ubuntu. Every desktop environment has its own pros and cons and is optimized for a certain task. Gnome is made with the intention to make it easier to use for common users while KDE Plasma aims to be fast and efficient, and tries to utilize as few resources as possible.
So the decision of choosing the right desktop environment comes down to the needs and personal preferences of the user.
How to Install a Desktop Environment
We can use the terminal to install any desktop environment on Linux. You can install desktop environments on Linux just like any other package.
In Ubuntu, we can use the “apt” command followed by the environment name to install any desktop environment available in its official repository. In this example, we will install the Vanilla Gnome desktop environment in Ubuntu 20.04 LTS operating system:
sudo apt install vanilla-gnome-desktop 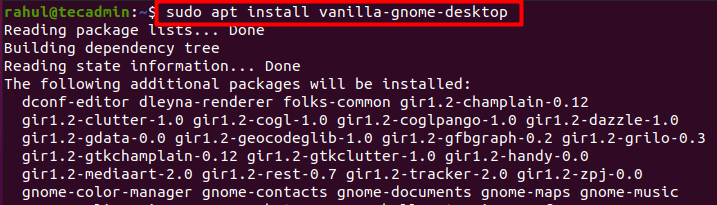
The terminal will ask you for confirmation; press “Y/y” and hit Enter:
That’s it; the Gnome desktop environment has been successfully installed on your system.
How to Switch Desktop Environments
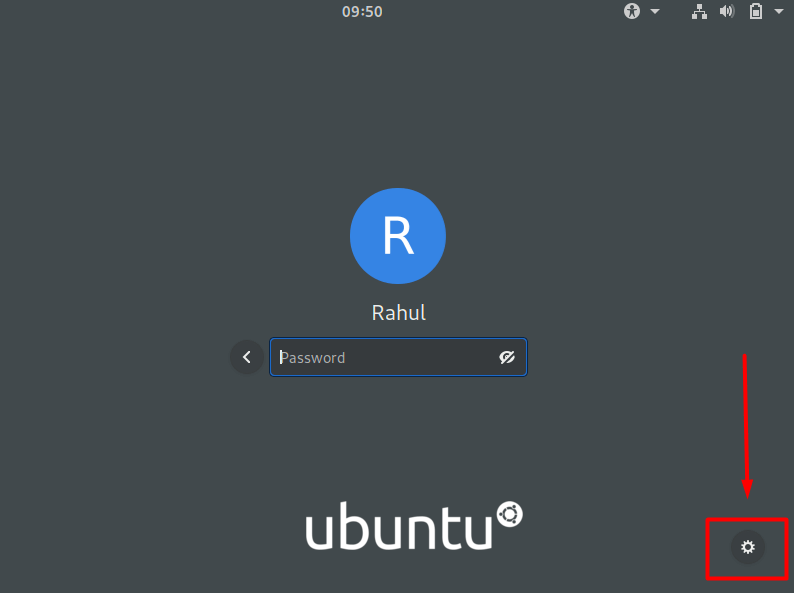
After successful installation of the desktop environment, log out of your account from the top right corner of your desktop:
Now look for a button similar to the one shown in the below-given screenshot. The location of this button is different in different desktop environments. On the default desktop environment of Ubuntu 20.04 you can find it in the bottom right corner of the screen:
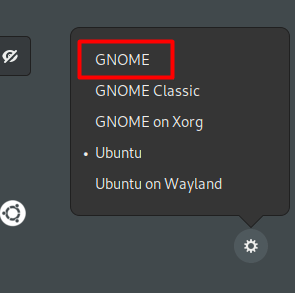
Click on the button and choose the environment you want to use:
Next login to your account and you’ll see the environment you picked:
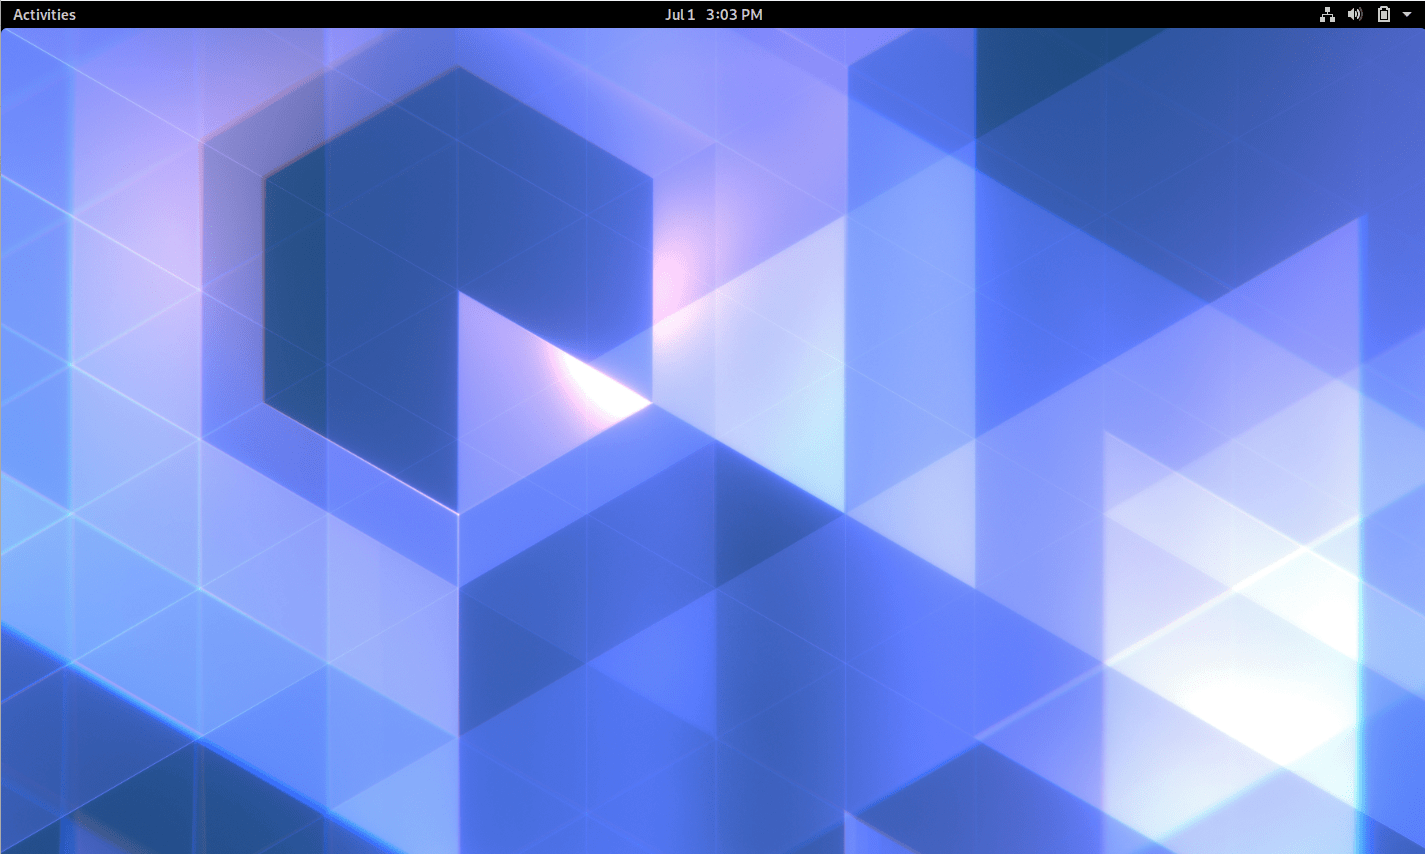
You will have the option to change the desktop environment every time you log in.
How to Remove a Desktop Environment
Some desktop environments are not compatible with each other and you might run into problems while running multiple desktop environments. These issues can generally be fixed by troubleshooting but sometimes you might even have to uninstall one of the desktop environments. Simply use the apt remove or apt purge along with apt autoremove command to get rid of the desktop environment.
sudo apt remove vanilla-gnome-desktop 
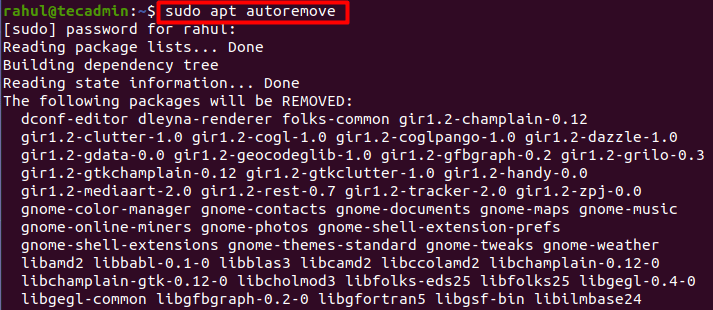
Now, run the autoremove command to remove the dependencies that are no longer required. These dependencies were automatically installed along with the desktop environment.
Conclusion
Every graphic you see after your system boots up is a part of the desktop environment. It dictates how everything from icons to mouse pointers looks and feels on your system.
In this post, we focused on how to install and switch between desktop environments on Ubuntu. Moreover, we also learned how to make the right decision when choosing a desktop environment.
How to Change Debian Desktop Environment
![]()
In Linux, a desktop environment refers to the bundle of components that provide the common graphical user interface (GUI) components on the screen, such as icons, wallpapers, toolbars, widgets, etc. Thanks to the desktop environment, it’s possible to use Linux with your mouse and keyboard like any other graphical operating system.
There are numerous desktop environments available on Debian, each with its own perks and features. Interested in switching to a new desktop environment? In this guide, we’ll explore how to install and change the desktop environment on Debian.
Desktop environment on Debian
Debian supports a wide range of desktop environments, from full-fledged desktop environments to lighter/minimalist alternatives. By default, Debian comes with the GNOME desktop. Check out the official Debian documentation on supported desktop environments, window managers, and display managers.
We’ll be showcasing how to install additional desktop environments, for example, GNOME, Xfce, LXDE, KDE Plasma, and MATE. All of them are directly available from the official Debian package repos.
Installing desktop environment on Debian
It requires root permission to perform any system-level change on any Linux system. In Debian, the root permission is stricter by default. I’ll be assuming that you have access to either the root account or a non-root user with sudo permission. Here’s how to grant a non-root user permission to sudo.
Listing all available desktop environments
We need to check the list of all the available desktop environments. Run the following APT command.

Here, each desktop environment is denoted as a task—desktop format.
Installing GNOME
This is the default desktop environment of Debian. It’s one of the most widely used desktop environments. It also has its own suite of apps. GNOME is elegant and intuitive.
To install GNOME, run the following command.

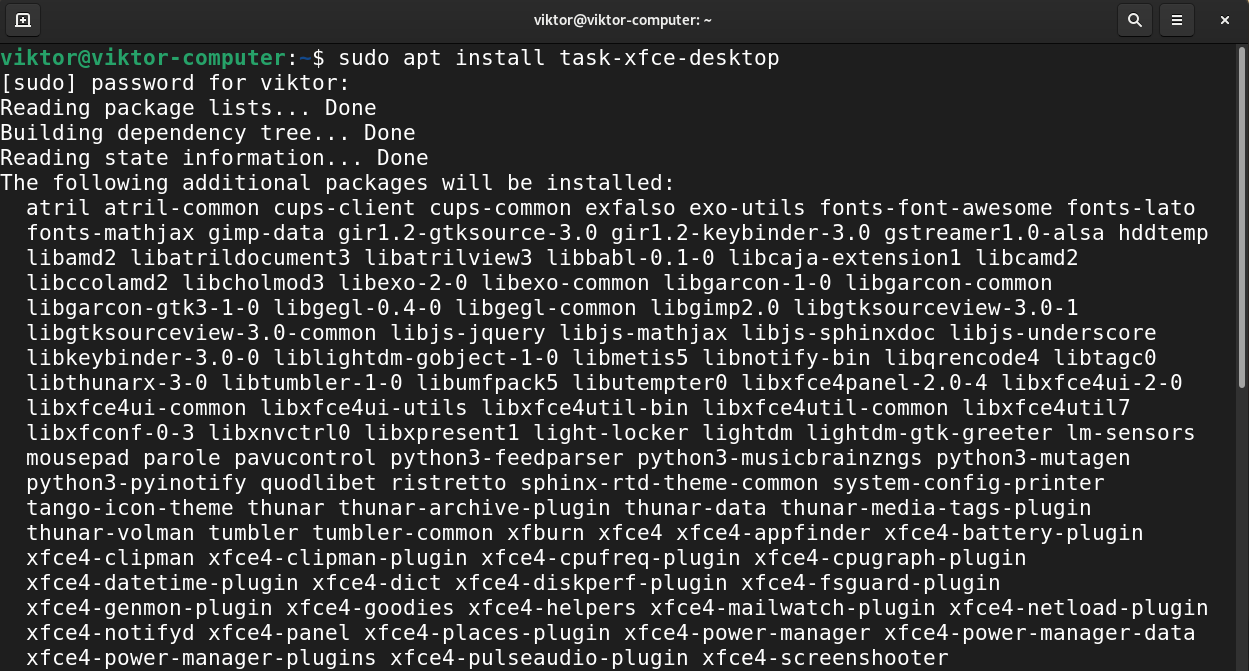
Installing Xfce
Xfce is a lightweight desktop environment. It’s designed for productivity while having minimal impact on system resources.
From the list of the available desktops, we’ve determined that Xfce is available as the package task-xfce-desktop.
Run the following APT command to install the Xfce desktop.
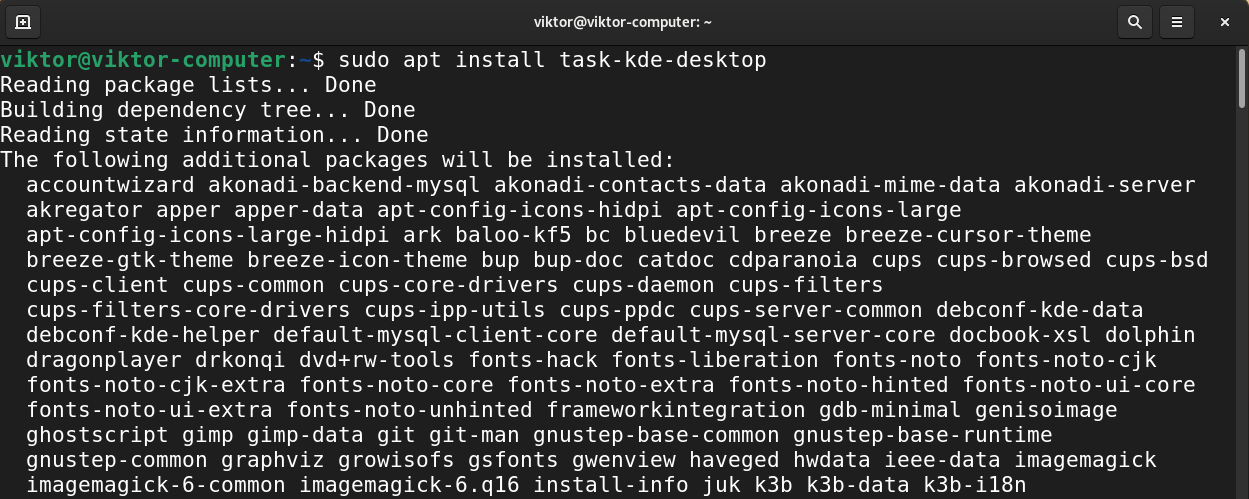
Installing KDE Plasma
Plasma by KDE is a powerful desktop environment. It features ease of use, robust functionalities, and gorgeous graphics. It also comes with its own suite of applications.
To install KDE Plasma, tell APT to install the package task-kde-desktop.
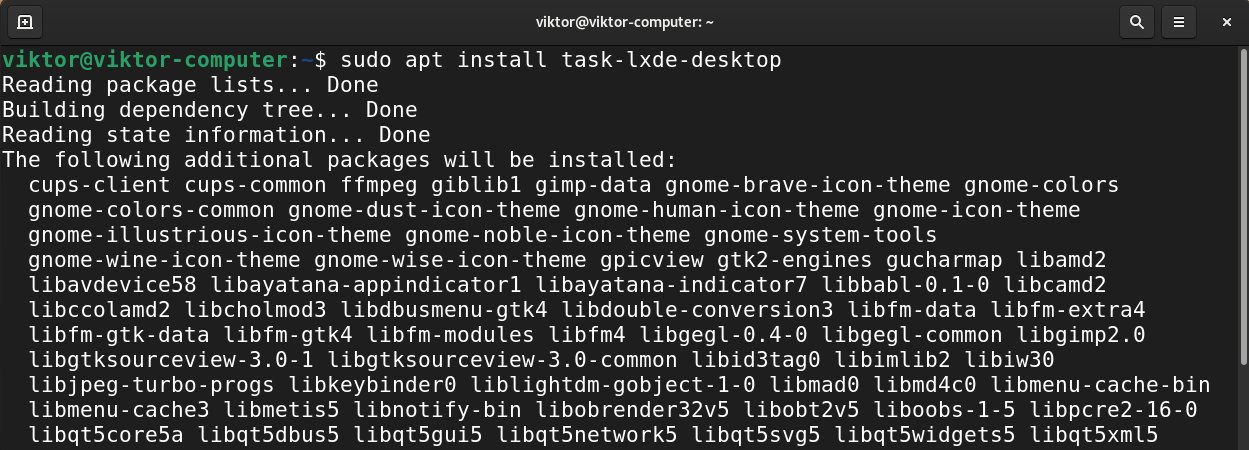
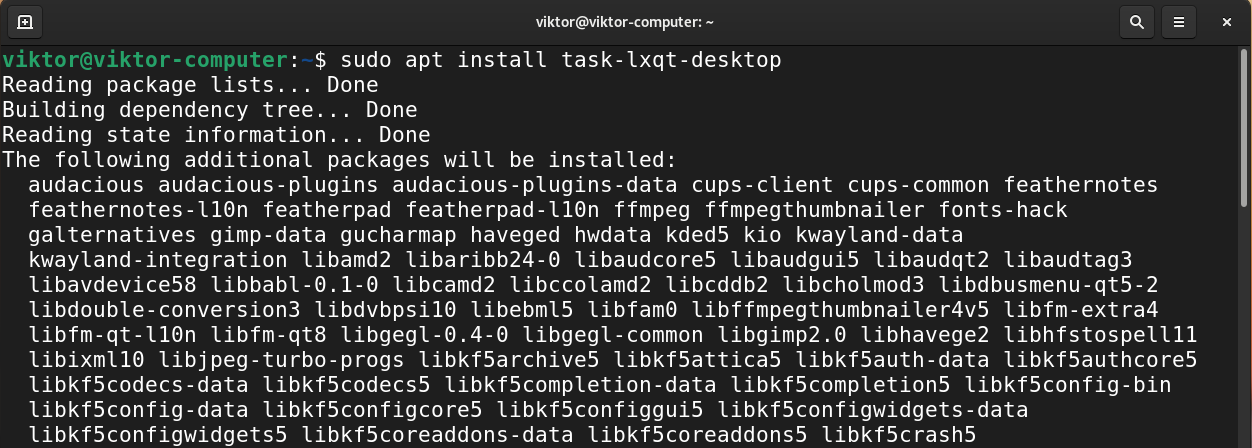
Installing LXDE
The goal of LXDE is to work on low-end machines with fewer hardware resources, for example, the older resource-constrained machines. Because of its nature, LXDE is also highly suitable for netbooks and other small computers.
To install LXDE, install the package task-lxde-desktop.
To install the LXQt desktop instead, install the package task-lxqt-desktop.
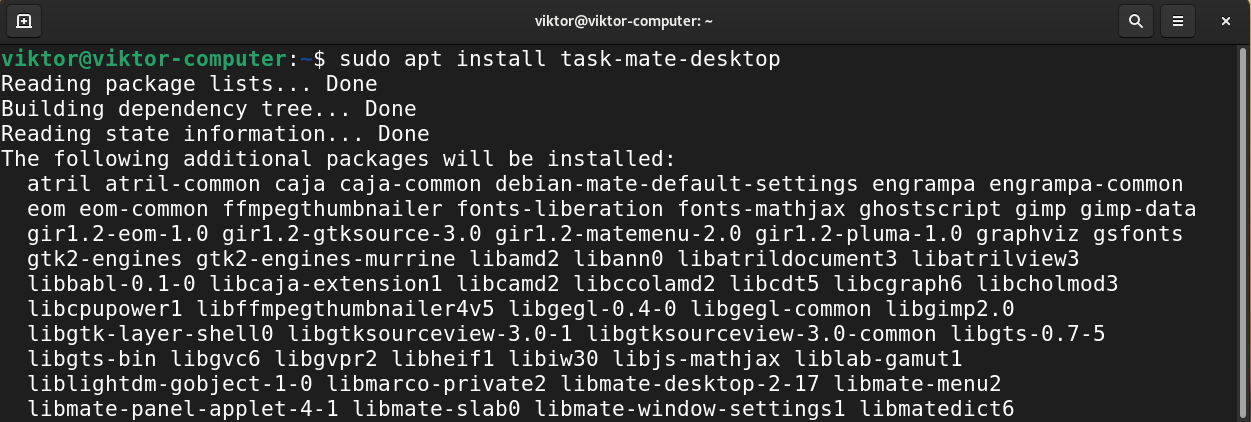
Installing MATE desktop
The MATE desktop is the continuation of GNOME 2. It offers an intuitive and attractive desktop environment incorporating the traditional metaphors for Linux/UNIX-like operating systems.
Installing the package task-mate-desktop will install the MATE desktop.
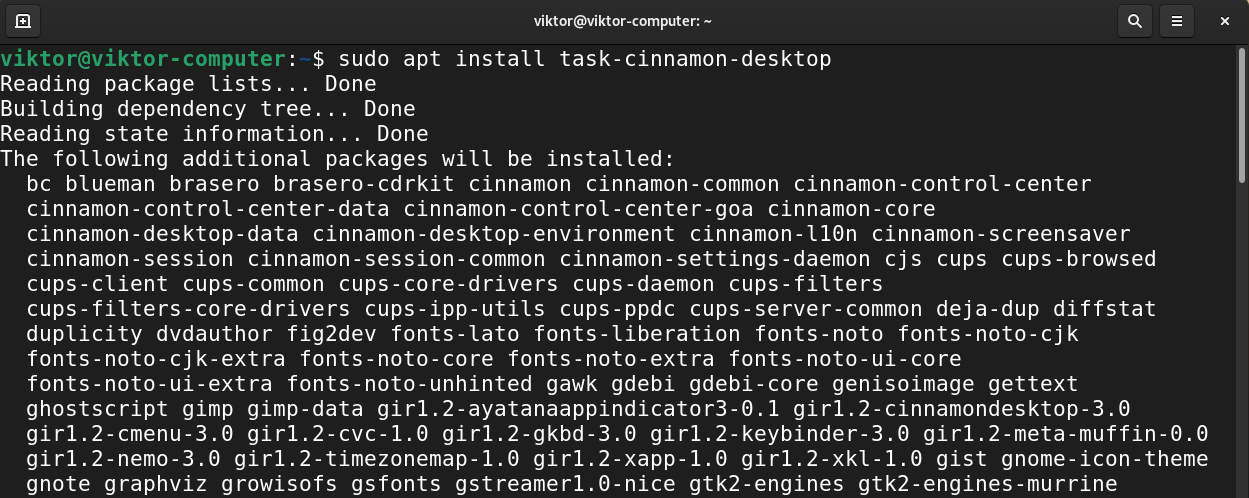
Installing Cinnamon desktop
The Cinnamon desktop is a derivative of GNOME 3. However, it keeps the traditional desktop metaphor conventions. It’s primarily developed as a part of Linux Mint. However, it’s available on many other Linux distros (including Debian).
To install Cinnamon desktop, run the following command.
Installing desktop environments using tasksel
Instead of installing the desktop environments manually, we can use tasksel. It’s a UI tool for easier management of tasks (including various desktop environments).
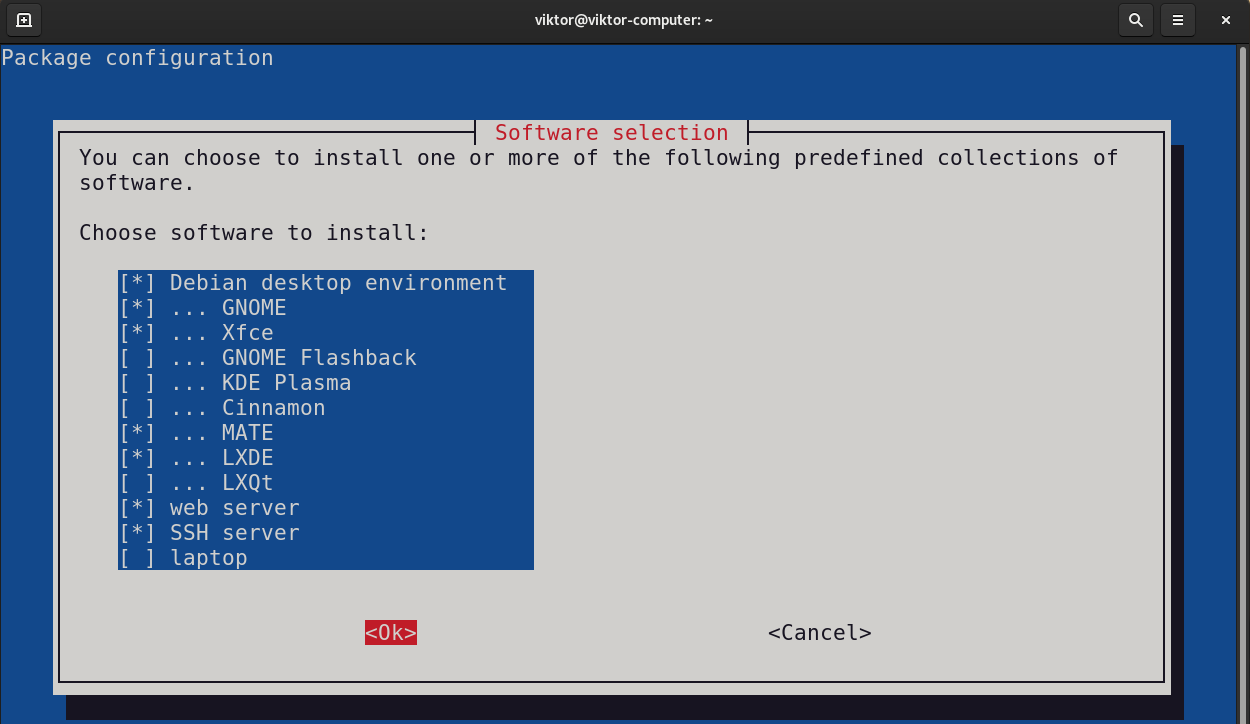
Besides desktop environments, tasksel can also manage other component groups like SSH server, web server, etc. To select/deselect a component, press the spacebar. Select the desired desktop environment(s) you want to install, then select “Ok”.
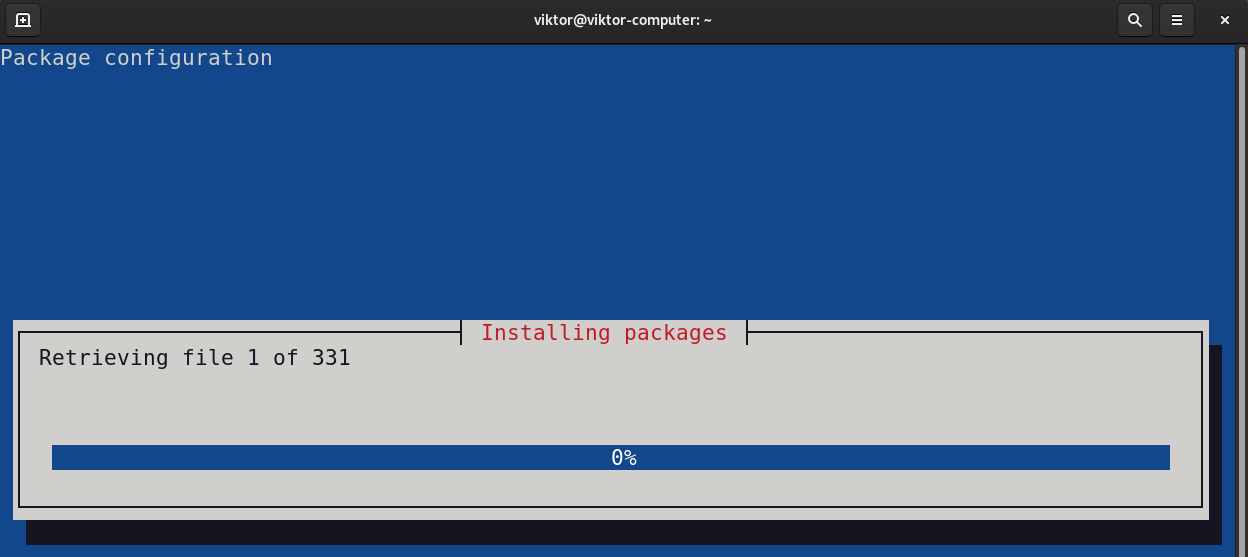
The tool will download and install the necessary packages.
The man page of tasksel has an in-depth explanation of its functionalities.

Switching to a different desktop environment
We now have all the desired desktop environments installed. Time to switch to the new desktop environment.
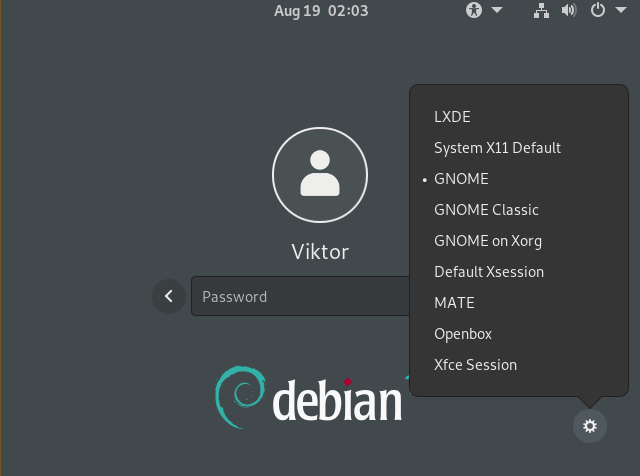
Log out of the current session or restart the system. From the login screen, click the gear icon.
Select the desired desktop environment. Log in to your user account as usual.
Voila! The new desktop environment is in action! If not changed, it will be the default desktop environment for the rest of the time.
Final thoughts
Desktop environments offer an elegant way of interacting with the system. It also serves as visual customization.
We can further customize the look using themes. GTK-based desktop environments (GNOME, MATE, Xfce, etc.) can use numerous GTK themes to spice things up. Check out some of the best GTK3 themes for Linux.
About the author
Sidratul Muntaha
Student of CSE. I love Linux and playing with tech and gadgets. I use both Ubuntu and Linux Mint.
Switching desktop environments
Different Fedora Linux variants (Spins/Labs) have different default environments. For example, the Fedora workstation uses GNOME as its default desktop environment, while the KDE spin will use KDE. Irrespective of what installation media you used to install Fedora Linux, you can easily try and switch to any of the many other desktop environments that are available without affecting your current desktop environment.
Installing additional desktop environments
You can list available desktop environments using the default package manager, dnf . In a terminal use the dnf group list command to list all available desktop environments:
$ dnf group list --available *desktop
Install the required desktop environment using the dnf install command. Ensure to prefix with the @ sign, for example:
# dnf install @kde-desktop-environment
You can also use the full name using the groupinstall command to install the complete package set:
# dnf groupinstall "KDE Plasma Workspaces"
Switching desktop environments using a graphical user interface (GUI)
First, install the desired desktop environment as described in Installing additional desktop environments.
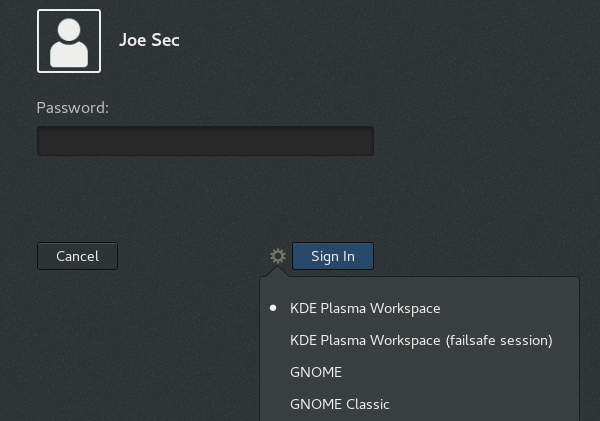
You can login to a different desktop for a single session using the login manager. For example, for the Gnome Display Manager (GDM) that is used by default on the Fedora Linux Workstation:
- On the login screen, select a user from the list.
- Click on the Preferences icon right below the password field. A window appears with a list of several different desktop environments.
- Choose one, and enter password as usual.
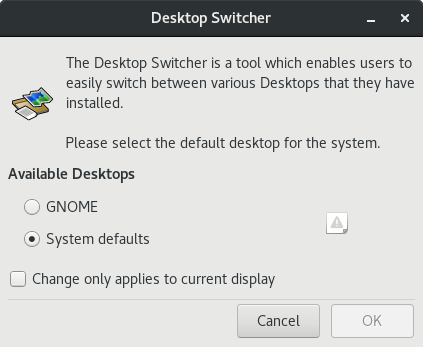
Using switchdesk
You also change your desktop environment using the switchdesk tool. It also allows you to change default desktop environment for individual users, and for all users.
# dnf install switchdesk switchdesk-gui
Switching desktop environments using the command line interface (CLI)
First, install the desired desktop environment as described in Installing additional desktop environments.
Install the switchdesk package:
Pass the selected desktop environment as the only argument to the switchdesk command, for example:
See the switchdesk(1) man page for more information.
Manually editing the system configuration
You can also change your default desktop environment using the /etc/sysconfig/desktop system configuration file. If this file does not exists, please create it. This file specifies the desktop for new users and the display manager to run when entering runlevel 5.
Please create/edit it using your preferred text editor. Note that you will need administrator (root) privileges to create or edit this file.
DESKTOP , where is one of the following:
- GNOME — Selects the GNOME desktop environment.
- KDE — Selects the KDE desktop environment.
DISPLAYMANAGER , where is one of the following:
- GNOME — Selects the GNOME Display Manager.
- KDE — Selects the KDE Display Manager.
- XDM — Selects the X Display Manager.
All Fedora Documentation content available under CC BY-SA 4.0 or, when specifically noted, under another accepted free and open content license.

Last build: 2023-07-17 02:50:10 UTC | Last content update: 2023-02-11