How to format disk in Linux
Formatting a disk will get it ready for use as a storage device on your Linux system. The process involves partitioning the disk, adding a file system to the partition (this is the “formatting” part), and then mounting the partition to some path where you plan to access it from. This might sound complex or like a lot of steps, but it really only takes a few minutes.
This process will wipe all the data from your hard disk and get it ready for use under Linux or another system. In this tutorial, we will cover the step by step instructions to format a hard drive or solid state drive on a Linux system. We will show the steps for both command line and GUI methods, so you can follow along with set of instructions you are most comfortable with. Let’s get started.
In this tutorial you will learn:
- How to format a disk drive in Linux via GUI
- How to format a disk drive in Linux via command line

| Category | Requirements, Conventions or Software Version Used |
|---|---|
| System | Any Linux distro |
| Software | gdisk, gparted |
| Other | Privileged access to your Linux system as root or via the sudo command. |
| Conventions | # – requires given linux commands to be executed with root privileges either directly as a root user or by use of sudo command $ – requires given linux commands to be executed as a regular non-privileged user |
How to format a disk on Linux via command line
DID YOU KNOW?
If your intention is to use the hard drive as a primary disk for a Linux installation, then no partitioning is required as any decent Linux operating system will do the job for you during the installation process.
Open a terminal and type the following commands to format your hard disk drive. Here we will be using the gdisk command line tool, which should already be installed by default on all major Linux distros.
- First, let’s figure out how to identify the disk drive we wish to format. The name should start with /dev/sd and then a letter. Type the following command in terminal to see:
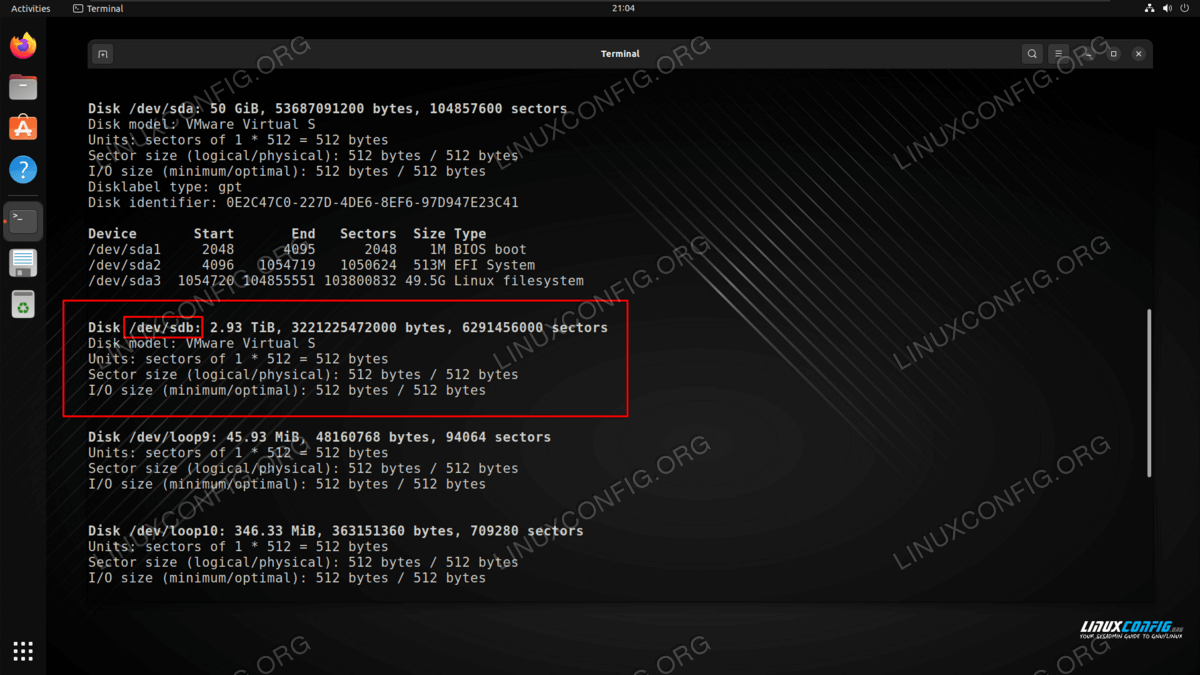
In our example, the disk drive has been assigned the /dev/sdb device path. To create a new partition on the empty disk, we will provide it as an argument to gdisk :
Partition number (1-128, default 1): 1
First sector (34-6291455966, default = 2048) or size: Last sector (2048-6291455966, default = 6291455966) or size:
Current type is 8300 (Linux filesystem) Hex code or GUID (L to show codes, Enter = 8300): Changed type of partition to 'Linux filesystem'
Command (? for help): w Final checks complete. About to write GPT data. THIS WILL OVERWRITE EXISTING PARTITIONS!! Do you want to proceed? (Y/N): y OK; writing new GUID partition table (GPT) to /dev/sdb. The operation has completed successfully.
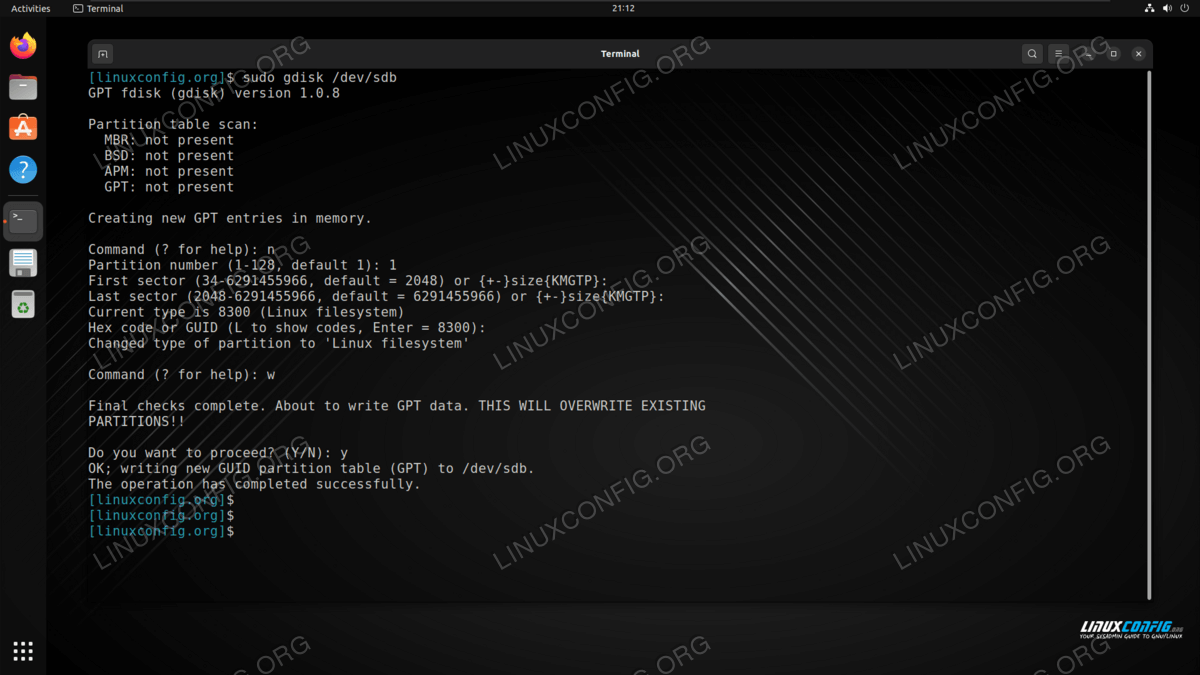
You will also need to reply Y to the confirmation prompt to verify that you indeed want to write these changes to the disk, and overwrite existing data.
Since our block device is /dev/sdb , and we just created partition number 1 on the disk, that means our new partition is accessible under the path /dev/sdb1 . Next, we still need to add a file system to our hard disk. Use the mkfs command to format the disk with any file system you would like. In this example, we are using ext4, which is the recommended file system for new HDDs and SSDs on Linux:
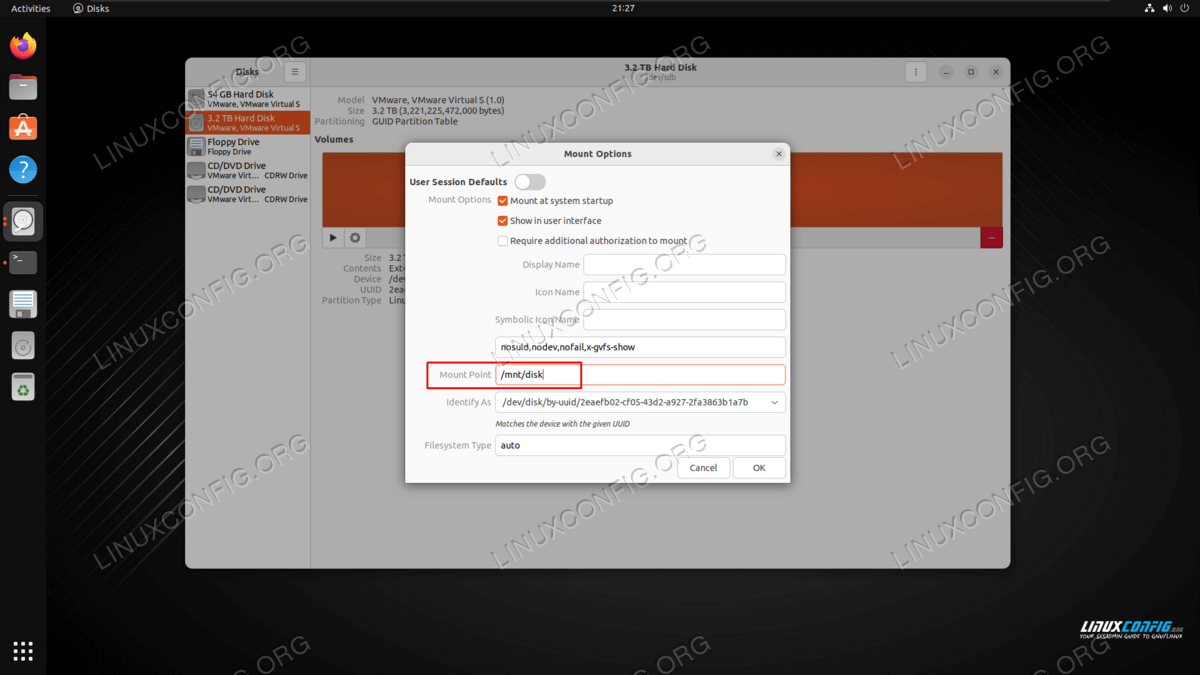
$ sudo mkdir -p /media/disk $ sudo mount /dev/sdb1 /media/disk
That is all there is to it. You can now access your newly formatted drive under the /mount/disk directory or where ever you decided to mount it. To make the drive get mounted automatically, see our guide on configuring the /etc/fstab file.
How to format a disk on Linux via GUI
There are many GUI programs which can also be used to format a hard disk on Linux. In this tutorial, we will focus on using gparted , which may or may not already be installed by default on your system.
To install gparted on Ubuntu, Debian, and Linux Mint:
To install gparted on Arch Linux and Manjaro:
After it is installed, follow the steps below to use gparted to format a disk on Linux:
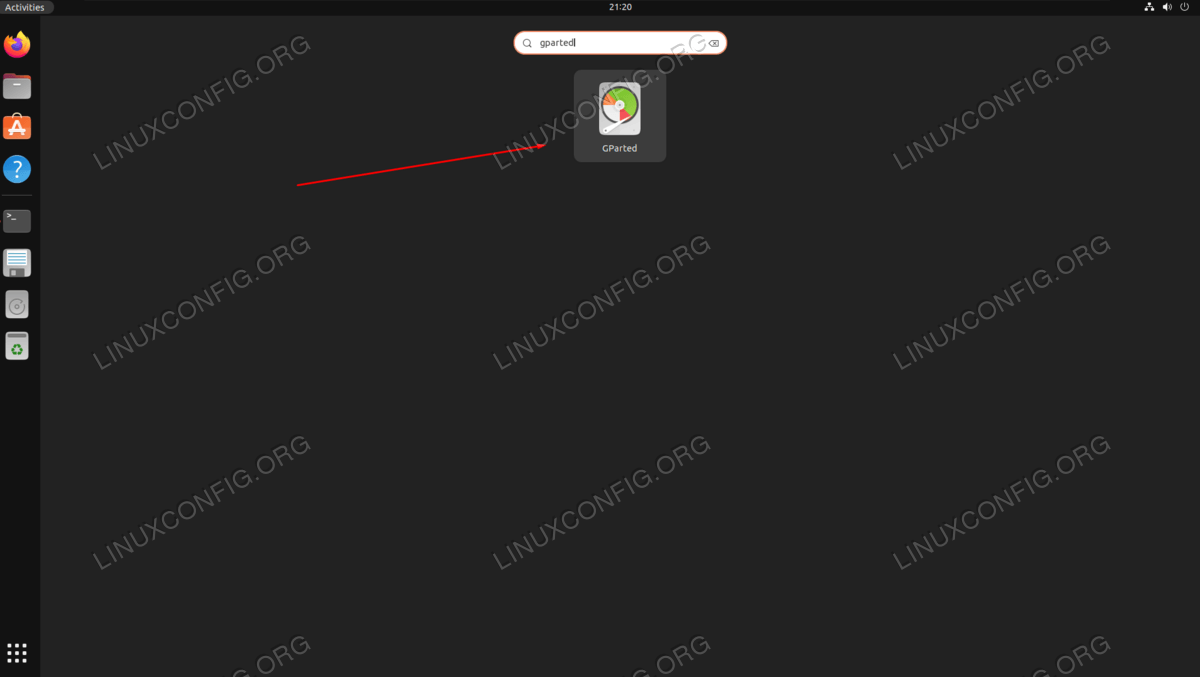
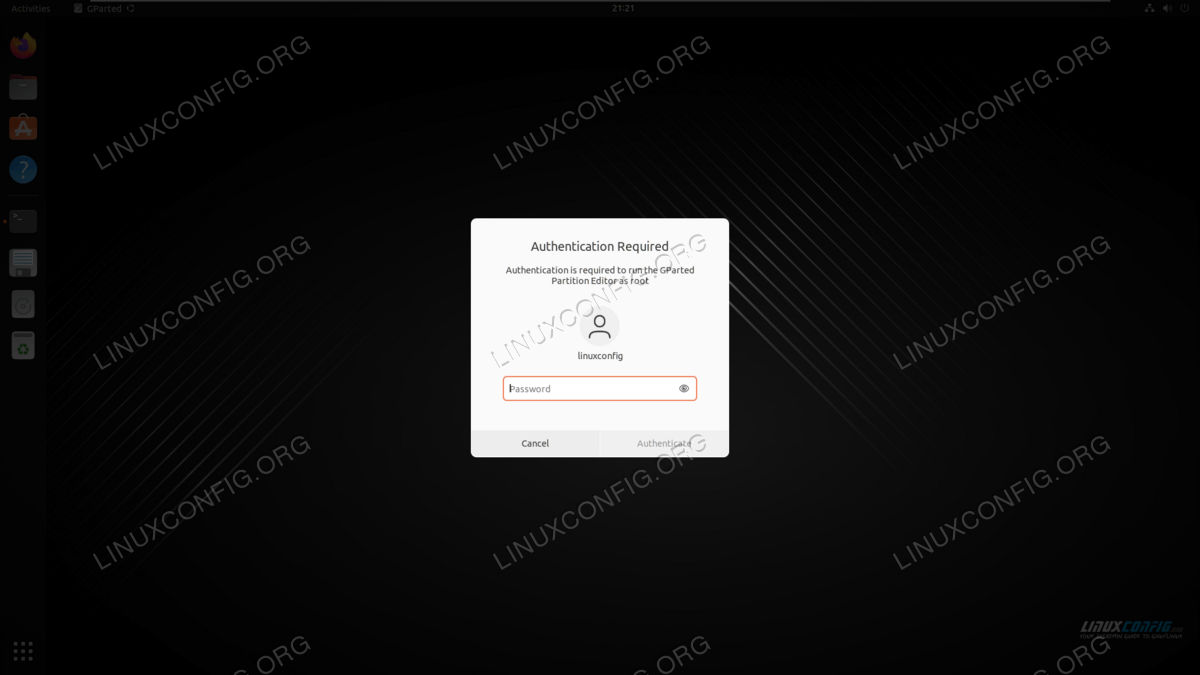
- Get started by searching for the gparted application in your desktop envrionment’s app launcher. You will be prompted for the root password upon opening the program.


- The first thing we need to do is select the correct device that we will be working with from the upper right corner. On our test system, this would be /dev/sdb as indicated in the screenshot below.
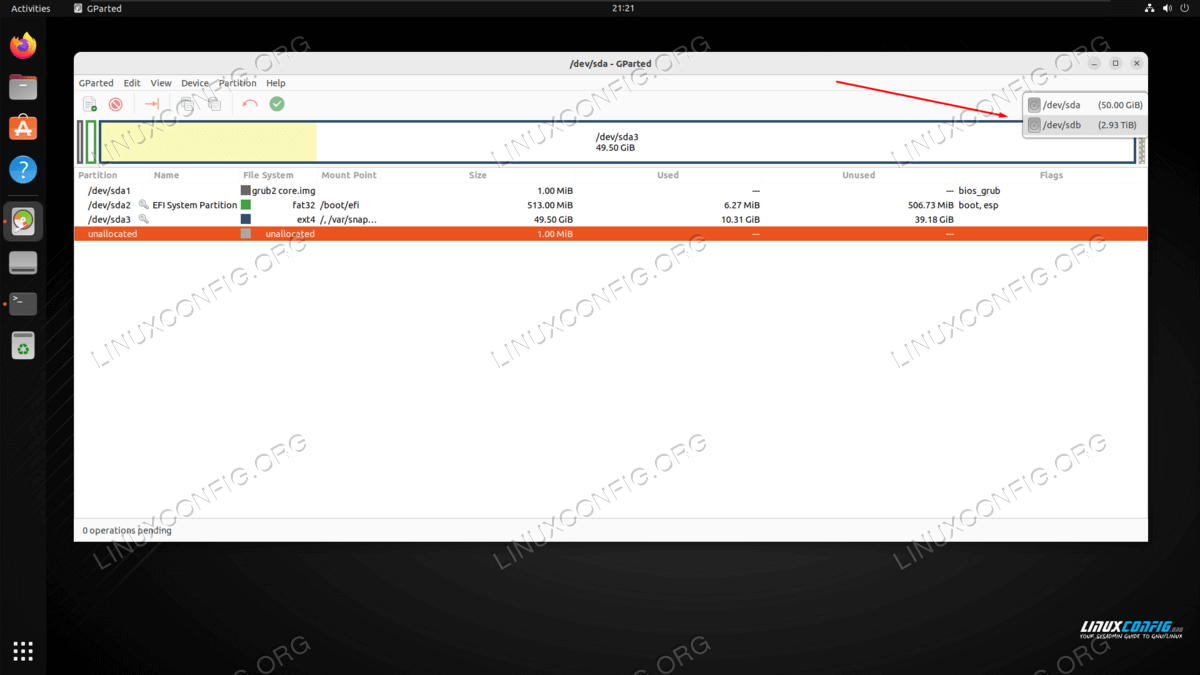
NOTE
ext4 is the recommended file system to use on Linux systems, unless you have a special reason to format the disk with some other kind.

Closing Thoughts
In this tutorial, we saw how to partition a hard drive from command line and GUI on a Linux system. Managing partitions is a dangerous task that should be performed with the utmost caution. The command line and GUI both prove as viable methods for managing partitions, especially in the case of parted and gparted , which are closely related tools.
Related Linux Tutorials:
Comments and Discussions
Форматирование диска в Linux
Одна из самых первых задач, которую надо сделать после установки нового жесткого диска или SSD накопителя в компьютер, это отформатировать его и создать на нём разделы, на которых будут размещены данные. Форматировать диск можно разными способами. Для этого существует несколько консольных утилит с разным уровнем сложности работы, такие как fdisk, cfdisk и parted, а также графические утилиты, например GParted и Gnome Диски.
Про каждую из консольных утилит на этом сайте уже есть отдельная статья. Поэтому в этой статье мы поговорим как выполняется форматирование диска в Linux с помощью графических инструментов.
Как форматировать диск в Linux
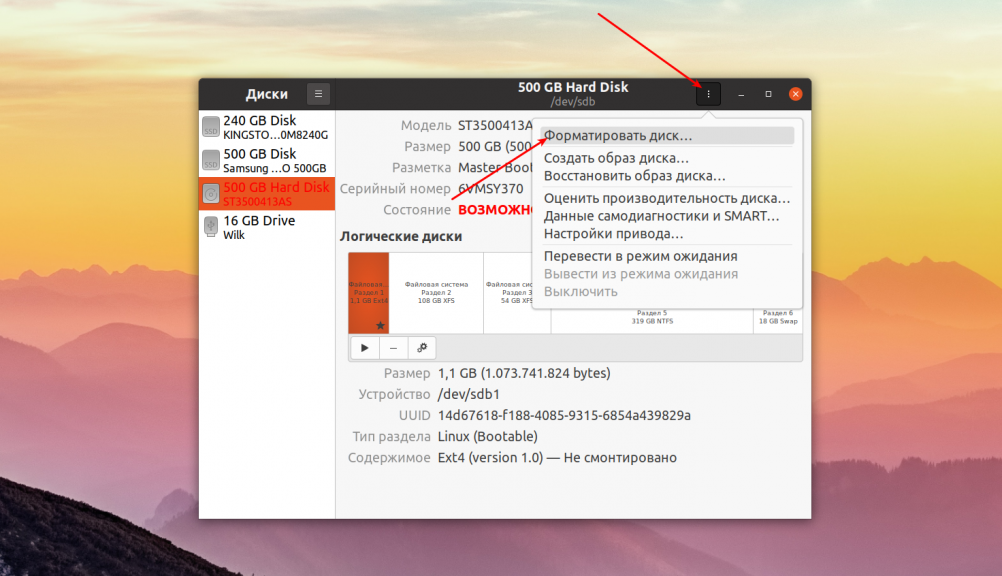
Допустим, вы купили новый или бывший в употреблении жесткий диск и вам надо его отформатировать. Запустите утилиту Диски из главного меню системы. Затем выберите в колонке слева нужный жесткий диск. В данном случае это HDD на 500 Гб:

Далее кликните по кнопке вызова меню в правом верхнем углу окна и выберите Форматировать диск:
На следующем этапе программа предложит вам выбрать способ форматирования, быстрое, при котором будет просто создана новая таблица разделов, или медленное, при котором все данные будут перезаписаны нулями. Также в этом окне надо выбрать таблицу разделов. Если вы собираетесь использовать диск вместе с современной системой лучше оставить GPT:
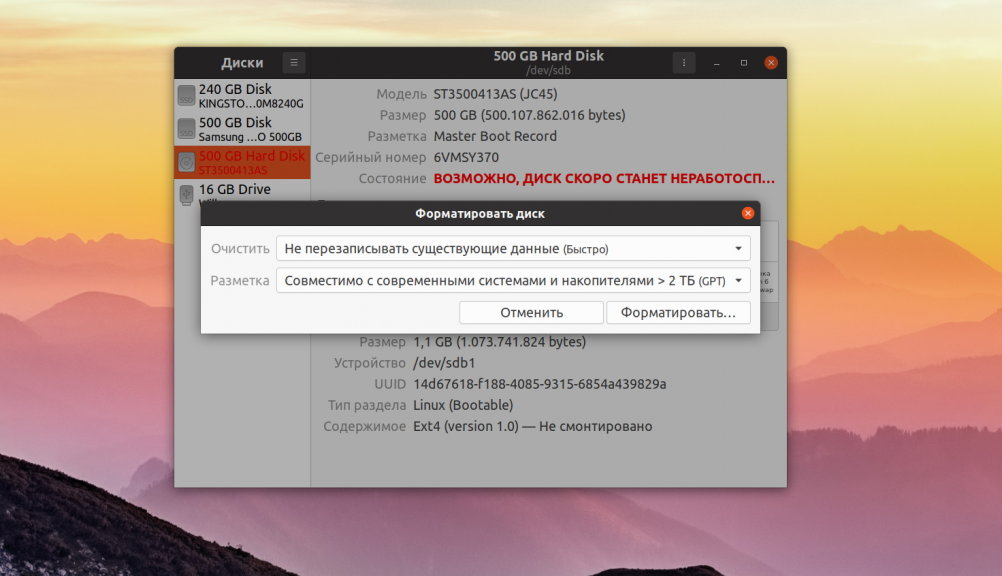
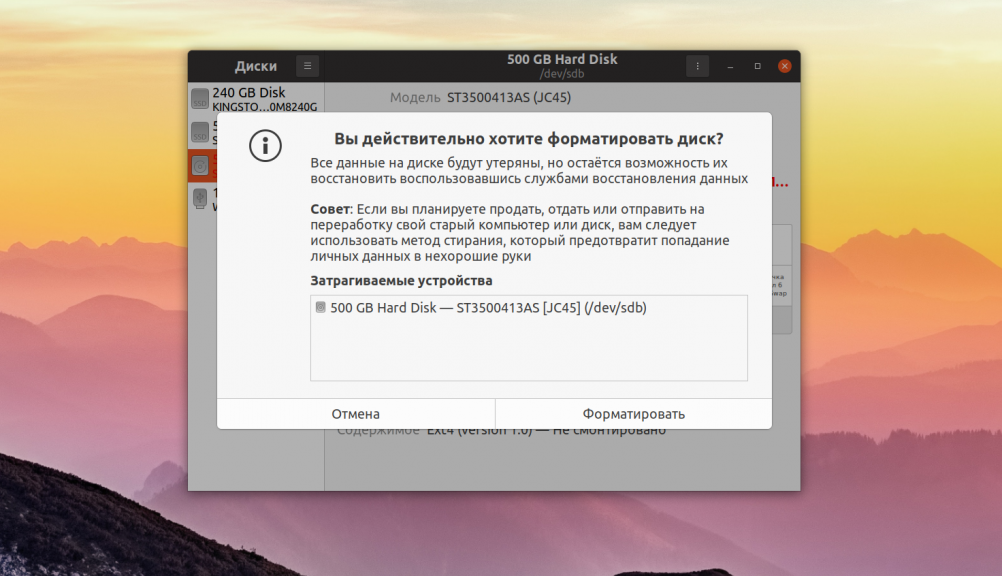
Далее программа спросит действительно ли вы хотите форматировать диск. Если вы выбрали быстрый способ, то сообщит, что если вы хотите выбросить диск или продать, надо использовать медленный способ, чтобы данные уже нельзя было восстановить:
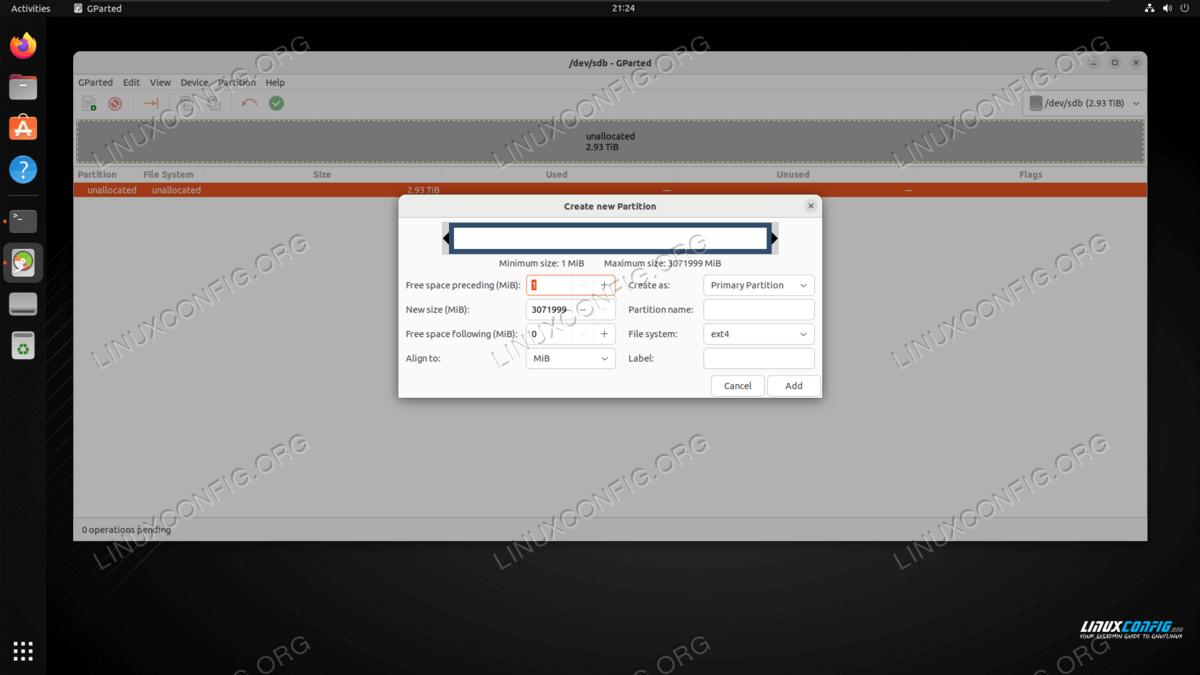
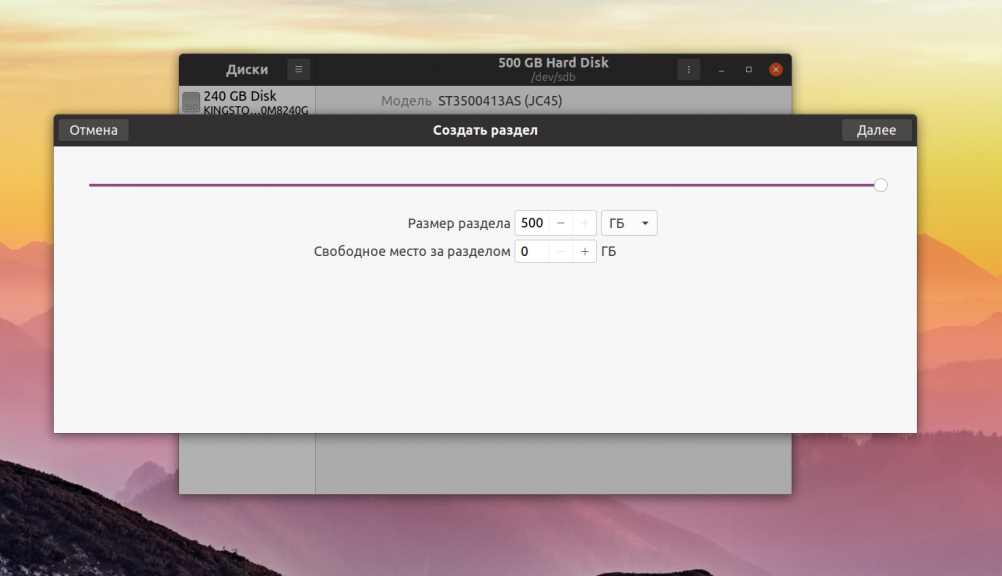
При быстром варианте форматирование будет выполнено мгновенно, и вы получите пустой жесткий диск. Теперь на нём необходимо создать новые разделы, на которых будут хранится данные. Для этого кликните по кнопке со значком плюса:

Затем выберите размер будущего раздела. В данном примере я создам раздел из всего свободного пространства:
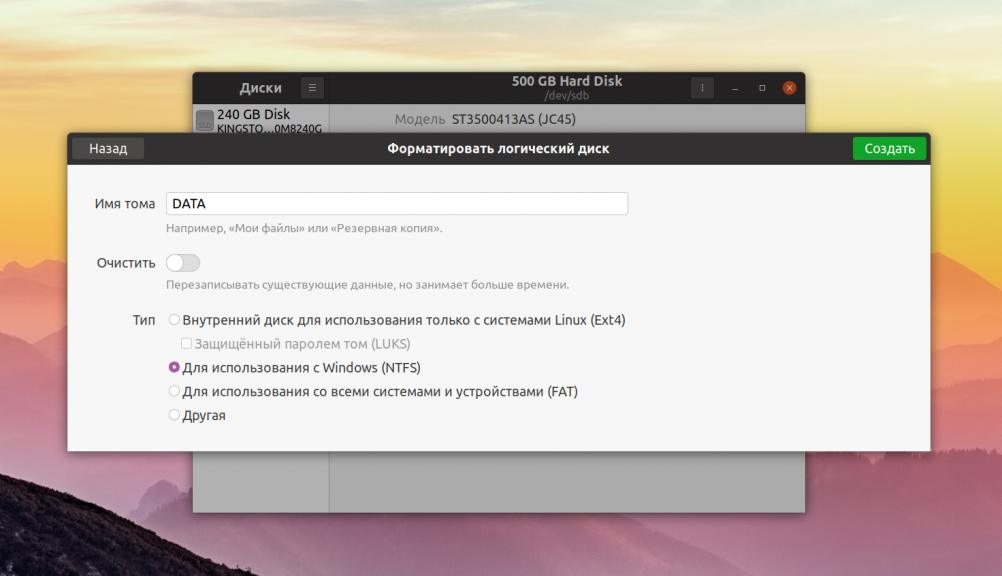
На следующем шаге программа предложит выбрать файловую систему для раздела. Если вы хотите использовать этот диск только с Linux, то можно оставить Ext4, для использования его в Windows надо выбрать NTFS. Файловую систему FAT лучше не использовать, потому что максимальный размер файла в ней может быть только четыре гигабайта:
После этого шага раздел станет доступным для использования:
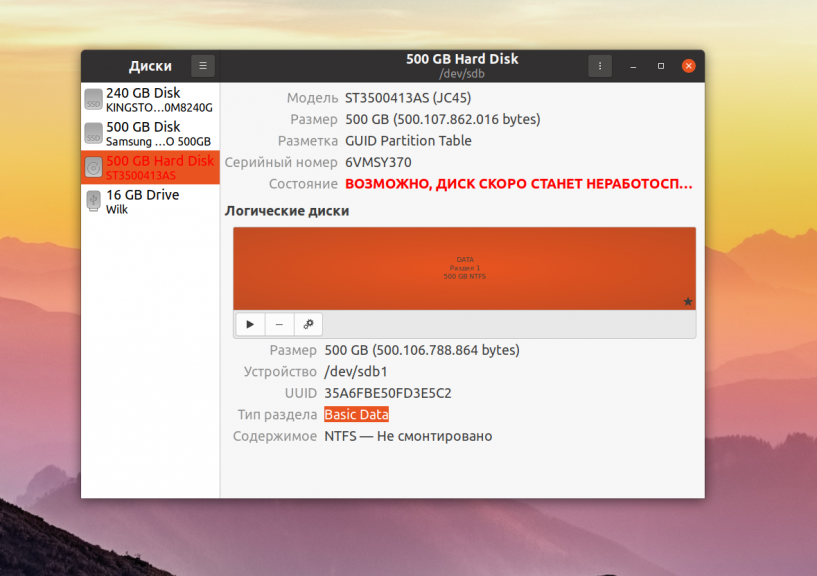
Теперь его можно монтировать и использовать для ваших задач. Если вы собрались продать диск или отправить его в утилизацию разделы создавать не обязательно, достаточно только форматировать его, для того чтобы никто не смог получить доступ к вашим данным.
Выводы
В этой статье мы рассмотрели как форматировать диск в Linux. Как видите, для этого существует огромное количество способов, но этот самый простой и вам даже не понадобится устанавливать в систему дополнительные программы. Если вы используете KDE, а не Gnome, то вам лучше воспользоваться Gparted. На сайте есть отдельная статья об этой утилите. Таким способом можно форматировать не только HDD и SSD диски, но и обычные флешки.
Обнаружили ошибку в тексте? Сообщите мне об этом. Выделите текст с ошибкой и нажмите Ctrl+Enter.