- Настройка Bluetooth Ubuntu 16.04
- Первоначальная настройка
- Сканирование устройств Bluetooth
- Сопряжение устройств
- Отправка и прием файлов по OBEX
- Интернет через Bluetooth
- Выводы
- How to Configure Bluetooth On Debian
- Table of Contents
- Installing Bluetooth Drivers
- Getting the Bluetooth Adapter Ready
- Using GNOME Bluetooth to Connect to Bluetooth Devices
- Using Bluedevil to Connect to Bluetooth Devices
- Using Blueman to Connect to Bluetooth Devices
- Conclusion
- References
- About the author
- Shahriar Shovon
Настройка Bluetooth Ubuntu 16.04
Устройства Bluetooth встречаются довольно часто в наше время. Это простой и дешевый способ добавить поддержку беспроводных технологий для смартфона или любого другого гаджета. Система Linux может использовать различные протоколы: OBEX, A2DP, DUN, HID и другие для взаимодействия с различными устройствами.
В этой статье мы рассмотрим как выполняется настройка Bluetooth Ubuntu 16.04. Рассмотрим как установить драйвера и настроить связь между двумя устройствами.
Первоначальная настройка
Большинство Bluetooth адаптеров выполнены в виде USB и могут быть настроены с помощью утилит HCL. Некоторые устройства, такие как Atheros, требуют для своей работы установленных прошивок в системе.
Для установки всех необходимых программ выполните такую команду:
sudo apt-get install bluetooth bluez bluez-tools rfkill rfcomm
Дальше установите прошивки для адаптеров Atheros, если это необходимо:
sudo apt-get install bluez-firmware firmware-atheros
Затем запустите службу управления Bluetooth:
sudo service bluetooth start
Сканирование устройств Bluetooth
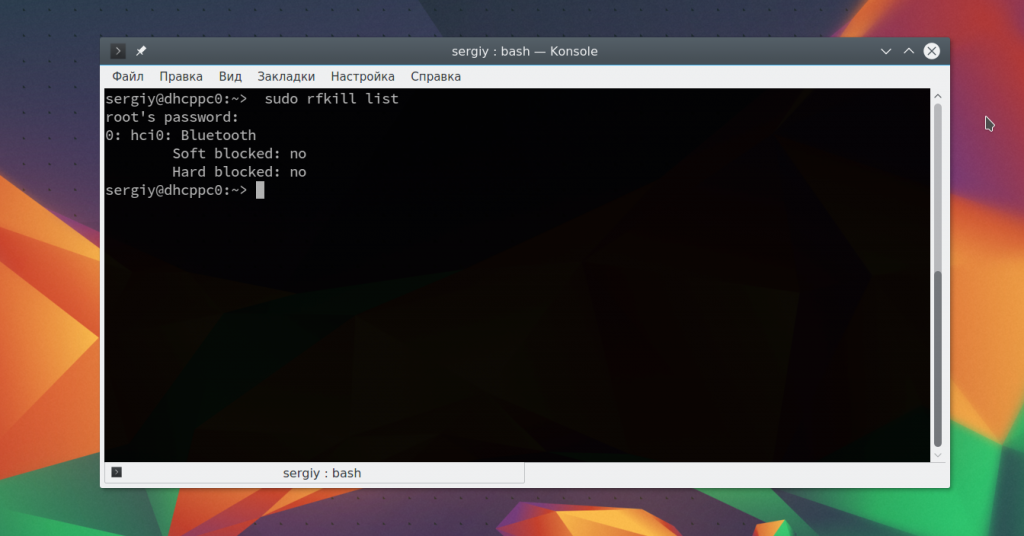
Перед тем, как перейти к сканированию устройств нужно убедиться что ваш bluetooth адаптер подключен и не заблокирован с помощью rfkill:
Если устройство заблокировано, программной или аппаратной блокировкой, необходимо разблокировать его с помощью команды rfkill:
sudo rfkill unblock bluetooth
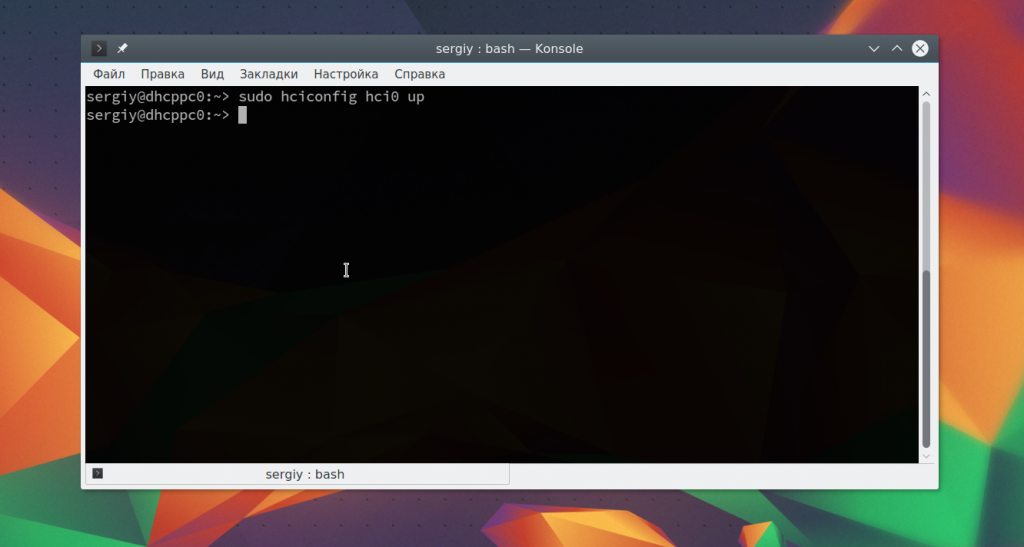
Включить адаптер можно с помощью команды hciconfig:
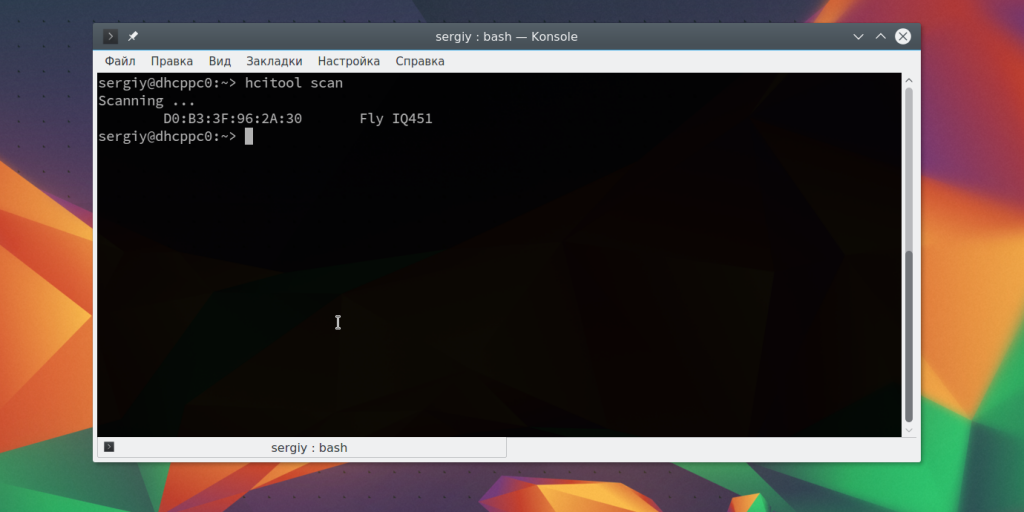
Дальше можно начать сканирование. Только перед этим убедитесь, что на другом устройстве Bluetooth включен и не находится в скрытом режиме. Для сканирования выполните:
После завершения вы увидите доступное устройство. Здесь будет отображаться его имя и MAC адрес.
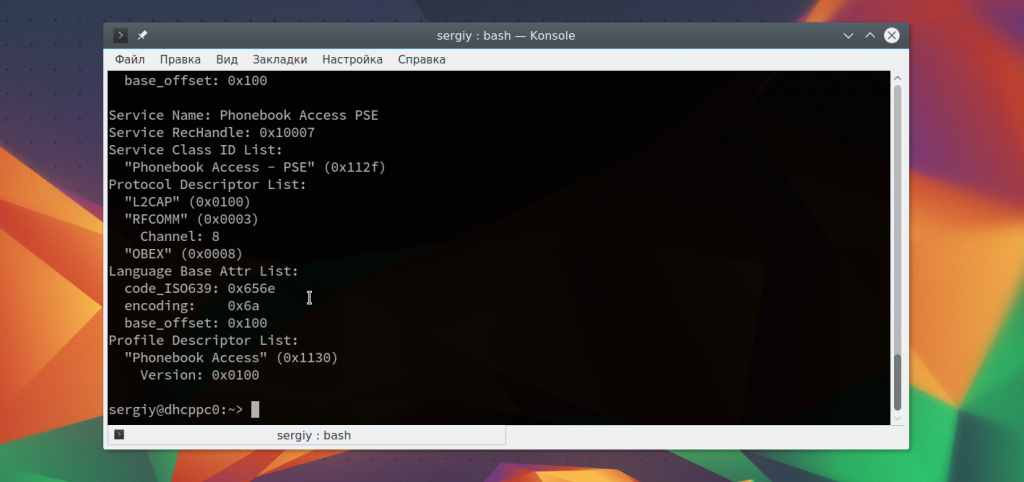
Чтобы узнать более подробную информацию об устройстве, вы можете использовать утилиту sdptool:
sdptool browse D0:B3:3F:96:2A:30
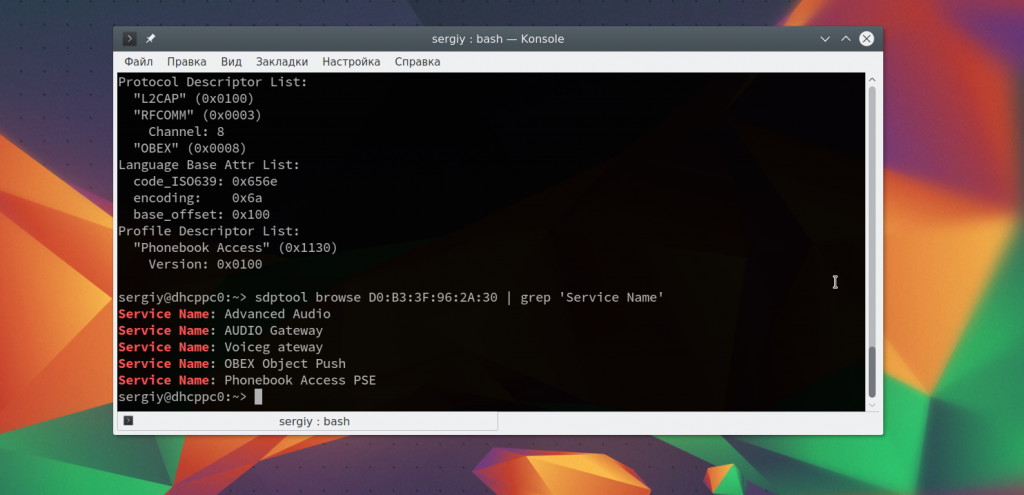
Вы можете сразу отфильтровать какие возможности поддерживает обнаруженное устройство:
sdptool browse D0:B3:3F:96:2A:30 | grep ‘Service Name:’
Также вы можете использовать интерактивный инструмент bluetoothctl:
[bluetooth]# info D0:B3:3F:96:2A:30
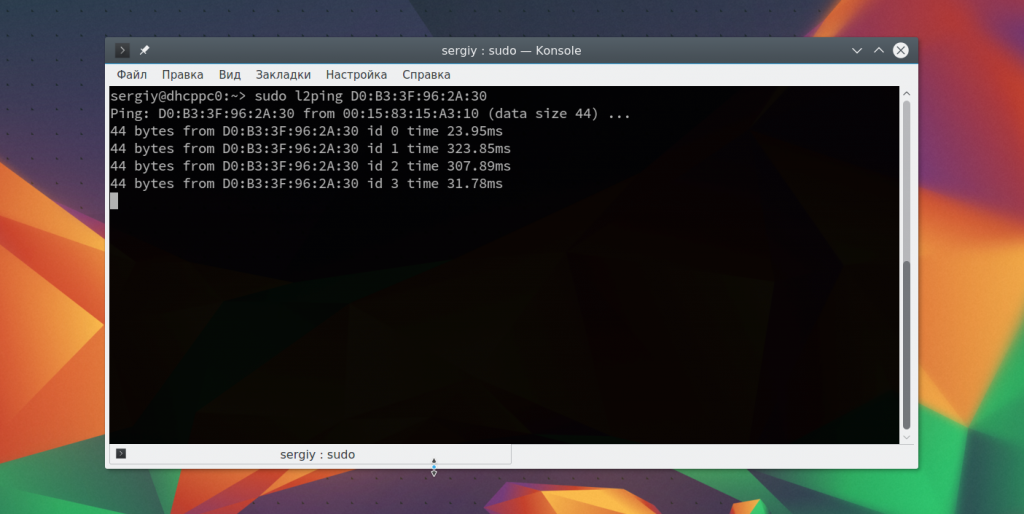
Также вы можете проверить доступность удаленного устройства с помощью утилиты ping:
Сопряжение устройств
Для совместной работы устройств Bluetooth нужно настроить их сопряжение. Для этого используется команда RFCOMM. Эта команда требует полномочий суперпользователя. Синтаксис команды такой:
sudo rfcomm connect устройство_адаптера mac_адрес_цели канал
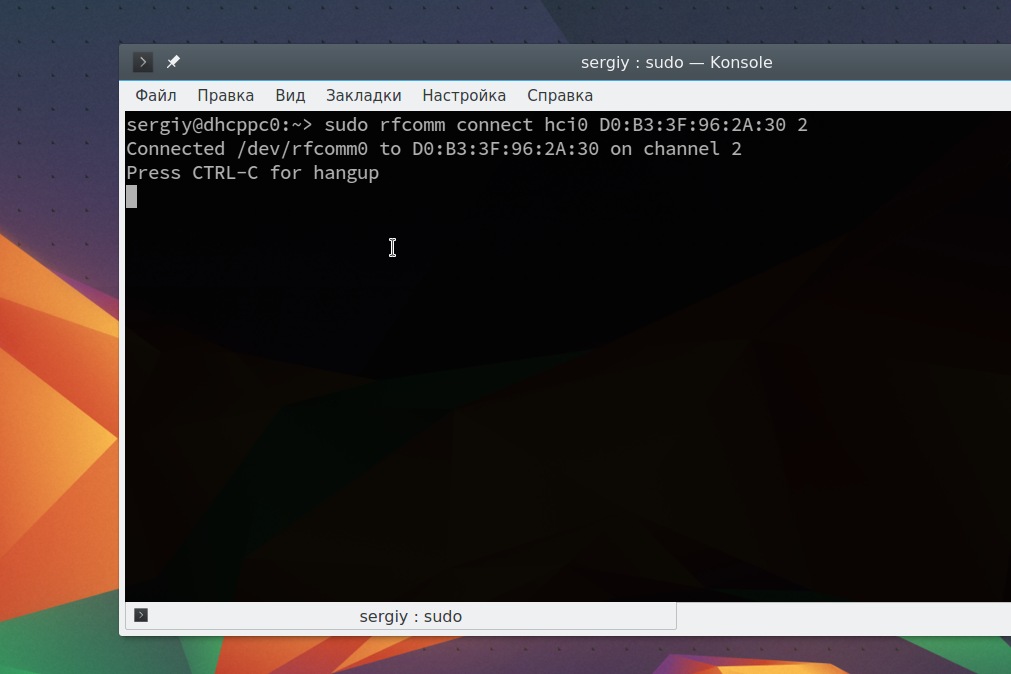
Например, подключимся к нашему устройству на втором канале:
sudo rfcomm connect hci0 D0:B3:3F:96:2A:30 2
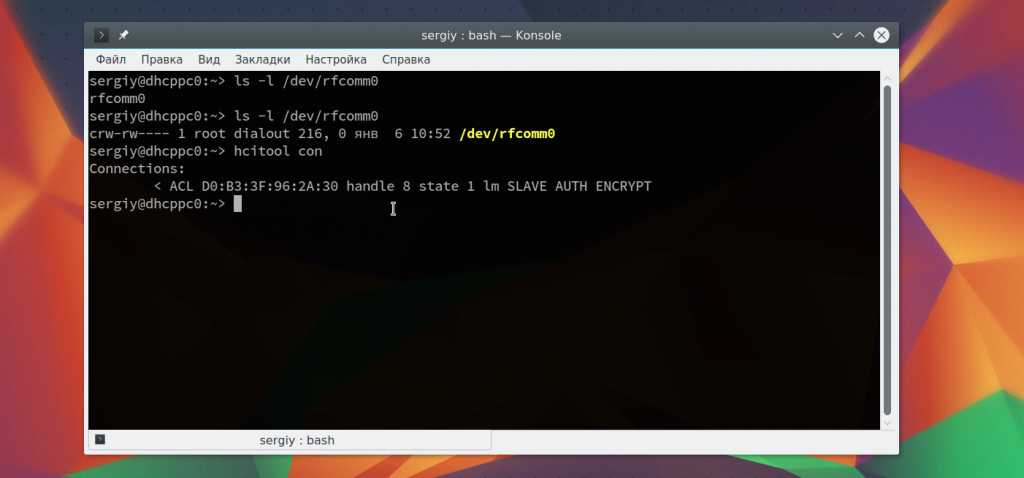
Теперь на другом устройстве появиться запрос на соединение и вам нужно будет ввести одинаковый pin на обоих устройствах. После этого оно будет доступно через файл /dev/rfcomm0. Не закрывайте терминал, чтобы соединение оставалось активным. Вы можете посмотреть список подключений с помощью hcitool:
Отправка и прием файлов по OBEX
Дальше вы можете очень просто отправить файл на удаленное устройство с помощью протокола OBEX. Синтаксис:
sudo bt-obex -p MAC_адрес_устройства /путь/к/файлу
sudo bt-obex -p D0:B3:3F:96:2A:30 ~/img/some_pic.png
Чтобы получить файл вам нужно запустить сервис obex в режиме прослушивания с помощью опции -s:
bt-obex -s /path/to/output/folder
Здесь вам нужно указать путь к папке, куда нужно сохранить полученный файл. После выполнения этих настроек Bluetooth Ubuntu, вы можете передать любой файл с телефона. Вы также можете запустить FTP сеанс с устройством, для просмотра файлов, которые на нем есть:
sudo bt-obex -f MAC_адрес_устройства
Интернет через Bluetooth
Раньше использование Dial-up сети было очень популярным. Сейчас эта технология почти не используется. Но, возможно, понадобиться раздать интернет от вашего телефона на компьютер. Для этого можно использовать два протокола: DUN — более старый и BNEP, более похожий на работу локальной сети.
Чтобы определить поддерживает ли устройство работу по протоколу DUN нужно использовать правильный канал rfcomm. Нужно использовать канал 15:
sudo rfcomm bind D0:B3:3F:96:2A:30 15
Если протокол поддерживается, то у вас появиться устройство rfcomm0. Дальше вы можете использовать NetworkManager для подключения к сети.
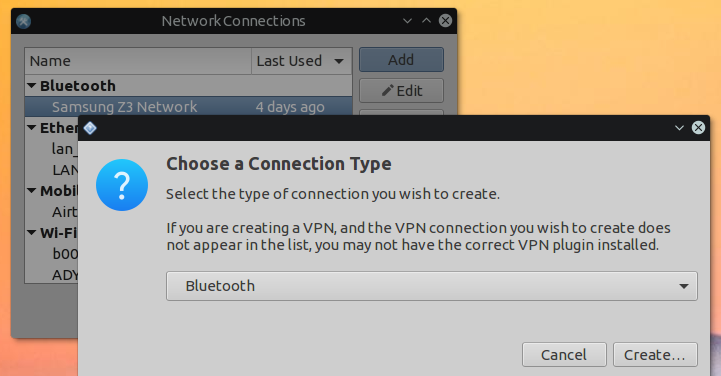
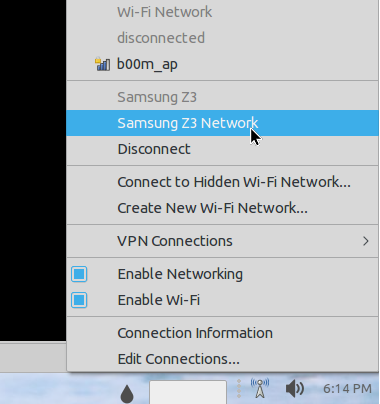
Что касается BNEP, то здесь вам уже не нужно использовать rfcomm, все протоколы будут обрабатываться bluez. Все что нужно, это Bluez и NetworkManager. Добавьте новое соединение Bluetooth:
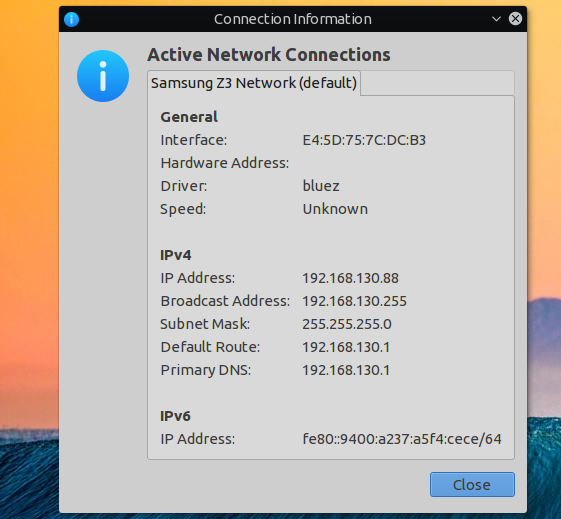
Дальше вы можете посмотреть информацию о подключении и использовать сеть:
Выводы
В этой статье мы рассмотрели как выполняется настройка Bluetooth Ubuntu 16.04. Все работает очень просто, и хотя в графическом интерфейсе может быть не совсем понятно как что настроить, то в терминале все точно и понятно. Если у вас остались вопросы, спрашивайте в комментариях!
Обнаружили ошибку в тексте? Сообщите мне об этом. Выделите текст с ошибкой и нажмите Ctrl+Enter.
How to Configure Bluetooth On Debian
Suppose your laptop or computer has WiFi or Bluetooth hardware installed. In that case, there is a chance that Debian won’t recognize it automatically after you’ve installed Debian on your computer, as many other Linux distributions do. It’s because Debian does not include these drivers by default. But, you can easily install the required drivers from the official Debian non-free repository and get them to work on Debian.
In this article, I will show you how to enable and configure Bluetooth on Debian 10. So, let’s get started.
Table of Contents
Installing Bluetooth Drivers
Most laptops these days have one of the many versions of the Intel CNVi wireless adapters installed on them, and these adaptors usually provide WiFi and Bluetooth support for these devices. So, to get Bluetooth working on your Debian machine, you have to install the iwlwifi firmware on your computer.
NOTE: My test computer has the Intel Wireless-AC 9560D2W card installed. It provides Bluetooth and WiFi functionality for my test computer.
First, enable the Debian official non-free package repository with the following command:
The Debian official non-free package repository should be enabled.
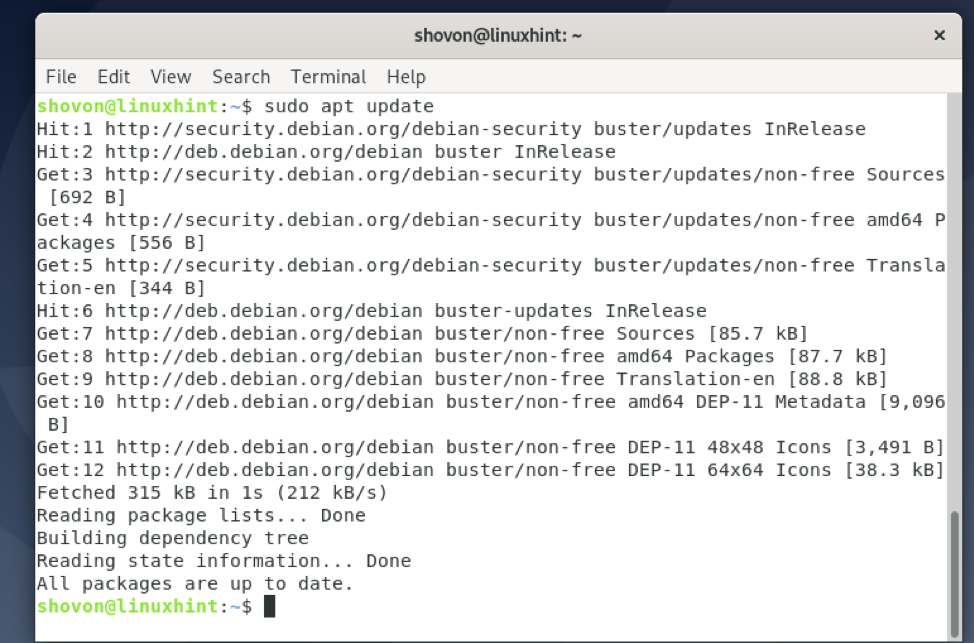
Update the APT package repository cache with the following command:
The APT package repository cache should be updated.
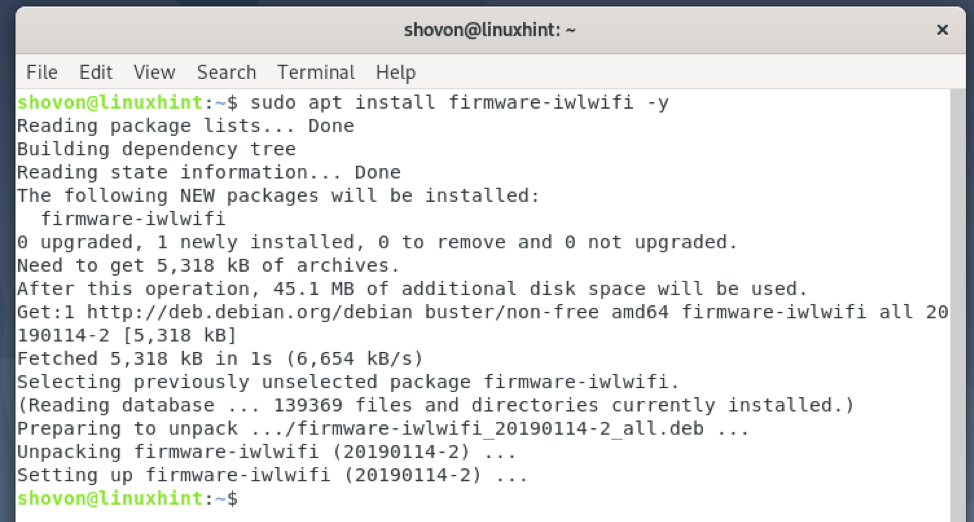
Now, install the iwlwifi firmware with the following command:
The iwlwifi firmware is being installed. It may take a few seconds to complete.
The iwlwifi firmware should be installed.
For the changes to take effect, reboot your computer with the following command:
Getting the Bluetooth Adapter Ready
You can use rfkill to find out whether your computer has detected the installed Bluetooth hardware of your computer.
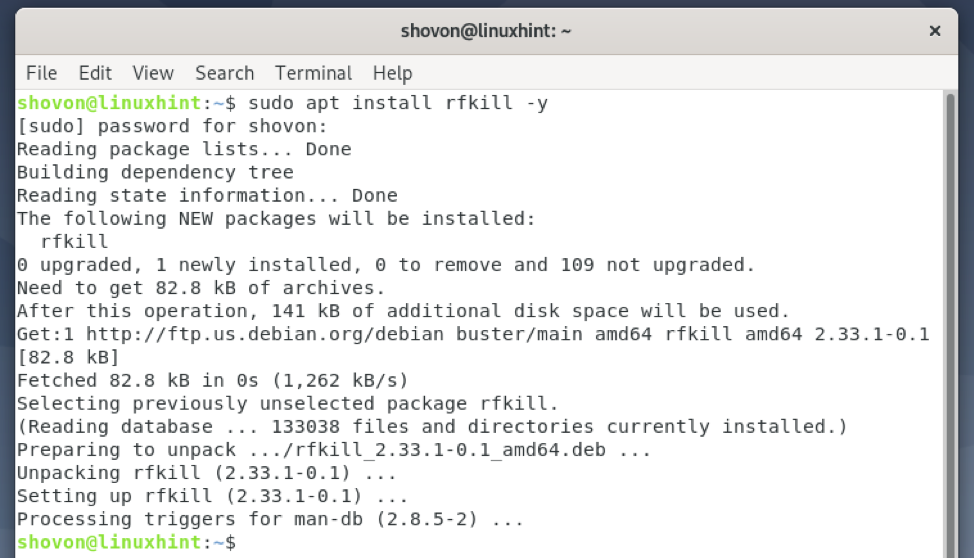
First, install the rfkill package with the following command:
rfkill should be installed.
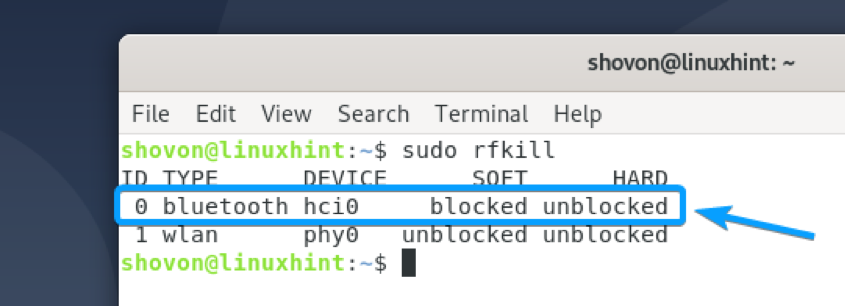
Run rfkill as follows:
All the wireless hardware (i.e., Wi-Fi and Bluetooth) installed on your computer should be listed.
As you can see, a Bluetooth device is available on the list. It has the ID 0 on my computer. On your computer, the ID may be something other than 0. So, make sure to replace it with yours from now on.
In some cases, Bluetooth may be blocked on your computer.
To use the Bluetooth hardware, you will have to unblock it as follows:
NOTE: Here, 0 is the ID of the Bluetooth device.
As you can see, the Bluetooth device is unblocked. Now, it’s ready to be used.
Using GNOME Bluetooth to Connect to Bluetooth Devices
GNOME Bluetooth is the default Bluetooth manager app for the GNOME 3 desktop environment. GNOME Bluetooth is tightly integrated with the GNOME 3 desktop environment. So, you will have an amazing experience using it.
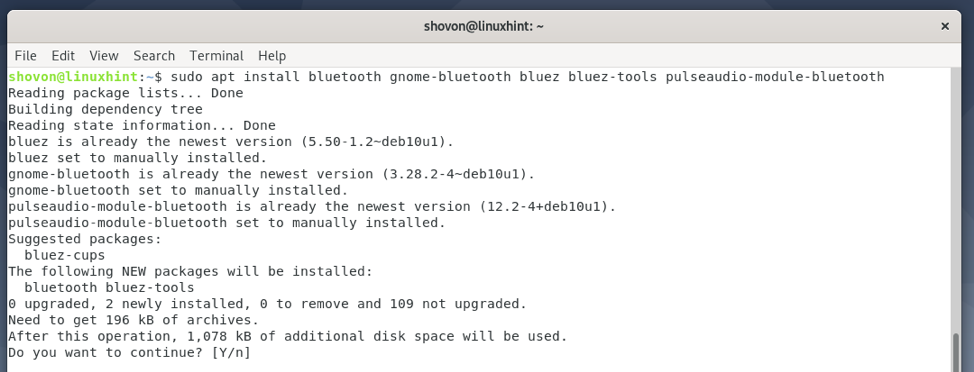
You can install all the required packages to set up GNOME Bluetooth on Debian 10 with the following command:
To confirm the installation, press Y and then press .
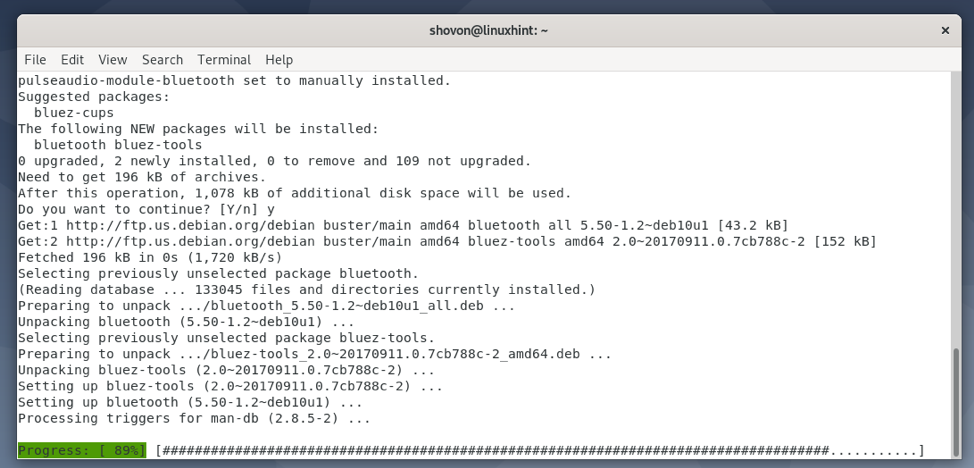
GNOME Bluetooth and all the required dependency packages are being installed. It may take a few seconds to complete.
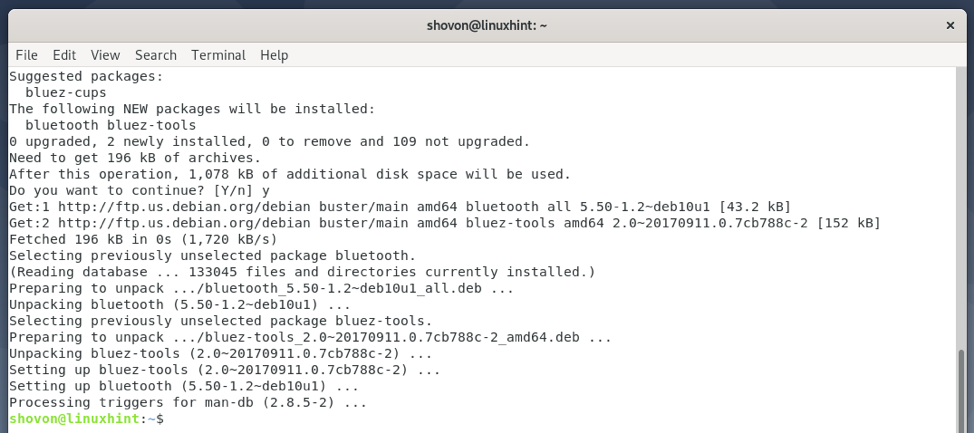
At this point, GNOME Bluetooth and other required packages should be installed.
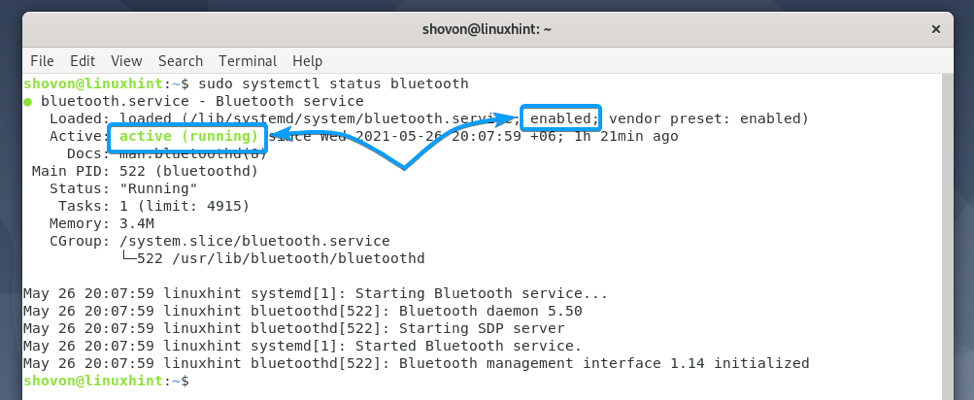
Now, check the status of the Bluetooth service as follows:
The Bluetooth service should be active/running and enabled as marked in the screenshot below.
In case the Bluetooth service is not active/running, you can start it with the following command:
In case the Bluetooth service is not enabled, you can enable it with the following command:
Once GNOME Bluetooth is installed and the Bluetooth service is active/running, you can navigate to the Bluetooth section of the GNOME Settings app and connect to your Bluetooth devices from there.
To learn how to use GNOME Bluetooth, read the Connecting to a Bluetooth Device using GNOME Bluetooth section of the article How to Connect to a Bluetooth Device on Arch Linux.
Using Bluedevil to Connect to Bluetooth Devices
Bluedevil is the default Bluetooth manager app for the KDE desktop environment. Bluedevil is tightly integrated with the KDE desktop environment. So, you will have an amazing experience using it.
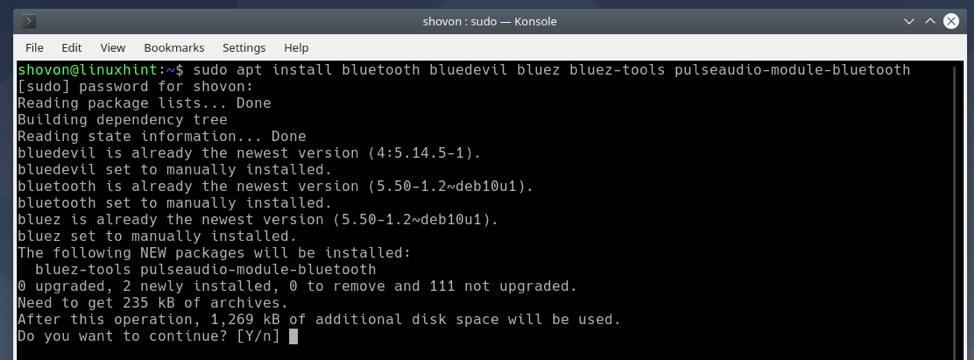
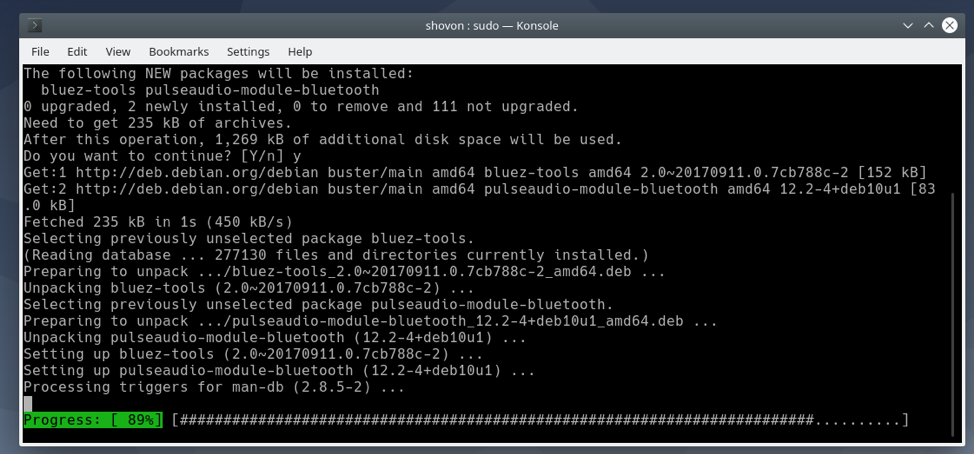
You can install all the required packages to set up Bluedevil on Debian 10 with the following command:
To confirm the installation, press Y and then press .
Bluedevil and all the required dependency packages are being installed. It may take a few seconds to complete.
At this point, Bluedevil and other dependency packages should be installed.
Now, check the status of the Bluetooth service as follows:
The Bluetooth service may not be running.
The Bluetooth service should be enabled.
In case the Bluetooth service is not active/running, you can start it with the following command:
In case the Bluetooth service is not enabled, you can enable it with the following command:
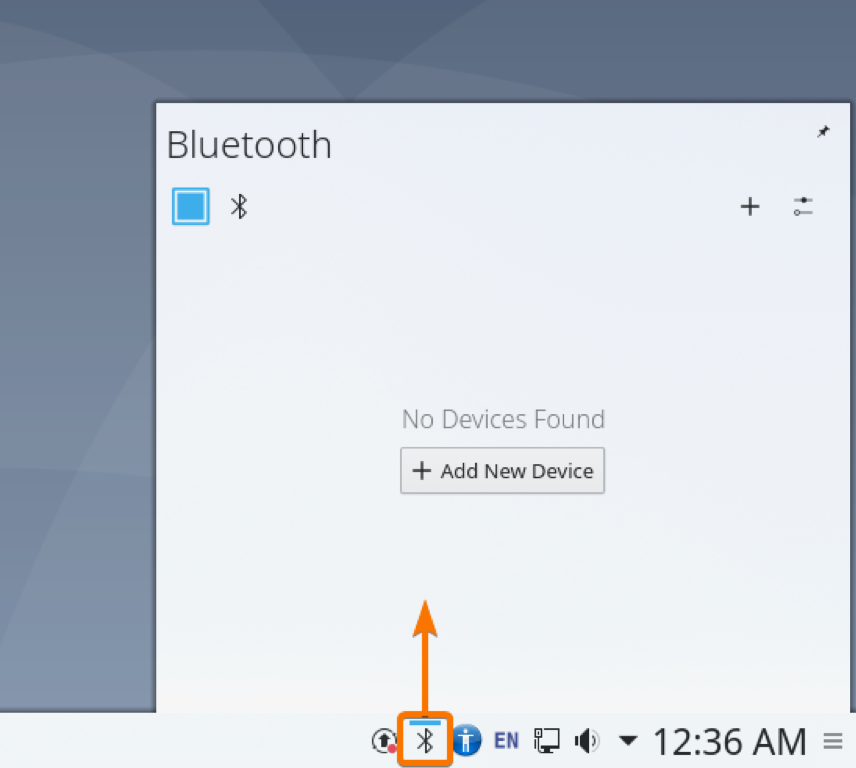
Once Bluedevil is installed and the Bluetooth service is active, you can click on the Bluetooth icon ( ) from the KDE panel to bring up the Bluetooth applet.
You can manage your Bluetooth devices from here.
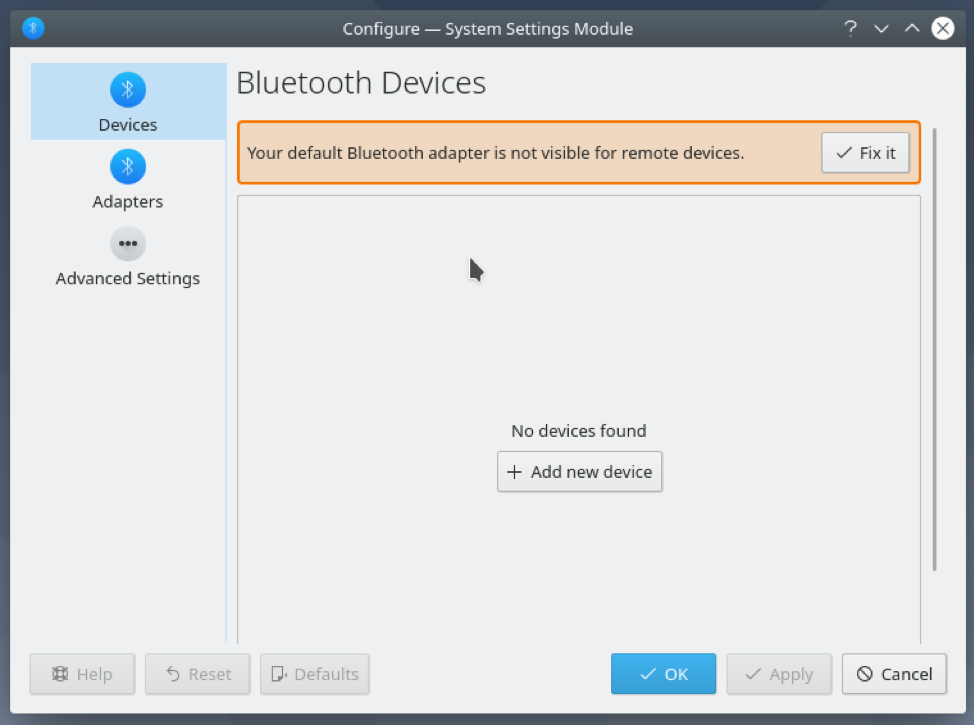
You can also right-click (RMB) on the Bluetooth icon ( ) from the KDE panel and click on Configure Bluetooth… as marked in the screenshot below to bring up the Bluetooth System Settings window.
From this window, you can manage your Bluetooth devices from here as well.
To learn how to connect to Bluetooth devices with Bluedevil, read the Connecting to a Bluetooth Device using Bluedevil section of the article How to Connect to a Bluetooth Device on Arch Linux.
Using Blueman to Connect to Bluetooth Devices
Blueman is a third-party Bluetooth manager. If you want, you can also use it to manage your Bluetooth devices.
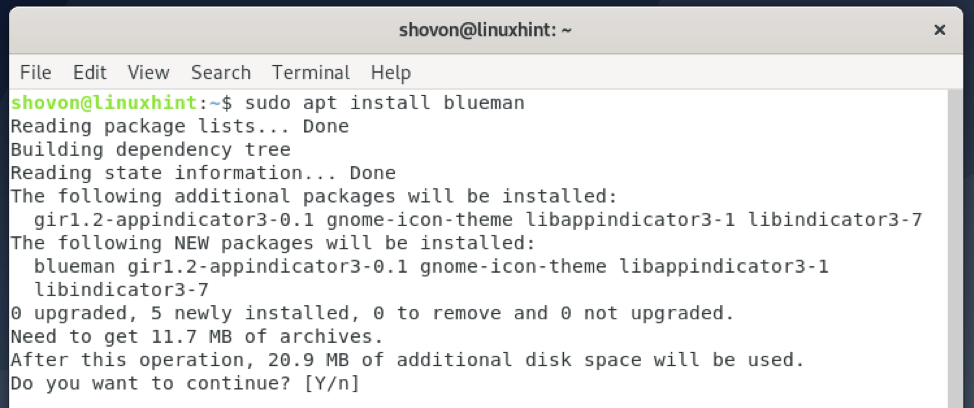
You can install Blueman on Debian 10 with the following command:
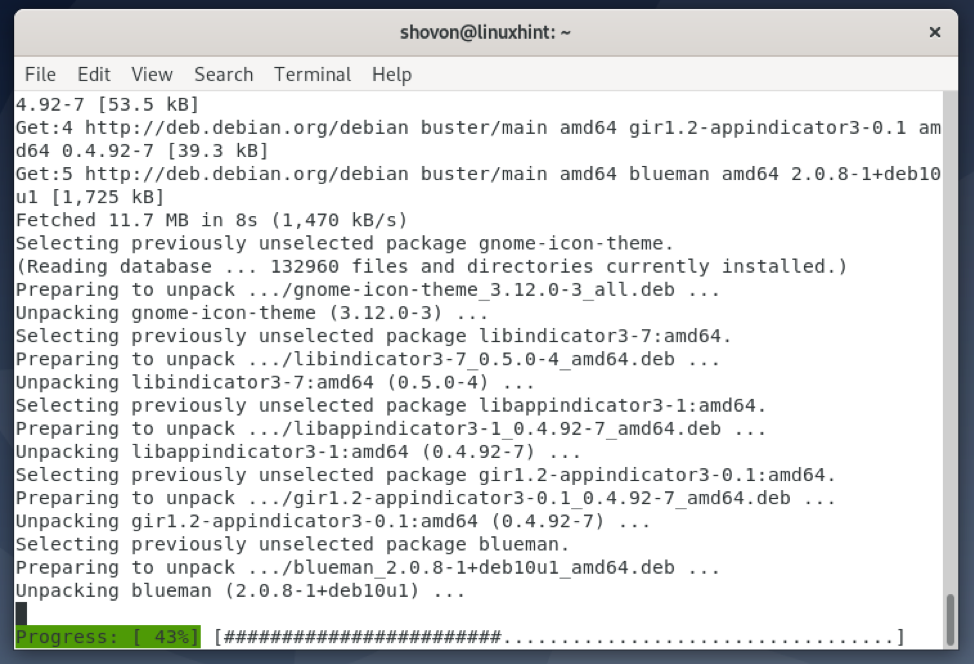
To confirm the installation, press Y and then press .
Blueman is being installed. It may take a while to complete.
At this point, Blueman should be installed.
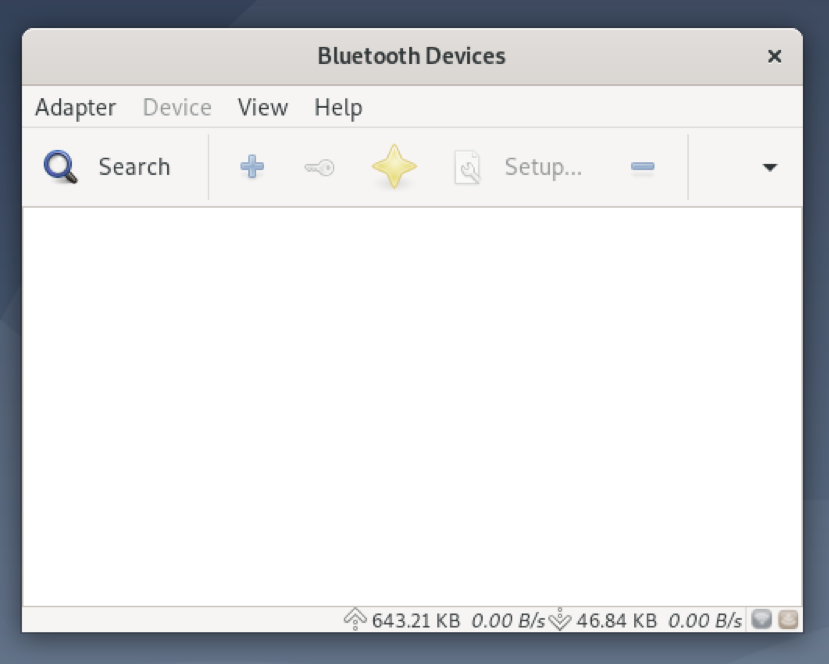
Once Blueman is installed, you can start it from the Application Menu of your computer.
The Blueman app should start. You can manage your Bluetooth devices from here.
To learn how to connect to Bluetooth devices with Blueman, read the Blueman for Connecting to a Bluetooth Device section of the article How to Connect to a Bluetooth Device on Arch Linux.
Conclusion
In this article, I have shown you how to install Bluetooth drivers on Debian and configure it. I have also shown you how to set up the GNOME 3 desktop environment and the KDE desktop environment for using Bluetooth. I have shown you how to install a third-party Bluetooth manager Blueman on Debian as well.
References
About the author
Shahriar Shovon
Freelancer & Linux System Administrator. Also loves Web API development with Node.js and JavaScript. I was born in Bangladesh. I am currently studying Electronics and Communication Engineering at Khulna University of Engineering & Technology (KUET), one of the demanding public engineering universities of Bangladesh.
