- Install Brackets Code Editor On Ubuntu 20.04
- Installing Brackets Code Editor Via Terminal:
- Installing Brackets Code Editor Via Software Center:
- How to Use Brackets Code Editor?
- Uninstalling Brackets from Your System
- Method 1:
- Method 2:
- Conclusion
- About the author
- Aqsa Maqbool
- How to Install Brackets on Linux
- Brackets features
- How to install Brackets
- Ubuntu + Ubuntu-based
- Fedora
- Arch Linux
- Install Brackets Editor In Ubuntu, Mint and Other Linux Distributions
- Method 1: Install Brackets using Snap
- Method 2: Install Brackets as a Flatpak (for Fedora and others)
- Method 3: Install Brackets using DEB package or source code
- Remove Brackets
- Установка Brackets в Ubuntu
Install Brackets Code Editor On Ubuntu 20.04
![]()
In Linux, Ubuntu is a well-known distribution system because it has many modern tools that help to develop a variety of software applications.
For web and frontend development, there is a tool that is called “Brackets”. It is a lightweight and powerful text editor created by Adobe systems using web-based technologies. Brackets is a multi-platform application that runs on macOS, Windows, and the majority of Linux distributions.
It provides different features; some notable ones are mentioned below:
- It can edit HTML, CSS, and JavaScript in real-time.
- It supports different extensions which enhance the functionality of the program.
- It allows you to work on two different files simultaneously.
- It allows quick inline editing to edit CSS, color properties, and JavaScript elements.
- The web browser displays the output associated with that code right away, when a user selects a source code in CSS/HTML, this feature is called “live preview.
- It supports multiple file formats.
We have two ways to install Brackets on Ubuntu 20.04:
- Installing brackets code editor via terminal
- Installing Brackets code editor via Software center
Installing Brackets Code Editor Via Terminal:
Snap command is a very convenient and recommended method to install brackets that handles the canonical package software. Type the command shown below:

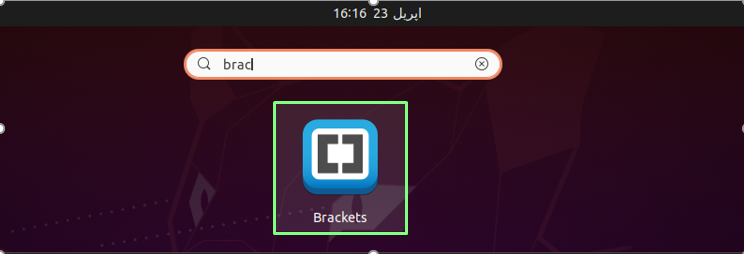
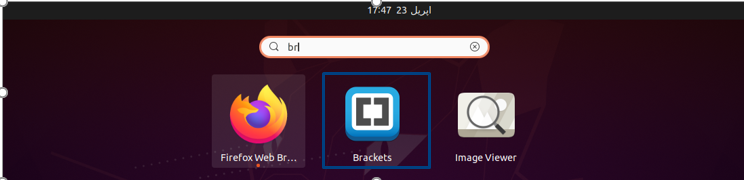
Once the installation process is completed, type “bracket” in the application search bar, then click on the “Brackets” to open it:
Installing Brackets Code Editor Via Software Center:
Another method to install brackets code editor is by using the Ubuntu software center. It is an official store through which we can get any application.
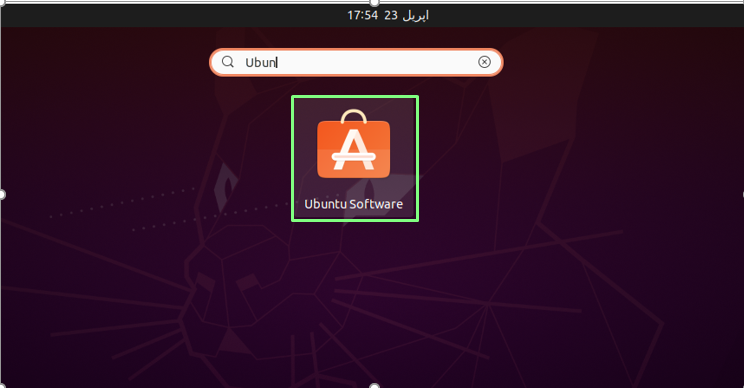
From the taskbar, click on the “Applications” icon and type “Ubuntu Software Center” in the search bar. Click “Ubuntu software” as demonstrated in the image below:
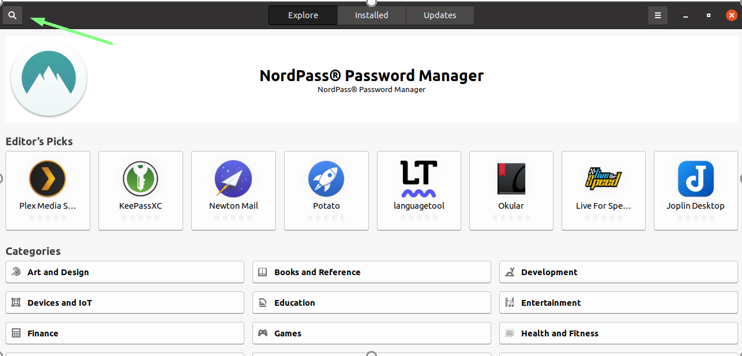
Then click on the top left search icon, and type “Brackets”.
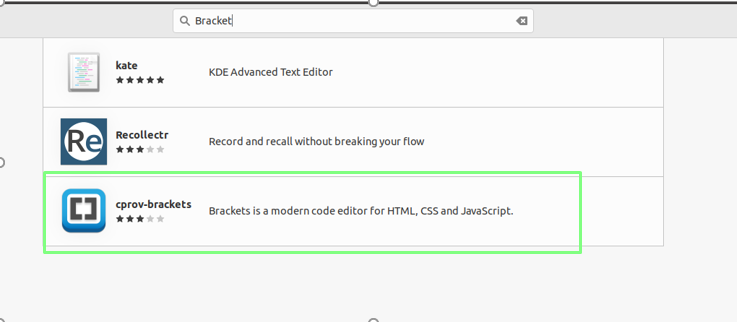
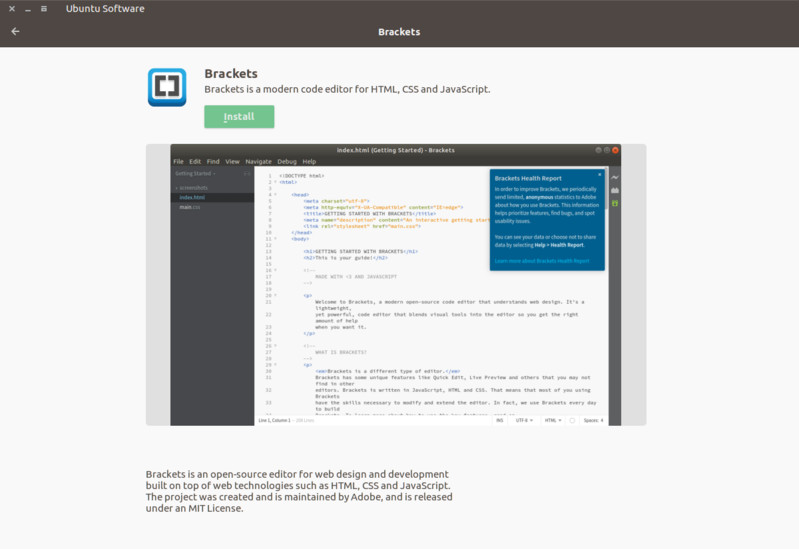
Wait for a couple of moments, it will show some results, then select the “Brackets”.
Click on the “Install” button.

Once the installation is completed, search Brackets from the application menu.
How to Use Brackets Code Editor?
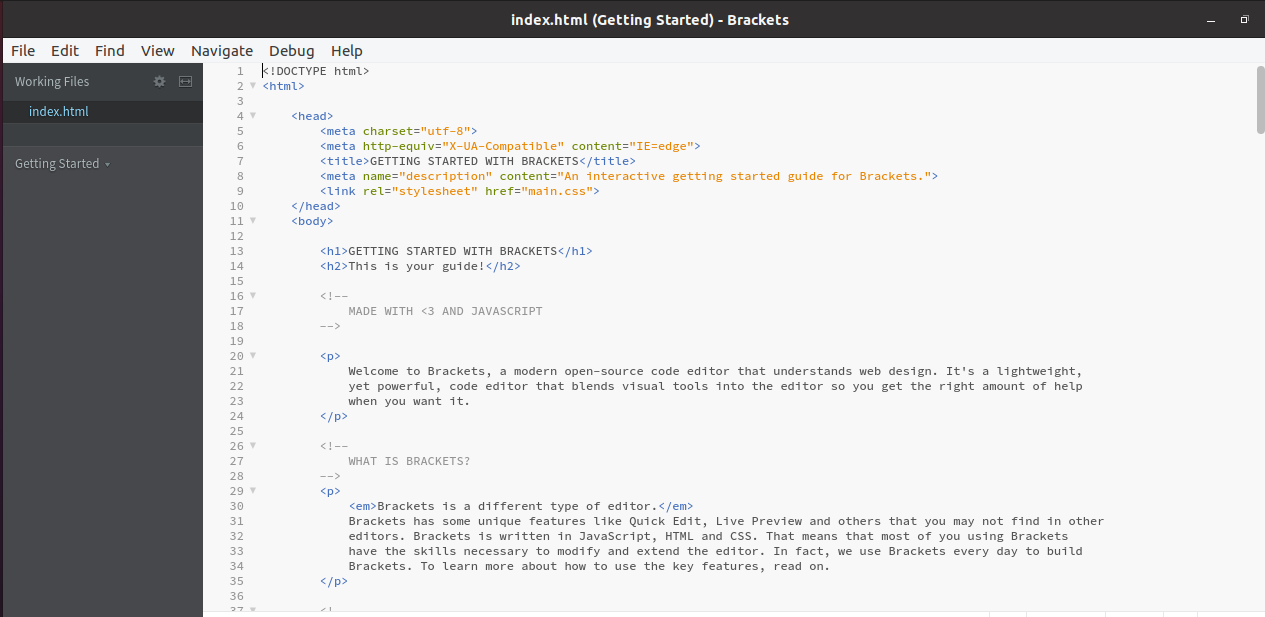
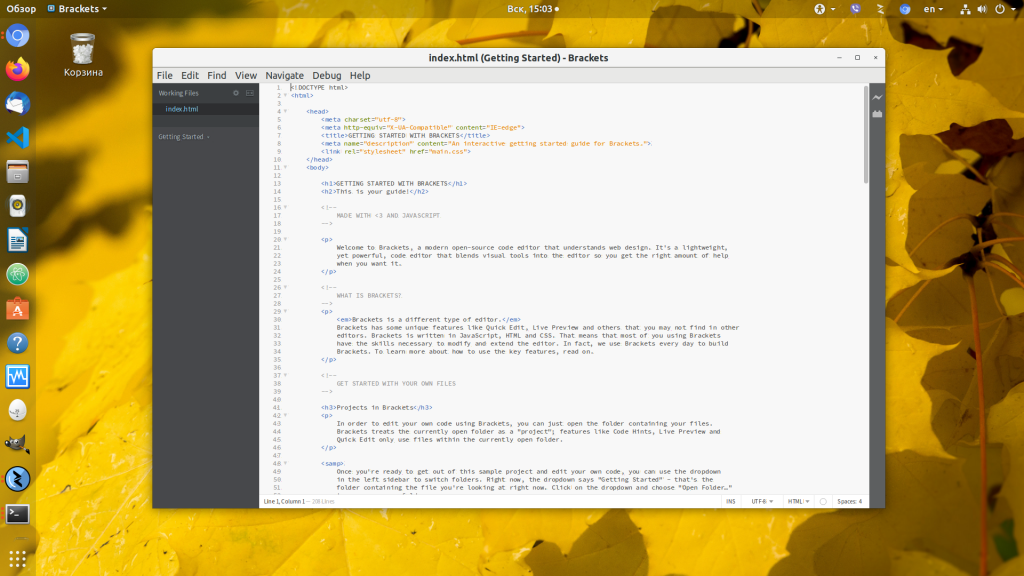
Open the “Brackets” editor; you can see a preloaded file (HTML code) that contains all the information about the editor.
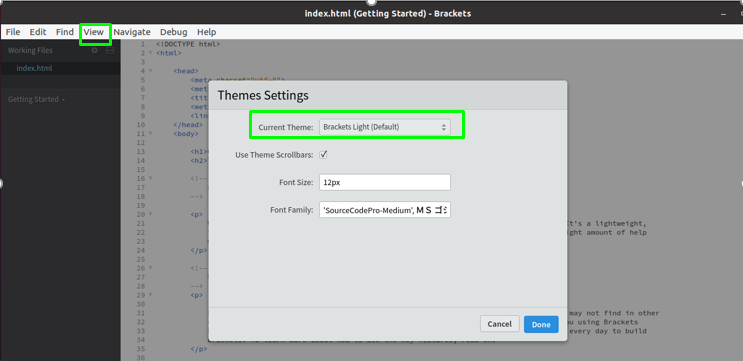
If you don’t prefer a light theme, you can change it through “Theme settings” in the “view” drop-down menu.
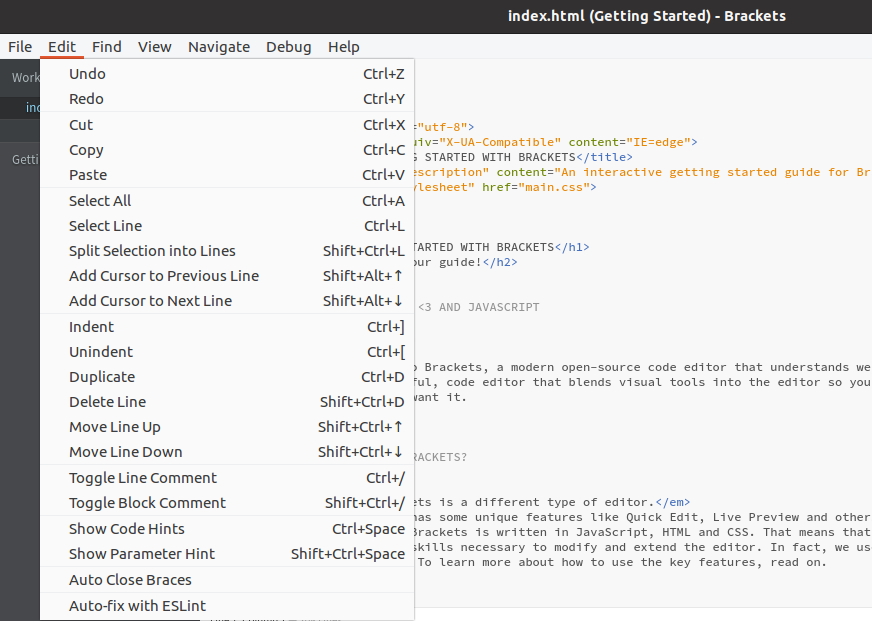
In the “edit” drop-down menu, you can get a number of code editing options, such as adding indentation, toggling comments, getting code hints, and so on.
On the right side of the panel, there is the “Extension Manager” icon through which you can install the extensions to make your work more efficient.

Uninstalling Brackets from Your System
It is very simple to uninstall “Brackets Editor” from your system, and the procedure varies depending on the installation method.
Method 1:
If you installed “Brackets” with the “snap” command, then open the terminal and execute the mentioned command to uninstall it:

Method 2:
If you used Ubuntu Software Center to install Brackets, all you have to do now is open it from the applications. Select the “Installed” tab, and a list of installed applications will display. Search “Brackets” and click “Remove” to uninstall it.

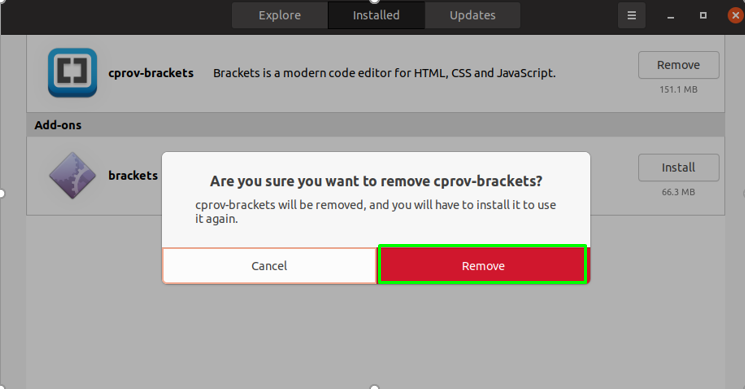
When you click on the “Remove” button, a new window will come out asking whether you want to remove it or not. To delete it from your system, click “Remove”:
Enter your “Password” for authentication.
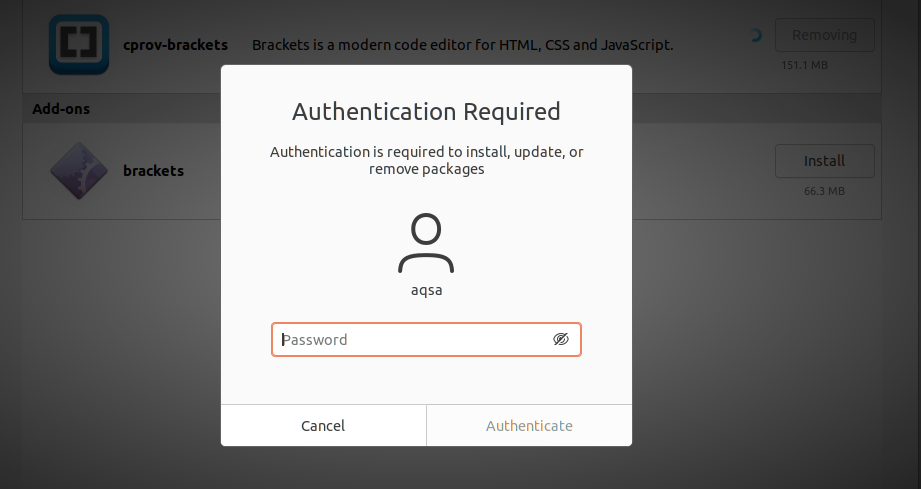
The “Brackets code editor” will be removed from the system.
Conclusion
In this write-up, we have explained how to install brackets editor through snap command and Ubuntu software center. Also, we have seen how to remove it from Ubuntu. “Brackets” is an efficient code editor designed for front-end development. It blends visual resources into the source code editor to provide the appropriate amount of assistance to web developers without interfering with their creative process.
About the author
Aqsa Maqbool
As a Software engineer, I am passionate to write about various IT related
articles but have deep interest in Linux. I spend most of my time reading Linux related blogs and IT related books. I want to serve the world with my writing skills.
How to Install Brackets on Linux

For web devs, a smart & powerful text editor is the most essential. The codes of a website are saved into plain text files with different file extensions, that’s all. Brackets is a really powerful, flexible and highly user-friendly text editor for every programmer. Developed by Adobe, Brackets is really awesome.
Brackets features
Dreamweaver is the ultimate weapon of every web developer’s arsenal. However, it’s a paid software and requires Windows. The web platform is mostly developed on Linux, so having a nice text editor is a great relief. For any programmer, Brackets is a suitable choice. There are many reasons why you should start using Brackets.
- Lightweight
- Inline editor
- Tons of handy add-ons in the collection
- Live preview
- Preprocessor support (SCSS, LESS etc.)
- Beautiful theming
- Code suggestion
How to install Brackets
For Windows users, Brackets is easily available as an installer. Get it on Brackets official site.
However, for Linux users, Brackets has to be installed through some difficulties. Don’t worry, as they’re quite simple.
Ubuntu + Ubuntu-based
Ubuntu is the most popular & user-friendly Linux distro of all. Moreover, tons of other distros also use Ubuntu/Debian as the base. If your Linux distro is based on Ubuntu/Debian, follow these steps.

cd ~/Downloads sudo dpkg -i Brackets.Release.1.12.64-bit.deb sudo apt install -f
Fedora
Adobe didn’t make any official edition for Fedora, unfortunately. However, thanks to some really dedicated users, it’s available to install.
At first, enable the “Copr” repository on Fedora.
sudo dnf copr enable mosquito/brackets
sudo dnf install brackets
Arch Linux
For Arch & Arch-based distros, follow these steps to install Brackets.
sudo Pacman -S git git clone https://aur.archlinux.org/brackets-bin.git cd brackets-bin makepkg -si sudo ln -s /opt/google/chrome/google-chrome /bin/google-chrome
Note that Brackets use Google Chrome for “Live Preview” feature. You need to install Chrome for having error-free usage.
Alright! It’s time to code with Brackets, folks!
There’s also one awesome, powerful & free video editor available. It’s cross-platform and incredibly simple to use. Learn how to install OpenShot Video Editor on Linux.
Install Brackets Editor In Ubuntu, Mint and Other Linux Distributions
Brackets is one of the best open source code editors. It is developed by Adobe and is focused on web designers and front-end developers. Brackets is built in and for HTML, CSS and JavaScript. In this article, we shall see how to install Brackets in Ubuntu, Linux Mint and few other Linux distributions.
Since I am not a web developer, perhaps I may not do justice reviewing Brackets editor. However, if you are interested, you can read a fine review here.
Method 1: Install Brackets using Snap
Brackets is available as Snap app. You can find it in Software Center and install it from there in a few clicks.
If you want to go the command line way, you can use the Snap commands to install Brackets. This will work for all the Linux distributions that support Snap packaging. Just make sure that your distribution has Snap support enabled.
Once you have made sure that snapd is installed on your Linux system, install Brackets using the command below:
sudo snap install brackets --classicThat’s it. It takes some time but you’ll have it installed in a few minutes.
If you want to remove it afterward, use this command:
sudo snap remove bracketsMethod 2: Install Brackets as a Flatpak (for Fedora and others)
Brackets is also available as Flatpak for Fedora and other distributions that support Flatpak packaging.
If your Linux system has Flatpak support enabled, add the FlatHub repository first:
flatpak remote-add --if-not-exists flathub https://flathub.org/repo/flathub.flatpakrepoAnd then install Brackets:
flatpak install flathub io.brackets.BracketsIt takes some time depending on your internet connection. Just wait and watch for it.
If you want to remove it later on. you can use the following command:
flatpak uninstall io.brackets.BracketsMethod 3: Install Brackets using DEB package or source code
If you do not like PPAs, you can get the .deb installation files from the link below. You will also get the source code of the latest version there.
These .deb binaries can be installed by double-clicking on it. It will be opened in Ubuntu Software Center by default. You can use a lighter alternative Gdebi as well.
The same methods should also work in other Linux distributions based on Ubuntu such as Pinguy OS, LXLE, Elementary OS, Peppermint, Deepin, Linux Lite etc.
Remove Brackets
If you did not like Brackets, you can easily remove it.
If you installed it from DEB package or Software Center, you can remove it from there itself.
If you used snap command, you can use the command below to remove Brackets:
sudo snap remove bracketsIf you used the PPA, you can remove it using the following commands:
sudo apt-get remove bracketssudo add-apt-repository --remove ppa:webupd8team/bracketsI hope this helped you to install Brackets in Ubuntu and other Linux distributions. What do you think of Brackets? Is Brackets better than Atom text editor? Do share your views.
Установка Brackets в Ubuntu
Brackets — IDE для веб-программистов, разработаная на основе Chromium Embedded Framework (CEF) с использованием CSS, HTML, JavaScript компанией Adobe.
Распространяется Brackets как открытое программное обеспечение под лицензией MIT. Это новая среда, которая радует своими интересными функциями:
- Режим LiveView — просмотр эффекта от изменений в коде на ходу: вы меняете код и сразу видите результат в браузере.
- Подсветка синтаксиса.
- Интересное автодополнение кода.
- Inline-редактирование — эта функция позволяет одновременно редактировать несколько файлов в одном окне, не переключаясь между ними.
- Поиск в документации.
- Огромное количество плагинов.
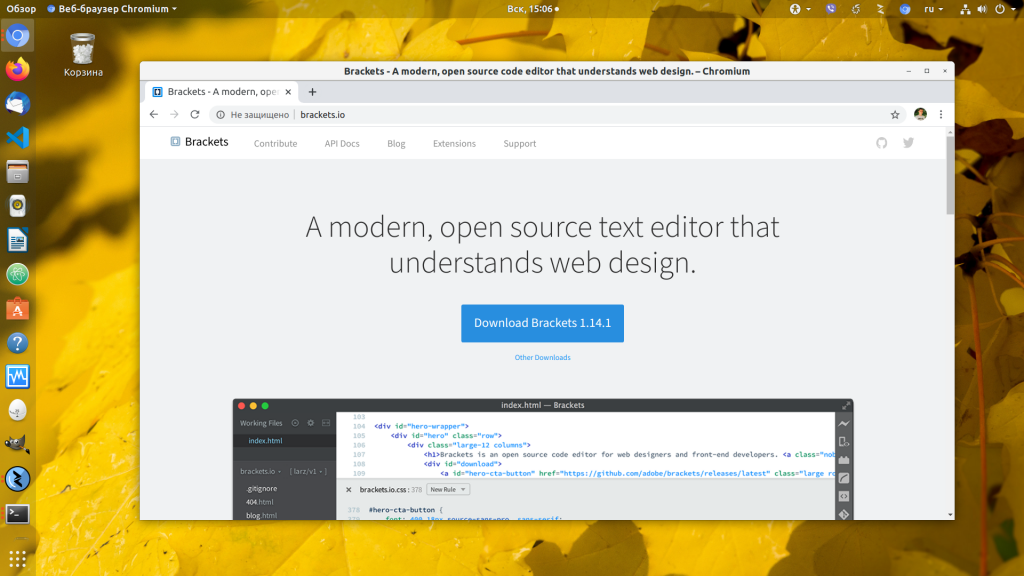
Установка Brackets Ubuntu выполняется очень просто. Сначала зайдите на официальный сайт проекта brackets.io и скачайте инсталлятор в формате deb:
Затем найдите скачанный файл в файловом менеджере и откройте его в менеджере приложений:
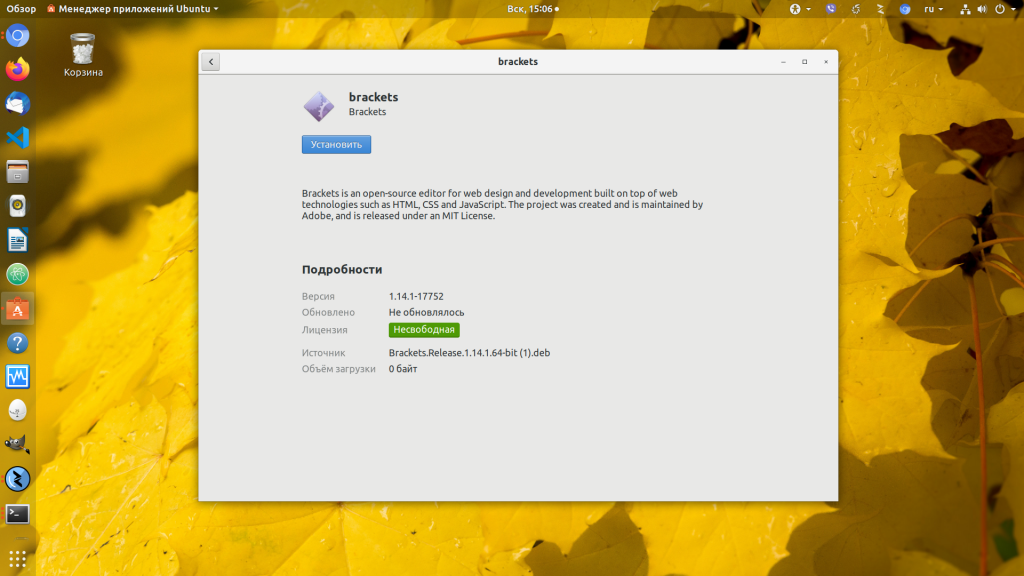
Осталось нажать кнопку Установить, ввести пароль и дождаться завершения установки. Вот и всё, Brackets установлена, иконку программы можно найти в главном меню.
Кроме того, для установки этой среды можно воспользоваться пакетным менеджером snap:
snap install —classic brackets
Пользоваться или не пользоваться — это уже ваш выбор, но попробовать эту среду должен каждый веб-разработчик.
Обнаружили ошибку в тексте? Сообщите мне об этом. Выделите текст с ошибкой и нажмите Ctrl+Enter.