- Installing CMake
- Quick list (more info on each method below)
- Official package
- CMake Default Versions
- Windows
- MacOS
- Linux
- RHEL/CentOS
- Ubuntu
- Debian
- Other
- General tools
- CI
- Full list
- Pip
- results matching " "
- No results matching " "
- Установка CMake в Ubuntu
- Установка CMake в Ubuntu
- 1. Менеджер приложений
- 2. Менеджер пакетов snap и apt
- 3. Сборка CMake из исходников
- Как удалить CMake?
Installing CMake
Your CMake version should be newer than your compiler. It should be newer than the libraries you are using (especially Boost). New versions work better for everyone.
If you have a built in copy of CMake, it isn’t special or customized for your system. You can easily install a new one instead, either on the system level or the user level. Feel free to instruct your users here if they complain about a CMake requirement being set too high. Especially if they want 3.1+ support. Maybe even if they want 3.26+ support.
Quick list (more info on each method below)
Ordered by author preference:
- All
- Pip(x) (official, often updates same-day)
- Anaconda / Conda-Forge
- Winget
- Chocolatey
- Scoop
- MSYS2
- Download binary (official)
- Homebrew
- MacPorts
- Download binary (official)
- Snapcraft (official)
- APT repository (Ubuntu/Debian only) (official)
- Download binary (official)
Official package
You can download CMake from KitWare. This is how you will probably get CMake if you are on Windows. It’s not a bad way to get it on macOS either (and a Universal2 version is supplied supporting both Intel and Apple Silicon), but using brew install cmake is much nicer if you use Homebrew (and you should; Apple even supports Homebrew such as during the Apple Silicon rollout). You can also get it on most other package managers, such as Chocolatey for Windows or MacPorts for macOS.
On Linux, there are several options. Kitware provides a Debian/Ubuntu apt repository, as well as snap packages. There are universal Linux binaries provided, but you’ll need to pick an install location. If you already use ~/.local for user-space packages, the following single line command 1 will get CMake for you 2 :
~ $ wget -qO- "https://cmake.org/files/v3.26/cmake-3.26.0-linux-x86_64.tar.gz" | tar --strip-components=1 -xz -C ~/.localThe names changed in 3.20; older releases had names like cmake-3.19.7-Linux-x86_64.tar.gz . If you just want a local folder with CMake only:
~ $ mkdir -p cmake-3.26 && wget -qO- "https://cmake.org/files/v3.26/cmake-3.26.0-linux-x86_64.tar.gz" | tar --strip-components=1 -xz -C cmake-3.26 ~ $ export PATH=`pwd`/cmake-3.26/bin:$PATH
You’ll obviously want to append to the PATH every time you start a new terminal, or add it to your .bashrc or to an LMod system.
And, if you want a system install, install to /usr/local ; this is an excellent choice in a Docker container, for example on GitLab CI. Do not try it on a non-containerized system.
docker $ wget -qO- "https://cmake.org/files/v3.26/cmake-3.26.0-linux-x86_64.tar.gz" | tar --strip-components=1 -xz -C /usr/localIf you are on a system without wget, replace wget -qO- with curl -s .
You can also build CMake on any system, it’s pretty easy, but binaries are faster.
CMake Default Versions
Here are some common build environments and the CMake version you’ll find on them. Feel free to install CMake yourself, it’s 1-2 lines and there’s nothing «special» about the built in version. It’s also very backward compatible.
Windows
Also Scoop is generally up to date. The normal installers from CMake.org are common on Windows, too.
MacOS
Homebrew is quite a bit more popular nowadays on macOS, at least according to Google Trends.
Linux
RHEL/CentOS
The default on 8 is not too bad, but you should not use the default on 7. Use the EPEL package instead.
Ubuntu
You should only use the default CMake on 18.04+; it’s an LTS release with a pretty decent minimum version!
Debian
Other
General tools
Just pip install cmake on many systems. Add —user if you have to (modern pip does this for you if needed). This does not supply Universal2 wheels yet.
CI
Distribution CMake version Notes TravisCI Xenial 3.12.4 Mid November 2018 this image became ready for widescale use. TravisCI Bionic 3.12.4 Same as Xenial at the moment. Azure DevOps 3.26.0 kept up to date GitHub Actions 20.04 3.26.0 Same runners as Azure DevOps If you are using GitHub Actions, also see the jwlawson/actions-setup-cmake action, which can install your selection of CMake, even in a docker action run.
Full list
Versions less than 3.10 are marked by a deeper color of red.
Pip
This is also provided as an official package, maintained by the authors of CMake at KitWare and several PyPA members, including myself. It’s now supported on special architectures, like PowerPC on Linux and Apple Silicon on macOS, and on MUSL systems like Alpine too. If you have pip (Python’s package installer), you can do:
gitbook $ pip install cmakeAnd as long as a binary exists for your system, you'll be up-and-running almost immediately. If a binary doesn't exist, it will try to use KitWare's scikit-build package to build, and will require an older copy of CMake to build. So only use this system if binaries exist, which is most of the time.
This has the benefit of respecting your current virtual environment, as well. It really shines when placed in a pyproject.toml file, however - it will only be installed to build your package, and will not remain afterwards! Fantastic.
This also, of course, works with pipx. So you can even use pipx run cmake to run CMake in a disposable virtual environment, without any setup - and this works out-of-the-box on GitHub Actions, since pipx is a supported package manager there!
Personally, on Linux, I put versions of CMake in folders, like /opt/cmake312 or ~/opt/cmake312 , and then add them to [LMod][]. See envmodule_setup for help setting up an LMod system on macOS or Linux. It takes a bit to learn, but is a great way to manage package and compiler versions.
1 . I assume this is obvious, but you are downloading and running code, which exposes you to a man in the middle attack. If you are in a critical environment, you should download the file and check the checksum. (And, no, simply doing this in two steps does not make you any safer, only a checksum is safer). ↩
2 . If you don't have a .local in your home directory, it's easy to start. Just make the folder, then add export PATH="$HOME/.local/bin:$PATH" to your .bashrc or .bash_profile or .profile file in your home directory. Now you can install any packages you build to -DCMAKE_INSTALL_PREFIX=~/.local instead of /usr/local ! ↩
results matching " "
No results matching " "
Установка CMake в Ubuntu
CMake — это набор инструментов, который позволяет создавать, тестировать и упаковывать программное обеспечение. Это семейство инструментов доступно сразу на нескольких платформах и распространяется под открытым исходным кодом. Чаще всего CMake применяют для упрощения процесса компиляции созданного ПО путём использования простых кроссплатформенных файлов конфигурации.Также с помощью CMake создаются специальные файлы makefile — наборы инструкций, которые позволяют использовать возможности компилятора в дальнейшем при автоматизации сборки.
Автором CMake является команда Kitware. Создание этого ПО было продиктовано необходимостью формирования мощной среды, которая могла бы работать сразу на нескольких платформах с проектами, где открыт исходный код (прежде всего — с Insight Segmentation and Registration Toolkit и Visualization Toolkit). В этом материале вы узнаете, как установить CMake Ubuntu, используя графический интерфейс либо командную строку. Если вы пытаетесь собрать программу и получаете ошибку cmake not found, то эта статья будет для вас очень полезной.
Установка CMake в Ubuntu
1. Менеджер приложений
На момент написания этой статьи использовалась самая последняя версия CMake (3.15.2). Она была доступна в рамках известного всем магазина Snap Store. Ниже вы узнаете, как установить CMake через штатный в Менеджер приложений в Ubuntu.
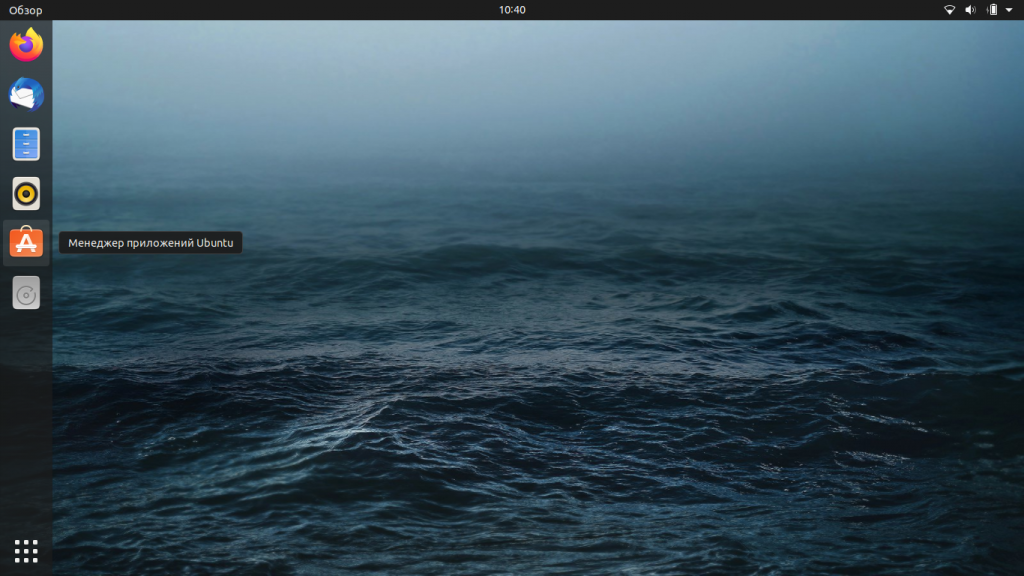
Если вы не хотите тратить много времени на взаимодействие с командной строкой, то работа с графическим интерфейсом должна вам понравиться из-за своей простоты. На панели инструментов, расположенной слева, щёлкните значок Менеджер приложений.

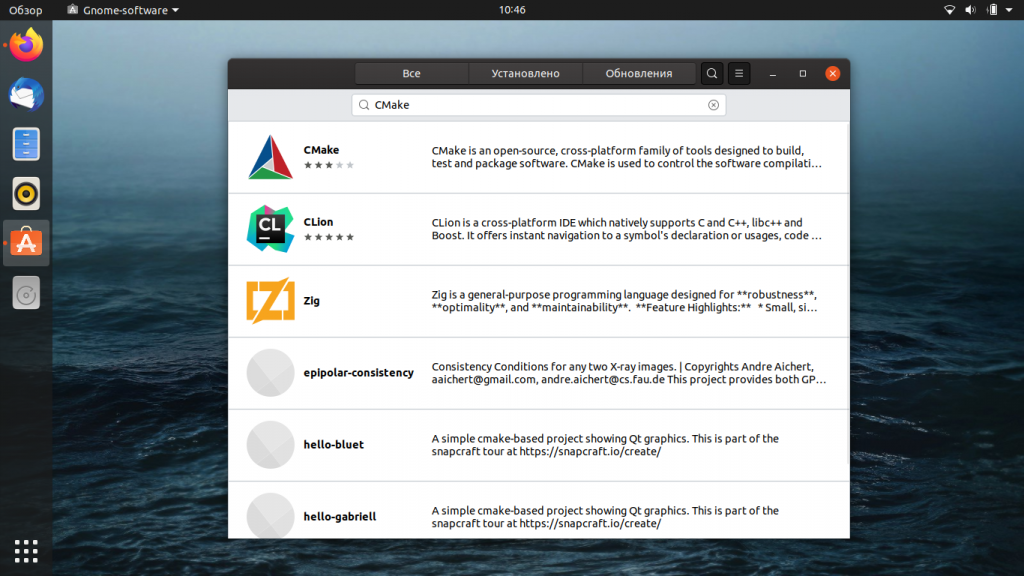
В верхней части открывшегося окна нажмите на значок поиска и в появившейся строке введите CMake. Результаты отобразятся следующим образом:
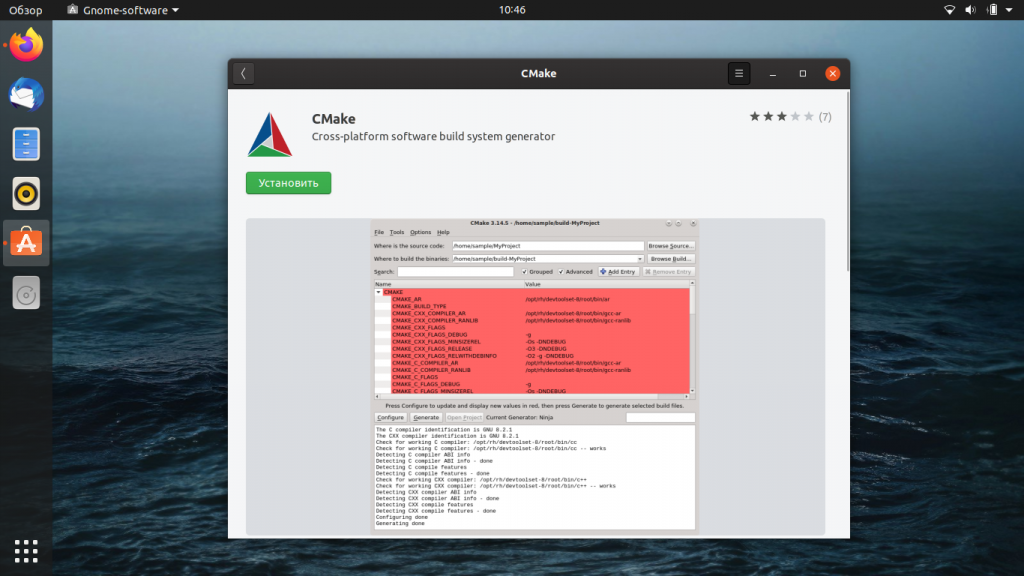
Первый пакет в результатах поиска — это и есть нужный нам файл, доступный в рамках магазина Snap Store. Щёлкните по этой записи и вы попадёте в раздел с подробной информацией о приложении, который будет выглядеть так:
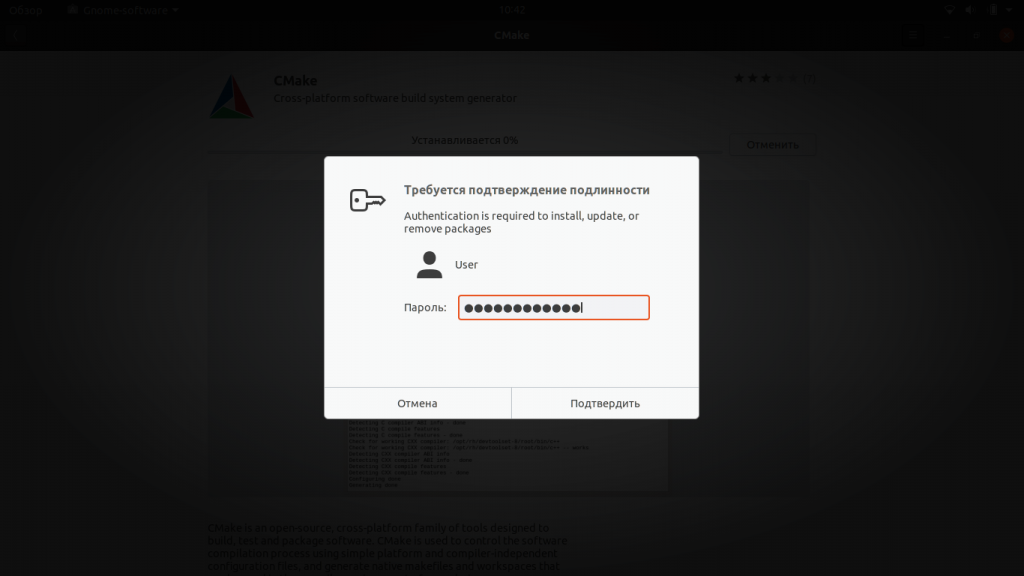
Нажмите кнопку Установить, чтобы запустить процесс установки CMake. Возможно, вам придётся ввести свой пароль в окошке аутентификации, которе появится сразу после нажатия кнопки Установить. Это одна из форм защиты в Ubuntu — только авторизированный пользователь может устанавливать программное обеспечение в этой системе.
Введите свой пароль и нажмите кнопку Enter. После этого вы сможете наблюдать за статусом установки на отображающемся графическом индикаторе.
После успешной установки система выдаст вам следующее сообщение:
Из этого окна уже можно запустить CMake (или тут же, например, удалить).
2. Менеджер пакетов snap и apt
Такую же версию CMake можно установить через командную строку, если воспользоваться следующей командой:
Установка cmake ubuntu 18.04 из официальных репозиториев выполняется командой:
3. Сборка CMake из исходников
Если по каким-то причинам вы не хотите использовать графический интерфейс, или вы хотите самую свежую версию, можно прибегнуть к помощи командной строки. Нам надо будет скачать исходный код с официального сайта (https://cmake.org/download/), скомпилировать его, а потом установить.
Откройте командную строку — для этого либо найдите приложение «Терминал», либо нажмите сочетание клавиш Ctrl+Alt+T. Введите команду, которая начнёт загрузку исходного кода:
Когда tar.gz полностью скачается, его нужно распаковать. Воспользуемся следующей командой:
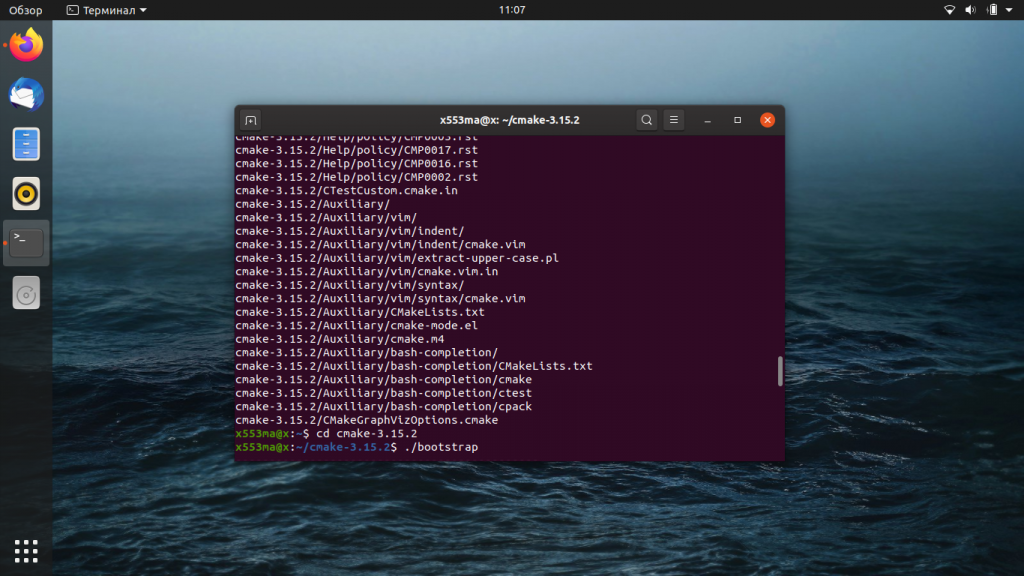
Перейдём с помощью терминала к папке с распакованными файлами:
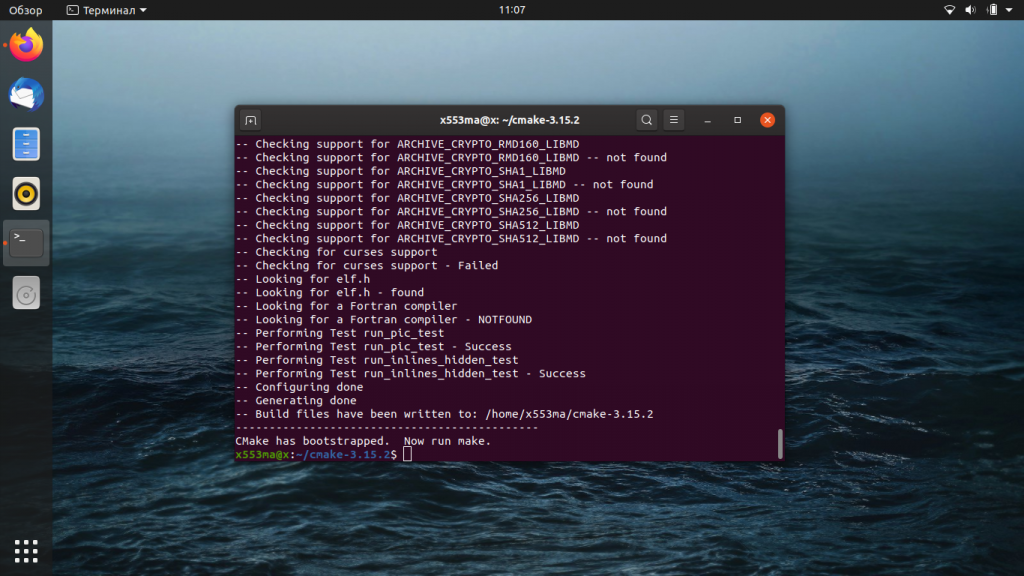
Чтобы провести компиляцию скачанного кода, выполним ещё одну команду:
После правильного выполнения всех операций, командная строка выдаст следующий результат:
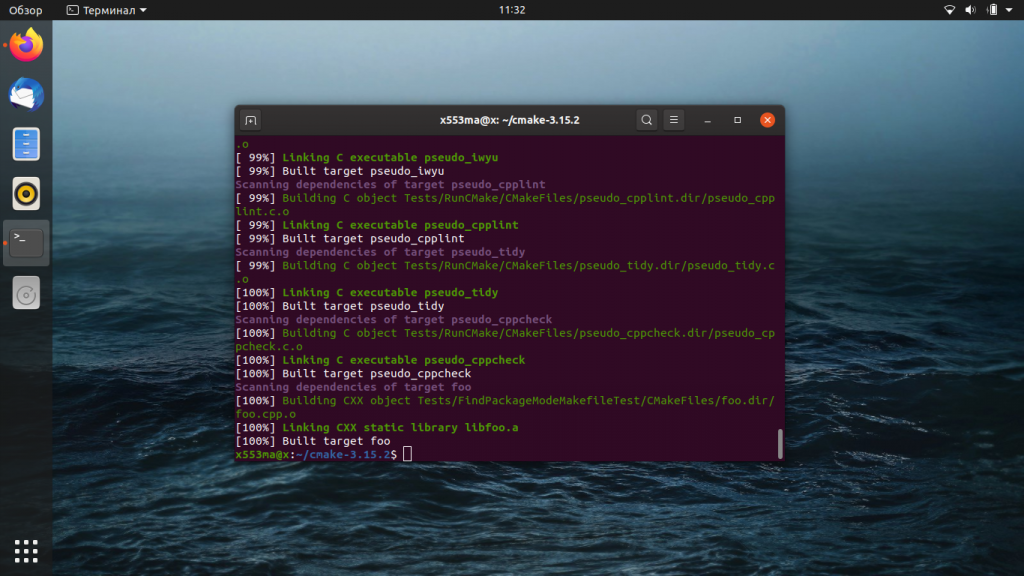
Теперь можно запустить процесс установки с помощью простой команды:
Затем выполните ещё одну команду:
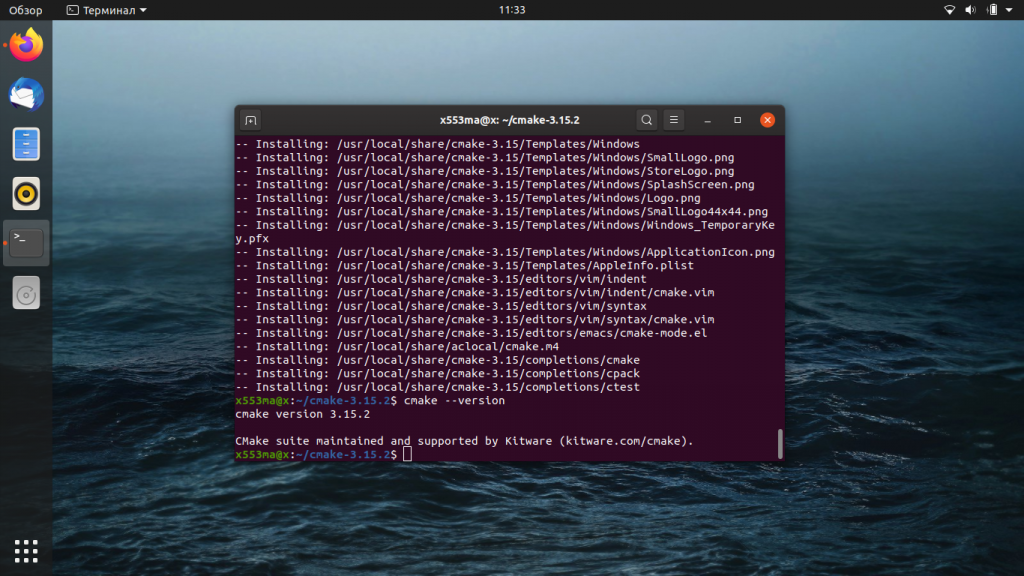
Процесс установки завершён. Теперь можно проверить версию CMake, чтобы убедиться в правильности своих действий.
На момент написания этого материала CMake был доступен в версии 1.15.2, с которой мы и работали. Теперь вы можете использовать этот инструмент для выполнения своих рабочих задач.
Как удалить CMake?
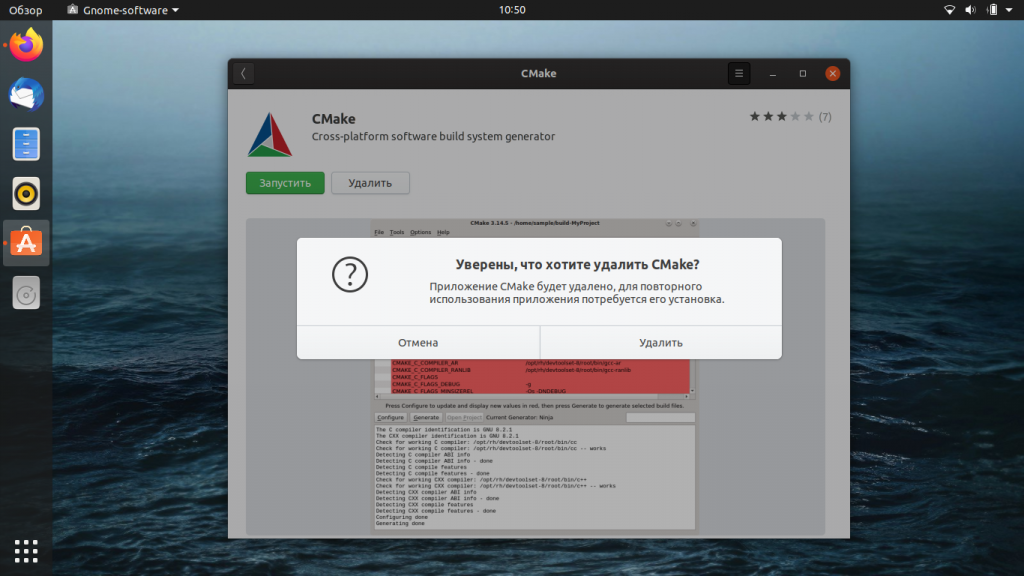
Если вы решили удалить CMake, который был установлен через Менеджер приложений, то этот процесс будет происходить следующим образом. Снова откройте Менеджер приложений, в открывшемся списке найдите пункт CMake (рядом с ним будет надпись Установлен). Нажмите на иконку приложения, перейдите к следующему экрану и найдите кнопку Удалить. Так будет запущен процесс деинсталляции.
После этого система вновь предложит ввести вам пароль — и сразу же после этого приложение будет удалено.
Обнаружили ошибку в тексте? Сообщите мне об этом. Выделите текст с ошибкой и нажмите Ctrl+Enter.