- Install Nessus on Kali Linux
- Key-Features of Nessus
- Installing Nessus on Kali Linux 2020.x
- Installing Nessus on the Kali Linux
- Instructions to install
- Create a new custom policy
- Conclusion:
- Install & Configure Nessus on Kali Linux
- Download Source
- Enable && Start Services
- Vulnerability Scanning with Nessus
- Reference:
Install Nessus on Kali Linux
In this detailed article we learn «How to install Nessus on Kali Linux 2020.x«. Nessus is a very popular and widely used vulnerability scanner and assessment tool for testing web application and mobile application.
Nessus will be very helpful for penetration testers and bug bounty hunters. Nessus also helpful for web and mobile app developers to find and fix vulnerabilities.
Nessus is always updated and useful libraries for vulnerability and configuration checks. Also it’s analysis is very fast and accurate.
Key-Features of Nessus
- The latest intelligence, rapid updates, an easy-to-use interface.
- Covers an industry-leading 50,000+ vulnerabilities.
- Network devices: Nessus can audit firewalls/routers/switches (Juniper, Check Point, Cisco, Palo, Alto Networks), printers, storage.
- Virtualization: Nessus also can audit Virtual Systems like, VMware, VirtualBox, ESX, ESXi, vSphere, vCenter, Hyper-V, and Citrix Xen Server.
- Operating systems: Nessus can run against Windows, Mac, Linux, Solaris, BSD, Cisco iOS, IBM iSeries.
- Databases: It will scan inside various databases like, Oracle, SQL Server, MySQL, DB2, Informix/DRDA, PostgreSQL, MongoDB
- Web applications: Nessus can find vulnerabilities in Web servers, web services, OWASP vulnerabilities.
- Cloud: We can use Nessus to scans cloud applications and instances like Salesforce and AWS et.
- Compliance: Helps meet government, regulatory and corporate requirements. Nessus also will be useful for personal and development uses.
Installing Nessus on Kali Linux 2020.x
Nessus doesn’t comes pre-installed with Kali Linux, so we need to download and install it manually.
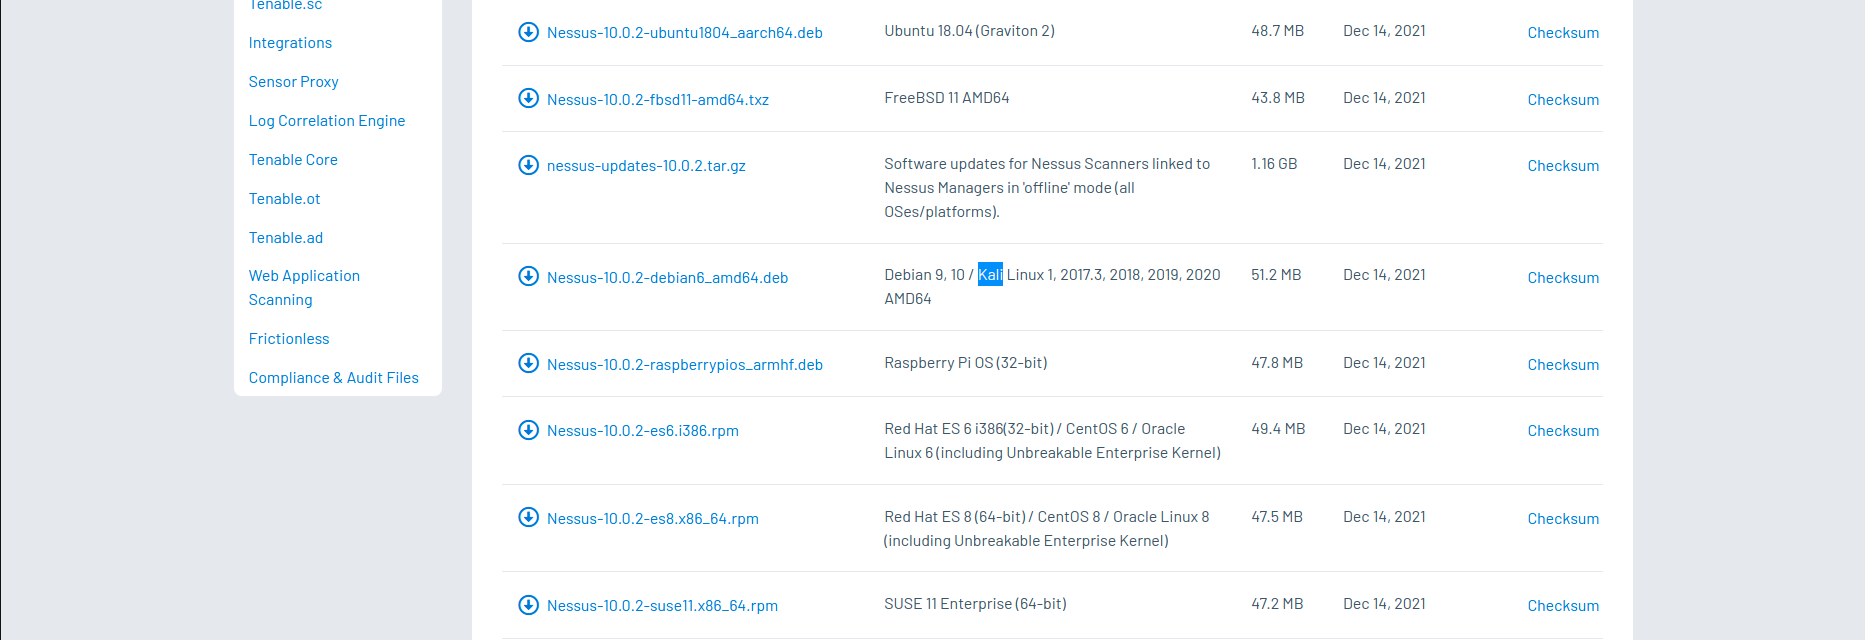
Nessus vulnerability scanner package is available for download in Tenable’s site. This is the official download site for Nessus.
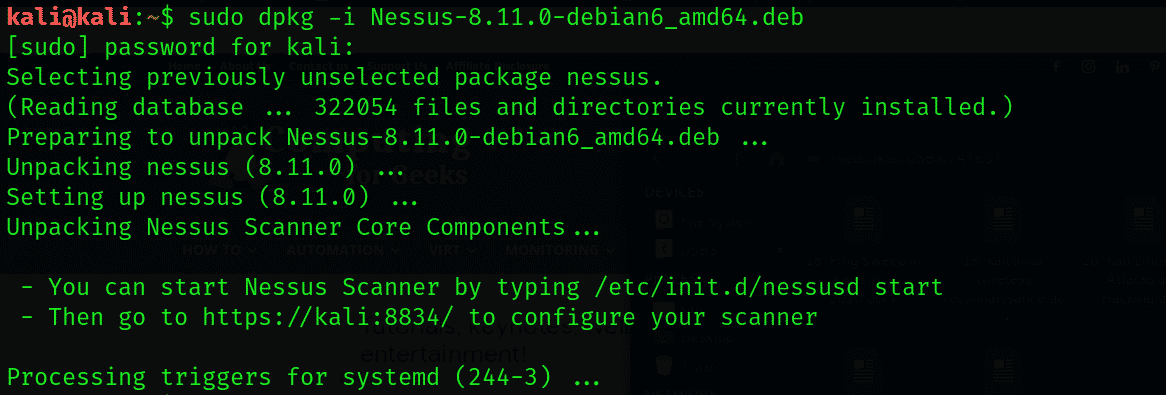
We download the 64 bit version for our Kali Linux system. It will be saved on our Downloads folder. So we open the terminal there and run following command to install Nessus on Kali.
Then it will start installing as shown in the following screenshot:

Okey, It is now installed. Let’s check if the installation is correct and Nessus is working or not.
First we enable Nessus service by using following command:
sudo systemctl enable nessusdThis command will enable nessusd services. After this we can start this service by using following command:
sudo systemctl start nessusdThen we can check if it is running successfully or not via applying following command:
sudo systemctl status nessusd.serviceIf everything will be perfect then it should show outputs as following screenshot.

In the above screenshot we can clearly see that Nessus service (nessusd) is active and running successfully.

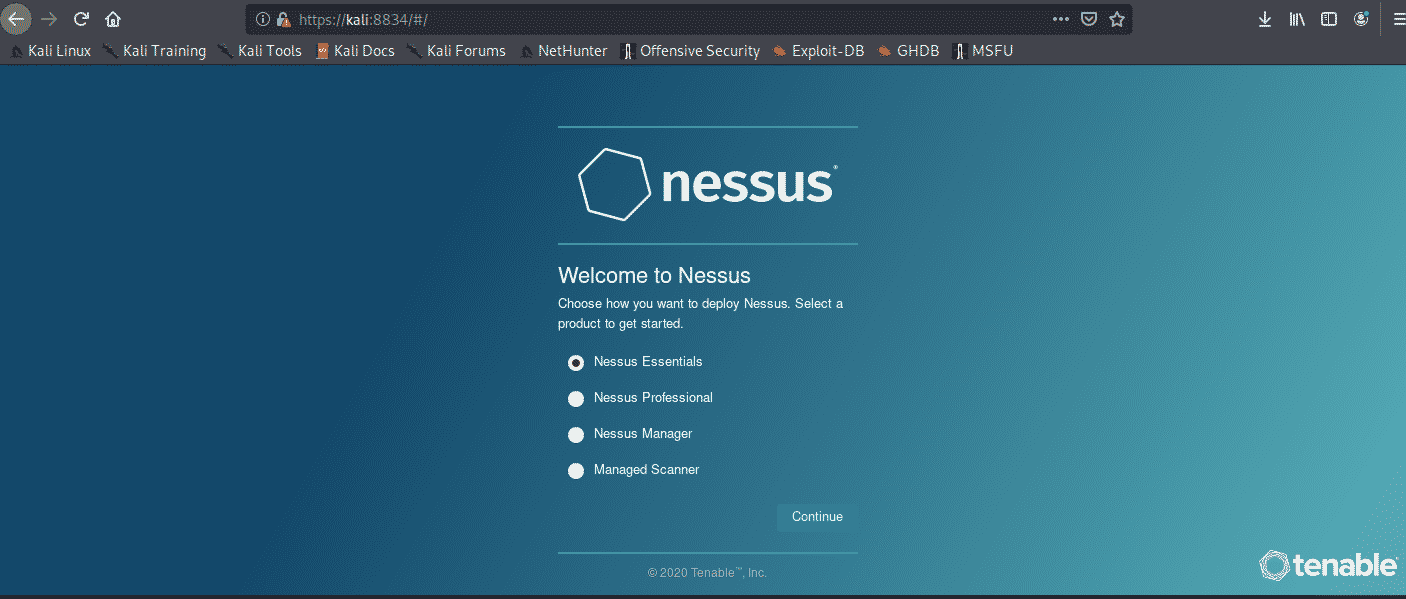
Now we can run this. We need to open our web browser and navigate to https://localhost:8834 here we might got security warnings form browser but we can ignore it, because it is our localhost.
Then we reach the beautiful Nessus Setup, as shows in the following screenshot:
Here we can «Continue» with «Nessus Essentials». Then we got a form asking about our details like name and e-mail id. Here we need to provide a original e-mail id because Nessus will verify it. So we fill it and click to
Then we click on «E-mail» and an «Activation Code» will be send to our given e-mail id.
Now we give the «Activation Code» and click on «Continue», in the following screenshot we have hided our activation code.
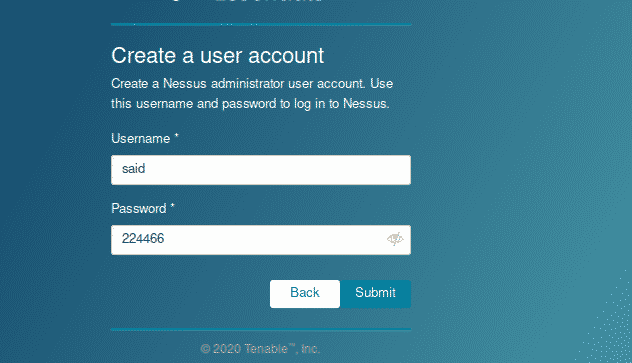
Then we need to create user by creating username and password for login.
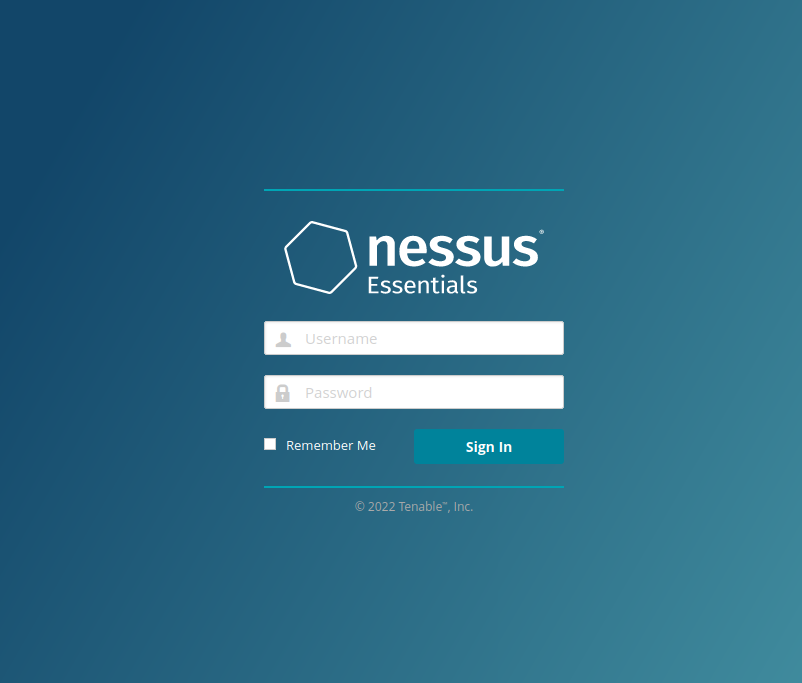
Then we can login. After login we see the front page of Nessus.
Here we can submit our targets. Targets like hostnames, IP address (IPV6 or IPV4), to scan the target. We can put networks here to scan.
Similarly we can close this and click on «New Scan» to add targets, here we got lots of options as we can see in the following screenshot.
From here we can scan our targets and know about it’s vulnerabilities.
Nessus is very useful for security researcher and it is very easy to use it. So in this tutorial we learned how we can install Nessus on Kali.
We can stop Nessus service on our system after using it by applying following command:
sudo systemctl stop nessusdTo start it again we can use:
sudosystemctl start nessusd
Then we just can go to https://localhost:8834 for Nessus.
Nessus also have a Paid Professional version to know about it please check this.
Love our articles? Make sure to follow us on Twitter and GitHub, we post article updates there. To join our KaliLinuxIn family, join our Telegram Group . We are trying to build a community for Linux and Cybersecurity. For anything we always happy to help everyone on the comment section . As we know our comment section is always open to everyone. We read each and every comment and we always reply .
Installing Nessus on the Kali Linux
![]()
What is Nessus? Nessus is a tool for vulnerability assessment, and it is a paid tool. In this article, we will discuss the free version of Nessus known as Nessus Essentials, which is also called Nessus Home. It has limited features and quite handy to carry out the vulnerability scanning automatically.
Nessus has a lot of interesting features. Some of them are listed below:
- It has a nice GUI, which is easy for use.
- The scan can be done easily and more quickly. Also, it is easy to set up the scan.
- It will generate a report that is formatted nicely, and the resulting output will be organized and neat.
In this article, we will see how to execute a simple windows vulnerability scan and to set up the Nessus essentials. For this purpose, we will use the 32-bit Kali Linux on VM.
Instructions to install
The following steps are to be followed to install the Nessus on the kali Linux for a 32-bit operating system. For a different operating system, similar steps should be followed.
1. For registration, click on the link below:
Once the link is open, enter your first and last name with an email address. This is done to get an activation code after registration.
2. Choosing the Right Version: In the next step, select the appropriate version for the operating system and press the download button.
3. License Agreement: Now, agree with the terms of condition and the license agreement to save it on your system.
4. Unpacking Nessus: Now unpack the Nessus by going to the download directory through terminal.
5. Begin the Nessus daemon with the help of the following command:

It can also be done during the boot time by the command:

6. Security error and allow Nessus: A security error will have occurred when we browse the GUI Nessus using this link.
To allow Nessus, click on Advanced, then on Add Exception, and finally on Confirm Security.
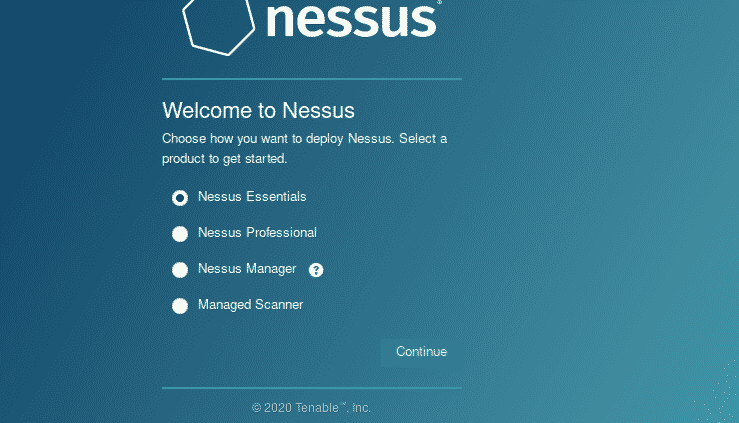
7. Selecting Nessus Essentials: Select it and press Continue.
8. Skipping the Activation Code Registration
9. Entering the Activation Code: An email will be received. Go to your inbox and copy the activation code to paste it in Nessus. Then press continue.
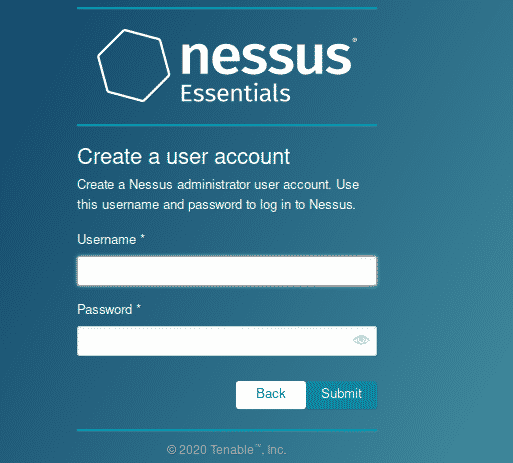
10. Creating a User Account; Now create the user account by giving the details and submit it. This account is used to login to the Nessus.
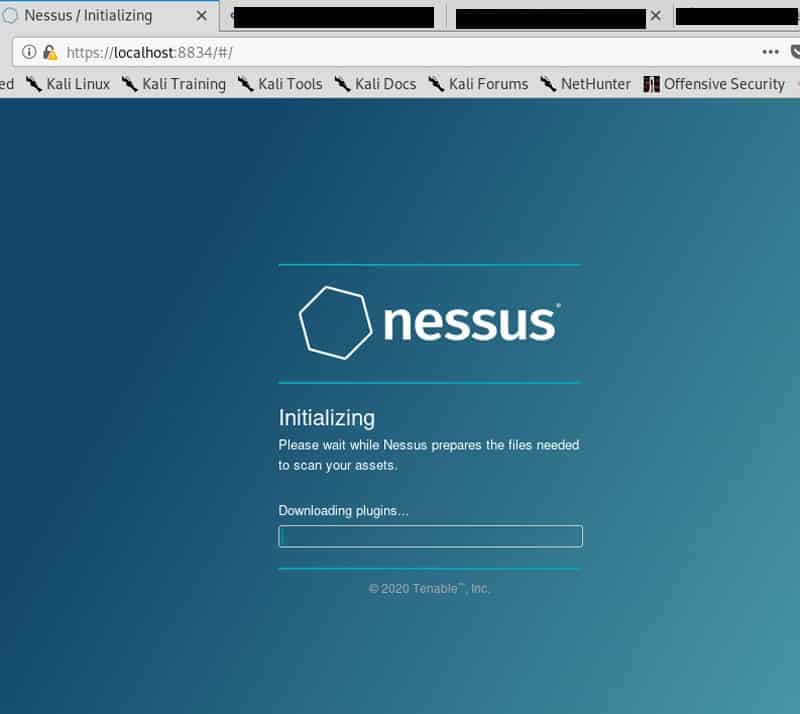
11. Patience: Here, wait for 45-60 minutes until the Nessus finish its installation. Some times it will take a longer time to install.
Create a new custom policy
By performing a simple Windows Vulnerability Scan, we will try out some features after installing the Nessus. It is based on scan policies that include what to look for or not.
First of all, change the policies from the sidebar. Then press on New policy. The Nessus show a lot of predefined policies. We can also create policy according to the user with the help of scratch, which can be customized according to the need of the user. Then click on the Advanced Scan. Now give the name to policy and a short description.
Different drop-down menus are shown on the left side. Click on the discovery; we see different options of setting in the host discovery. To scan arrange of hosts or network, uncheck the option Test the local Nessus host. This option will not allow Nessus to scan, and only the host with single windows will be scanned. Now keep the default settings and leave as it is.
In the next step, we will go to the section of port scanning. Here we see that the SYN option is active by default while the TCP option is not active. This is because the Nessus will use the quick SYN scan then the normal TCP scan. Furthermore, the UDP option can be enabled, but it takes a longer time, and it is not effective.
We will also see more setting options for vulnerability scanning. There is also the tab of credentials where we enter the login details to allow the various protocols such as SSH and SNMP to carry out the authenticate scan.
Now, go to the Plugin tab. They are like separate modules to carry out the vulnerability assessment of various components.
Plugins are also available for different types of Linux, web servers, DNS, firewalls, and FTP, etc. To make vulnerability assessment more accurate and perfect, mix the variety of plugins. It is necessary to select the right plugins to avoid the scanning of irrelevant vulnerabilities like cisco vulnerabilities on a Linux target.
As here, we are scanning the normal host of windows 7. To do this, click the option disable all and go with the Windows: Microsoft Bulletins option. For exploring more about plugins. Now go on a specific plugin by clicking on it. After doing that, a popup will appear that contains the descriptions, solutions, and risk ratings. After configuring the settings, click to save it.
Conclusion:
In this article, I have shown you how to install Nessus software tool in Kali Linux. I have also explained how this tool works and its usage.
Install & Configure Nessus on Kali Linux
Nessus is a remote security scanning tool, which scans a computer and raises an alert if it discovers any vulnerabilities that malicious hackers could use to gain access to any computer you have connected to a network.
In this short tutorial I will show you how to install Nessus on Kali Linux …
Download Source
Enable && Start Services
Vulnerability Scanning with Nessus
Nessus gives you the ability to configure your scan based on different scan and policy templates. These templates will determine the settings that will be found within the scan policy settings:
- Basic: With this setting, you can specify security-related and organizational aspects of the scan or policy, such as name of the scan, the targets of the scan, whether or not it is scheduled and who has access to it.
- Discovery: For defining the ports to be scanned and the methods to be used while conducting this discovery.
- Assessment: This setting allows you to determine the type of vulnerability scan to perform and how they are performed.
- Report: For determining how scan reports are generated and the information that should be included within them.
- Advanced: Here you will define scan efficiency and the operations that the scan should perform.
Reference:
My site is free of ads and trackers. Was this post helpful to you? Why not
Copyright © 2016 — 2023 Andrzej Dubaj. All Rights Reserved. This is a personal blog, views are my own.