How To Install Wireless Drivers On Ubuntu 2023
Linux is a powerful operating system for a computer that works on minimal hardware specifications. Recently, I installed Ubuntu 18.04 on my old laptop and found most of the things working except the WiFi. After many searches, I finally found a solution to install wireless drivers on Ubuntu and connect to the internet.
The problem was solved with few commands, and the WiFi drivers got installed without much hassle on my computer. The Wireless Network Adapter installed on my laptop is from Broadcom Corporation, and by default, there was no driver installed by Ubuntu at the time of installation.

Last year I had a similar problem with my newly purchased Acer Nitro 5 Laptop based on Ryzen and having Atheros WiFi hardware installed. Although the problem was fixed after trying several methods and it also helped many other users as well. Let us not waste time and get our WiFi drivers fixed on our Ubuntu machine.
How To Install Wireless Drivers On Ubuntu 2020
Many manufacturers ship their products with the Windows operating system by default and are optimized for the particular model with all the device’s hardware drivers installed. Linux is an independent and open-source operating system that doesn’t have a dedicated team to work on specific hardware of a machine.
How To Fix WiFi in Ubuntu
In this article, we will learn to install Wireless drivers on Ubuntu 12.04 and above.
Method to fix no WiFi network option in Ubuntu:
First of all, type the following command to check the Wireless adapter installed on your computer:
The following message must be displayed in the command toolbox:
*-network
description: Wireless interface
product: BCM4360 802.11ac Wireless Network Adapter
vendor: Broadcom Corporation
physical id: 0
bus info: [email protected]:03:00.0
logical name: wlan0
If the product description shows you the exact manufacturer name of the Wireless adapter, then you may proceed with the following, or else you must stop and look for other solutions.
There are many options for the manufacturers, but, in this article, we will cover the two most basic and relevant ones, and that is Broadcom and Realtek.
For Realtek Wireless Adapters, the process is simple but a little bit lengthy, so please follow it carefully.
Step 1: Connect your laptop or computer to a wired network.
Step 2: Next, open the terminal from the application menu.
Step 3: Now, you can connect by Bluetooth tethering or LAN according to your choice.
Step 4: Run the following command to install the required tools:
Here type the password of your computer and hit Enter. Remember, the password will not be shown to you. So type carefully.
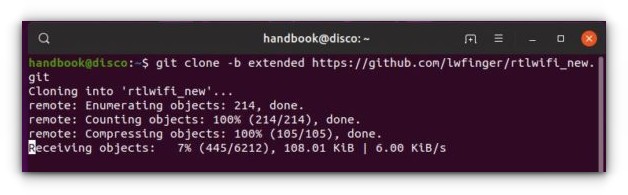
Step 5: Now download the rtlwifi_new codes via command:
git clone -b extended https://github.com/lwfinger/rtlwifi_new.git
Step 6: Next, add the build sources with DKMS support:
sudo dkms add ./rtlwifi_new
Step 7: The final step is to install the Wireless Drivers:
sudo dkms install rtlwifi-new/0.6
If everything was correctly typed, then the WiFi should start working instantly, and you can connect to a network. But, for some reason, if it did not work, then try the following commands to load the newly install-module. Here we are talking about RTL87523DE.
Restart your computer, and your WiFi should be working without any other configuration. If it still doesn’t work, then type in the following to change the variation and check which one works (replace 3 to 1, 2, or 4 if the signal is weak).
echo “options rtl8723de ant_sel=3” | sudo tee /etc/modprobe.d/rtl8723de.conf
For Broadcom the process is straightforward, just type in the following command to install different drivers for Broadcom:
When the installation is completed, reboot your computer once. Once you reach the desktop, you will notice that the WiFi connection window is active, and you can connect to an available Wireless network.
Conclusion
The above methods are an effortless way to install wireless drivers on Ubuntu-based computers in 2021 and you may also try to connect to a Wireless network without a password. In a certain, there might be other problems depending on the change of hardware or the driver’s installation. If the above methods don’t work, then you may contact your vendor and ask for support, because there might be chances of hardware issues as well.
How to install TP-LINK WiFi adapter driver in Linux

If you’re having a problem connecting to your Wi-Fi network on your Linux device or your device is not showing any Wi-Fi network, you will need to use a wireless USB adapter. If you have a TP-Link Wi-Fi adapter, you can install the driver and get it working by following our instructions.
Prerequisites
- Before installing the driver make sure your adapter is compatible with Linux devices. You can check this by going to the TP-Link website and searching for the model number of your adapter. As an example, we will be using the R8188EU model.
- You will need an internet connection to install your suitable driver, connect a cable directly to your machine or use your mobile hotspot to access the internet.
How to install the TP Link Wifi driver on Ubuntu
1. Go to the application menu, search for Terminal, and run it.
Now the first thing to do is update all the packages using the command below:
2. To install all the packages write the command:
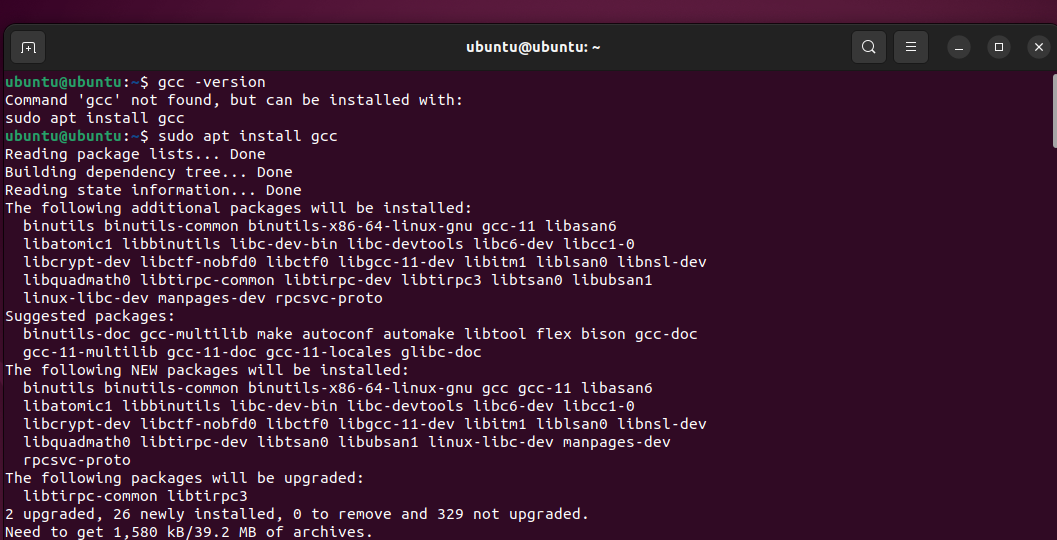
3. After you have installed all the packages, reboot the device. Next, you will need to install GCC if you don’t have it.
You can verify it by executing the command:
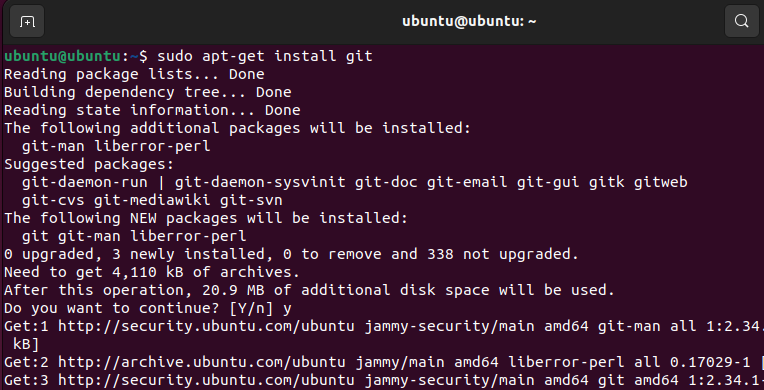
4. Now to download the driver from the GitHub repository, we will need to install git on our device:
5. After installing git, search for the relevant driver on GitHub. I will be using this driver. But you can get a suitable driver from lwfinger’s repository.
6. Now return to your desktop folder where we will start downloading the driver using the below command: (Please note that the GitHub link that you should use after the git clone command varies with your driver.)
git clone https://github.com/lwfinger/rtl8188eu
7. The above command will clone the git repository in a directory named rtl8188eu (Name of your driver) locally. Now, cd into the directory:
8. For the next step, we need to have ‘make‘ installed. To verify, execute the command:
If it’s not found, install it by using the command:
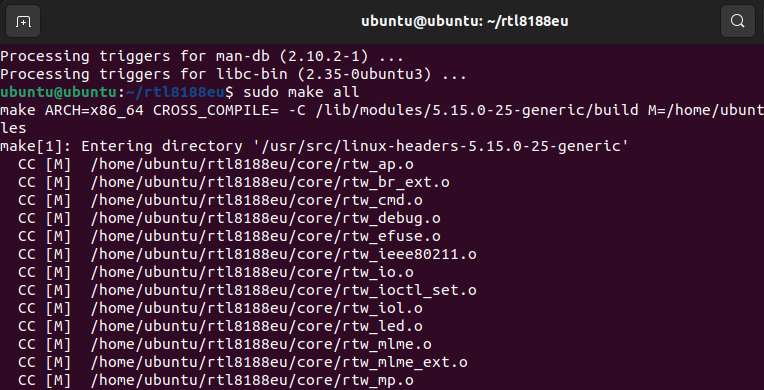
9. For compiling the driver use command:
10. To install the compiled files, use the command:
Now reboot the system, and connect the Wi-Fi adapter to a USB port. Open a terminal to use ifconfig to check if the adapter is listed.
Go to Settings then the Wi-Fi tab there should be a new option of Wi-Fi adapter, connect to it. Now you are ready to use the adapter to access the internet.
How to install the driver in Kali Linux
Compared to other Debian-based distros like Ubuntu, Kali Linux has a bit different process for installing the drivers. Here’s the process for Kali Linux users:
1. Open a terminal window and update all the packages using the command below:
sudo apt update sudo apt upgrade
2. Now reboot your device. After rebooting, open a terminal window and use the command below to install build-essential:
sudo apt install build-essential
3. Try either one of these commands, and see which works for you:
sudo apt install linux-headers-`uname -r`
sudo apt install linux-headers-5.10.0-kali6-amd64
4. Now, we will install DKMS:
5. After that, use the below command (Note that I am using the command for the ‘ r8188eu ‘ adapter, and it might differ for your adapter):
6. Now to download the driver from the GitHub repository, we will need to install git on our device:
7. After installing git, search for the suitable driver on GitHub. I will be using the following driver:
8. Now return to the terminal where we will start downloading the driver using the below command: (Note that the link used after the git clone command might differ for your system depending on the TP-Link device you own.)
git clone https://github.com/aircrack-ng/rtl8188eus
The above command will clone the git repository in a directory named rtl8188eu locally.
9. Use ls to show all directories, then cd into the directory:
10. Now move to root using the command:
11. After this, echo into the Realtek (or similar adapter brand) configuration file:
echo "blacklist r8188eu" > "/etc/modprobe.d/realtek.conf"
12. We need to reboot it again, and after that, use cd to go back into the driver directory:
13. Check whether ‘make’ is installed on your system or not:
If it’s not found, install it by using the command:
14. For compiling the driver files, use the command:
sudo make sudo make install
15. And use the below command to configure the driver:
16. Now reboot the system and connect the Wi-Fi adapter to your device. Open a terminal window and use ifconfig to check if the adapter is listed.
If you can connect to the internet using Wi-Fi, congratulations, you have successfully installed the TP-Link Wi-Fi adapter driver on your Kali Linux machine.
Summary
Installing wireless adapter driver files manually is not that easy in any operating system. This is why most hardware devices are installed automatically when we boot up our system for the first time. Regardless of the reason you wanted to install the drivers manually, I hope you were able to accomplish your goals.