- Is there a command to list all users? Also to add, delete, modify users, in the terminal?
- 10 Answers 10
- To list
- To add
- To remove/delete
- To modify
- How to List All Users in a Linux System?
- Prerequisites
- Method 1: Using the Cat Command
- Syntax:
- Method 2: Using “less” or “more”
- Syntax:
- Method 3: awk Command
- Syntax:
- Method 4: Using the getent Command
- Syntax:
- Conclusion
- About the author
- Omar Farooq
Is there a command to list all users? Also to add, delete, modify users, in the terminal?
I need a command to list all users as well as commands to add, delete and modify users from terminal — any commands that could help in administrating user accounts easily by terminal.
10 Answers 10
To list
To list all local users you can use:
To list all users capable of authenticating (in some way), including non-local, see this reply.
Some more useful user-management commands (also limited to local users):
To add
To add a new user you can use:
sudo adduser new_usernamesudo useradd new_usernameTo remove/delete
To remove/delete a user, first you can use:
Then you may want to delete the home directory for the deleted user account :
Please use with caution the above command!
To modify
To modify the username of a user:
usermod -l new_username old_usernameTo change the password for a user:
To change the shell for a user:
To change the details for a user (for example real name):
To add a user to the sudo group:
And, of course, see also: man adduser , man useradd , man userdel . and so on.
Radu forgot to mention sudo chfn
I think that it should be underlined that the correct answer to the linked question is askubuntu.com/a/381646/16395 — otherwise you have to take into account the GID/UID Ubuntu policies by hand. The accepted answer is not so clear.
sudo userdel DOMAIN\\johndoe gives me the error: «userdel: cannot remove entry ‘DOMAIN\johndoe’ from /etc/passwd — I looked in /etc/passwd and they’re not even in there, likely because it’s a «domain» account?
@00fruX Yeah. If you’re using a centralised user database you’re going to need to deal with it directly.
Just press Ctrl + Alt + T on your keyboard to open Terminal. When it opens, run the command(s) below:
less /etc/passwd more /etc/passwd @nux A bit late to the party, but from command line use adduser instead, useradd should be limited to scripts where the author really really knows what he is doing.

The easiest way to get this kind of information is getent — see manpage for the getent command . While that command gives the same output as cat /etc/passwd it is useful to remember because it will give you lists of several elements in the OS.
To get a list of all users you type (as users are listed in /etc/passwd )
To add a user newuser to the system you would type
to create a user that has all default settings applied.
Bonus: To add any user (for instance anyuser) to a group (for instance cdrom) type
sudo adduser anyuser cdrom You delete a user (for instance obsolete) with
If you want to delete his home directory/mails as well you type
sudo deluser --remove-home obsolete sudo deluser --remove-all-files obsolete will remove the user and all files owned by this user on the whole system.
It’s useful to remember that getent doesn’t just print the output of users in /etc/passwd but all users in all configured userdb backends on a given system, whether it’s /etc/passwd or LDAP, etc.
@MarcinKaminski is right, it also prints users setup in SSO systems who have access to the server. this answer is the the best one, with getent passwd being the right command
This should get, under most normal situations, all normal (non-system, not weird, etc) users:
awk -F'[/:]' '= 1000 && $3 != 65534) print $1>' /etc/passwd - reading in from /etc/passwd
- using : as a delimiter
- if the third field (the User ID number) is larger than 1000 and not 65534, the first field (the username of the user) is printed.
This is because on many linux systems, usernames above 1000 are reserved for unprivileged (you could say normal) users. Some info on this here:
A user ID (UID) is a unique positive integer assigned by a Unix-like operating system to each user. Each user is identified to the system by its UID, and user names are generally used only as an interface for humans.
UIDs are stored, along with their corresponding user names and other user-specific information, in the /etc/passwd file.
The third field contains the UID, and the fourth field contains the group ID (GID), which by default is equal to the UID for all ordinary users.
In the Linux kernels 2.4 and above, UIDs are unsigned 32-bit integers that can represent values from zero to 4,294,967,296. However, it is advisable to use values only up to 65,534 in order to maintain compatibility with systems using older kernels or filesystems that can only accommodate 16-bit UIDs.
The UID of 0 has a special role: it is always the root account (i.e., the omnipotent administrative user). Although the user name can be changed on this account and additional accounts can be created with the same UID, neither action is wise from a security point of view.
The UID 65534 is commonly reserved for nobody, a user with no system privileges, as opposed to an ordinary (i.e., non-privileged) user. This UID is often used for individuals accessing the system remotely via FTP (file transfer protocol) or HTTP (hypertext transfer protocol).
UIDs 1 through 99 are traditionally reserved for special system users (sometimes called pseudo-users), such as wheel, daemon, lp, operator, news, mail, etc. These users are administrators who do not need total root powers, but who perform some administrative tasks and thus need more privileges than those given to ordinary users.
Some Linux distributions (i.e., versions) begin UIDs for non-privileged users at 100. Others, such as Red Hat, begin them at 500, and still others, such Debian, start them at 1000. Because of the differences among distributions, manual intervention can be necessary if multiple distributions are used in a network in an organization.
Also, it can be convenient to reserve a block of UIDs for local users, such as 1000 through 9999, and another block for remote users (i.e., users elsewhere on the network), such as 10000 to 65534. The important thing is to decide on a scheme and adhere to it.
Among the advantages of this practice of reserving blocks of numbers for particular types of users is that it makes it more convenient to search through system logs for suspicious user activity.
Contrary to popular belief, it is not necessary that each entry in the UID field be unique. However, non-unique UIDs can cause security problems, and thus UIDs should be kept unique across the entire organization. Likewise, recycling of UIDs from former users should be avoided for as long as possible.
How to List All Users in a Linux System?
![]()
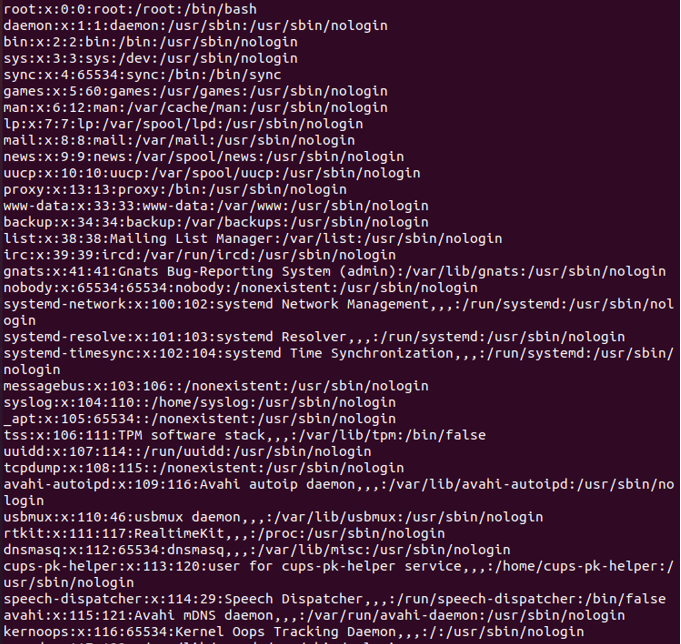
In the Linux system, it is a critical administrative task to manage users, add them, remove users, or assign new user privileges. In Linux, numerous users can simultaneously work on the same system. But security measures must be made to stop breaching other users’ private data. Information related to the local users is stored in the path “/etc/passwd”. In which, every row indicates the data of a single user that may contain the name of the user, user Id, directory of the user, and login details. When it comes to the listing of the user in Linux, there are multiple ways to list them, we will discuss some of these in this tutorial.
Prerequisites
To list users, we must have Linux running on our system and also access to the terminal to perform this task.
Method 1: Using the Cat Command
Cat command is the short form of concatenation, it is used to read the data of the file without opening it. In this, we will use the cat command to list all users in Linux. Additionally, it is used to make a new file and put data in it.
Syntax:
The given data below is the syntax to use the “cat” command where file_name represents the name of the file that has to be read.
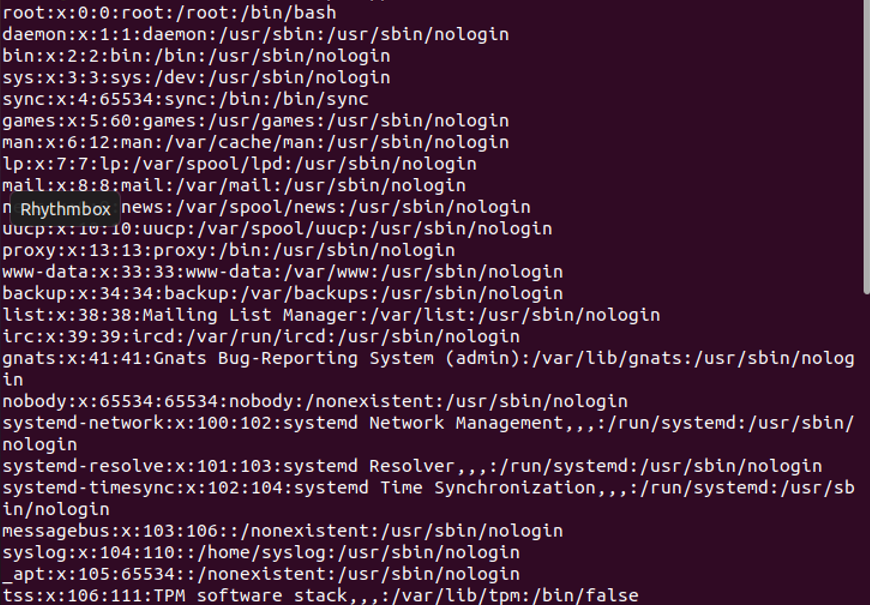
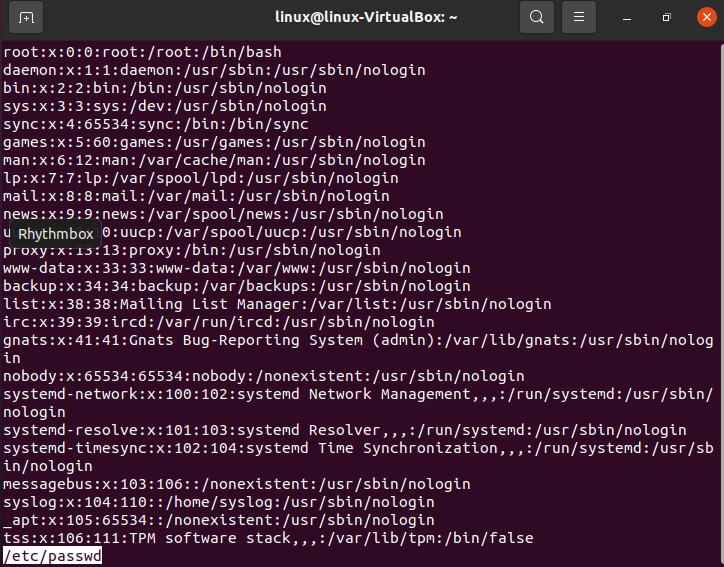
To list the user using the “cat” command, we will first launch the terminal.
After that, we will run the command:
In the command above, we have used the “cat” command along with the file name “etc/passwd” which is the one in which all of the user’s data is stored. After running this command and by pressing enter, we get the output as shown in the snippet below which includes the list of the users that are stored in the file. As we discussed above, each row indicates the details of the single user.
If we only want to see the number of users that are allowed to use the system, we can just write the following command:
In the command listed above, we used the “wc” command along with the “cat” command. “wc” is the one that is used to count the line, word, or bytes of the file. In our case, we are going to list the number of rows that are storing the single user data. That is why we have passed “-l” which means the lines are counted. After running the command above, we obtained the number of users whose data is stored in the file that in our case is “47”.

Method 2: Using “less” or “more”
The other method to list the users from any file is “less” or “more”. Less and more are the terminal pagers commands that allow us to read the files line by line or to read them page by page.
Syntax:
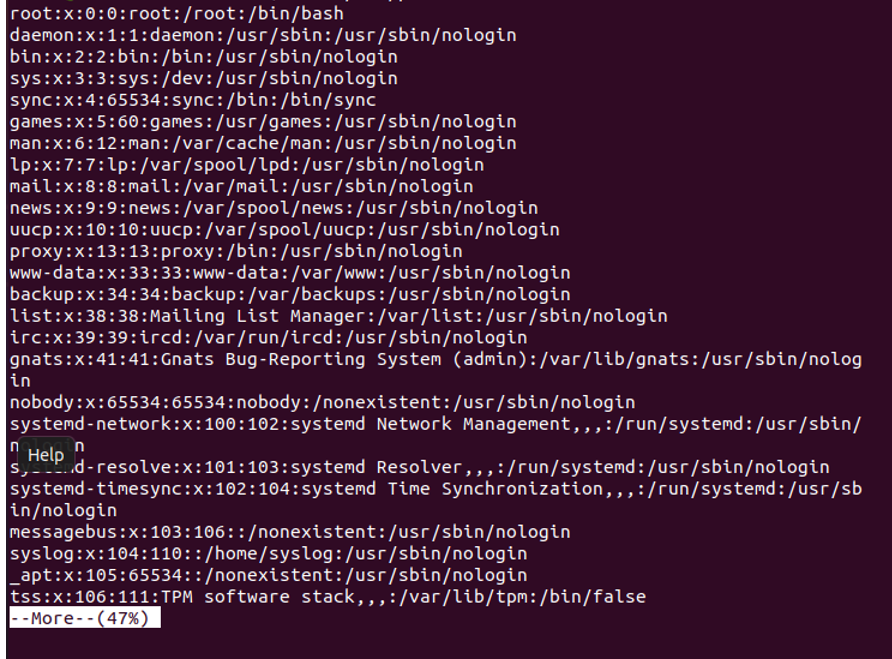
Below is the syntax to use the “less” command to list the users from any file.
In the snippet, we have successfully executed the list of the users that are stored in the /etc/passwd file. The less command can also be used to read the list of users. It will display the users until it reaches the end of the terminal by scrolling the terminal using the down button, we can display the remaining data of the file.
Using the “more” command to list the users, below is the syntax to use the “more” command.
This command has some limited functionalities. It will display some of the percentages of the file like in the snippet below. It displayed about 47% of the data of the file by pressing the “enter” key we can display the data to some percentage, so we have to press the “enter” key until the 100% of it is not displayed.
Method 3: awk Command
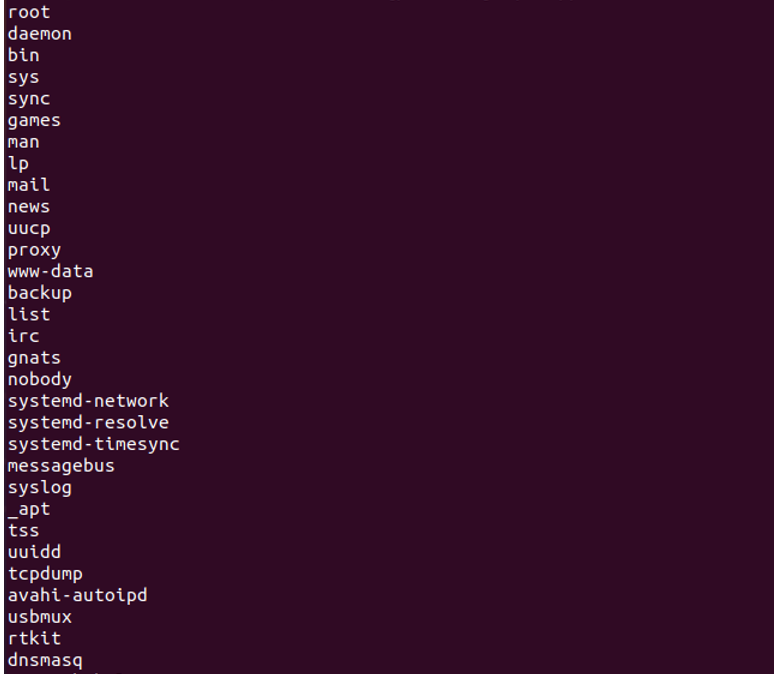
In this, we will discuss another method to list the users of the system which is an “awk” command. The awk command is useful only when we have to display the name of the user neglecting the other details that are stored in the file related to any user.
Syntax:
Below is the syntax to use the awk command to enlist the user’s name.
In the syntax, colon “:” is used to separate the input that is given by the awk. After that, it prints the first value of each row where –F is a file along with the argument which is responsible for reading the file and then displaying it as an output. The /etc/passwd is the file name that we want to read.
If you have multiple pages in a single file and you want to read the file page by page by writing the following command, you can perform this task.
In the above syntax, less will enable us to read the file page by page if multiple pages exist.
Method 4: Using the getent Command
The “getent” command is most similar to the “cat” command as we can display the complete details of the users along with the technical details. The “getent” is also responsible for displaying the complete details of the users.
Syntax:
The syntax for writing the getent command is given below. In this syntax, we just passed the name of the file along with the “getent” command.
After running the command, the whole file data is executed as shown in the below screenshot.
Conclusion
In this guide, we introduced the listing of the users that are using the same system at the same time. It is an administrative task to manage multiple users at a time. We also examined some of the techniques that are employed to enlist the users on Ubuntu 20.04. As we know it is necessary to manage the users but first, it is important to know the users who are using the system so it would be made secure for others to prevent data breaches between all of the users.
About the author
Omar Farooq
Hello Readers, I am Omar and I have been writing technical articles from last decade. You can check out my writing pieces.