- How to install Hyper Terminal app on Ubuntu 22.04 LTS
- Steps to install Hyper Terminal on Ubuntu 22.04 Linux
- 1. Update your system
- 2. Download Hyper
- 3. Install Hyper Terminal on Ubuntu 22.04
- 4. Run the Hyper terminal app
- 5. Customize Hyper Terminal
- 6. How to Update
- 7. Uninstall Hyper Terminal from Ubuntu 22.04
- FAQ
- How to Install Hyper Terminal in Ubuntu 20.04
- Installing Hyper Terminal
- Step 1: Download Hyper Terminal
- Step 2: Install Hyper Terminal
- Step 3: Launch Hyper Terminal
- Remove Hyper Terminal
- Search
- About This Site
- Latest Tutorials
- How to set up the Hyper Terminal — Geekbits
- Installing the Hyper Terminal on Windows
- Git Installation
- Configuring Hyper with GIT Bash
- Ending .
How to install Hyper Terminal app on Ubuntu 22.04 LTS
Hyper is an Electron-based Terminal emulator with a number of customization options, and that is your first priority, Hyper Terminal should be the best choice for you. Built with HTML, CSS, and JavaScript this terminal app is more suitable for developers, and also has support for plugins to increase the productivity of the program.
You can find a number of plugins in the Hyper Repository, and I am sure you will definitely find some of them useful for you. With support for ZSH, you can actually change the complete look and feel of the emulator and the support for various themes in some way or another can increase your productivity and workflow. Just give Hyper Terminal a try to unleash the full potential of a Terminal emulator.
Steps to install Hyper Terminal on Ubuntu 22.04 Linux
The steps given here can be used for other Linux distros such as Linux Mint, Debian, POP OS, and more …
1. Update your system
First, run the system update command to ensure all the packages in your Ubuntu 22.04 are up to date. For that just follow the given command in your terminal.
2. Download Hyper
Hyper Terminal is not available to install using the default system repository of Ubuntu 22.04, hence we need to download its Debian binary manually. For that on your existing terminal application run the given command:
wget "https://releases.hyper.is/download/deb" -o hyper.deb3. Install Hyper Terminal on Ubuntu 22.04
Next, we will use the downloaded deb binary to install the Hyper Terminal app on Ubuntu 22.04 LTS. For that, we can use the DPKG tool.
4. Run the Hyper terminal app
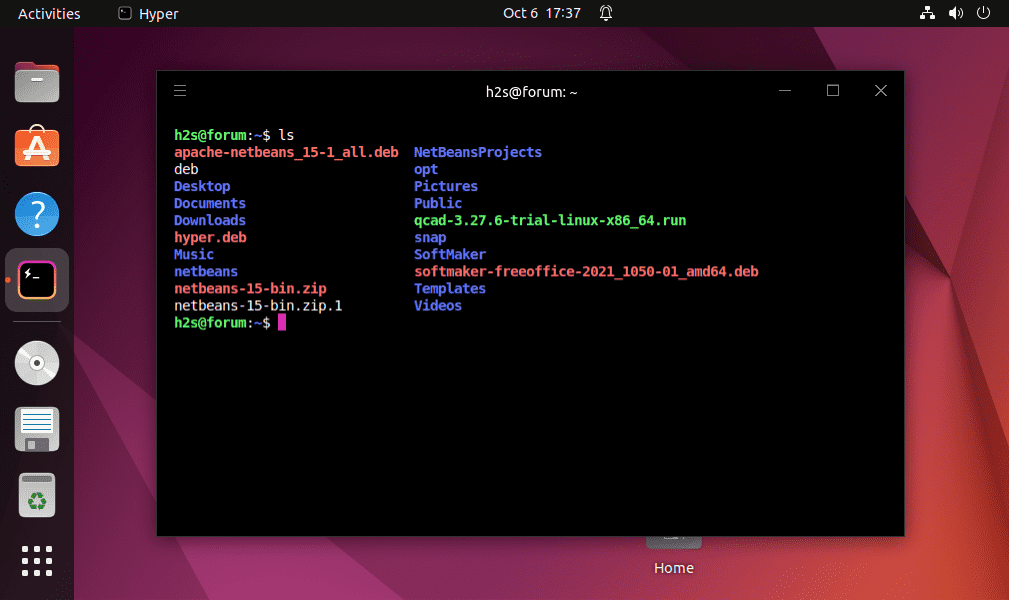
After completing all the above commands go to the Ubuntu 22.04 application launcher and there search for Hyper Terminal. Soon, in the search result, you will find this application, click on the Hyper Terminal icon to run it.
5. Customize Hyper Terminal
If you want to customize the Hyper Terminal then we can do that using the file editor and changing the code in its configuration file. To open it, right-click on the Hyper Terminal interface and select the Preferences option.
You will see a Text editor with some coding lines. These are meant to control the interface of the Terminal. This gives a user some knowledge of CSS and HTML coding and a wide range of customization options.
For example, if You want to change the background color of the Hyper Terminal, then you don’t need to stick to only a few pre-built options. Just enter the color code in the configuration that you want on your Terminal’s background. In the same way, we can change font size and type, spacing, padding, and more.
6. How to Update
Whenever any new update is available to install Hyper Terminal, just follow the above-given commands again. Because we have not used the default repository to install it, hence we cannot run the system update command to update this terminal app as well.
7. Uninstall Hyper Terminal from Ubuntu 22.04
Although, the application is simple and easy to use, yet, if you want to remove the Hyper terminal completely from your system then here is the command to follow:
sudo apt autoremove --purge hyperFAQ
Once the installation is completed, go to the Application launcher and there search for the terminal. As the Hyper Terminal icon appears, click to open and run it.
Yes, Hyper is an Electron-based Linux Terminal to run various system commands. Built with HTML, CSS, and JavaScript; various themes and customization can easily be implemented on the Hyper terminal app.
Yes, HyperTerminal is free, open source and lightweight Terminal application for Linux systems.
Other Articles:
How to Install Hyper Terminal in Ubuntu 20.04

Hyper is an electron based highly customizable and configurable Terminal emulator built on HTML/CSS/JS. It allows for installing different themes and plugins in order to add new functionalities. It is an open-source application that is supported on all three major platforms; Windows, Linux, and MacOS systems. In this tutorial, we have explained how to install Hyper Terminal in the Ubuntu system.
- The procedure discussed in this article has been tested on Ubuntu 20.04 LTS. The same procedure can be performed in a Debian system.
- To launch the command-line Terminal, press Ctrl+Alt+T.
Installing Hyper Terminal
Follow the below steps in order to install Hyper Terminal in Ubuntu:
Step 1: Download Hyper Terminal
First, go to the official website of Hyper and download the Hyper Terminal installer file.
To do so, open the following link in your browser and download the package labeled as Debian(.deb).

When the following dialog box appears, click OK to save this file.

The downloaded (.deb) installer for Hyper Terminal will be saved to your Downloads directory.
Alternatively, you can download the installer file using a single command in the command line Terminal. The command to download .deb installer for Hyper Terminal is as follows:
$ wget -O hyper_3.0.2_amd64 https://releases.hyper.is/download/deb
The downloaded installer will be saved to your Home directory.
Step 2: Install Hyper Terminal
The next step is to install the Hyper Terminal application. Move to the directory where the (.deb) file for the Hyper Terminal is placed. Then run the below command to install it:
$ sudo gdebi hyper_3.0.2_amd64
When asked for the password, type sudo password.

Then the system will ask you to confirm whether you want to install the application or not. Hit y to confirm, after which the installation of Hyper Terminal will be started.
Step 3: Launch Hyper Terminal
After the installation is completed, you can open Hyper either using the command line or using GUI.
In order to open the Hyper Terminal application via command line, run the following command in Terminal:
In order to open the Hyper Terminal application via GUI, hit the super key on your keyboard and type hyper. When the icon for Hyper Terminal appears as displayed in the following screenshot, click on it to launch it.

After the Hyper Terminal is launched, you should see the following window. You can see it looks similar to the default Terminal application of Ubuntu.

Similar to the Ubuntu default Terminal application, you can run any command in the Hyper Terminal.

The configuration file of Hyper Terminal is hyper.js located in the home directory. You can edit this file and configure various properties including fonts, line height, letter spacing, background color, and various others.
To edit this file, run the following command in default Terminal or Hyper Terminal:
You can also access this file by clicking the menu (Hamburger icon) at the left and then go to Edit > Preferences.

Once you are done with the configurations, save the file to apply the changes you have made.
Remove Hyper Terminal
In case, you no longer need the Hyper Terminal, you can remove it by running the following command in Terminal:
If asked for the password, provide sudo password.

Then the system will ask you to confirm whether you want to remove the package or not. Hit y to confirm, after which the Hyper Terminal will be removed from the system.
I hope now you can easily use Hyper Terminal in your Ubuntu system. If you are a regular user of Ubuntu default Terminal and are well familiar with it, then you will find no difficulty in using the Hyper Terminal.
Search
About This Site
Vitux.com aims to become a Linux compendium with lots of unique and up to date tutorials.
Latest Tutorials
How to set up the Hyper Terminal — Geekbits

The command line is a very powerful yet helpful tool, especially in the world of geeks. It gives you the ability to interact with your computer without the need for a graphical user interface. With the command line, you also unlock features you would not have access to with the graphical interface.
I bet you’ve heard people say, «you can only call yourself a real developer if you at least know how to use the command line.» Of course, this differs from person to person, but it takes a step to emphasize how vital the Terminal is.
The command line works by issuing commands to the computer, and the computer, in turn, does whatever it is that you commanded it to do.
A couple of command lines are used for different operating systems. For example, On windows, we have the windows terminal that is configured to run the CMD, Powershell, SSH, WSL, etc. There is also a terminal on mac, and I need not say that Linux has one too.
These terminals work fine, but if you want to up your game, have more customizations, and have consistency between the different OS, we will install the Hyper Terminal.
Installing the Hyper Terminal on Windows
The Hyper terminal is a terminal built on web technologies with the aim of speed and stability. Hyper also provides users with a beautiful and extensible experience. You get to customize it, and you can also integrate it with multiple tools.
To Install the hyper Terminal, Follow the steps below:
- Click on the following link. https://hyper.is
- Once you are on the site, it will automatically detect which platform you are using, so Click on download, and it will save on your computer.
- Open the directory where the setup is saved and double-click on it.
- You will be taken to the installation wizard. Click on install, and you are done.
The Hyper terminal will be installed on your computer, and you can start using it immediately by running the application.
You can stop at this point, but we can take it a step further by configuring it with GIT Bash if you care about version control and all the benefits that Git has.
Git Installation
We will start by installing Git because it comes with git bash, which allows us to use bash to interact with the command line.
To install Git, follow the steps below.
- Follow the link: https://git-scm.com
- Head to downloads and choose windows to download it for your system.
- Double-click on the .exe file and proceed with the installation wizard.
- Make sure you check on git bash and leave the rest of the default options.
- Click on install, and it will be installed on your machine.
Once it is installed. I recommend restarting your machine.
Configuring Hyper with GIT Bash
This will open hyper configurations.
- Delete everything on that page and paste the configurations below.
module.exports = < config: < // default font size in pixels for all tabs fontSize: 12, // font family with optional fallbacks fontFamily: 'Menlo, "DejaVu Sans Mono", Consolas, "Lucida Console", monospace', // terminal cursor background color and opacity (hex, rgb, hsl, hsv, hwb or cmyk) cursorColor: 'rgba(248,28,229,0.8)', // `BEAM` for |, `UNDERLINE` for _, `BLOCK` for █ cursorShape: 'BLOCK', // color of the text foregroundColor: '#fff', // terminal background color backgroundColor: '#000', // border color (window, tabs) borderColor: '#333', // custom css to embed in the main window css: '', // custom css to embed in the terminal window termCSS: '', // set to `true` (without backticks) if you're using a Linux setup that doesn't show native menus // default: `false` on Linux, `true` on Windows (ignored on macOS) showHamburgerMenu: '', // set to `false` if you want to hide the minimize, maximize and close buttons // additionally, set to `'left'` if you want them on the left, like in Ubuntu // default: `true` on windows and Linux (ignored on macOS) showWindowControls: '', // custom padding (css format, i.e.: `top right bottom left`) padding: '12px 14px', // the full list. if you're going to provide the full color palette, // including the 6 x 6 color cubes and the grayscale map, just provide // an array here instead of a color map object colors: < black: '#000000', red: '#ff0000', green: '#33ff00', yellow: '#ffff00', blue: '#0066ff', magenta: '#cc00ff', cyan: '#00ffff', white: '#d0d0d0', lightBlack: '#808080', lightRed: '#ff0000', lightGreen: '#33ff00', lightYellow: '#ffff00', lightBlue: '#0066ff', lightMagenta: '#cc00ff', lightCyan: '#00ffff', lightWhite: '#ffffff' >, // the shell to run when spawning a new session (i.e. /usr/local/bin/fish) // if left empty, your system's login shell will be used by default // make sure to use a full path if the binary name doesn't work // (e.g `C:\\Windows\\System32\\bash.exe` instad of just `bash.exe`) // if you're using powershell, make sure to remove the `--login` below shell: 'C:\\Program Files\\Git\\git-cmd.exe', // for setting shell arguments (i.e. for using interactive shellArgs: ['-i']) // by default ['--login'] will be used shellArgs: ['--command=usr/bin/bash.exe', '-l', '-i'], // for environment variables env: < TERM: 'cygwin'>, // set to false for no bell bell: 'SOUND', // if true, selected text will automatically be copied to the clipboard copyOnSelect: false // if true, on right click selected text will be copied or pasted if no // selection is present (true by default on Windows) // quickEdit: true // URL to custom bell // bellSoundURL: 'http://example.com/bell.mp3', // for advanced config flags please refer to https://hyper.is/#cfg >, // a list of plugins to fetch and install from npm // format: [@org/]project[#version] // examples: // `hyperpower` // `@company/project` // `project#1.0.1` plugins: [], // in development, you can create a directory under // `~/.hyper_plugins/local/` and include it here // to load it and avoid it being `npm install`ed localPlugins: [] >; You are all done. You can confirm that everything works fine by opening a hyper window and typing:
If you see the following output, pat yourself on the back. The whole process was successful.
Ending .
With the following guide, you get to install the hyper Terminal, which gives you all the customizations you need. Did you install the hyper Terminal. Comment below and tell us your experience so far.
If you have gotten so far, thank you for reading. Stand a chance to get geekbits premium by sharing this article.
If you enjoy our content, please consider buying us a coffee to support our work:
I’m a tech enthusiast interested in everything computer-related, from hardware to operating systems to programming. I aim to share my expertise with the rest of the world.