thomasheller / INSTALL.md
Quick install guide for Arch — if you’re looking for an automated installer, consider Arch Anywhere.
Create a new VM, choose type Linux and version Arch Linux (64-bit). Allocate a reasonable amount of RAM and create a new hard disk.
Make sure the VM has two network adapters enabled: Adapter 1 attached to NAT and Adapter 2 attached to Host-only adapter vboxnet0 if you have multiple VMs inside a host-only network.
Attach the ISO image to your VM and boot into Arch’s live system.
Check network: ping archlinux.org
- fdisk /dev/sda
- n — new partition
- (enter) ( p — primary disk)
- (enter) ( 1 — partition number)
- (enter) set first sector
- (enter) set last sector (use whole disk)
- w — write partition table and quit
Format partition:
mkfs.ext4 /dev/sda1
Mount the filesystem:
mount /dev/sda1 /mnt
Install the base packages:
pacstrap /mnt base
Generate /etc/fstab :
genfstab -U /mnt >>/mnt/etc/fstab
Change root to the newly created system:
arch-chroot /mnt
Set the timezone, e.g.:
ln -sf /usr/share/zoneinfo/America/Los_Angeles /etc/localtime
Generate /etc/adjtime :
hwclock —systohc
- Uncomment your preferred locale (e.g. en_US.UTF-8 UTF-8 ) in /etc/locale.gen using vi .
- Run locale-gen .
- Put the corresponding LANG variable (e.g. LANG=en_US.UTF-8 ) in /etc/locale.conf :
echo ‘LANG=en_US.UTF-8’ >/etc/locale.conf
Set hostname (e.g. arch ):
echo arch >/etc/hostname
Enable DHCP client daemon:
systemctl enable dhcpcd
Set root password:
passwd
(your password)
(your password)
- pacman -S grub
- grub-install —target=i386-pc /dev/sda
- grub-mkconfig -o /boot/grub/grub.cfg
Now boot from the first hard disk.
Login as root using your password.
Add non-root user with sudo permissions and Zsh as the default shell:
- Install sudo and Zsh:
pacman -S sudo zsh - Add user (e.g. John):
useradd -m -g users -s /usr/bin/zsh john - Set password:
passwd john
(your password)
(your password) - Edit /etc/sudoers using EDITOR=vi visudo and add permissions, e.g.:
john ALL=(ALL) ALL
- Install systemd-swap:
pacman -S systemd-swap - Enable the swap daemon:
systemctl enable systemd-swap
- Install required packages:
pacman -S xorg-server xorg-server-utils xorg-xinit xorg-apps xterm - Install video driver:
pacman -S xf86-video-vesa - Install default terminal:
pacman -S xterm - Install some popular fonts:
pacman -S ttf-dejavu ttf-droid ttf-inconsolata
Update the system:
pacman -Syu
- Install your window manager of choice.
- Activate bi-directional clipboard in the VM settings and install the Guest Additions.
- Switch to linux-lts kernel.
You mentioned installing xterm twice, was this intentional? Please keep this post up, I can’t install Arch without it.
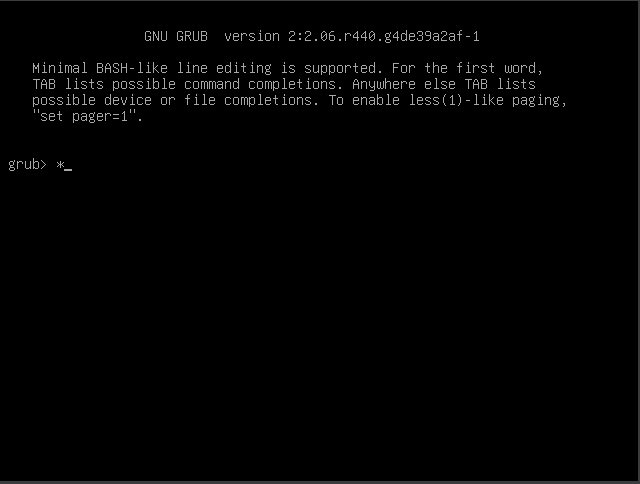
Hi, when I reboot my PC after removing the hard disk, I’ve got grub CLI. This is normal?
How can I boot in grub cli?
Hi @iZel345 That is not normal. You will not be able to boot because there was an installation problem.
This step pacstrap /mnt base does not install the linux kernel. Run pacstrap /mnt base linux (or linux-lts) instead. You can recover your installation if you add back the archlinux iso and reboot from the disk. Then rerun:
mount /dev/sda1 /mnt
pacstrap /mnt linux
arch-chroot /mnt
grub-mkconfig -o /boot/grub/grub.cfg
You should see this in the output of grub-mkconfig:
Found lunux image: /boot/vmlinuz-linux Found initrd image: /boot/initramfs-linux.img Reboot and it should work.