- How to Install Apache JMeter on Ubuntu 20.04
- Prerequisites
- Step 1 — Create Atlantic.Net Cloud Server
- Step 2 — Install Java
- Step 3 — Install Apache Web Server
- Step 4 — Install Apache JMeter
- Step 5 — Launch the Apache JMeter Application
- Add Thread Group
- Add HTTP Request Sampler
- Add View Results in Table Listener
- Step 6 — Run Test and get the test result
- Conclusion
- How to install Apache JMeter in Ubuntu
- Install JMeter
- Run JMeter
- Simple Test using JMeter
- Conclusion
- About the author
- Fahmida Yesmin
- How to Install Apache JMeter on CentOS 8 / RHEL 8
- Install JAVA on CentOS 8 / RHEL 8
- Install Apache JMeter on CentOS 8 / RHEL 8
How to Install Apache JMeter on Ubuntu 20.04
Apache JMeter is a load testing tool. It is open-source and Java-based. JMeter can be used for the analysis of a system’s functional behavior. It measures a system’s performance under a load test. The load, in this case, simulates those end-user behaviors that approach the limitations of an application’s specifications. JMeter can be used for simulating loads that are variable or heavy. The simulation may be conducted on single or multiple servers. It may alternately be conducted over networks or objects testing a system’s strength. JMeter simulates a group of users. They send requests to a server or network. The returning statistics are shared back with a user through visual diagrams. JMeter also offers support for browser plug-ins. In this tutorial, we will show you how to install and use Apache Jmeter on Ubuntu 20.04.
Prerequisites
- A fresh Ubuntu 20.04 Desktop VPS on the Atlantic.net Cloud Platform.
- A root password is configured on your server.
Step 1 — Create Atlantic.Net Cloud Server
First, Login to your Atlantic.Net Cloud Server. Create a new server, choosing Ubuntu 20.04 as the operating system, with at least 2 GB RAM. Connect to your Cloud Server via SSH and log in using the credentials highlighted at the top of the page.
Once you are logged into your Ubuntu 20.04 server, run the following command to update your base system with the latest available packages.
Step 2 — Install Java
Apache JMeter is a Java-base application so Java must be installed in your system. You can install it by running the following command:
apt-get install openjdk-8-jdk -y
After installing Java, verify the installed version of Java with the following command:
You should get the following output:
openjdk version "1.8.0_272" OpenJDK Runtime Environment (build 1.8.0_272-8u272-b10-0ubuntu1~20.04-b10) OpenJDK 64-Bit Server VM (build 25.272-b10, mixed mode) OpenJDK 64-Bit Server VM (build 25.272-b10, mixed mode) Step 3 — Install Apache Web Server
In this tutorial, we will use Jmeter to test the load of the Apache webserver. So you will need to install the Apache webserver in your system. You can install it with the following command:
After installing Apache web server, start the Apache service and enable it to start at system reboot:
Step 4 — Install Apache JMeter
By default, Apache JMeter is not available in the Ubuntu 20.04 default repository. So you will need to download it from its official website:
You can download it with the following command:
Once downloaded, unzip the downloaded file with the following command:
Step 5 — Launch the Apache JMeter Application
Next, change the directory to the JMeter:
Now, start the JMeter application with the following command:
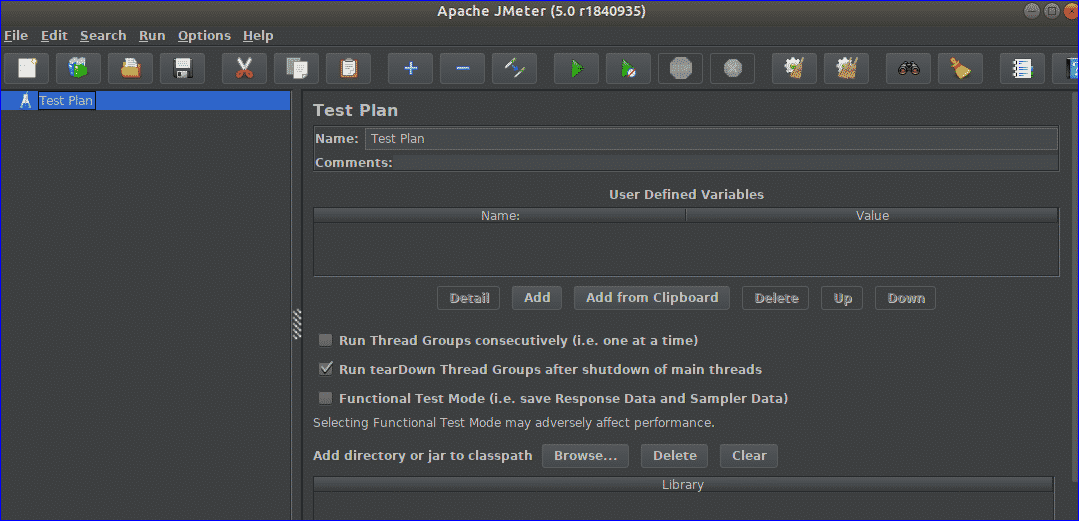
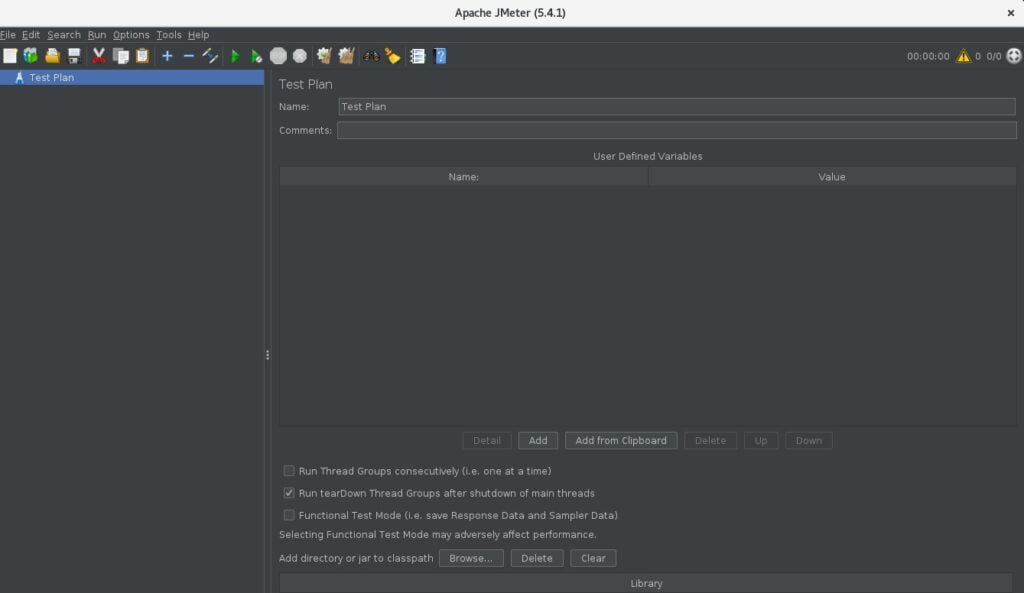
You should see the JMeter interface in the following page:

Provide the name of your Test Plan and click on the Save button. You should see your Test plan in the left pane as shown below:

Next, you will need to add some components in your Test plan.
Add Thread Group
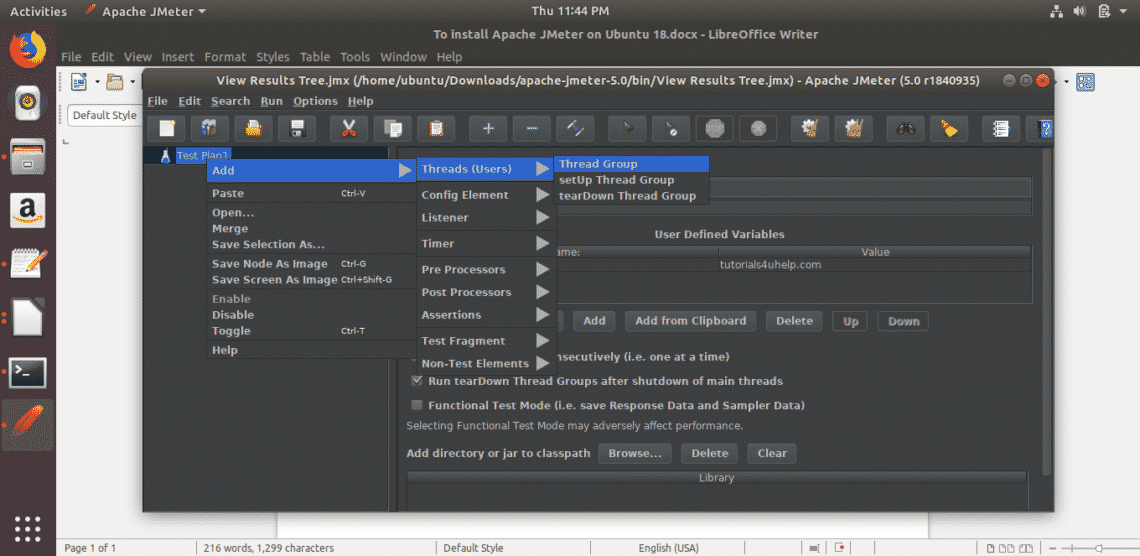
To add a thread group, right-click on the plan1 and click on the Add => Threads (Users) => Thread Group. You should see the following page:

Here, you will need to provide the Number of Thread Users, Loop Count and Ramp-Up Period. Once you are done, you can proceed to the next step.
Add HTTP Request Sampler
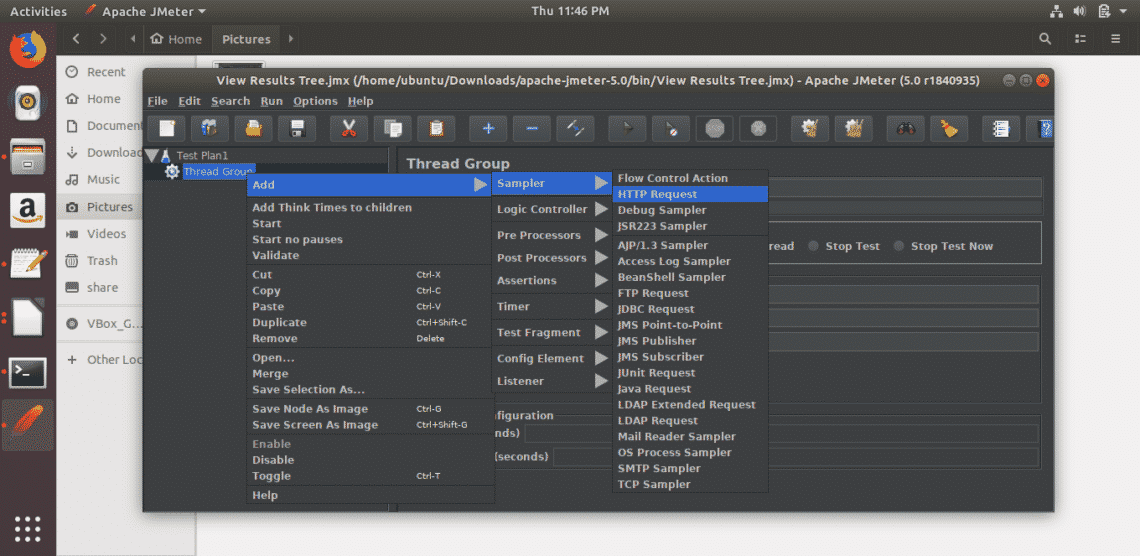
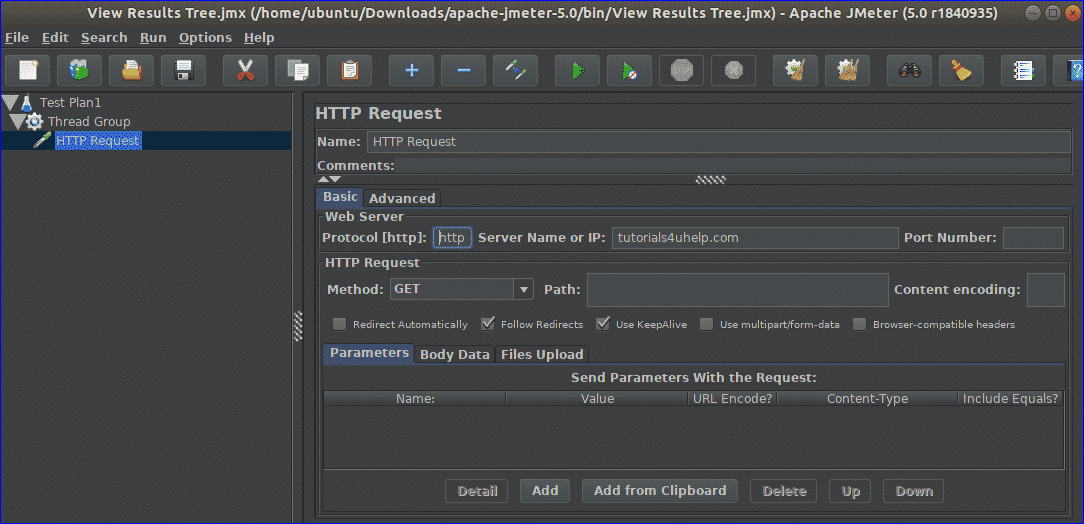
Next, you will need to add the HTTP Request Sample elements to represents a page request that each thread (user) will access.
To add it, right-click on Thread Group and click on the Add => Sampler => HTTP Request. You should see the following page:

Here, you will need to provide a name or the IP address of your web server that you want to test.
Add View Results in Table Listener
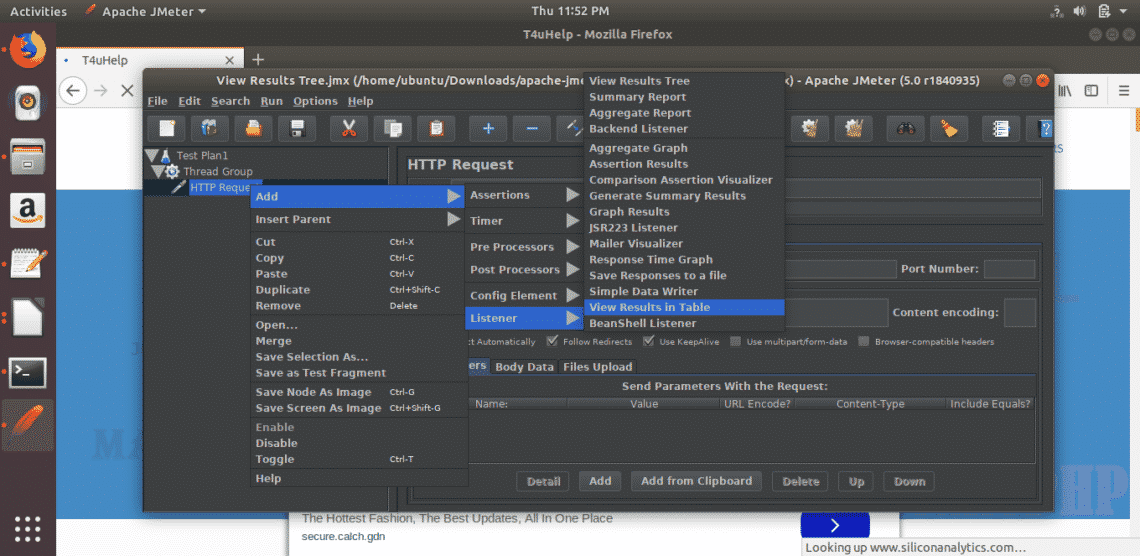
Next, you will need to add the Listener to output the results of a load test.
To add a Listener, right-click on HTTP Request and click on the Add => Listener => View Results in Table. You should see the following page:

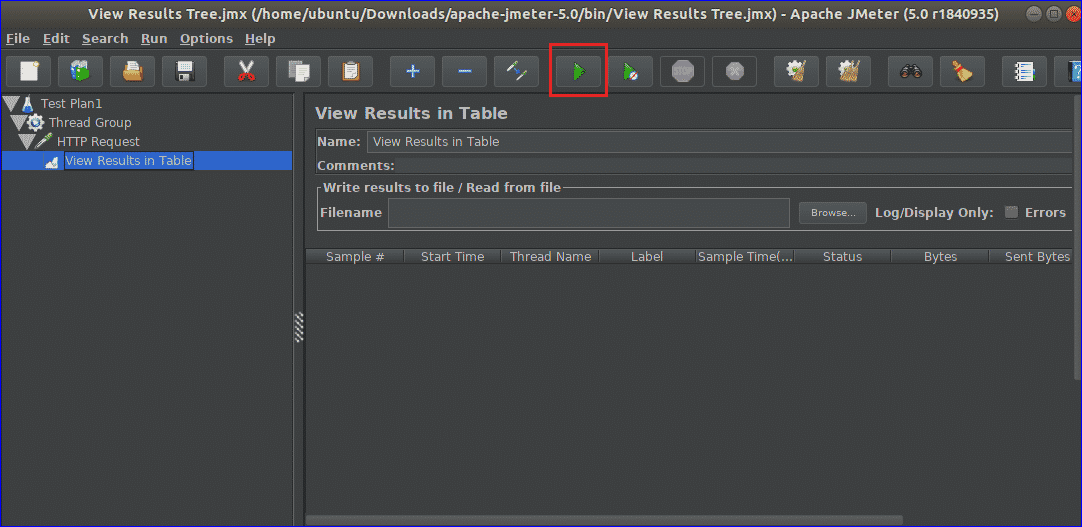
Step 6 — Run Test and get the test result
At this point, your basic test plan is setup. Now it’s time to run the test.
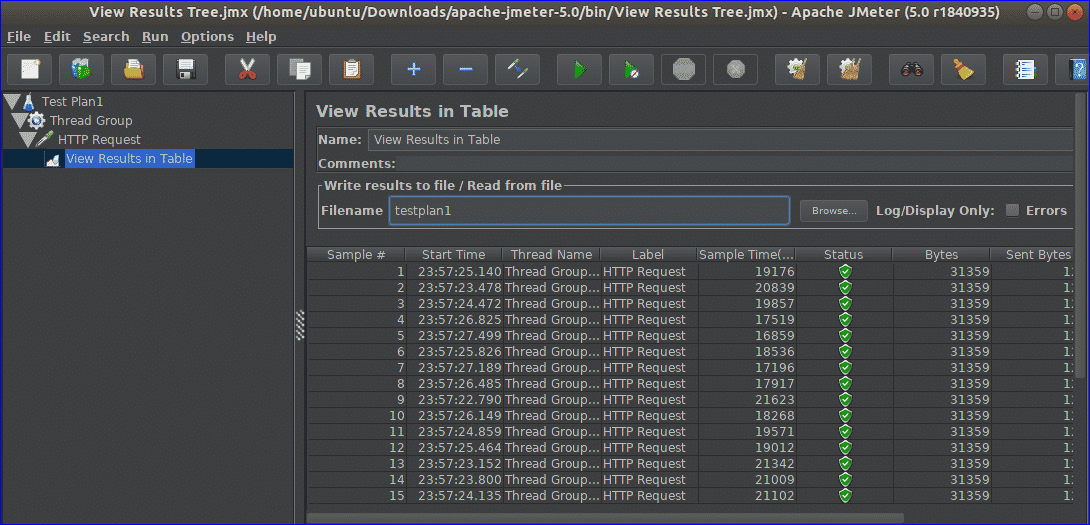
Now, click on the green arrow button to start your test plan. You should see the test results in the following page:

Conclusion
In the above guide, you learned how to install the Apache JEmeter on Ubuntu 20.04 desktop. You also learned how to create a basic test plan and run the test. I hope you can now easily use Apache JMeter for load testing.
If you would like to host your application on the cloud server then I would recommend to try Atlantic.net Cloud and get started with one full year of free VPS hosting in the cloud!
How to install Apache JMeter in Ubuntu
![]()
After developing a new website, it is very important to perform some tests to find out the limitation of the site, and take necessary actions to remove the limitations for making the site more appropriate for the visitors before publishing. One of the important tests for any website is a load test. How many requests the website can handle at a time or how the website performs when a large number of requests appear on the site can find out by load test.
Apache JMeter is the best tool developed by Stefano Mazzocchi of Apache Software Foundation to perform this type of test and check out the performance of any website. It is used to create a large amount of virtual concurrent traffics to the website for doing the load test. It is open-source software. So anyone can download, install and customize this software to do the test. It is mainly designed for testing web application, but now it is also used for database testing, stress testing, distributed testing, and functional testing. How you can install and run this software is shown in this tutorial.
Install JMeter
JMeter is a developed by Java. So you require to install the latest version of JRE or JDK to run JMeter. If you have installed Java before then run the following command to check the version of the installed Java.
The following output will appear if Java 9 is installed on the system.

If you didn’t install Java before then you can follow the steps from the following tutorial link to install Java before starting the next step.
Go to the following URL location to download the latest version of JMeter. You can download the binary or source file of this tool from this location. Click on ‘Apache-JMeter-5.0.zip’ link to download the binary zip file of JMeter.
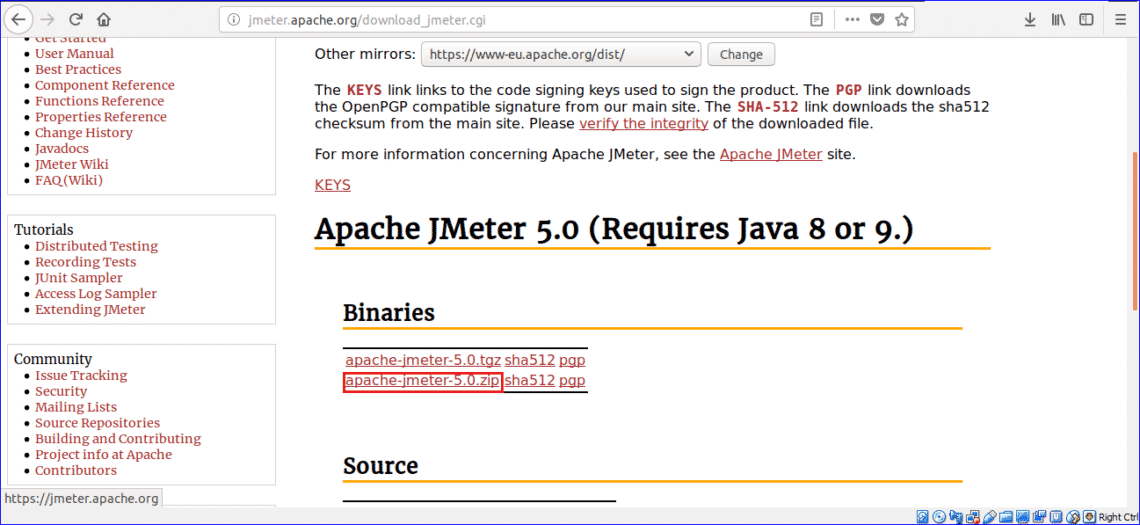
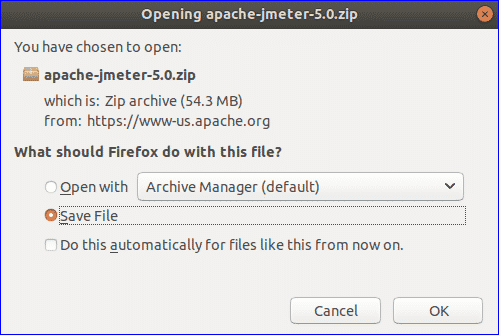
Click on Save File radio button and OK button to start the download.
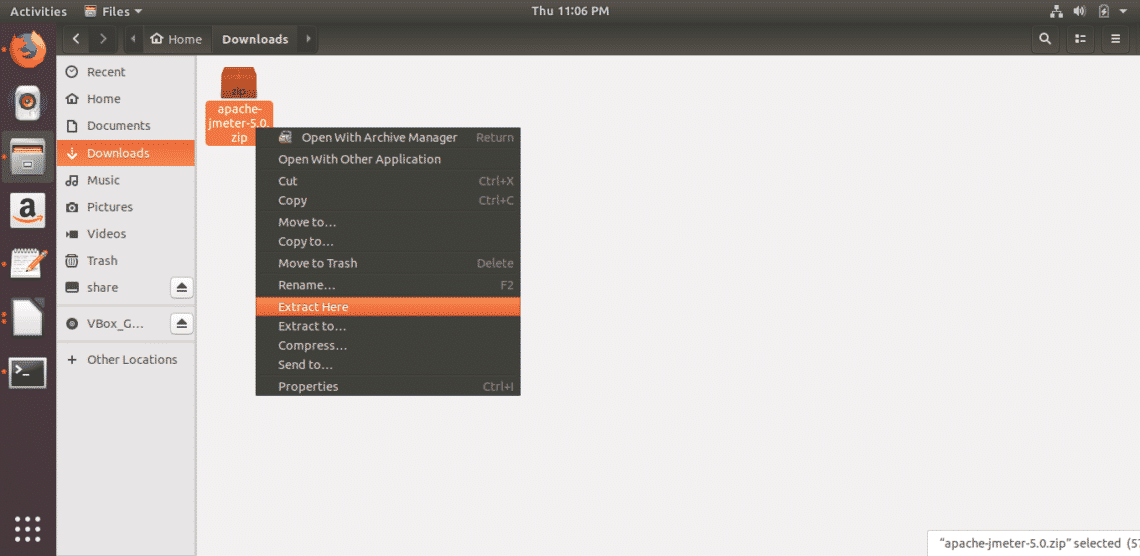
By default, the file will be downloaded in the Downloads folder. Open the folder, right click on the zip file and click on Extract Here from the pop-up menu.
Run JMeter
Press Alt+Ctrl+T to open the terminal and type the following command to go the location from where you can run JMeter.

Run the following command to run JMeter and open the JMeter dialog box.
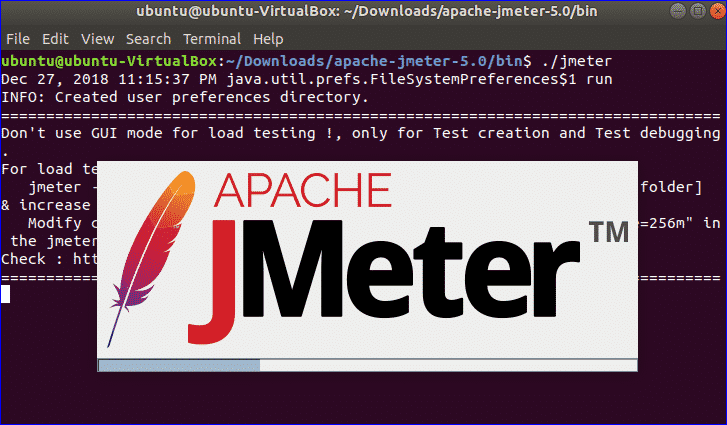
The following dialog box will appear after the successful installation of JMeter.
The following dialog box will appear after the successful installation of JMeter.

Simple Test using JMeter
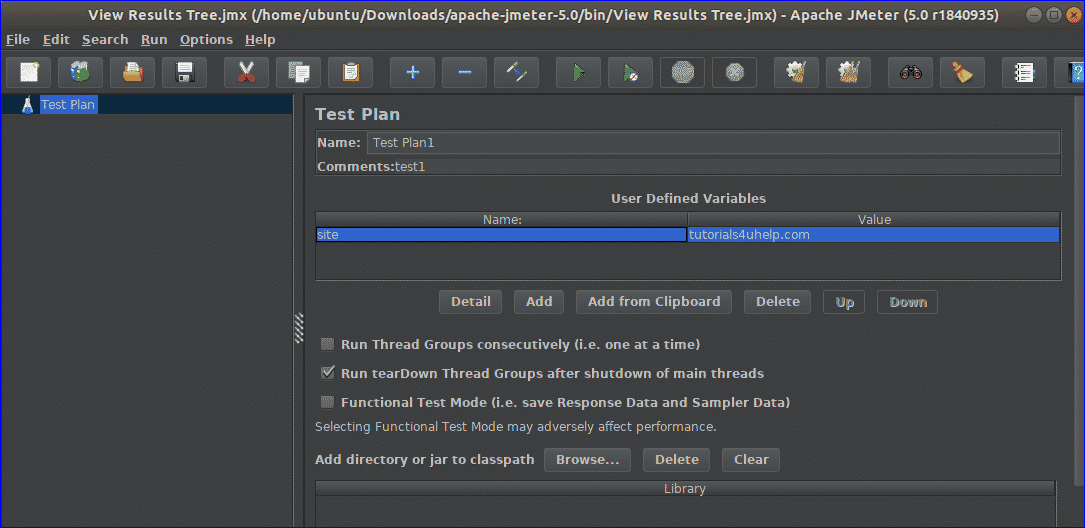
It is discussed earlier that JMeter can be used for various types of testing. How a simple load test can be done using JMeter is shown in this part of the tutorial. Test name is set to Test Plan by default. If you want you can change the default value. Here, Name is set to Test Plan1 and test1 is set as a comment which is optional. Next, you have to set the variables that you want to use in your test. Here, the site is set as the variable name and tutorials4uhelp.com is set as value. This test will do the load test based on the next configuration of the site tutorial4uhelp.com.
Right-click on Test Plan1 from the left navigation. Click on Add, next Thread (Users) and next Thread Group. It is used to set action, properties, and schedule of Thread Group before starting the test.
In Thread Group, Five types of actions can be taken when any sampler error occurs. These are,
- Continue
- Start Next Thread Loop
- Stop Thread
- Stop Test
- Stop Test Now
You can select any of the above actions for your test. Here, the default option is used. Next part of Thread Group is to set Thread Properties. The properties are,
- Number of Threads (users)
This property is used to assign the number of virtual visitors that you want for the testing. 15 is set here.
- Ramp-Up Period (in seconds)
This property is used to assign the time between two threads. 5 seconds is set here.
- Loop Count
This property is used to assign the number of times the thread will run. You can run the thread for unlimited times by selecting Forever checkbox. 1 is set here to run the thread for just one time.
There are other two properties which are “Delay Thread creation until needed” and “Scheduler”. These properties are remained unchecked here. Scheduler Configuration part is used to set the execution time of the test and it will be used in the test if you checked the Scheduler.

Next, you have to set the Sampler type to do the test. Here, HTTP Request is set as Sampler, to hit the server for the resources.
In HTTP Request part, you have to set Web Server, HTTP Request type for the test. You can use HTTP or https as protocol based on your server. By default, HTTP is used. You have to set domain name or IP address of your server in Server Name or IP field. Here, ‘tutorials4uhelp.com’ domain is used as Server Name. Other values remain as the default value.
Next, you have to set Listener type. It is used to view the test results in various format. Here, ‘View Result in Table’ is selected.
Now, you can click on the start button to start the test based on the assigned configurations. You have to wait for some time to complete the thread in this step.
The following screen will appear after completing the test.
Conclusion
JMeter is a popular testing tool now but this software has some limitations. It consumes more memory while doing the test. It is not good for desktop application and it can’t render HTML and JavaScript like the browser. If you are preparing to publish your website then it is very important to check the performance of your site. You can use JMeter for checking the performance of the site by doing different types of test on it. It will help you to detect the problems of your site and take proper actions to solve it.
About the author
Fahmida Yesmin
I am a trainer of web programming courses. I like to write article or tutorial on various IT topics. I have a YouTube channel where many types of tutorials based on Ubuntu, Windows, Word, Excel, WordPress, Magento, Laravel etc. are published: Tutorials4u Help.
How to Install Apache JMeter on CentOS 8 / RHEL 8

The Apache JMeter is an open source software. It is a pure Java application designed to load test functional behavior and measure performance. The application was originally designed for testing Web Applications but has since expanded to other test functions. It may be used to test performance both on static and dynamic resources, Web dynamic applications.
We can also use it to simulate a heavy load on a server, group of servers, network or object to test its strength or to analyze overall performance under different load types. In this article you will learn, how to install Apache JMeter on CentOS 8 / RHEL 8
- Ability to load and performance test many different applications/server/protocol types. like (FTP, SMTP, TCP, Apache etc)
- Generate Dynamic HTML report.
- Extract data in HTML, JSON , XML or any textual format formats.
- Portability and 100% Java purity.
- Multi-threading, testing and debugging.
- CLI mode (Command-line mode) to load test from any Java compatible OS.
- Caching and offline analysis/replaying of test results.
Install JAVA on CentOS 8 / RHEL 8
JMeter is compatible with Java version 8 or higher. so first, we have to install Java to run it normally.
dnf install java-11-openjdk-devel -y
Installation done, now you can verify Java version using below command:
Install Apache JMeter on CentOS 8 / RHEL 8
You can also download latest binary release from its website.
Download it using below command
cd
wget https://downloads.apache.org//jmeter/binaries/apache-jmeter-5.4.1.tgz
ls
Now unpack downloaded package
tar zxvf apache-jmeter-5.4.1.tgz
ls
Once its done there is no need to install it, just go to apache-jmeter-5.4.1/bin directory and run Jmeter using below commands.
cd apache-jmeter-5.4.1/bin/ ./jmeter
Finally its done. Now you can start using JMeter to run load testing tool for analyzing and measuring the performance of a variety of services.