- How to install a Linux desktop on your Android device
- Debian NoRoot: One-click Linux desktop
- Install Ubuntu and other Linux flavors with UserLAnd
- Final steps: How to install Linux apps on your Android device
- Установка дистрибутивов Linux рядом с Android
- Устанавливаем дистрибутив Linux на Android
- Шаг 1: Получение root-прав
- Шаг 2: Установка Linux Deploy
- Шаг 3: Настройка Linux Deploy
- Шаг 4: Установка и запуск Linux
How to install a Linux desktop on your Android device
Have you ever wished your Android phone or tablet could replace your entire computer? You’re in luck — you can install a Linux or Ubuntu desktop environment on virtually any modern Android device. You could even combine it with a Bluetooth keyboard and mouse (and maybe an external display) for a powerful desktop-grade experience. While the experience is not always perfect, it’s usable in a pinch.
QUICK ANSWER
To install Linux on your Android device, install an app like Debian NoRoot or UserLAnd. If you choose the latter, you’ll be able to select between various distributions like Kali Linux, Arch, and Ubuntu. Neither option installs a full operating system, but they offer a complete desktop environment and the ability to run popular Linux programs.
JUMP TO KEY SECTIONS
Debian NoRoot: One-click Linux desktop
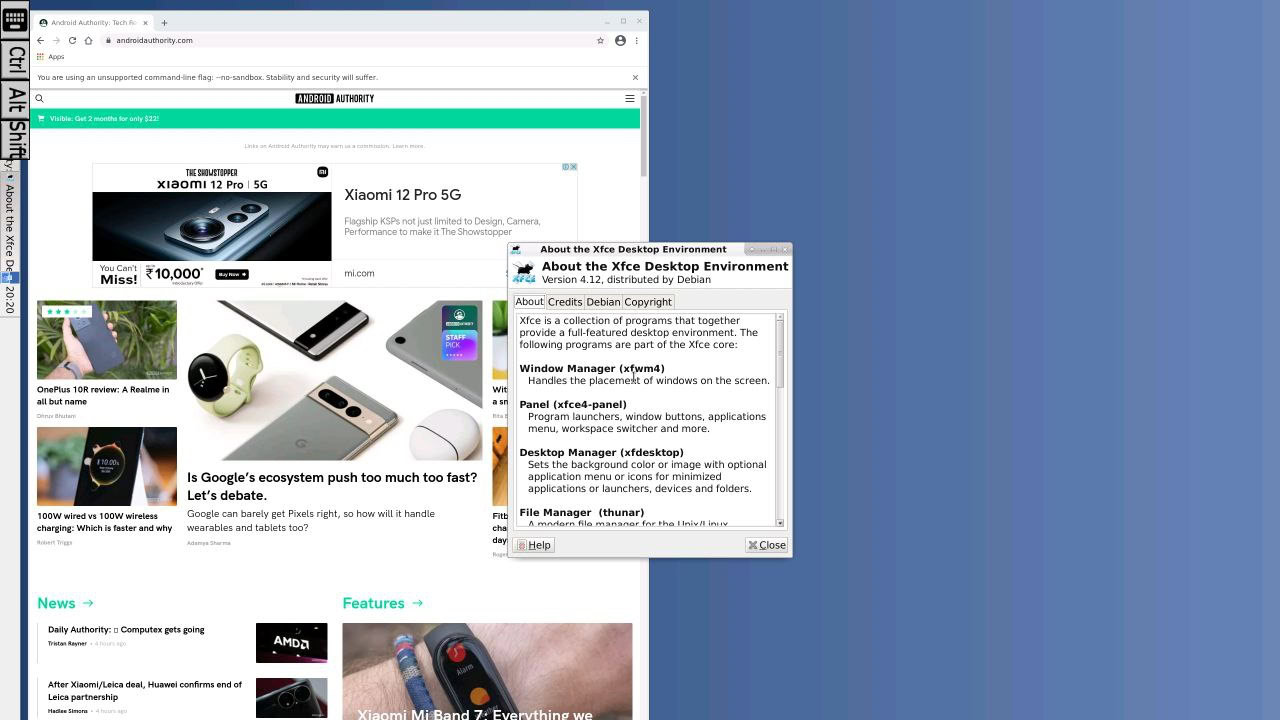
Debian NoRoot offers one of the easiest and least complicated ways to access a Linux desktop on Android. It’s a free app that you need to install via the Play Store. If you haven’t heard of Debian, it’s the flavor of Linux that the popular Ubuntu distribution is based upon. This guarantees compatibility with a wide range of Linux apps and the apt package manager.
Debian NoRoot is pretty lightweight and should run on most Android smartphones and tablets. It’s not the complete Debian operating system — instead, its developer describes it as a “compatibility layer, which allows you to run Debian applications.” How is this possible? Well, Android runs a modified Linux kernel, making it somewhat related to our end-goal. Debian NoRoot also includes all of the basics, including a desktop environment and a terminal application. All in all, it’s a perfect starting point for experienced and novice users alike.
Debian NoRoot lets you access a full-fledged Linux desktop with a simple download from the Play Store.
Once you’ve installed the Debian NoRoot app on your Android device and open it for the first time, it will present you with a list of display resolutions and font scales. Select the default options here, and it will eventually bring you to the desktop.
From this point on, you can immediately get to installing additional Linux programs and apps. We’ll explain how you can do this via the terminal in a later section. For now, consider plugging in a keyboard and mouse since the on-screen touch keyboard can take up a big chunk of your screen’s real estate.
Install Ubuntu and other Linux flavors with UserLAnd
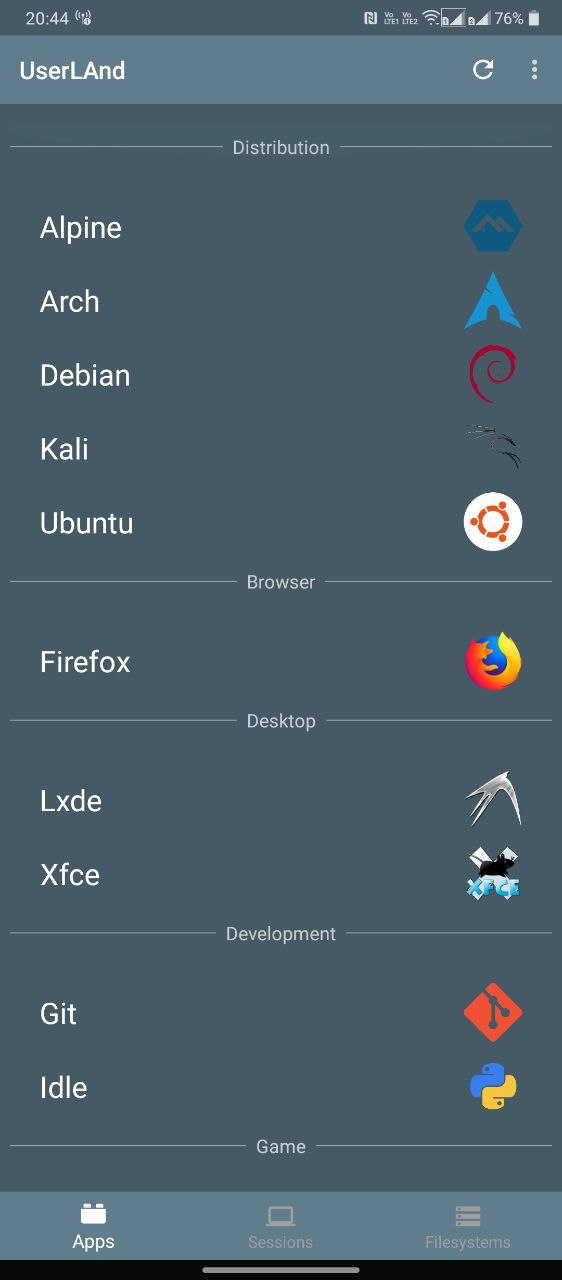
Select your Linux distribution of choice
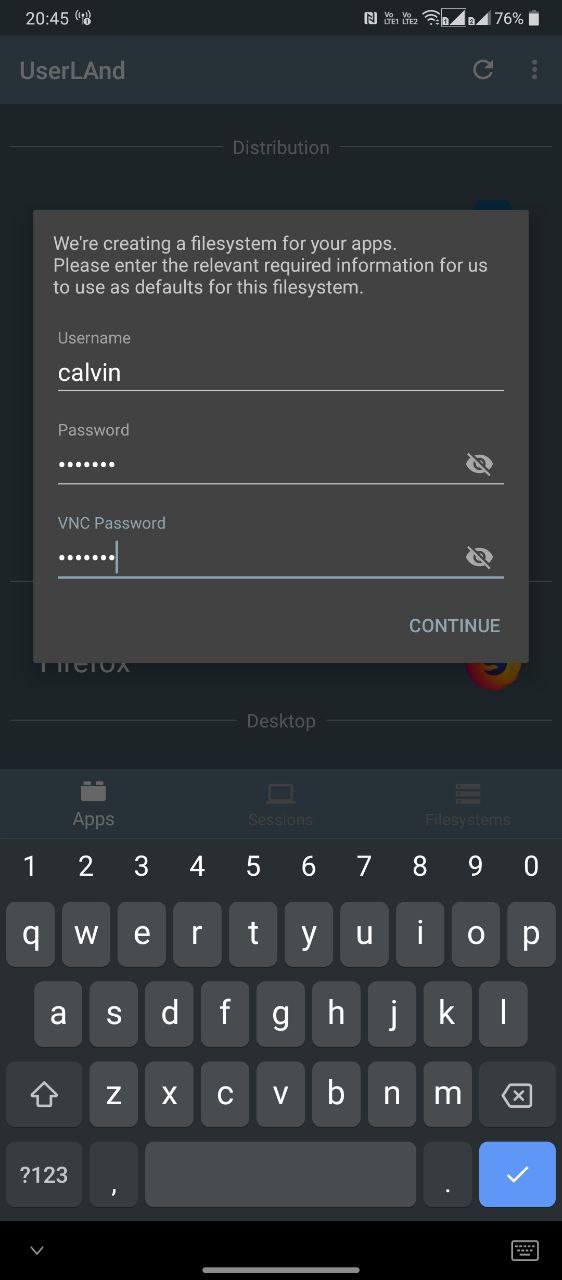
Enter a username and password
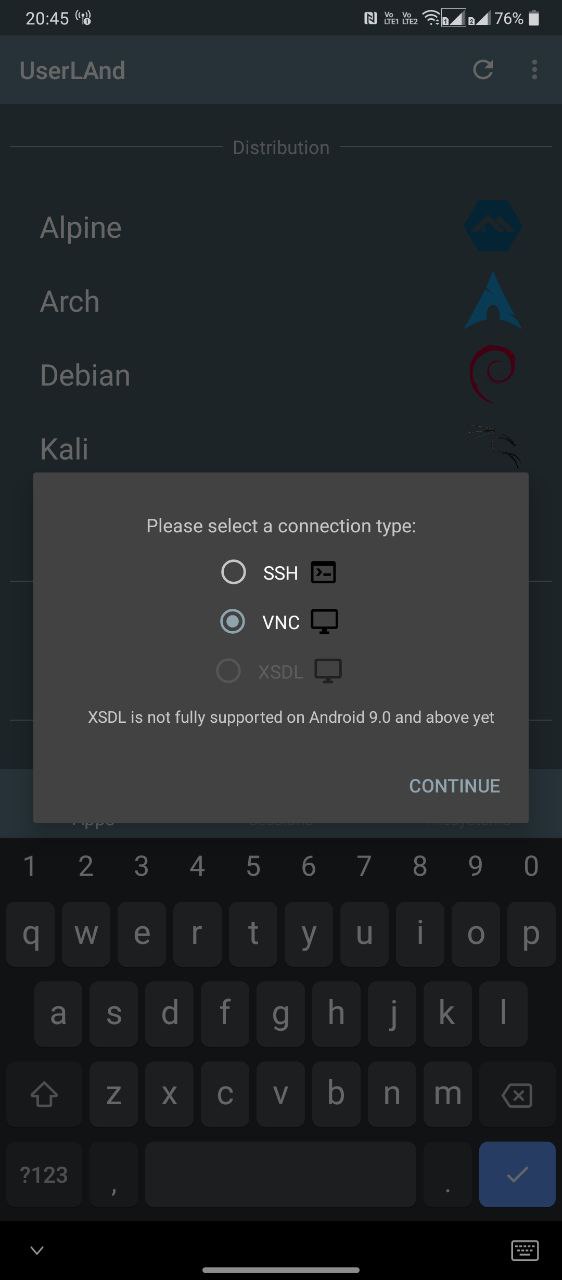
Select VNC if you’d like a graphical user interface or SSH for a text-based session
If Debian NoRoot doesn’t satisfy your needs or you’d like to install a different Linux distribution, another option is the UserLAnd application. It lets you install various Linux distros on your Android device, including Arch, Kali, Ubuntu, Debian, and Alpine. You can also choose to launch applications like Gimp and LibreOffice independently, eliminating the need for a full-blown desktop environment.
Here’s a step-by-step guide on how to install Ubuntu on your Android device:
- Download and install the UserLAnd app from the Play Store.
- Open the app and select the Linux distribution you wish to install. For the sake of this guide, we’ll proceed with Ubuntu.
- Enter a username, password, and VNC password of your choice when prompted. Don’t forget these details or you’ll have to start the process all over again.
- The app will now ask you to choose between an SSH or VNC connection. Select the latter if you need a graphical user interface.
- Wait until the download completes.
- Finally, you should be presented with a login screen, as shown below. Enter the VNC password from earlier to proceed.
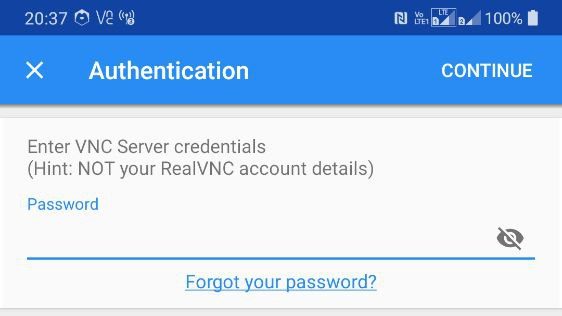
You can also initiate a VNC connection from a different device on the same network. First, determine your Android device’s IP address, either from your router or using a free app like Fing. Finally, add :51 to the end of the IP address (example: 192.168.0.101:51) and connect to it using a VNC app like TightVNC on the other device.
Final steps: How to install Linux apps on your Android device
Now that you’ve got your preferred flavor of Linux installed on your Android phone, you may be wondering what you can and can’t do with it. Let’s start with the latter — you can only install and run programs designed for ARM processors. This rules out certain apps like Steam, which only support the desktop x86 architecture. Still, most of the standard productivity-related programs you’d want — ranging from Firefox to LibreOffice — offer ARM versions these days.
Here’s how to install Linux apps on your Android device
- Log into your Ubuntu session via one of the above methods
- Open a terminal window
- Enter the following commands one by one: sudo apt update and sudo apt install firefox-esr
- You can replace firefox-esr in the above command with any other desired program of your choice. Some other examples include vlc and libreoffice.
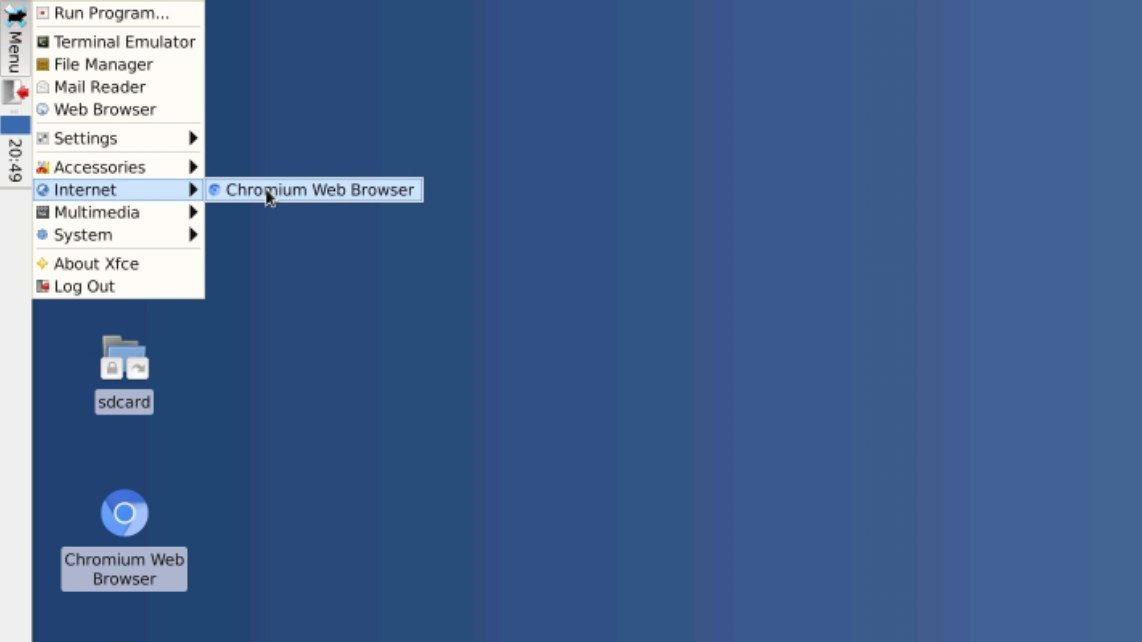
- Once installed, you can launch the program from within the Applications menu, as shown below:
Besides which Linux apps you can install, there are a couple of other limitations you should consider too. You cannot access low-level hardware functions like Wi-Fi or Bluetooth from within Linux because those are still completely controlled by Android. Likewise, you cannot expect hardware acceleration or complex 3D graphics to work at full speed. Remember that you aren’t running full-fledged Linux — it’s just a compatibility layer on top of the base Android operating system. You’ll be better off with a Chrome OS device if those aspects are important to you.
Установка дистрибутивов Linux рядом с Android
Бесплатные дистрибутивы, основанные на ядре Linux, могут быть установлены не только на компьютеры, но и доступны на мобильных устройствах. Помимо этого, создаются специальные версии операционных систем, где интерфейс и инструменты переделаны под смартфоны и планшеты. Обычно желание установить бесплатный дистрибутив появляется у обладателей телефонов под управлением Android. Инсталлируемая таким образом Линукс будет находиться рядом с основной ОС, а юзер сам выберет систему для загрузки. Далее мы хотим продемонстрировать выполнение этой процедуры на примере одной из самых популярных программ.
Устанавливаем дистрибутив Linux на Android
В осуществлении поставленной задачи нет ничего сложного, ведь требуется только наличие достаточного количества свободного места во внутренней памяти устройства и активное подключение к интернету. Единственное, с чем могут возникнуть трудности — получение root-прав, но при помощи полноценных инструкций эта цель тоже будет выполнена быстро и без проблем.
Приведенные далее руководства не подойдут для установки дистрибутивов Kali Linux, поскольку будет использовано несовместимое программное обеспечение. Развернутые инструкции по этой теме вы найдете в отдельном материале по ссылке ниже.
Шаг 1: Получение root-прав
Используемое далее программное обеспечение для выполнения инсталляции потребует рут-права. По умолчанию они не предоставляются на Android, их нужно получать через специальные сторонние средства. Тогда перед юзером открываются безграничные возможности в управлении ОС. Данный шаг самый сложный, поэтому с ним следует разобраться в первую очередь, чтобы продолжить дальнейшую операцию. Детальные руководства по методу получения root-прав на мобильном устройстве вы найдете в отдельной нашей статье, перейдя по следующей ссылке.
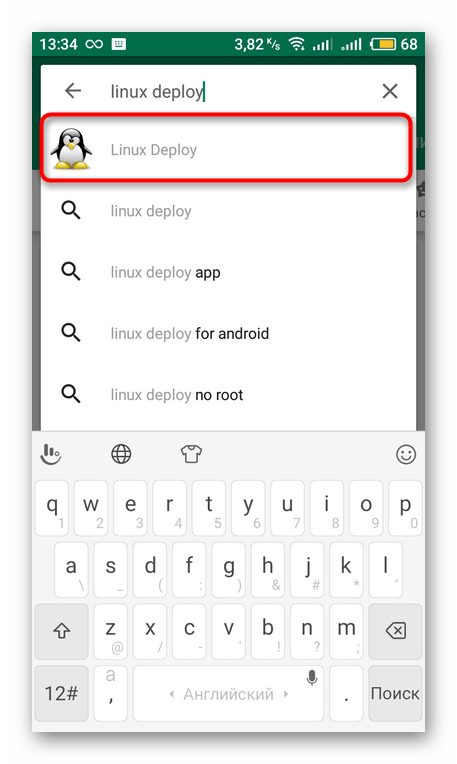
Шаг 2: Установка Linux Deploy
После удачного получения прав суперпользователя можно приступать к непосредственной установке Linux. Скачивание большинства популярных дистрибутивов доступно при помощи приложения Linux Deploy, которое выполнит все необходимые действия. Его нужно лишь установить и настроить. Первая задача выполняется так:
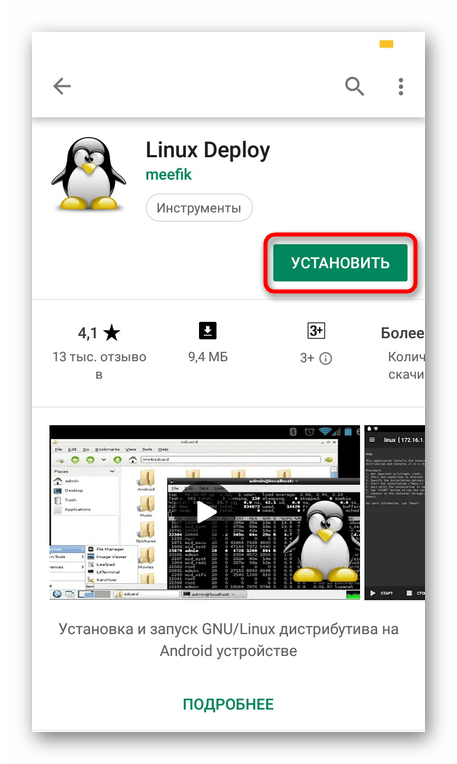
- Откройте Google Play Market и перейдите на страницу приложения.

- Начните установку, щелкнув на соответствующую кнопку.
Шаг 3: Настройка Linux Deploy
Теперь у вас на смартфоне имеются права суперпользователя и необходимое программное обеспечение, а значит все готово для дальнейшей установки. Осталось только выбрать путь и версию дистрибутива, что осуществляется непосредственно в Linux Deploy.
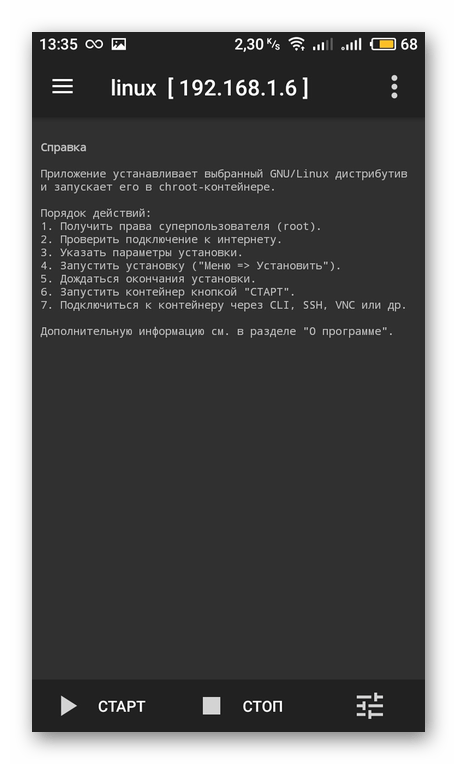
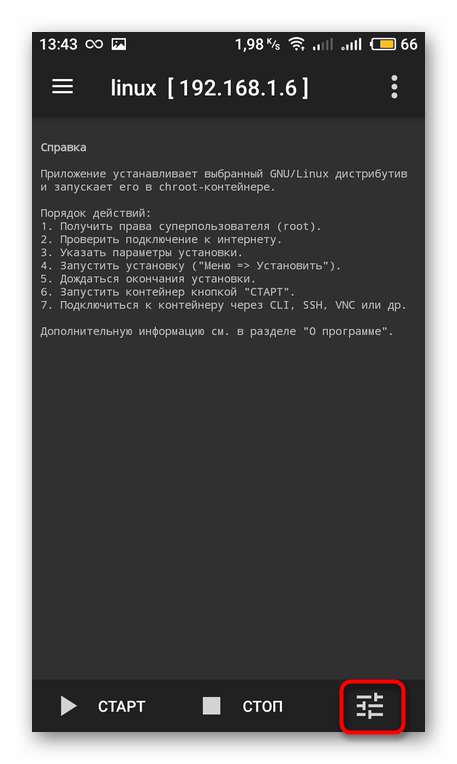
- Запустите приложение и ознакомьтесь с представленной инструкцией. В ней описываются общие правила установки Linux.
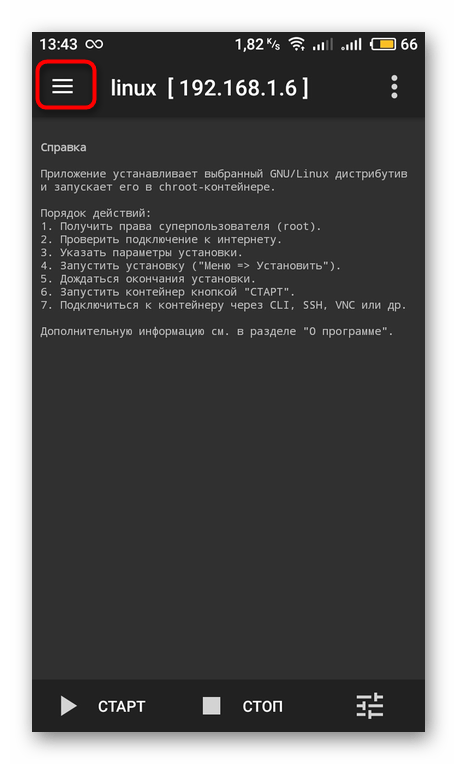
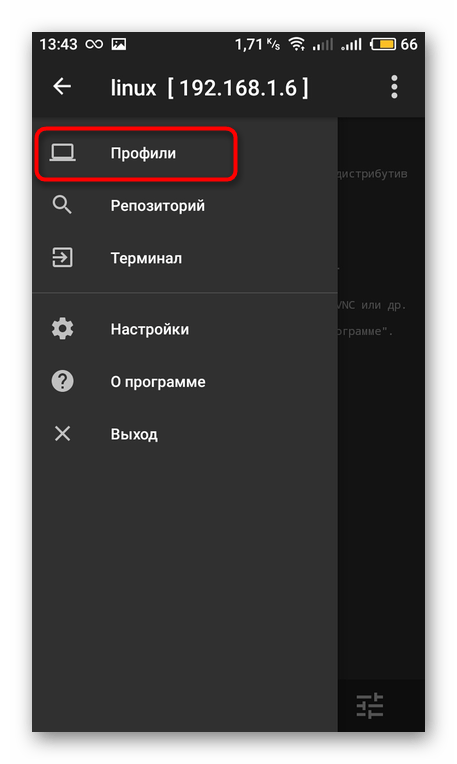
- Раскройте дополнительное меню, тапнув на иконку в виде трех горизонтальных полос.
- Здесь перейдите в раздел «Профили».
- Создайте новый профиль и задайте ему имя. Доступно создание неограниченного количества учетных записей. Каждой из них присваиваются индивидуальные настройки, то есть можно инсталлировать несколько дистрибутивов рядом.
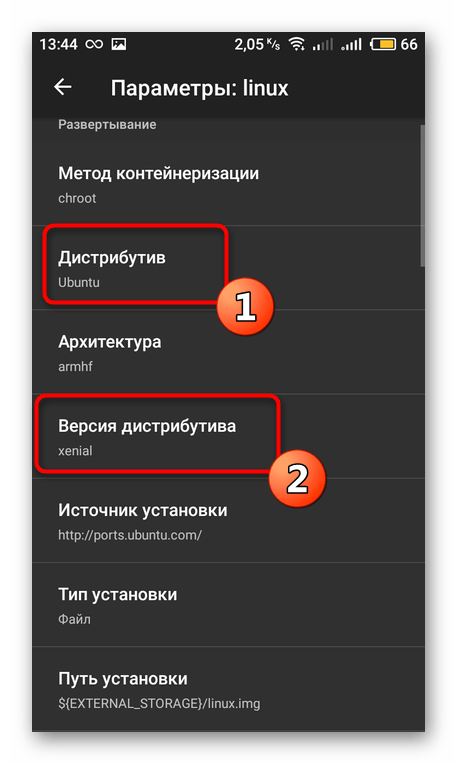
- Вернитесь в главное меню и переместитесь к категории с настройками операционной системы.
- Выберите дистрибутив и его версию на свое усмотрение.
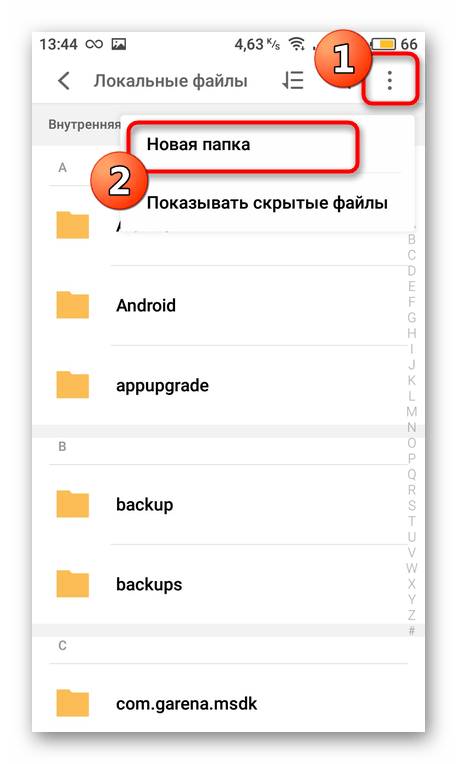
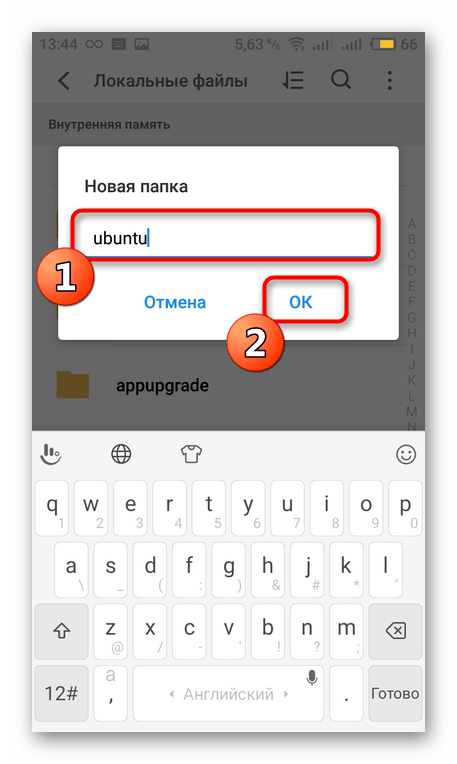
- На время отложите Linux Deploy и запустите удобный файловый менеджер или стандартный Проводник. Там в любом месте создайте папку, назвав ее именем ОС. Туда и будут установлены все файлы.
- Задайте ей произвольное название, чтобы запомнить место хранения данных. Запишите или скопируйте путь к этой директории.
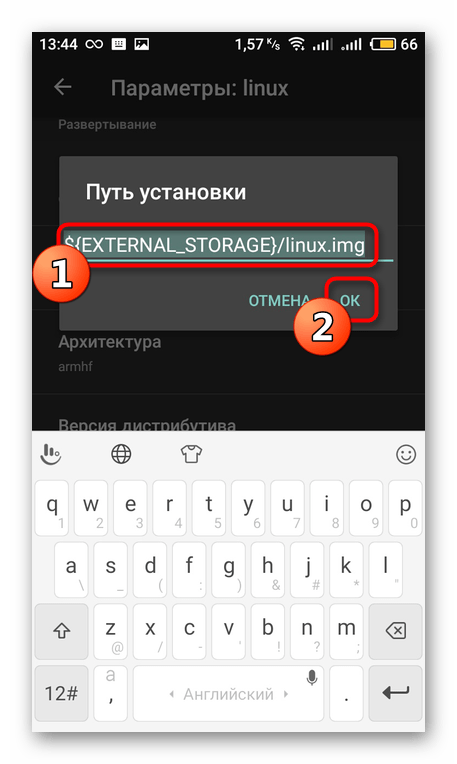
- Вернитесь в приложение и в пункте «Путь установки» задайте расположение нужной папки.

Шаг 4: Установка и запуск Linux
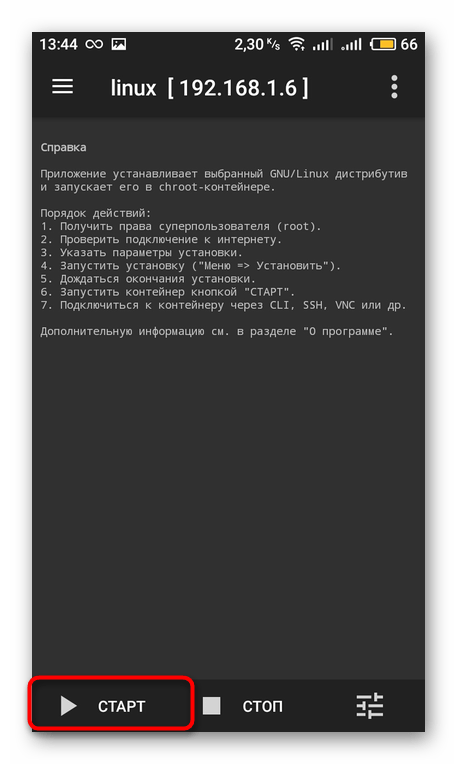
Перед запуском инсталляции повторно убедитесь в том, что все параметры были заданы верно, ведь неправильные настройки иногда приводят к отказу работы устройства, а решается это только сбросом конфигурации до заводского состояния. После этого нажмите на кнопку «Старт».
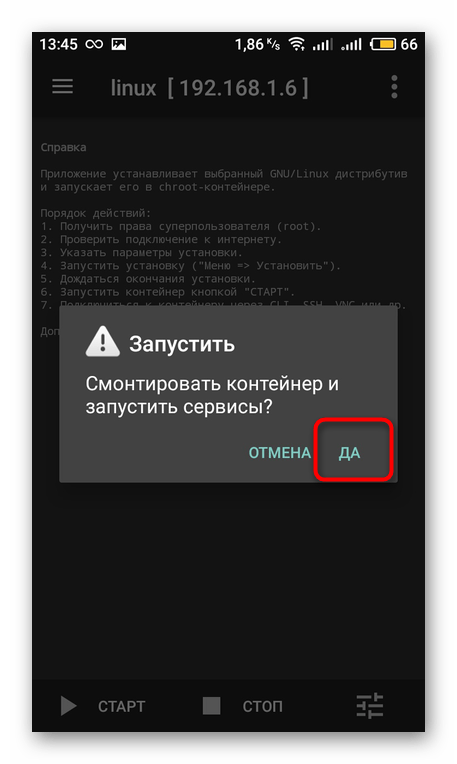
Соглашайтесь с действиями при отображении системных уведомлений. Затем будет произведена перезагрузка Android. Повторное нажатие на «Старт» запустит гостевую операционную систему.
Выше вы разобрались с инсталляцией Linux в качестве гостевой ОС на девайс под управлением Андроид. Как видите, ничего в этом сложного нет, главное — получить права суперпользователя и выполнить правильную конфигурацию приложения. Все файлы оно загрузит из открытых источников и установит их самостоятельно.