- How to Install NTP Server and Client on Ubuntu
- Testing Environments
- Install & Configure NTP Server on Ubuntu 18.04 Server
- Step 1: Update System Repositories
- Step 2: Install NTP Server on Ubuntu 18.04
- Step 3: Configure NTP Server Pools on Ubuntu 18.04
- Install & Configure NTP Client on Ubuntu 18.04 Client
- Step 1: Update System Repositories
- Step 2: Install Ntpdate on Ubuntu 18.04
- Step 3: Verify Client Time Sync with NTP Server
- Step 4: Install NTP Client on Ubuntu 18.04
- Step 5: Configure NTP Client on Ubuntu 18.04
- Step 6: Verify the NTP Time Synchronization Queue
- Установка и настройка NTP-клиента в Linux
- Настройка синхронизации NTP-клиента с NTP-сервером
- Запуск службы NTP
- Проверка состояния NTP
- Ручная синхронизация времени
- Похожие записи:
How to Install NTP Server and Client on Ubuntu
Network Time Protocol, commonly referred to as NTP, is a protocol that’s responsible for synchronizing system clocks in a network. NTP refers to both the protocol and the client system alongside the server programs residing on the networked systems.
In this guide, we will show you how to install NTP server and client(s) on Ubuntu 18.04.
Testing Environments
This guide aims at accomplishing the following:
- Installing and configuring NTP server on Ubuntu 18.04 server.
- Installing NTP client on Ubuntu 18.04 client machine and ensure that it is synched by the Server.
Install & Configure NTP Server on Ubuntu 18.04 Server
Below is a step-by-step procedure of installing the NTP server and making the necessary modifications to achieve the desired time synchronization in the network.
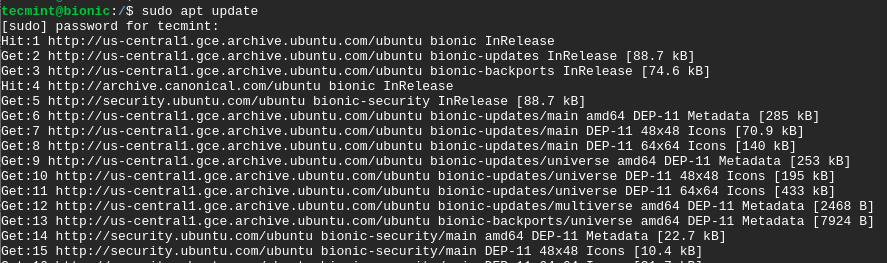
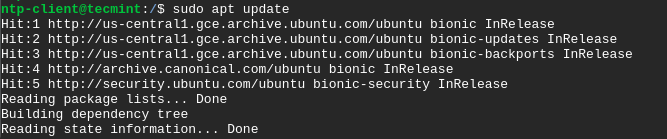
Step 1: Update System Repositories
To start off, let’s begin by updating the system packages as shown.
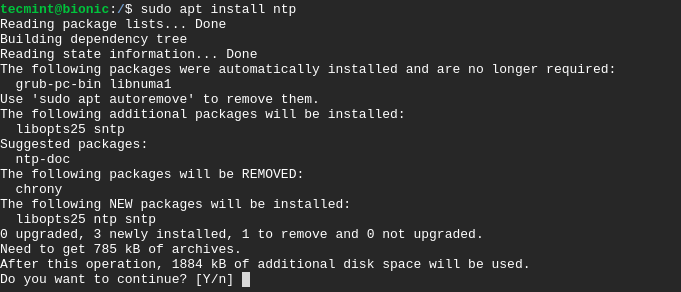
Step 2: Install NTP Server on Ubuntu 18.04
With system packages already installed, install NTP protocol on Ubuntu 18.04 LTS by running.
When prompted, type Y and hit ENTER to complete the installation process.
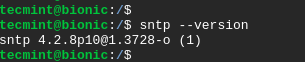
To confirm that NTP protocol has been successfully installed, run the command.
Step 3: Configure NTP Server Pools on Ubuntu 18.04
By default, NTP protocol comes with default NTP pool servers already configured in its configuration file as shown below in the /etc/ntp.conf file.
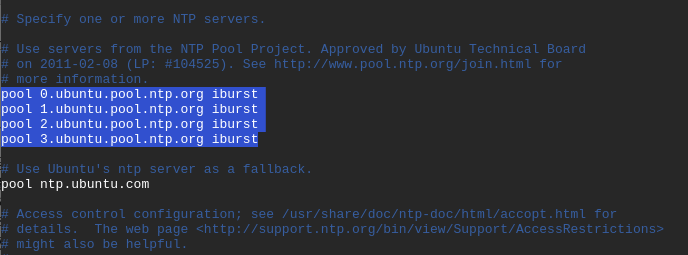
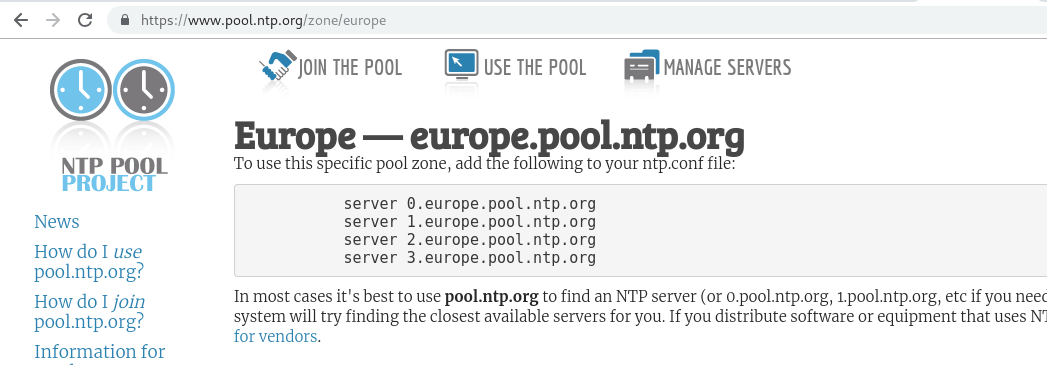
These usually work just as fine. However, you may consider changing to NTP server pools closest to your location. The link below directs you to a page where you can select your most preferred NTP pool list.
https://support.ntp.org/bin/view/Servers/NTPPoolServers
In our example, we will use the NTP pools located in Europe as shown.
To replace the default NTP pool servers, open the NTP configuration file using your favorite text editor as shown.
Copy and paste the NTP pool list in Europe to the configuration files as shown.
server 0.europe.pool.ntp.org server 1.europe.pool.ntp.org server 2.europe.pool.ntp.org server 3.europe.pool.ntp.org
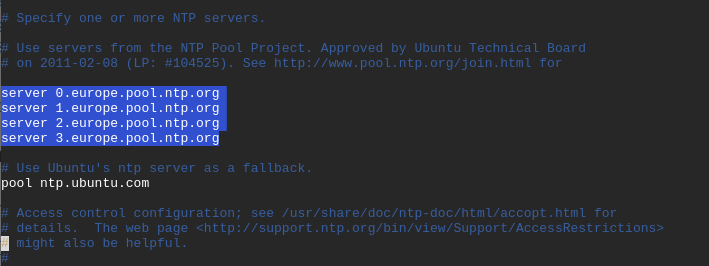
Next, save and quit the text editor.
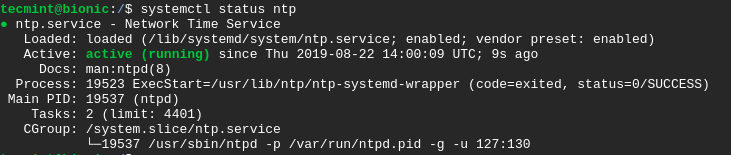
For the changes to take effect, restart the NTP service and verify its status using the commands.
$ sudo systemctl restart ntp $ sudo systemctl status ntp
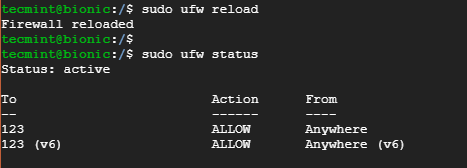
If UFW firewall is enabled, we need to allow NTP service across it so that client machines can access the NTP server.
$ sudo ufw allow ntp OR $ sudo ufw allow 123/udp
To implement the changes, reload the firewall as shown.
To verify the changes made execute the command.
Perfect! we have successfully set up our NTP server on Ubuntu 18.04 LTS system. Let’s now set up NTP on the client system.
Install & Configure NTP Client on Ubuntu 18.04 Client
In this section, we shall install and configure a NTP client on Ubuntu 18.04 client system to be synchronized by the Ubuntu 18.04 NTP Server system.
Step 1: Update System Repositories
To start off, update the system by running.
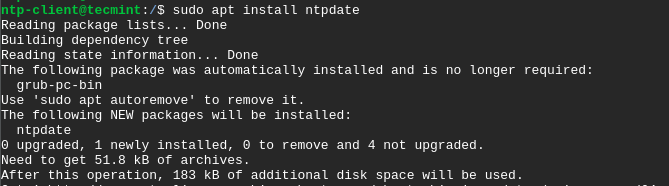
Step 2: Install Ntpdate on Ubuntu 18.04
ntpdate is a utility/program that quickly allows a system to synchronize time and date by querying an NTP server.
To install ntpdate run the command.
For the client system to resolve the NTP server by hostname, you need to add the NTP server’s IP address and hostname in the /etc/hosts file.
Therefore, Open the file using your favorite text editor.
Append the IP address and hostname as shown.

Step 3: Verify Client Time Sync with NTP Server
To manually check if the client system is in sync with the NTP server’s time, run the command.
$ sudo ntpdate NTP-server-hostname
In our case, the command will be.
A time offset between the NTP server and the client system will be displayed as shown.

To synchronize the client time with the NTP server, you need to turn off the timesynchd service on the client system.
$ sudo timedatectl set-ntp off
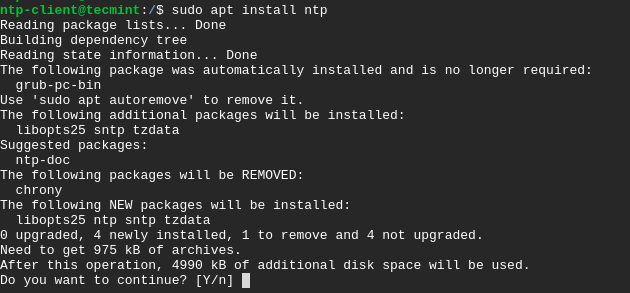
Step 4: Install NTP Client on Ubuntu 18.04
Next, you need to install NTP service on the client system. To achieve this, issue the command.
Press Y when prompted and hit ENTER to proceed with the installation process.
Step 5: Configure NTP Client on Ubuntu 18.04
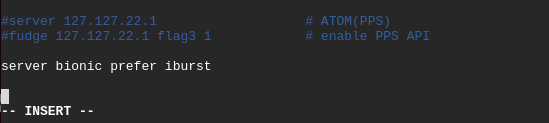
The objective in this step is to use the NTP server earlier configured to act as our NTP server. For this to happen we need to edit the /etc/ntp.conf file.
Append the line below where bionic is the NTP server’s hostname.
server bionic prefer iburst
Save and exit the configuration file.
For the changes to come into effect, restart the NTP service as shown.
$ sudo systemctl restart ntp
Step 6: Verify the NTP Time Synchronization Queue
With the client and NTP server insync, you can view the sync details by executing the command.
Sample Output
remote refid st t when poll reach delay offset jitter ============================================================================== bionic 71.79.79.71 2 u 6 64 377 0.625 -0.252 0.063
This brings us to the end of this guide. At this point you have successfully configured the NTP server on Ubuntu 18.04 LTS and configured a client system to be synchronized with the NTP server. Feel free to reach out to us with your feedback.
Установка и настройка NTP-клиента в Linux
Для начала смотрим какая у нас установлена временная зона. Для этого используем команду date.
[root@localhost ~]# date Пт мар 8 17:38:47 MSK 2019
Если временная зона установлена неправильно, то устанавливаем правильную временную зону. Для этого создаем симлинк на файл /etc/localtime с соответствующей временной зоны из каталога /usr/share/zoneinfo/. Например для Москвы.
ln -sf /usr/share/zoneinfo/Europe/Moscow /etc/localtime
Настройка синхронизации NTP-клиента с NTP-сервером
Для синхронизации локальной клиентской машины на Linux с NTP-сервером требуется отредактировать файл /etc/ntp.conf. В следующем примере указывается несколько серверов времени, что полезно на случай недоступности одного из них. Или можете прописать другие внешние сервера, например pool.ntp.org
server 0.rhel.pool.ntp.org iburst server 1.rhel.pool.ntp.org iburst server 2.rhel.pool.ntp.org iburst server 3.rhel.pool.ntp.org iburst
iburst: данный параметр повышает точность синхронизации, вместо одного пакета отправляется восемь. Когда сервер не отвечает, пакеты отправляются каждые 16 секунд, когда отвечает – каждые 2 секунды.
Далее нужно указать в файле конфигурации ваш NTP-сервер, который мы настроили в предыдущей статье. Если у вас в сети нет своего ntp сервера, то этот параметр указывать не нужно.
prefer: если указана данная опция, заданный сервер считается предпочтительным перед остальными, но если ответ этого сервера будет значительно отличаться от ответов остальных серверов, он будет игнорироваться. Вместо 192.168.1.1 укажите ip адрес вашего сервера
Запуск службы NTP
После изменения ntp.conf и задания необходимых параметров запустите службу (демон) NTP. В зависимости от настроек, она может работать и как сервер, и как клиент.
и добавьте его в автозагрузку
для проверки времени наберите команду
Проверка состояния NTP
Проверить состояние NTP можно при помощи команды ntpq. Если вы получите ошибку отказа в соединении, значит, сервер времени не отвечает, не запущена служба NTP на клиенте или закрыт порт.
sudo ntpq –p remote refid st t when poll reach delay offset jitter ========================================================================= *elserver1 192.168.1.1 3 u 300 1024 377 1.225 -0.071 4.606
remote – имя или адрес сервера времени. Перед ним указан служебный символ, в данном случае «*», что означает используемый сервер. «+» означает, что сервер пригоден для обновления, «-» — что непригоден, «x» — сервер недоступен;
refid – вышестоящий в иерархии Stratum сервер;
st – уровень сервера в иерархии Stratum;
t – тип соединения (u – unicast, одиночное соединение, b – broadcast, широковещательное соединение, l – локальные часы);
when – время, прошедшее с момента последнего ответа;
poll – период опроса в секундах;
reach – состояние доступности (при представлении в двоичном виде 1 означает успешную попытку, 0 – сбой. После 8 успешных попыток устанавливается значение 377);
delay – время двойного оборота пакета;
offset – текущее смещение времени относительно сервера;
jitter – среднеквадратичное отклонение времени.
Значение jitter должно быть низким, если это не так, проверьте смещение относительно часов в файле погрешности (driftfile). Если оно слишком велико, может потребоваться смена NTP-сервера. Следующая команда вручную синхронизирует время с NTP-сервером:
Ручная синхронизация времени
Для опроса NTP-сервера и установки даты и времени в ручную используется команда ntpdate. Обычно это требуется только один раз.
Для начала отключите ntp службу
Запустите синхронизацию указав сервер с которого нужно синхронизировать время
После такой первоначальной синхронизации NTP-клиент будет регулярно опрашивать NTP-сервер для обеспечения соответствия локального времени точному времени.
Если вы нашли ошибку, пожалуйста, выделите фрагмент текста и нажмите Ctrl+Enter.