- How to Install Samba Server in RHEL, CentOS and Fedora
- Install and Configure Samba in RHEL
- Accessing Samba Share from Windows
- Secure Samba Share Directory in RHEL
- Install and Configure Samba
- What you’ll learn
- What you’ll need
- 2. Installing Samba
- 3. Setting up Samba
- What we’ve just added
- 4. Setting up User Accounts and Connecting to Share
- Connecting to Share
- If you’d like to take your configuration further…
How to Install Samba Server in RHEL, CentOS and Fedora
Samba is an open-source and most popular widely used program that enables end-users to access Linux shared directory from any Windows machine on the same network.
Samba is also named as a network file system and can be installed on Linux/Unix operating systems. Samba itself is a client/server protocol of SMB (Server Message Block) and CIFS (Common Internet File System).
Using Windows smbclient (GUI) or file explorer, end users can connect to the Samba server from any Windows workstations to access shared files and printers.
This tutorial explains how to install Samba Server (fileserver) on RHEL, CentOS Stream, and Fedora systems, and also we will learn how to configure it to share files over the network using SMB protocol, as well as we will see how to create and add system users on samba user’s database.
For demonstration, we are using RHEL 8 system with hostname tecmint with IP address 192.168.43.121.
Install and Configure Samba in RHEL
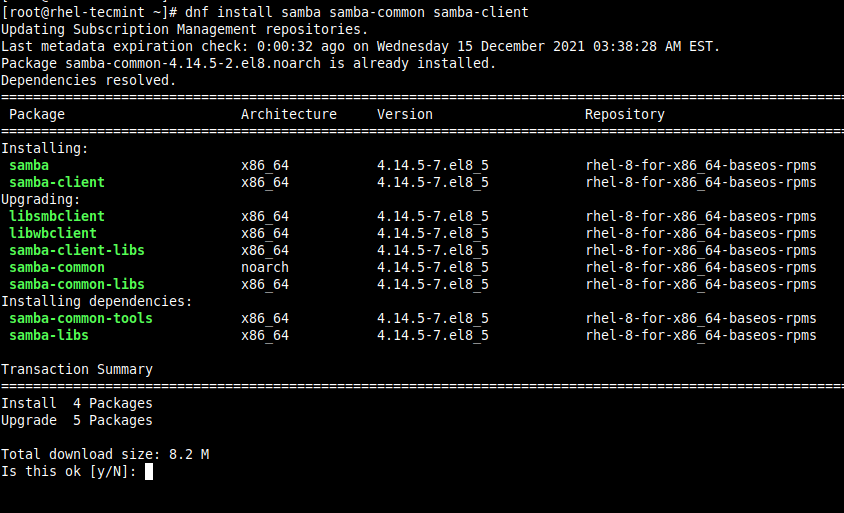
To get started with samba, you need to install the samba core packages and samba-client package as shown:
# dnf install samba samba-common samba-client
After all the samba is installed, you need to configure the samba share directory with proper permissions and ownership, so that it is going to be shared with all client machines in the same local network.
# mkdir -p /srv/tecmint/data # chmod -R 755 /srv/tecmint/data # chown -R nobody:nobody /srv/tecmint/data # chcon -t samba_share_t /srv/tecmint/data

Next, we are going to configure the Samba share directory in the smb.conf file, which is the main configuration file for Samba.
# mv /etc/samba/smb.conf /etc/samba/smb.conf.bak # vim /etc/samba/smb.conf
Add the following configuration lines, which define the policies on who can access the samba share on the network.
[global] workgroup = WORKGROUP server string = Samba Server %v netbios name = rocky-8 security = user map to guest = bad user dns proxy = no ntlm auth = true [Public] path = /srv/tecmint/data browsable =yes writable = yes guest ok = yes read only = no
Save and exit the configuration file.
Next, verify the samba configuration for errors.
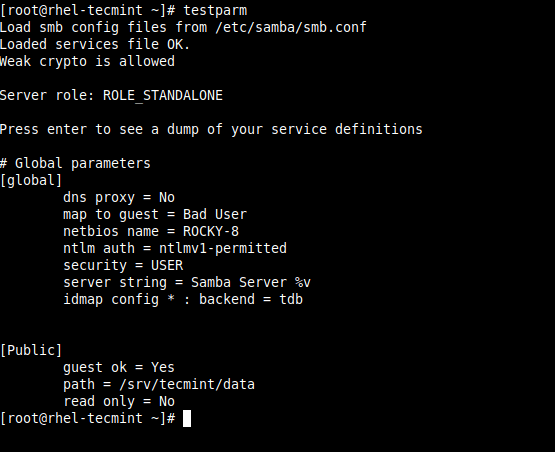
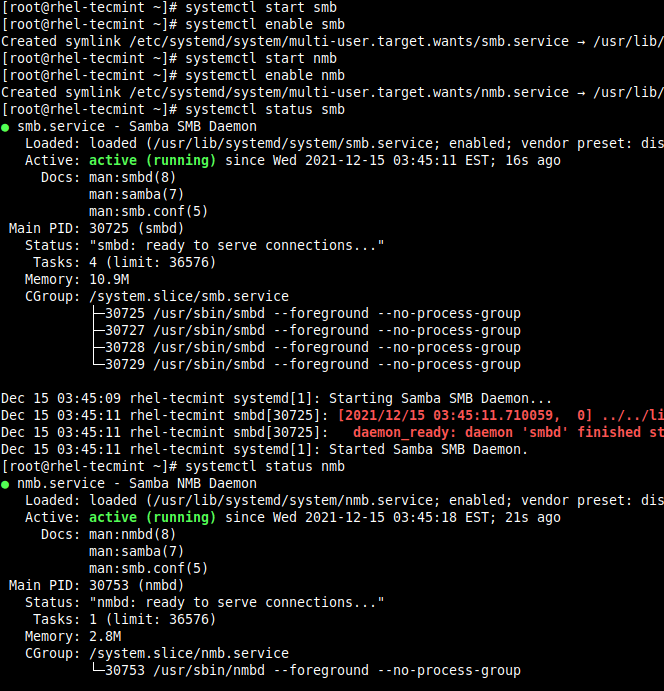
If everything looks okay, make sure to start, enable and verify the status of the Samba daemons.
# systemctl start smb # systemctl enable smb # systemctl start nmb # systemctl enable nmb # systemctl status smb # systemctl status nmb
Accessing Samba Share from Windows
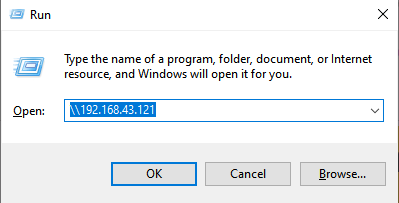
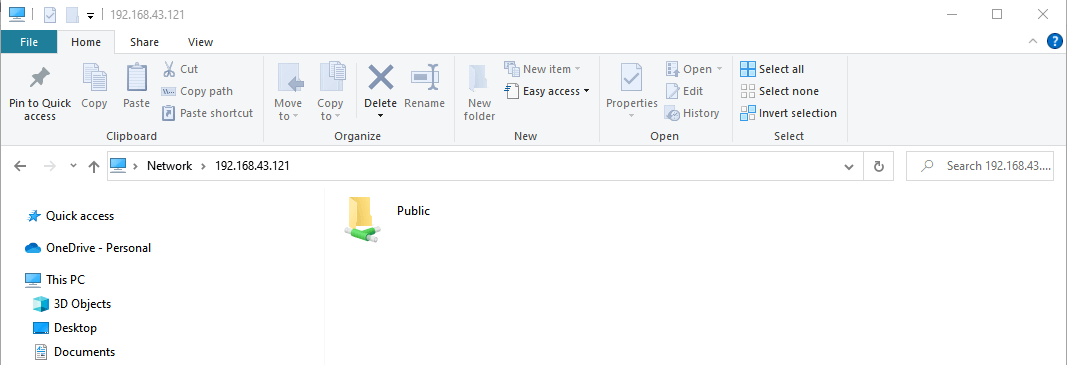
To access Samba share from the Windows machine, press the Windows logo key + R to launch the Run dialog and enter the IP address of the samba server as shown.
Once you connected, you will be presented with the ‘Public’ directory of our samba share from the /srv/tecmint/data directory.
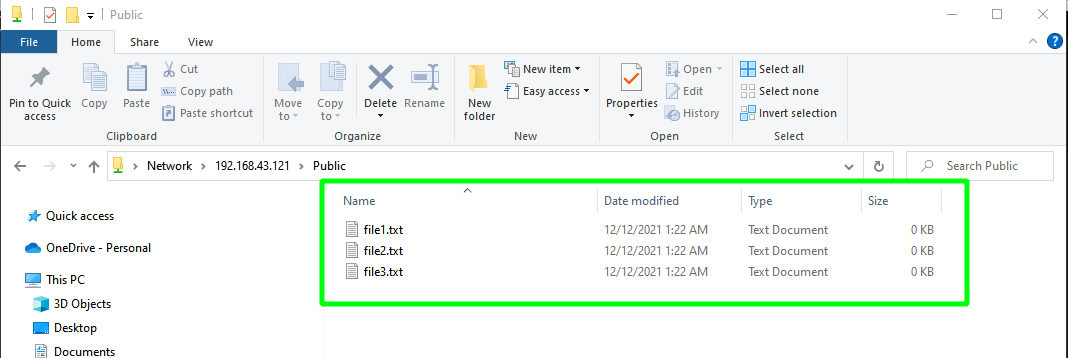
The ‘Public’ directory is empty, as we don’t have created any files in the Samba share, let’s create a few files with the following command.
# cd /srv/tecmint/data # touch file.txt
Once you have created files, try accessing the Samba ‘Public‘ folder to view the files.
We have successfully configured and accessed our samba share from Windows, However, our directory is accessible to anyone with the permissions to edit and delete files, which is not recommended when you are hosting important files.
In the next section, you will learn how to secure your samba share directory.
Secure Samba Share Directory in RHEL
To secure our Samba share, we need to create a new samba user.
# useradd smbuser # smbpasswd -a smbuser
Next, create a new group and add the new samba user to this group.
# sudo groupadd smb_group # sudo usermod -g smb_group smbuser
Thereafter, create another secure samba share directory for accessing files securely by samba users.
# mkdir -p /srv/tecmint/private # chmod -R 770 /srv/tecmint/private # chcon -t samba_share_t /srv/tecmint/private # chown -R root:smb_group /srv/tecmint/private
Once again, access the Samba configuration file.
Add these lines to define to secure samba share.
[Private] path = /srv/tecmint/private valid users = @smb_group guest ok = no writable = no browsable = yes
Save the changes and exit.
Finally, restart all the samba daemons as shown.
$ sudo systemctl restart smb $ sudo systemctl restart nmb
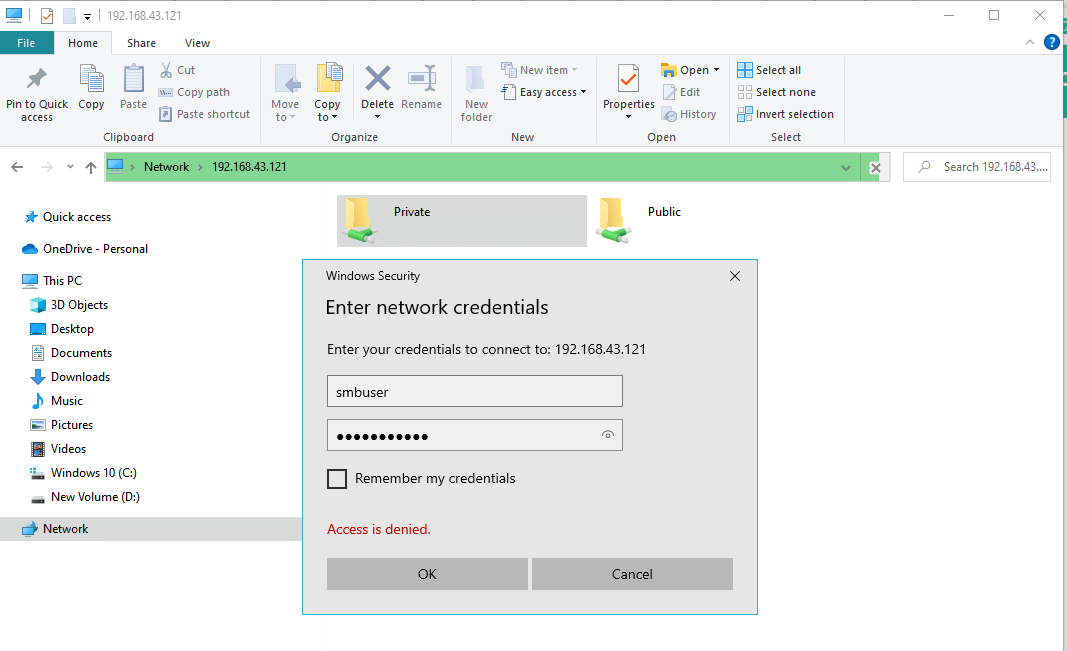
Now try to access the Samba share, this time you will see an additional ‘Private‘ directory. To access this directory, you will be required to authenticate with the Samba user’s credentials as shown.
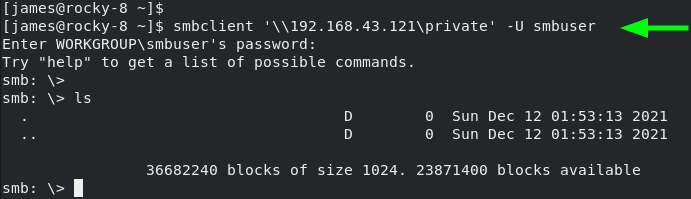
To access the samba share from a Linux machine, first, install the samba-client package and try to connect.
# dnf install samba-client # smbclient ‘\2.168.43.121\private’ -U smbuser
And this concludes this article on installing and configuring up Samba on RHEL, CentOS Stream, and Fedora. Your feedback on this article will be highly appreciated.
Install and Configure Samba
A Samba file server enables file sharing across different operating systems over a network. It lets you access your desktop files from a laptop and share files with Windows and macOS users.
This guide covers the installation and configuration of Samba on Ubuntu.
What you’ll learn
What you’ll need
If you have everything ready, let’s dive straight into the installation process on the next step!
Originally authored by Aden Padilla.
2. Installing Samba
sudo apt update sudo apt install samba We can check if the installation was successful by running:
The following should be its output:
samba: /usr/sbin/samba /usr/lib/samba /etc/samba /usr/share/samba /usr/share/man/man7/samba.7.gz /usr/share/man/man8/samba.8.gz 3. Setting up Samba
Now that Samba is installed, we need to create a directory for it to share:
The command above creates a new folder sambashare in our home directory which we will share later.
The configuration file for Samba is located at /etc/samba/smb.conf . To add the new directory as a share, we edit the file by running:
sudo nano /etc/samba/smb.conf At the bottom of the file, add the following lines:
[sambashare] comment = Samba on Ubuntu path = /home/username/sambashare read only = no browsable = yes Then press Ctrl-O to save and Ctrl-X to exit from the nano text editor.
What we’ve just added
Now that we have our new share configured, save it and restart Samba for it to take effect:
sudo service smbd restart Update the firewall rules to allow Samba traffic:
4. Setting up User Accounts and Connecting to Share
Since Samba doesn’t use the system account password, we need to set up a Samba password for our user account:
sudo smbpasswd -a username Note
Username used must belong to a system account, else it won’t save.
Connecting to Share

On Ubuntu: Open up the default file manager and click Connect to Server then enter:

On macOS: In the Finder menu, click Go > Connect to Server then enter:
On Windows, open up File Manager and edit the file path to:
Note: ip-address is the Samba server IP address and sambashare is the name of the share.

You’ll be prompted for your credentials. Enter them to connect!