- Install Spark 3.3.0 on Linux or WSL
- Prerequisites
- Windows Subsystem for Linux (WSL)
- Hadoop 3.3.*
- OpenJDK 1.8
- Download binary package
- Unpack the binary package
- Setup environment variables
- Setup Spark default configurations
- spark.eventLog.dir and spark.history.fs.logDirectory
- Run Spark interactive shell
- Run with built-in examples
- Spark context Web UI
- Enable Hive support
- spark-sql CLI
- Spark history server
- How to Install and Setup Apache Spark on Ubuntu/Debian
- Install Java and Scala in Ubuntu
- Install Apache Spark in Ubuntu
- Configure Environmental Variables for Spark
- Start Apache Spark in Ubuntu
- Related Posts
- 1 thought on “How to Install and Setup Apache Spark on Ubuntu/Debian”
Install Spark 3.3.0 on Linux or WSL
Spark 3.3.0 was just released on 16th Jun 2022 with many new features and enhancements. This article provides step by step guide to install the latest version of Apache Spark 3.3.0 on a UNIX alike system (Linux) or Windows Subsystem for Linux (WSL 1 or 2). These instructions can be applied to Ubuntu, Debian, Red Hat, OpenSUSE, etc.
Prerequisites
Windows Subsystem for Linux (WSL)
If you are planning to configure Spark 3.3.3 on WSL, follow this guide to setup WSL in your Windows 10 or Windows 11 machine:
Hadoop 3.3.*
This article will use Spark package without pre-built Hadoop. Thus we need to ensure a Hadoop environment is setup first.
If you choose to download Spark package with pre-built Hadoop, Hadoop 3.3.* configuration is not required.
Follow one of the following articles to install Hadoop 3.3.2 on your UNIX-alike system:
OpenJDK 1.8
Java JDK 1.8 needs to be available in your system.
In the Hadoop installation articles, it includes the steps to install OpenJDK.
Run the following command to verify Java environment:
$ java -version openjdk version «1.8.0_212» OpenJDK Runtime Environment (build 1.8.0_212-8u212-b03-0ubuntu1.18.04.1-b03) OpenJDK 64-Bit Server VM (build 25.212-b03, mixed mode)
Now let’s start to configure Apache Spark 3.3.0 in a UNIX-alike system.
Download binary package
Visit Downloads page on Spark website to find the download URL.
For me, the closest location is: https://dlcdn.apache.org/spark/spark-3.3.0/spark-3.3.0-bin-hadoop3.tgz.
Download the binary package using the following command (remember to replace the URL with your closest download site):
wget https://dlcdn.apache.org/spark/spark-3.3.0/spark-3.3.0-bin-hadoop3.tgz
Wait until the download is completed.
Unpack the binary package
Unpack the package using the following command:
mkdir ~/hadoop/spark-3.3.0 tar -xvzf spark-3.3.0-bin-hadoop3.tgz -C ~/hadoop/spark-3.3.0 —strip 1
The Spark binaries are unzipped to folder ~/hadoop/spark-3.3.0 .
Setup environment variables
Setup SPARK_HOME environment variables and also add the bin subfolder into PATH variable. We also need to configure Spark environment variable SPARK_DIST_CLASSPATH to use Hadoop Java class path.
Run the following command to change .bashrc file:
Add the following lines to the end of the file:
export SPARK_HOME=~/hadoop/spark-3.3.0
export PATH=$SPARK_HOME/bin:$PATH # Configure Spark to use Hadoop classpath export SPARK_DIST_CLASSPATH=$(hadoop classpath)
# Source the modified file to make it effective:
source ~/.bashrc
If you also have Hive installed, change SPARK_DIST_CLASSPATH to:
export SPARK_DIST_CLASSPATH=$(hadoop classpath):$HIVE_HOME/lib/*
Setup Spark default configurations
Run the following command to create a Spark default config file:
cp $SPARK_HOME/conf/spark-defaults.conf.template $SPARK_HOME/conf/spark-defaults.conf
Edit the file to add some configurations use the following commands:
nano $SPARK_HOME/conf/spark-defaults.conf
Press Ctrl + O to write changes and then Ctrl + X to exit the editor.
Make sure you add the following line:
spark.driver.host localhost # Enable the following one if you have Hive installed. # spark.sql.warehouse.dir /user/hive/warehouse
There are many other configurations you can do. Please configure them as necessary.
spark.eventLog.dir and spark.history.fs.logDirectory
These two configurations can be the same or different. The first configuration is used to write event logs when Spark application runs while the second directory is used by the historical server to read event logs.
Now let’s do some verifications to ensure it is working.
Run Spark interactive shell
Run the following command to start Spark shell:
The interface looks like the following screenshot:
By default, Spark master is set as local[*] in the shell.
Run command :quit to exit Spark shell.
Run with built-in examples
Run Spark Pi example via the following command:
The output looks like the following:
. Pi is roughly 3.1413231413231415 .
In this website, I’ve provided many Spark examples. You can practice following those guides.
Spark context Web UI
When a Spark session is running, you can view the details through UI portal. As printed out in the interactive session window, Spark context Web UI available at http://localhost:4040. The URL is based on the Spark default configurations. The port number can change if the default port is used. Refer to Fix — ERROR SparkUI: Failed to bind SparkUI for more details.
Enable Hive support
If you’ve configured Hive in WSL, follow the steps below to enable Hive support in Spark.
Copy the Hadoop core-site.xml and hdfs-site.xml and Hive hive-site.xml configuration files into Spark configuration folder:
cp $HADOOP_HOME/etc/hadoop/core-site.xml $SPARK_HOME/conf/
cp $HADOOP_HOME/etc/hadoop/hdfs-site.xml $SPARK_HOME/conf/
cp $HIVE_HOME/conf/hive-site.xml $SPARK_HOME/conf/
And then you can run Spark with Hive support (enableHiveSupport function):
from pyspark.sql import SparkSession
appName = "PySpark Hive Example" master = "local[*]" spark = SparkSession.builder \
.appName(appName) \
.master(master) \
.enableHiveSupport() \
.getOrCreate()
# Read data using Spark df = spark.sql("show databases") df.show()
spark-sql CLI
Make sure HiveServer2 service is running before starting this command. You should be able to see HiveServer2 web portal if the service is up. Refer to Apache Hive 3.1.2 Installation on Linux Guide for more details about H ive installation on WSL.
Spark SQL CLI looks like the following:
info You can directly use hive or beeline CLI to interact with Hive databases instead of using spark-sql CLI.
Spark history server
Run the following command to start Spark history server:
$SPARK_HOME/sbin/start-history-server.sh
Open the history server UI (by default: http://localhost:18080/ ) in browser, you should be able to view all the jobs submitted. The UI looks like the following screenshot:
check Congratulations! You have successfully configured Spark in your UNIX-alike system. Have fun with Spark 3.3.0
Subscribe to Kontext Newsletter to get updates about data analytics, programming and cloud related articles. You can unsubscribe at anytime.
How to Install and Setup Apache Spark on Ubuntu/Debian
Apache Spark is an open-source distributed computational framework that is created to provide faster computational results. It is an in-memory computational engine, meaning the data will be processed in memory.
Spark supports various APIs for streaming, graph processing, SQL, MLLib. It also supports Java, Python, Scala, and R as the preferred languages. Spark is mostly installed in Hadoop clusters but you can also install and configure spark in standalone mode.
In this article, we will be seeing how to install Apache Spark in Debian and Ubuntu-based distributions.
Install Java and Scala in Ubuntu
To install Apache Spark in Ubuntu, you need to have Java and Scala installed on your machine. Most of the modern distributions come with Java installed by default and you can verify it using the following command.

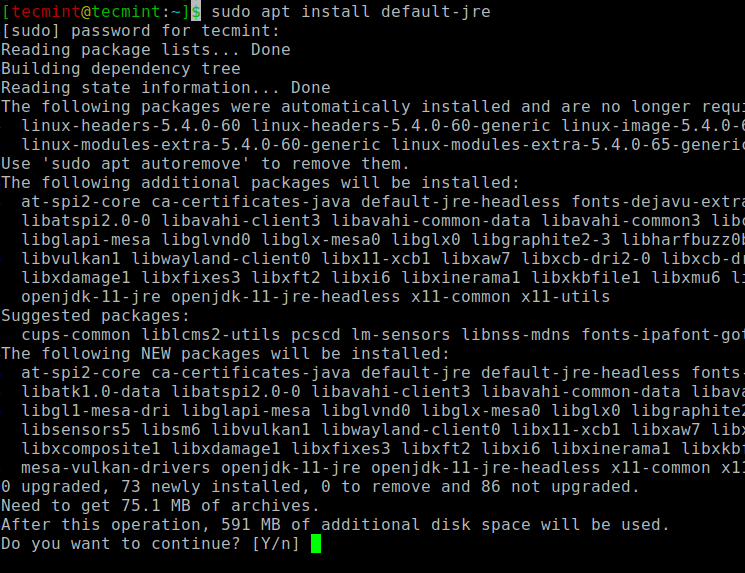
If no output, you can install Java using our article on how to install Java on Ubuntu or simply run the following commands to install Java on Ubuntu and Debian-based distributions.
$ sudo apt update $ sudo apt install default-jre $ java -version
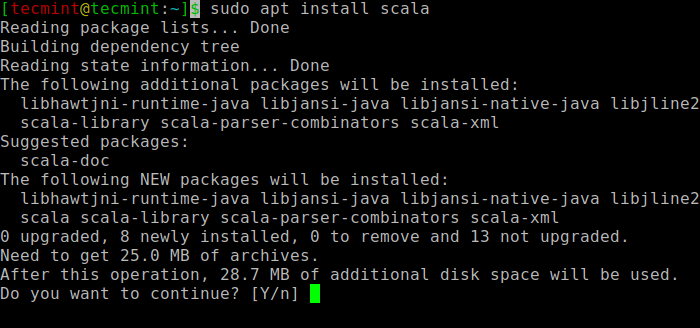
Next, you can install Scala from the apt repository by running the following commands to search for scala and install it.
$ sudo apt search scala ⇒ Search for the package $ sudo apt install scala ⇒ Install the package
To verify the installation of Scala, run the following command.
$ scala -version Scala code runner version 2.11.12 -- Copyright 2002-2017, LAMP/EPFL
Install Apache Spark in Ubuntu
Now go to the official Apache Spark download page and grab the latest version (i.e. 3.1.1) at the time of writing this article. Alternatively, you can use the wget command to download the file directly in the terminal.
$ wget https://apachemirror.wuchna.com/spark/spark-3.1.1/spark-3.1.1-bin-hadoop2.7.tgz
Now open your terminal and switch to where your downloaded file is placed and run the following command to extract the Apache Spark tar file.
$ tar -xvzf spark-3.1.1-bin-hadoop2.7.tgz
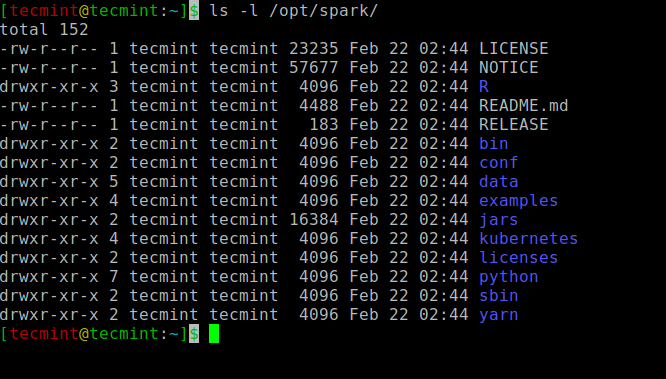
Finally, move the extracted Spark directory to /opt directory.
$ sudo mv spark-3.1.1-bin-hadoop2.7 /opt/spark
Configure Environmental Variables for Spark
Now you have to set a few environmental variables in your .profile file before starting up the spark.
$ echo "export SPARK_HOME=/opt/spark" >> ~/.profile $ echo "export PATH=$PATH:/opt/spark/bin:/opt/spark/sbin" >> ~/.profile $ echo "export PYSPARK_PYTHON=/usr/bin/python3" >> ~/.profile
To make sure that these new environment variables are reachable within the shell and available to Apache Spark, it is also mandatory to run the following command to take recent changes into effect.
All the spark-related binaries to start and stop the services are under the sbin folder.
Start Apache Spark in Ubuntu
Run the following command to start the Spark master service and slave service.
$ start-master.sh $ start-workers.sh spark://localhost:7077
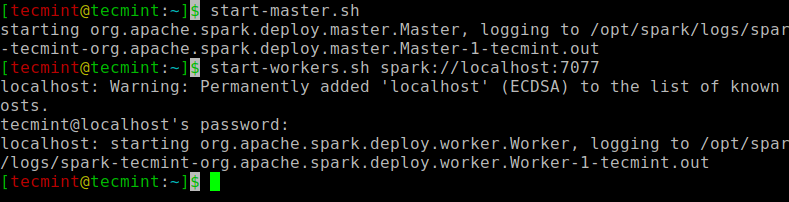
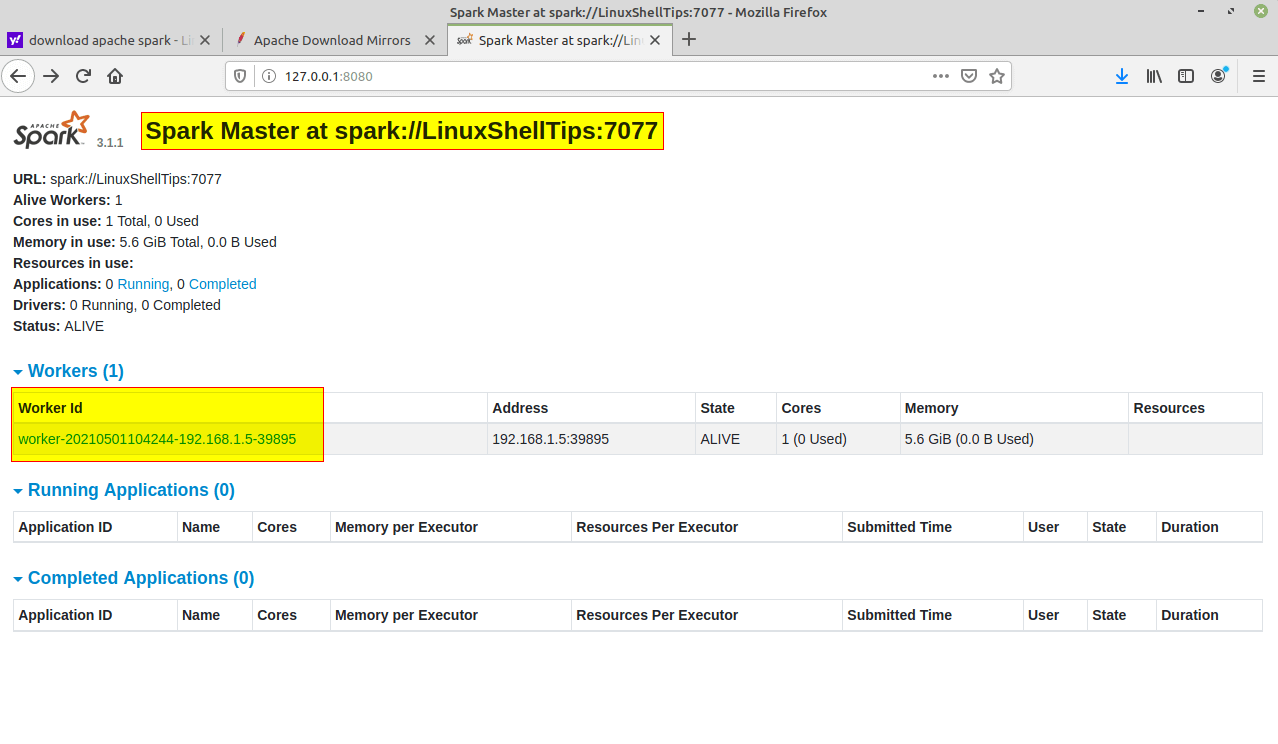
Once the service is started go to the browser and type the following URL access spark page. From the page, you can see my master and slave service is started.
http://localhost:8080/ OR http://127.0.0.1:8080
You can also check if spark-shell works fine by launching the spark-shell command.

That’s it for this article. We will catch you with another interesting article very soon.
I am a Big data Engineer from India, Chennai working on a top MNC with a vision of being a bridge between technology and mankind.
Each tutorial at TecMint is created by a team of experienced Linux system administrators so that it meets our high-quality standards.
Related Posts


1 thought on “How to Install and Setup Apache Spark on Ubuntu/Debian”
warning: there was one feature warning; re-run with -feature for details
Found 4 items
drwxr-xr-x – hadoop supergroup 0 2021-07-14 10:51 /anil
drwxrwxrwx – hadoop supergroup 0 2021-07-13 23:19 /data
drwxrwxr-x – hadoop supergroup 0 2021-07-13 00:57 /tmp
drwxr-xr-x – hadoop supergroup 0 2021-07-13 00:09 /user
res2: Int = 0 while reading from hdfs in spark
scala> spark.read.csv("/data/orders/").show(10) org.apache.spark.sql.AnalysisException: Path does not exist: file:/data/orders; at org.apache.spark.sql.execution.datasources.DataSource$$anonfun$org$apache$spark$sql $execution$datasources$DataSource$$checkAndGlobPathIfNecessary$1.apply(DataSource.scala:576) at org.apache.spark.sql.execution.datasources.DataSource$$anonfun$org$apache$spark$sql $execution$datasources$DataSource$$checkAndGlobPathIfNecessary$1.apply(DataSource.scala:559) at scala.collection.TraversableLike$$anonfun$flatMap$1.apply(TraversableLike.scala:241) at scala.collection.TraversableLike$$anonfun$flatMap$1.apply(TraversableLike.scala:241) at scala.collection.immutable.List.foreach(List.scala:392) at scala.collection.TraversableLike$class.flatMap(TraversableLike.scala:241) at scala.collection.immutable.List.flatMap(List.scala:355) at org.apache.spark.sql.execution.datasources.DataSource.org$apache$spark$sql$execution $datasources$DataSource$$checkAndGlobPathIfNecessary(DataSource.scala:559) at org.apache.spark.sql.execution.datasources.DataSource.resolveRelation(DataSource.scala:373) at org.apache.spark.sql.DataFrameReader.loadV1Source(DataFrameReader.scala:242) at org.apache.spark.sql.DataFrameReader.load(DataFrameReader.scala:230) at org.apache.spark.sql.DataFrameReader.csv(DataFrameReader.scala:641) at org.apache.spark.sql.DataFrameReader.csv(DataFrameReader.scala:487) . 49 elided