How To Install Steam on Linux Mint 21
In this tutorial, we will show you how to install Steam on Linux Mint 21. For those of you who didn’t know, Steam is a multi-platform application for playing games. By having it installed on your system, you can conveniently play games on Linux just like you can do with the Windows operating system. In addition to providing a convenient way to purchase and download games, Steam offers features like user-created mods, achievements, and cloud saves.
This article assumes you have at least basic knowledge of Linux, know how to use the shell, and most importantly, you host your site on your own VPS. The installation is quite simple and assumes you are running in the root account, if not you may need to add ‘ sudo ‘ to the commands to get root privileges. I will show you the step-by-step installation of Steam on Linux Mint 21 (Vanessa).
Prerequisites
- A server running one of the following operating systems: Linux Mint 21 (Vanessa).
- It’s recommended that you use a fresh OS install to prevent any potential issues.
- SSH access to the server (or just open Terminal if you’re on a desktop).
- A non-root sudo user or access to the root user . We recommend acting as a non-root sudo user , however, as you can harm your system if you’re not careful when acting as the root.
Install Steam on Linux Mint 21 Vanessa
Step 1. Before running the tutorial below, it’s important to make sure your system is up to date by running the following apt commands in the terminal:
sudo apt update sudo apt install software-properties-common apt-transport-https wget ca-certificates gnupg2
Step 2. Installing Steam on Linux Mint 21.
By default, Steam is not available on the Linux Mint 21 base repository. Now we add the Steam repository to your system using the following command:
echo deb [arch=amd64 signed-by=/usr/share/keyrings/steam.gpg] http://repo.steampowered.com/steam/ stable steam | sudo tee /etc/apt/sources.list.d/steam.list
curl -s http://repo.steampowered.com/steam/archive/stable/steam.gpg | sudo tee /usr/share/keyrings/steam.gpg > /dev/null
Now start by updating the packages list and install Steam stable by using the command below:
sudo apt update sudo apt-get install \ libgl1-mesa-dri:amd64 \ libgl1-mesa-dri:i386 \ libgl1-mesa-glx:amd64 \ libgl1-mesa-glx:i386 \ steam-launcher
Step 3. Accessing Steam on Linux Mint 21.
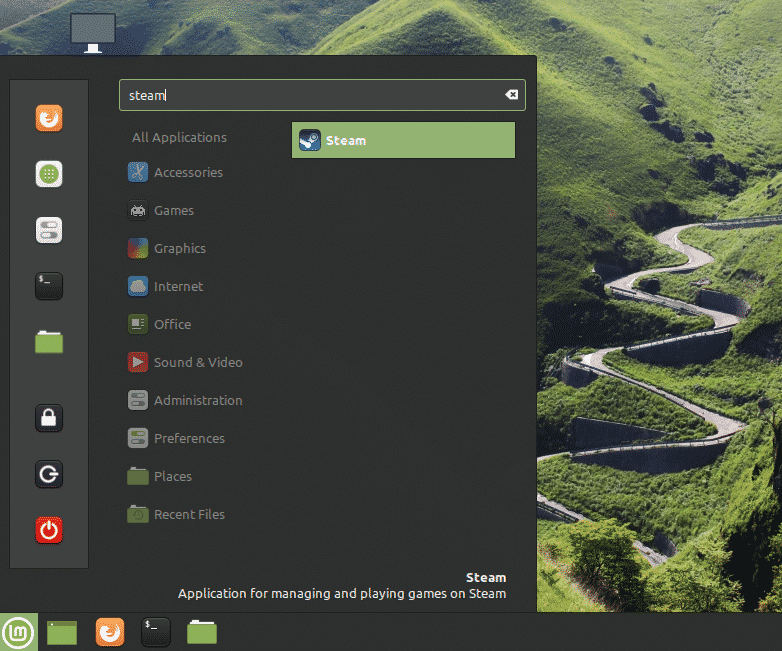
Once we finish with the installation, we will find Steam in the Mint menu, in the Internet section or you can launch it through the terminal with the help of the command shown below:
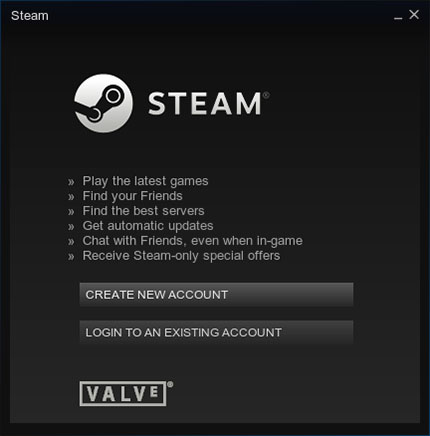
As you are running for the first time, you’ll be asked to either create an account or log in to an existing account. It will also ask for agreeing to terms and conditions.
Congratulations! You have successfully installed Steam. Thanks for using this tutorial for installing the latest version of Steam on the Linux Mint system. For additional help or useful information, we recommend you check the official Steam website.
If you don’t have time to do all of this stuff, or if this is not your area of expertise, we offer a service to do “VPS Manage Service Offer”, starting from $10 (Paypal payment). Please contact us to get the best deal!
How to Install and Use Steam on Linux Mint
![]()
Using Linux? Frustrated that gaming isn’t for you? Wrong! Those days are long gone when gaming was seemingly exclusive to Windows. Now, we’ve come far enough that to play the latest and greatest titles, all you need now is press a few buttons (and maybe run some commands). Thanks to Steam, things are changing pretty fast.
Steam is one of the most popular gaming distribution platforms worldwide, rocking with 30,000+ games and 100+ million active users. For Linux users, Steam is like the gold mine. It officially supports Linux as a gaming platform. Steam is also one of the leaders in making games Linux-compatible.
In this article, we’ll be focusing on how to install Steam client on Linux Mint.
Steam on Linux Mint
Linux Mint is a popular Linux distro based on Ubuntu. Any package that’s available for Ubuntu will run on Linux Mint, no problem (with a few exceptions). To install Steam, the steps are similar to what you’d follow on Ubuntu, Debian and derivatives. Let’s get started with installing Steam on Linux Mint.
Installing Steam
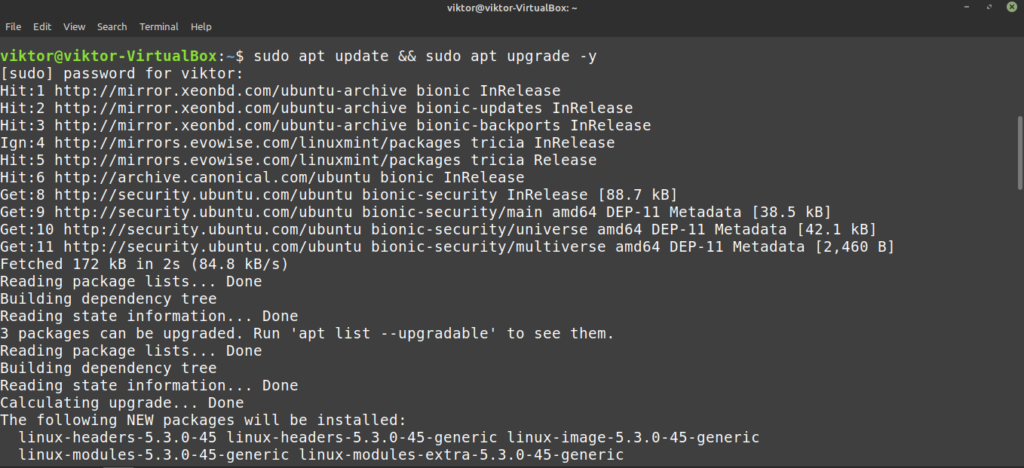
First, we’ll be using APT to install Steam. Fire up a terminal. Run the following command so that the APT cache is up-to-date. It’ll also update all the installed packages to the latest version.
Now, run the following command.
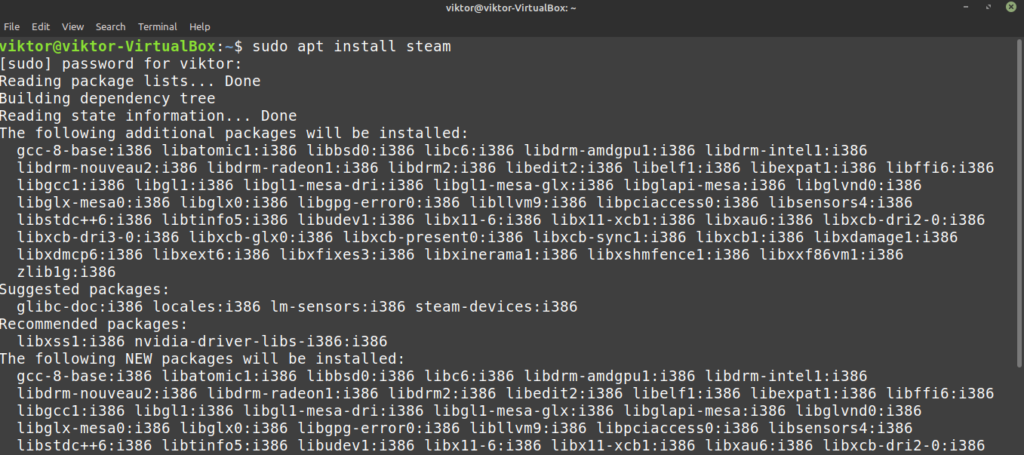
The Steam client isn’t fully ready to go. We’ll showcase how to do that in the next section.
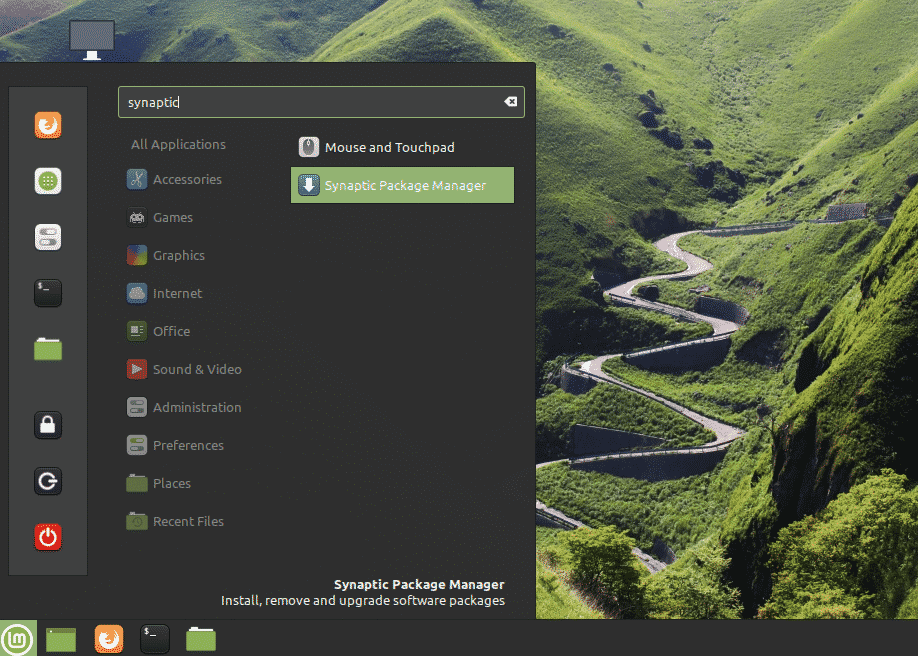
Now, it’s time to check out how to use Synaptic package manager for installing Steam. It’s relatively easier than working with command line. Those who prefer working with GUI, use Synaptic. Synaptic acts as a front-end of APT.
Launch Synaptic package manager.
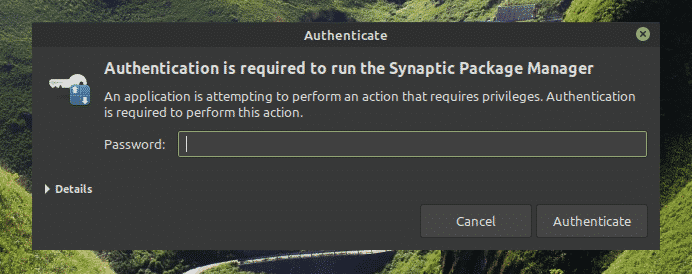
Enter root password to grant Synaptic root privilege.
Click the “Reload” button from the top ribbon. It’ll refresh the APT cache.

Click the “Search” button and use the term “steam” (without quotes). Select “Name” from the “Look in” section.

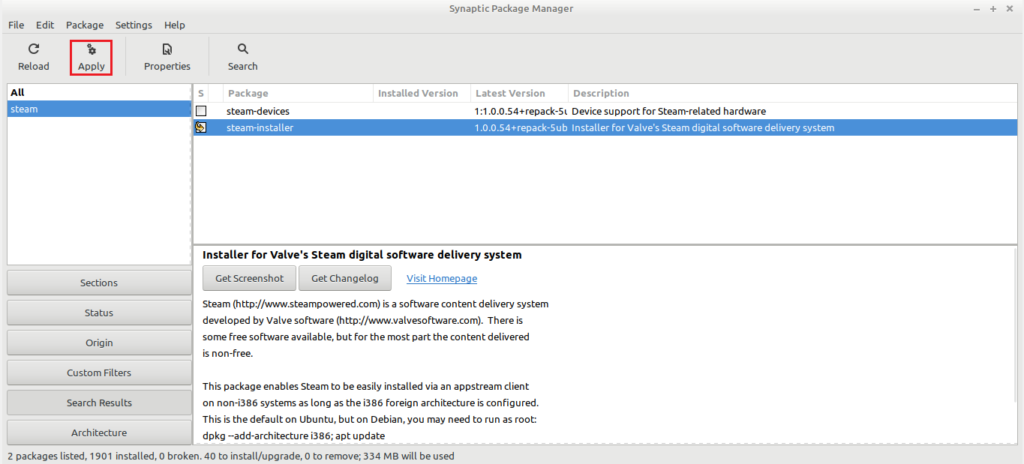
Select the entry “steam-installer”. Right-click and select “Mark for Installation”.

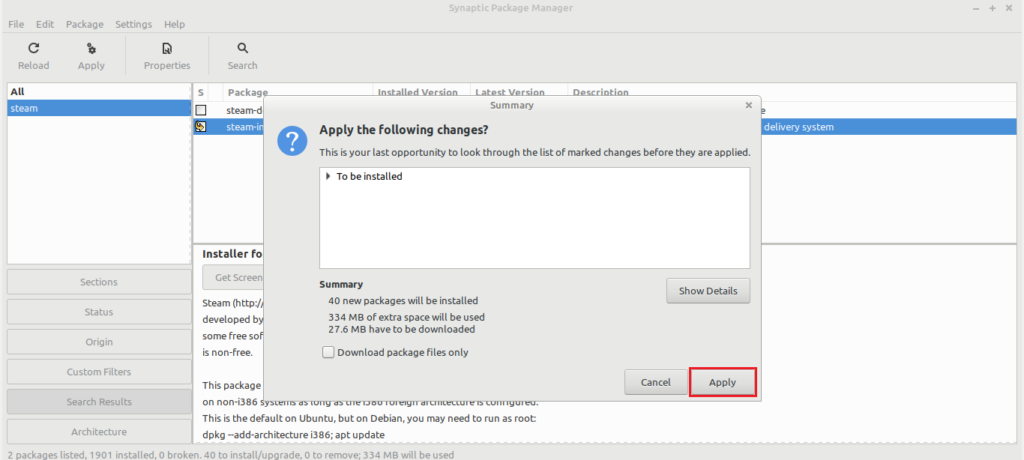
Synaptic will pop up a dialog box showing the additional dependencies that will be installed alongside Steam. Click “Mark”.

To take the change into effect, click “Apply”.
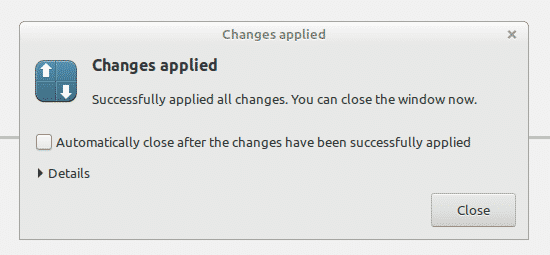
Wait for the process to complete.

Once complete, click “Close”.
Configuring Steam
Now, a thin client of Steam is installed on the system. When run, it’ll install the rest of the app. Then, you’ll be able to log in to your Steam account. Let’s get started!
Fire up the Steam client from the menu.
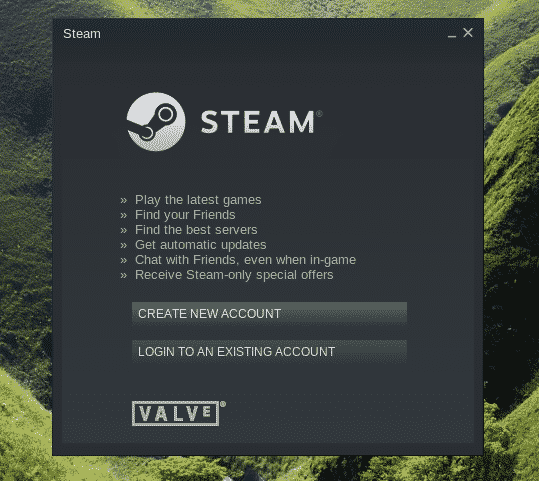
The tool has started downloading the full client. Wait for the process to finish.

Once finished, the client will offer you to log in to your account. Assuming that you already have one, click “LOGIN TO AN EXISTING ACCOUNT”.
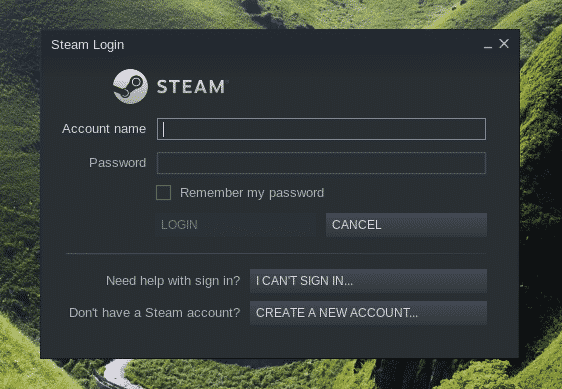
Enter the credentials of your account.
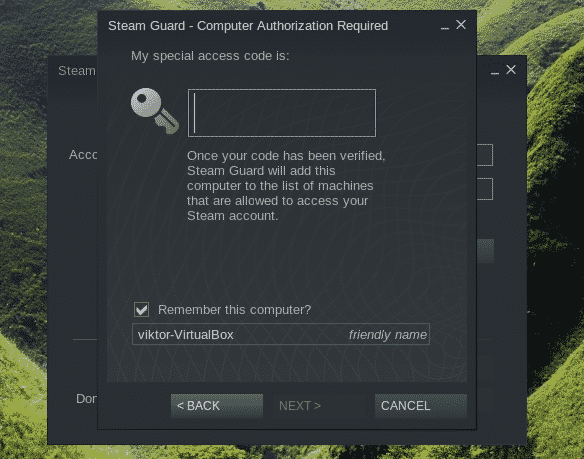
For your account protection, Steam will require a confirmation code that will be sent to the associated email account. Select the first option and click “NEXT” to confirm the action.

Enter the verification code you’ve received from Steam.
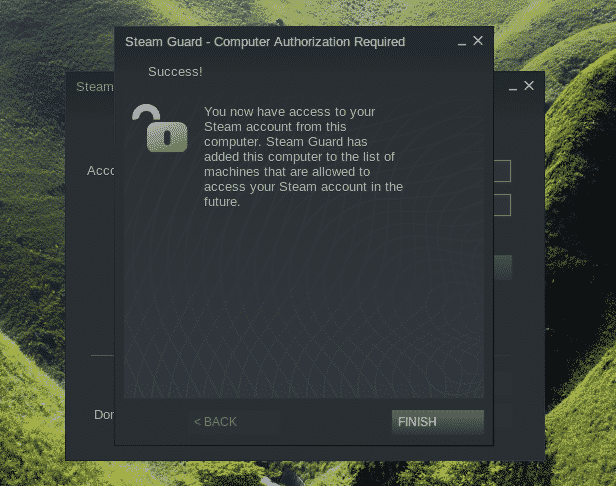
You’ve successfully logged in to your Steam account. Click “FINISH” to complete the process.
Voila! You’re ready to grab your favorite titles from Steam online store and start playing!

Final thoughts
Setting up Steam is super simple. However, not all games are guaranteed to run perfectly. After all, most of the games are originally designed to run on Windows. You may also need additional tools like Wine and Lutris etc. to ensure maximum compatibility.
You should also check out ProtonDB. It’s directly connected with Steam. It also offers a rich community-powered database that keeps track of numerous games.
About the author
Sidratul Muntaha
Student of CSE. I love Linux and playing with tech and gadgets. I use both Ubuntu and Linux Mint.