- How to Install Linux Mint Cinnamon Desktop in Ubuntu 22.04 or Later
- Installing Cinnamon Desktop Environment
- Add PPA for Latest Cinnamon desktop
- Install Cinammon Desktop Environment
- Switch to Cinnamon Desktop Environment
- Removing Cinnamon Desktop Environment
- Wrapping Up
- How to install Ubuntu 13.10 and Linux Mint 16 on a Btrfs filesystem
- How to dual boot two Linux distributions
- Dual boot two Linux distributions
- Booting into Linux Mint
- Wrapping up
How to Install Linux Mint Cinnamon Desktop in Ubuntu 22.04 or Later
Linux Mint is known for its cinnamon desktop environment, which is known for its sleek and user-friendly interface that provides a seamless and intuitive user experience without being hard on system resources.
If you are planning to switch from Ubuntu to Linux Mint just for the sake of a different desktop environment, then I won’t recommend you do that.
Because you can easily switch to the Cinnamon desktop in Ubuntu with a few lines of command.
So why not just install Cinammon Desktop on your system without wiping out your data and again stacking up the information into a new installation?
If you are not yet convinced, let me take you through the steps to install Cinnamon Desktop on your existing Ubuntu system.
Installing Cinnamon Desktop Environment
There are multiple ways to install the Cinnamon Desktop Environment in Ubuntu.
Ubuntu official repositories includes Cinnamon and all other packages and libraries it requires, but this version will be old compared to the Linux Mint daily PPA.
So, today we’ll guide you on how to install the latest Cinnamon desktop on your Ubuntu system using the Linux Mint daily build PPA.
Add PPA for Latest Cinnamon desktop
Open up your terminal from the Activity Manager search bar or use ( Ctrl+Alt+T ) and copy-paste the below command to add the Linux Mint daily build PPA to your Ubuntu.
$ sudo add-apt-repository ppa:linuxmint-daily-build-team/daily-buildsWhen it asks for confirmation, type yes and press enter.
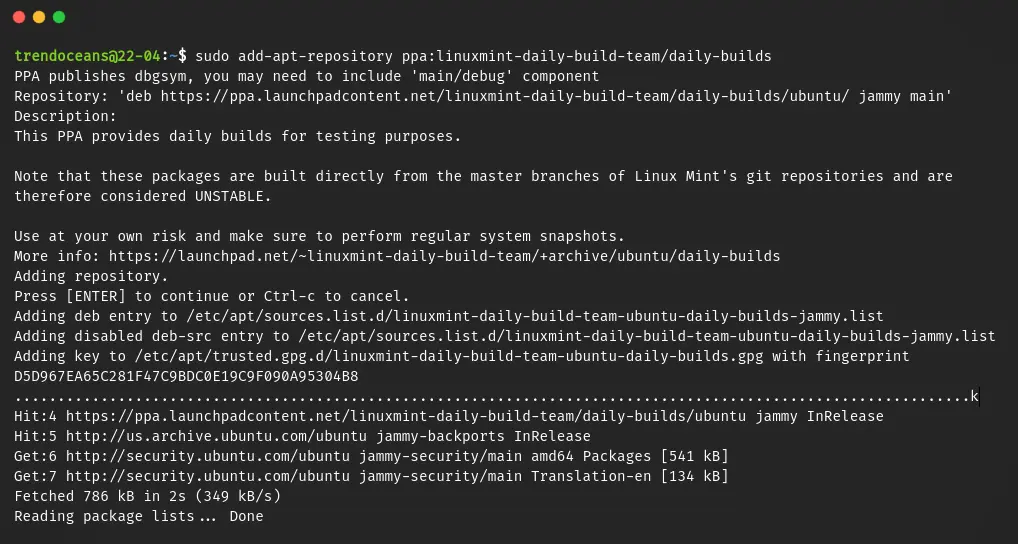
After adding this PPA to your system, your system repository will get an automatic update, so you don’t need to update anymore, but if you are on an older system, I would recommend you run sudo apt update .
Install Cinammon Desktop Environment
Once you are done with the PPA steps, you can use the below command to install Linux Mint Cinnamon desktop on your Ubuntu machine.
$ sudo apt install cinnamon-desktop-environmentIf you are getting errors like me, as shown below image,
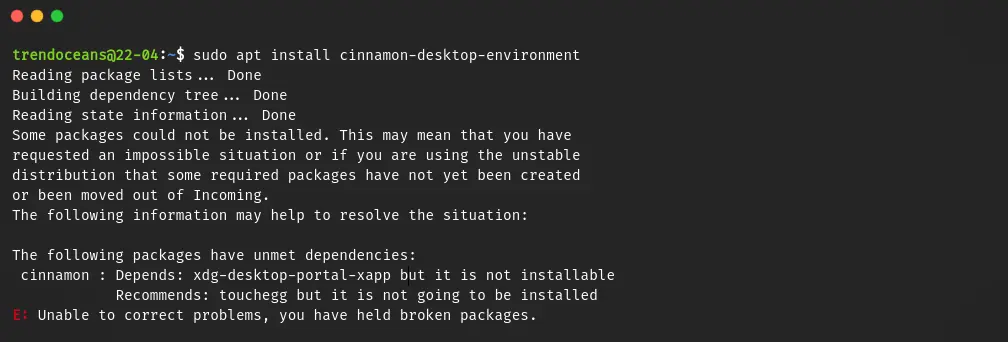
Then you can use the aptitude package manager to install the latest version of Cinnamon, which resolves the unmet dependencies issue by providing the required packages and libraries.
Now run the following command and accept the default solution by pressing ‘y’.
$ sudo aptitude install cinnamon-desktop-environment There will be a bunch of packages to install in order to use Cinnamon Desktop. This package size could be around 400MB to 500 MB and take time, depending on your internet speed.
If you have slow broadband speed, then have a cup of coffee while cinnamon is getting installed.
Switch to Cinnamon Desktop Environment
Once the installation is done, log out and select the Cinnamon desktop environment from the login screen, as shown below, to switch from GNOME to the Cinnamon desktop environment.
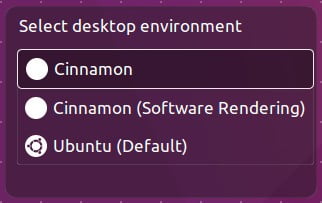
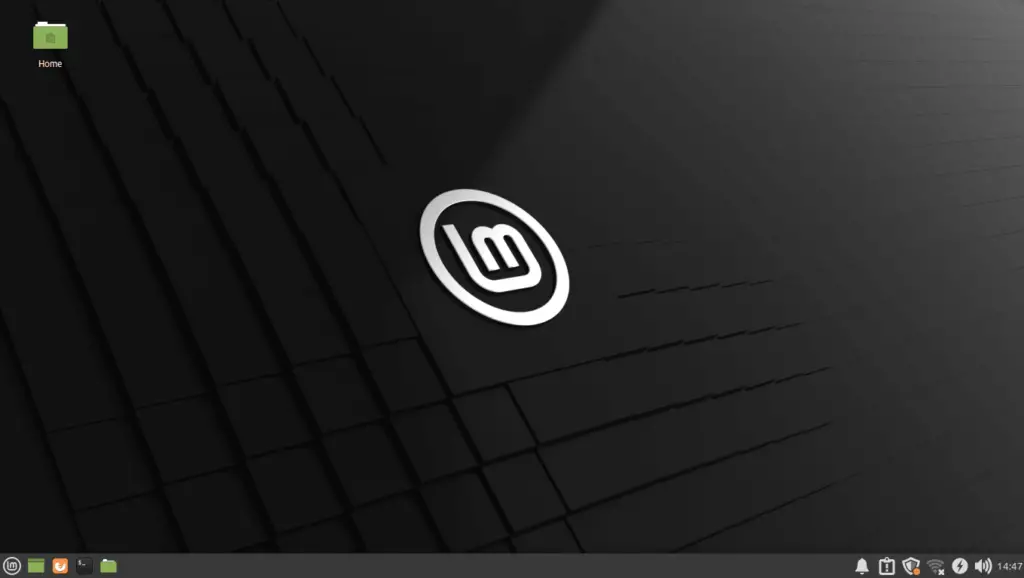
Finally, we made it to the end of the installation process! Now you can enjoy the fresh and modern look of Cinnamon on your Ubuntu system.
Removing Cinnamon Desktop Environment
If you have no interest left in Cinnamon and want to get back to your old default desktop environment, GNOME 3
Then copy-paste below command into your Linux terminal to remove it from your system.
$ sudo apt remove cinnamon-desktop-environmentThe above command only removes cinnamon from your system.
PPA is still left to be removed from your system, and we do not recommend removing it as it does not harm you. In the future, if you ever thought to give Cinnamon another chance to show himself, you can easily install it from step 2.
But if you have decided to remove that too, then execute the following command:
$ sudo add-apt-repository --remove ppa:linuxmint-daily-build-team/daily-buildsNow if you want to try out KDE Plasma on your Ubuntu machine, then check out this article.
Wrapping Up
That’s all for this article, where I showed you how to switch from the default GNOME desktop environment to the Linux Mint Cinnamon desktop environment.
While following the above steps, if you are getting errors, don’t hesitate to put them in the comment section.
With this message, I’m ending this article here…See you in the next article.
SPREAD LOVE AND PEACE
Innovative tech mind with 12 years of experience working as a computer programmer, web developer, and security researcher. Capable of working with a variety of technology and software solutions, and managing databases.
How to install Ubuntu 13.10 and Linux Mint 16 on a Btrfs filesystem
This tutorial presents a step-by-step guide on how to install Linux Mint 16 and Ubuntu 13.10 on a Btrfs filesystem.
Btrfs is CoW (Copy on Write) filesystem with support for features like read-only and writable snapshots, subvolumes, incremental backups, deduplication, and multiple device support. You may view the complete list of features here.
The screen shots used in this tutorial were taken from a test installation using Ubuntu 13.10, but because it shares the same installation program with Linux Mint 16, you can follow along to install the same btrfs system on that edition of Linux Mint.

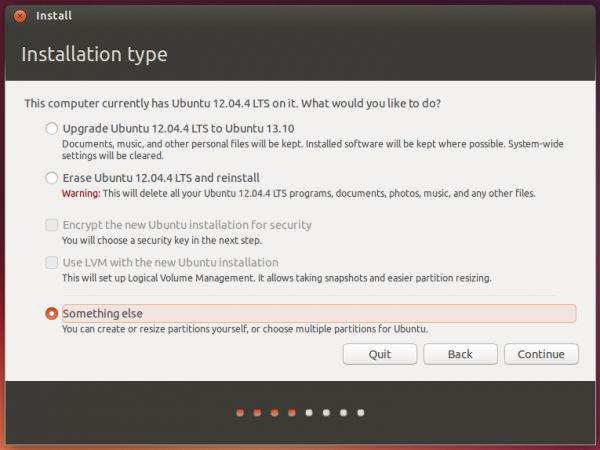
To start, boot the computer you want to use from the installation media of your favorite distribution. When you start the installer, click until you get to the Installation type step. Since btrfs is not the default filesystem used by any of the automated disk partitioning options, every step of this tutorial will have to be performed manually. That means selecting Something else is the only option at this step. Click Continue.

That should open the installer’s Advanced Partitioning Tool’s window. At this step, all disk and disk partitions detected by the installer should be listed. On the system used for this tutorial, I had existing partitions that I didn’t care to keep, so they had to be deleted. If this is the case with your system, select a partition, then click on the “-“ button to delete it. If you wished to install the btrfs system alongside the other distribution or operating system on the target hard disk drive, select a partition that has enough space and resize it. Then use the recovered disk space to create the partitions for the btrfs system.

This is what that window looks like after all the partitions have been deleted. Now we are ready to create the partitions needed to install the btrfs system. To begin, select the free space and click on the “+” button. This step will have to be repeated three times.

This is the partition setup window. You just need to specify the size of the partition, whether it’s a primary or logical partition, the filesystem, and the mount point. For an installation of Ubuntu 13.10 and Linux Mint 16 on a btrfs filesystem, you need to create at least three partitions – one each for /boot, Swap and a btrfs volume. For this tutorial, I chose to create just three partitions and in that order.

For the first partition, which will be mounted at /boot (that’s the value for “Mount point”), the size can be 500 MB or less. On a default installation of Ubuntu 13.10 and Linux Mint 16, the contents of the boot partition takes up about 62 MB of disk space. But be generous here, as resizing this partition after installation is not the type of stuff you want to spend time doing. For “Use as,” select ext2 or ext4. OK.

The second partition will be used for Swap space. A size of 2000 MB (2 GB) is enough for it. Be sure to select “swap area” from the “Use as” menu. OK.

The third and final partition will be used for the btrfs volume, so select “btrfs journaling file system” under the “Use as” combo menu. You may assign all the available disk space to this partition or whatever you feel is needed to install the system. Note that for a default installation of Linux Mint 16 and Ubuntu 13.10, the recommended disk space is around 6 GB. But I’m sure you have more disk space than that, so assign it the right value. Then select “/” for “Mount point.” OK.

Back to the main installer window, all the newly created partitions should be listed. Click Install Now to continue with the rest of the installation process.
After installation, it’s important to remember that btrfs is different from other Linux journaling filesystems, like ext3 and ext4, and LVM, the Linux Logical Volume Manager. If you recall, the btrfs partition was mounted at / during installation, but that is a consequence of how the installer works. In btrfs, we refer to subvolumes, so on a running btrfs system derived from this particular setup, there should be two subvolumes by default- / and /home. If you type sudo btrfs subvolumes list / , you should see a listing of the subvolumes. The next article on this subject will be on how to manage a btrfs file system.
How to dual boot two Linux distributions
Introduction : In this article, we will see how to dual boot two Linux distributions. There is very less information available for this topic and though the set up is easier than Windows-Linux set up, we decided to cover it.
Well, there are hundreds of article about dual booting Linux with Windows 7/10. The assumption is that one is already using Microsoft Windows and want to install a Linux distribution with it.
The assumption is changing. People have moved ahead to replace Windows completely with a Linux distribution and now moving on to the next step of dual booting Linux distributions!
In this article, we will see how to dual boot two Linux distributions.
I assume you already have a Linux set up and a live USB of your second favorite Linux distributions. If not, you can create a live USB using UnetBootin or dd command.
For this article, I am using Ubuntu 18.04 LTS release as the base install and trying to boot Linux Mint 19 along side it.
Dual boot two Linux distributions
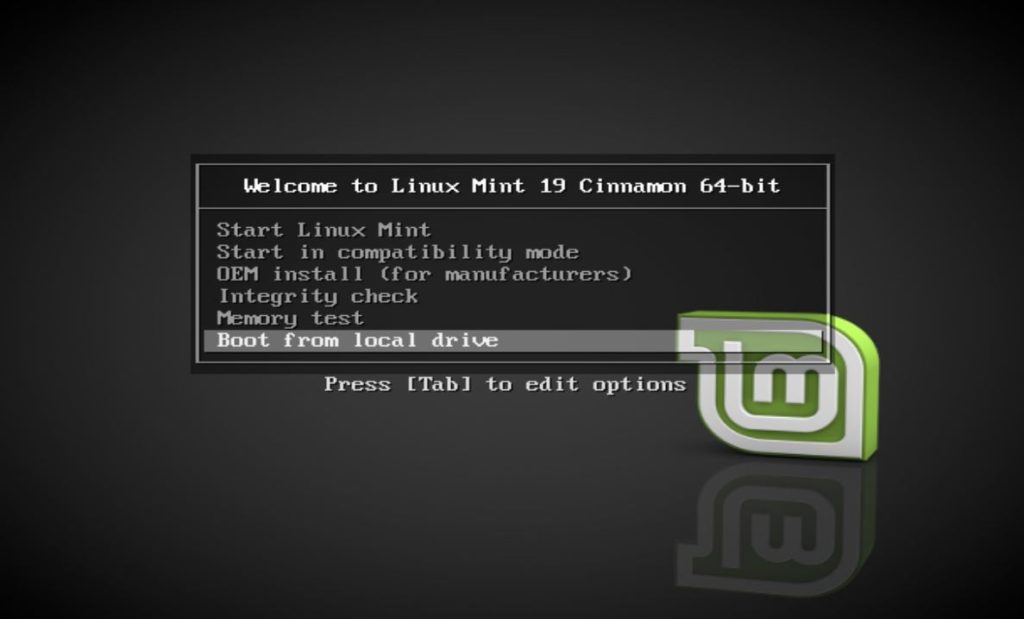
The first step is to boot into Linux Mint with the live USB you have created. Select Start Linux Mint from the boot menu.
Once boot process completes, you will see the live desktop and an option to install Linux mint on the desktop. Click on it to start the installation process.
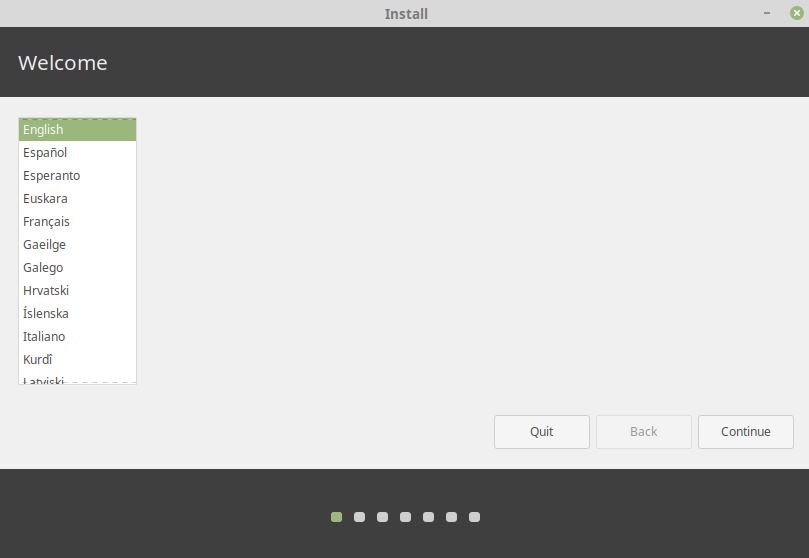
Welcome screen asks you to choose the language for your install and use.
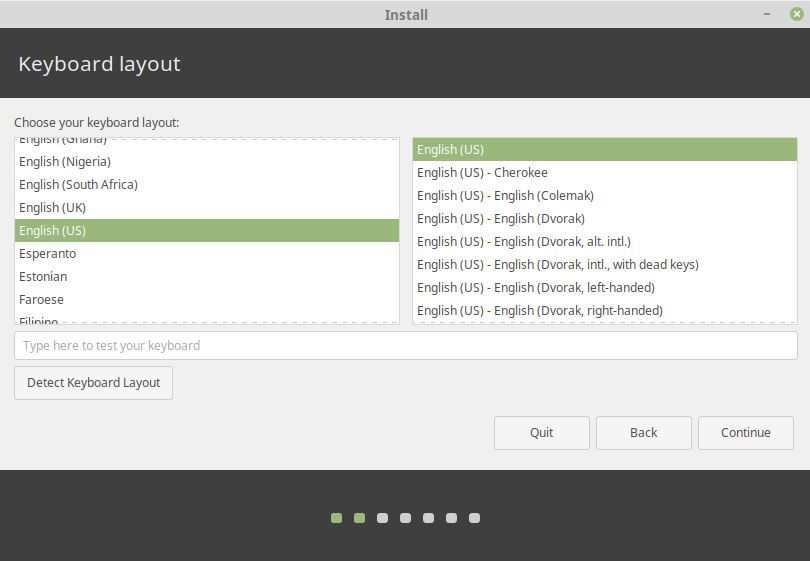
In the next screen, choose your default Keyboard layout if you want a change to the detected one.
I always prefer to install third party software during the process to avoid the hassle of installing them separately.

This is an important step.
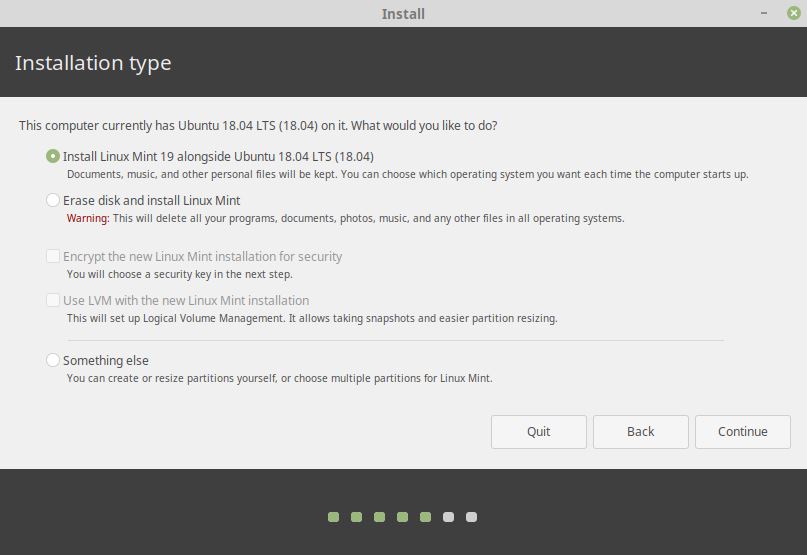
In the next screen, you can see the installer has already detected the Ubuntu operating system and gives an option to Install Linux Mint 19 alongside Ubuntu 18.04 LTS (18.04). Select it and continue.
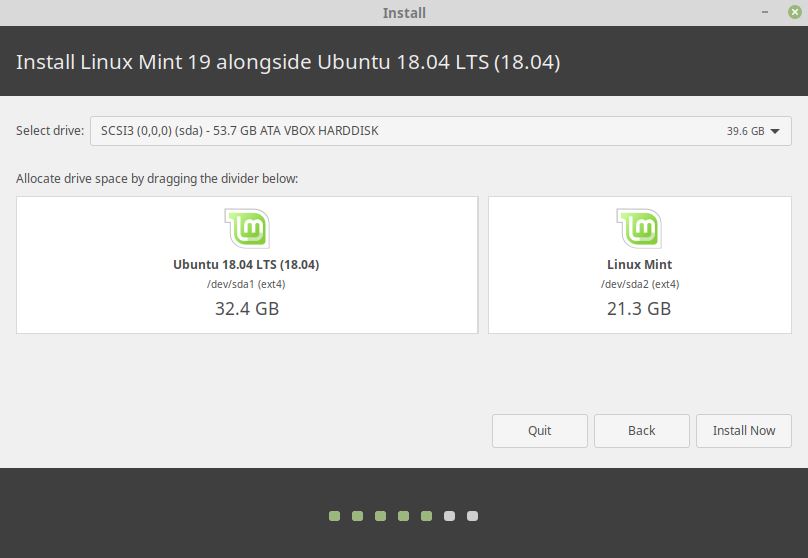
Installer asks you to allocate space for your Linux Mint operating system. Since I am using a virtual box to repeat these steps, it is showing a 53 GB drive space which I have allocated.
You can drag the divider to decide how much storage to allocate for both Ubuntu and Linux Mint.
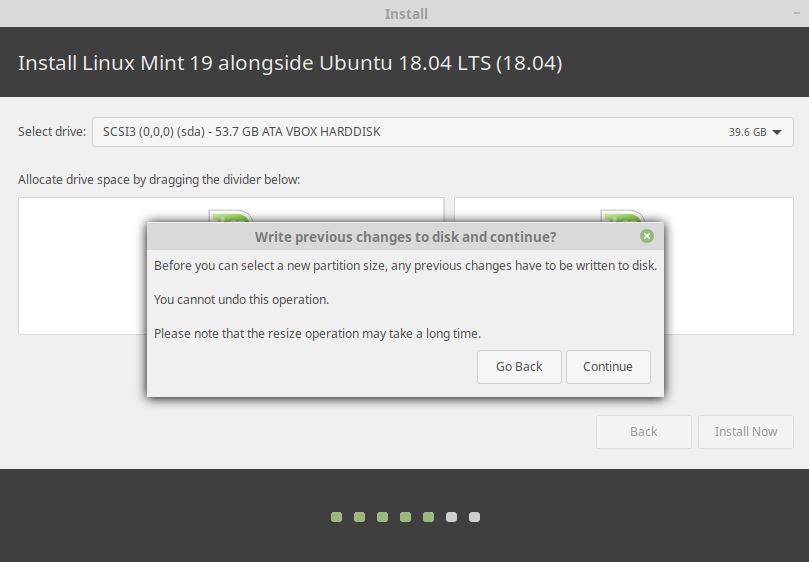
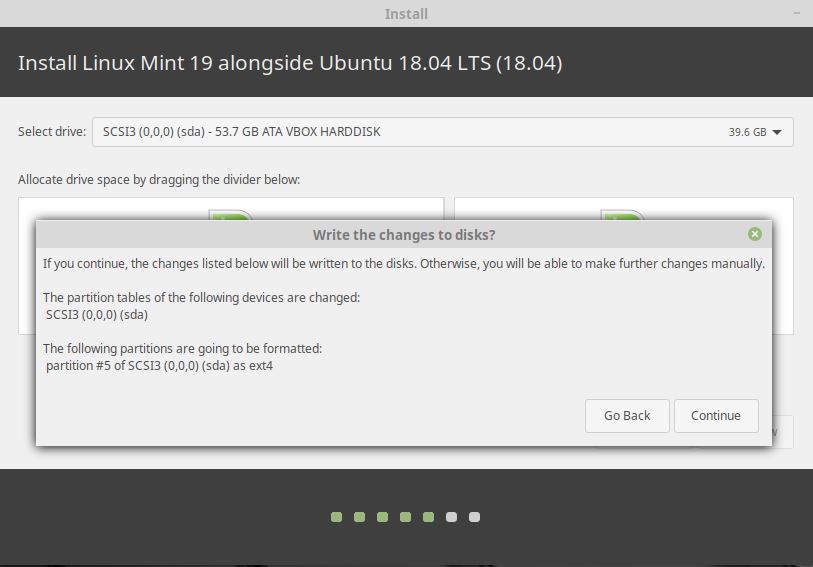
Clicking on Install Now will inform you that any previous changes have to be written to the disk and resize operation may take a long time.
The next screen asks for another confirmation for formatting the disc which would be used to install Linux Mint.
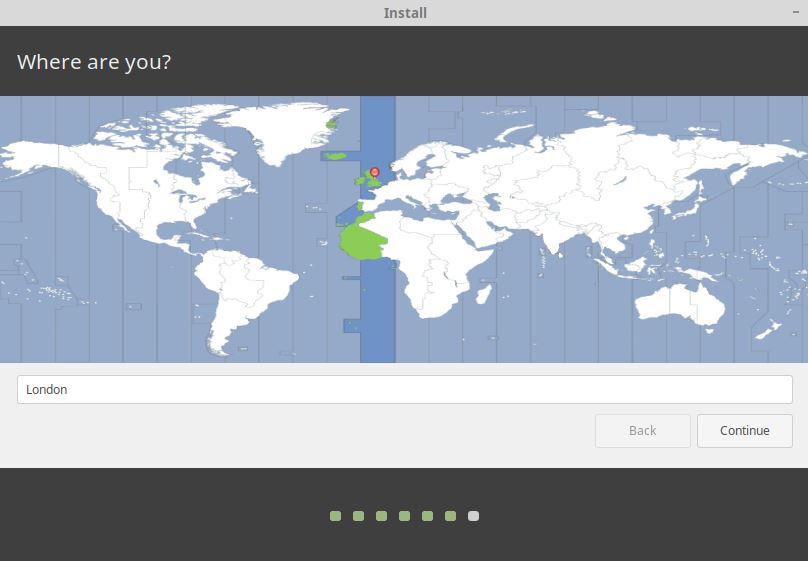
In the next screen, choose your location and click on Continue.
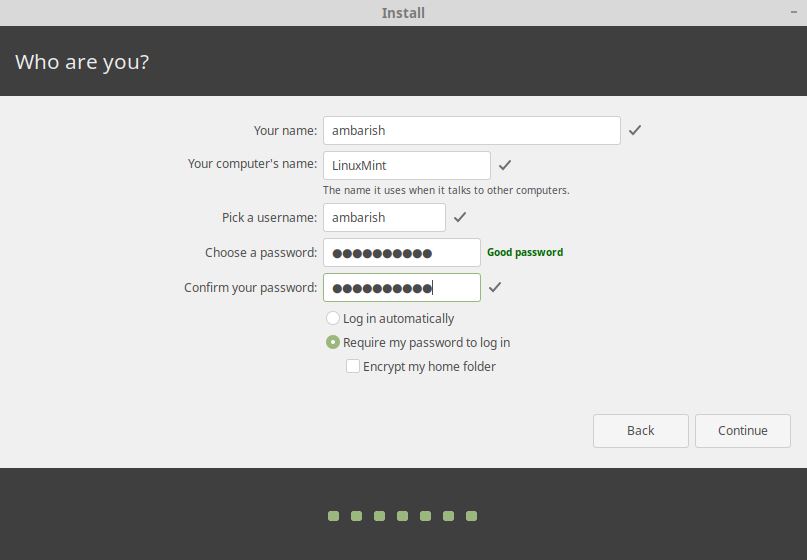
Select your system details, choose a username and password and click on Continue.
Once the installation completes, remove the USB and reboot your system.
Booting into Linux Mint
You will be presented with the boot menu with the option of both Linux Mint 19 Cinnamon and Ubuntu 18.04 LTS.
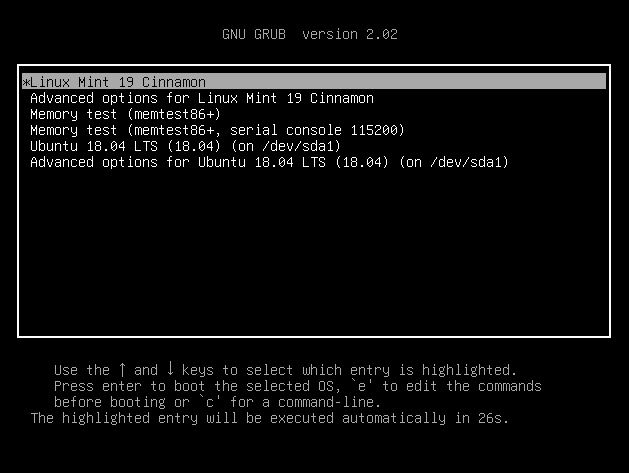
All your Ubuntu data is intact and you have a Linux distribution installed along side Ubuntu.
Wrapping up
Congratulations. You have successfully installed a Linux distribution along side another one. These steps can be further extended to even triple boot your system with different flavors of Linux.
Let us know in the comments if you encounter any issues.