- How to install Visual Studio Code on Linux?
- 6 Answers 6
- How to Install vscode on Ubuntu
- How to Install vscode on Ubuntu?
- Method 1: Install Visual Studio Code with Snap
- Method 2: Install Visual Studio Code with apt
- Method 3: Install Using the GUI
- How to Start vscode on Ubuntu?
- Uninstall vscode
- How to Install Visual Studio Code on Linux
- How to Install Visual Studio Code on Debian, Ubuntu and Linux Mint
- How to Install Visual Studio Code on CentOS, RHEL, and Fedora
- Как установить Visual Studio Code на Ubuntu
- Установка Visual Studio Code на Ubuntu
- Удаление Visual Studio Code в Ubuntu
- Выводы
How to install Visual Studio Code on Linux?
I have just downloaded VSCode-linux-x64 from the Microsoft website. It’s a zip file called VSCode-linux-x64.zip. How can I install it on my Linux system?
6 Answers 6
From a few pages deeper into the setup docs in the link you offered.
- Download Visual Studio Code for Linux
- Make a new folder and extract VSCode-linux-x64.zip inside that folder
- Double click on Code to run Visual Studio Code
I found the answer to my question and posting the answer so it can help others. To download and install Visual Studio Code on Ubuntu . follow the steps below
- Download Visual Studio Code for Linux
- Extract the zip file VSCode-linux-x64.zip
- Go inside the folder VSCode-linux-x64
- double click and Run code executable to open Visual Studio Code .
- You can right click on Visual Studio Code on toolbar (or launcher)
and select Lock to Launcher. this way you can launch the editor by
clicking it on launcher.
If you are using terminal follow the terminal commands
- mkdir your_folder_name && cd your_folder_name unzip
- ../Downloads/VSCode-linux-x64.zip
- ./Code
This video will help you to download and install and use Visual Studio Code on Ubuntu if you still have some doubts
After 18.04 version, the following one-line terminal code works well.
sudo snap install code --classic Installing with apt-get:
Step 1 – Enable Package Repository
Run the following command to enable Visual studio code repository to your system:
echo "deb [arch=amd64] http://packages.microsoft.com/repos/vscode stable main" | sudo \ tee /etc/apt/sources.list.d/vs-code.list Step 2 – Install Visual Studio Code Editor
Now, Import the package signing gpg key on your system using the following command:
curl https://packages.microsoft.com/keys/microsoft.asc | gpg --dearmor > microsoft.gpg sudo mv microsoft.gpg /etc/apt/trusted.gpg.d/microsoft.gpg Install Visual Studio Code on your Debian based system (like Ubuntu):
sudo apt-get update sudo apt-get install code Step 3 – Launch Visual Studio Code and enable its extensions:
Now You can launch the Visual Studio Code editor on your system using the graphical menu.

There are a large number of extensions available for Visual Studio Code like PHP, Python, JavaScript etc. Install the required extensions to enhance your working experience with Visual Studio Code.
How to Install vscode on Ubuntu
Microsoft’s Visual Studio Code (vscode) is a source-code editor developed for Windows, Linux, and macOS. The code editor supports debugging, syntax highlighting, automatic code completion, snippets, embedded Git control, etc.
vscode is open source. It supports an abundance of extensions acts as a version control system, thus facilitating project collaboration.
In this tutorial, you will learn to install, uninstall, and start vscode on Ubuntu.
- A system running Ubuntu.
- An account with administrator privileges.
- A working network connection.
How to Install vscode on Ubuntu?
There are three ways to install vscode on Ubuntu:
- Installing the snap package.
- Using the apt package manager.
- Via the Ubuntu Software GUI app.
Choose an installation method and follow the steps below to install vscode.
Method 1: Install Visual Studio Code with Snap
Snap packages are containerized applications. Open the terminal and run the following command to install the vscode self-contained snap package with the required dependencies:
sudo snap install --classic code
Verify the installation by checking the program version:

Method 2: Install Visual Studio Code with apt
Another way to install vscode is via the apt package manager. Follow the steps below to install vscode using apt:
Note: Read our Snap vs. apt article to see how the Snap packaging system compares to the apt package manager.
Step 1: Update the system repository
Run the following command to update the system’s repository and ensure you get the latest vscode version:
Step 2: Install Package Dependencies
For proper operation, vscode requires you to install package dependencies. Run the following command to resolve package dependencies:
sudo apt install software-properties-common apt-transport-https wget -y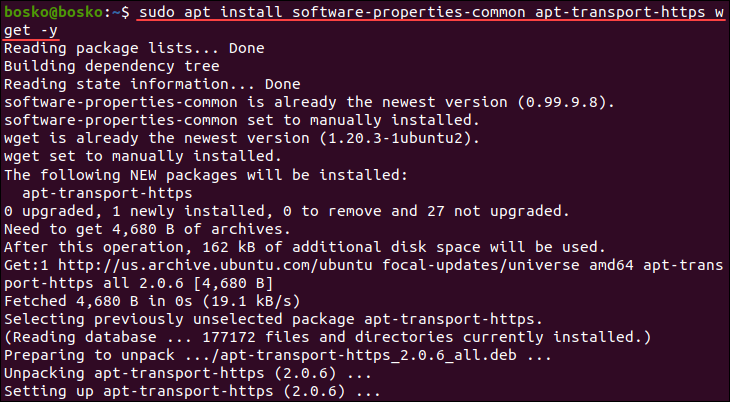
The command automatically installs any vscode dependencies.
Step 3: Add GPG Key
Import the GPG key provided by Microsoft to verify the package integrity. Enter:
wget -q https://packages.microsoft.com/keys/microsoft.asc -O- | sudo apt-key add -
Step 4: Add Repository
Run the following command to add the Visual Studio Code repository to your system:
sudo add-apt-repository "deb [arch=amd64] https://packages.microsoft.com/repos/vscode stable main"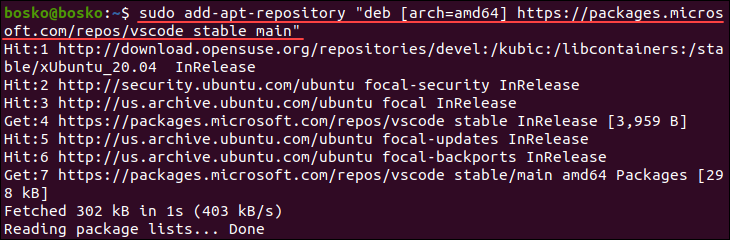
Note: See how to troubleshoot the Add-apt-repository command not found error.
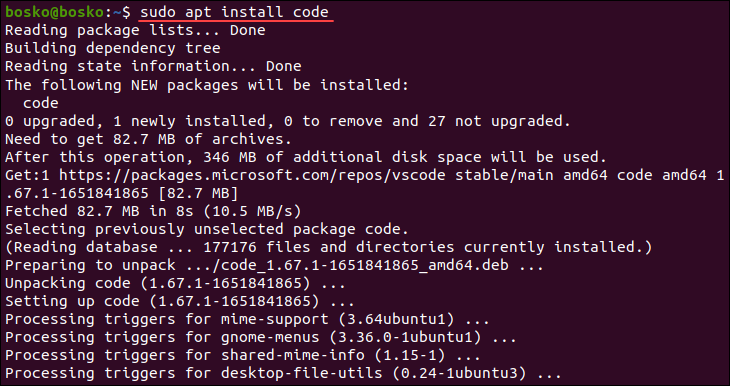
Step 5: Install vscode
After enabling the repository, install vscode by running:
Step 6: Verify Installation
Verify vscode installation by running:
If the installation was successful, the output shows the program version.
Method 3: Install Using the GUI
Follow the steps below to install vscode using Ubuntu Software Center:
1. Open Ubuntu Software Center
Click the Show Applications button and open the Ubuntu Software Center app.
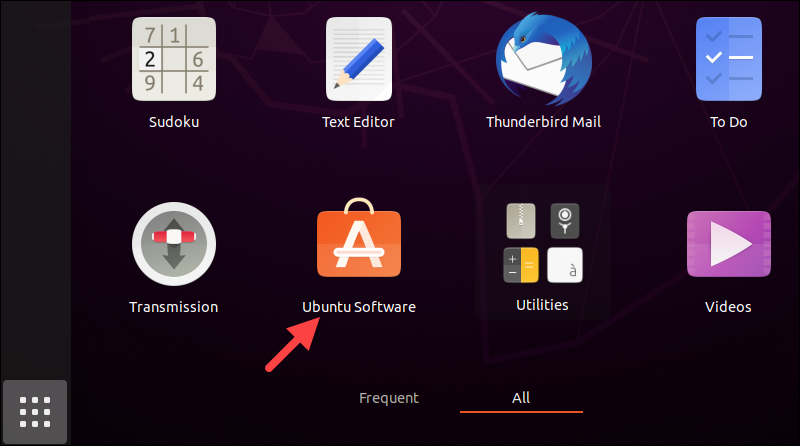
Note: The Show Applications button opens the app drawer and shows installed app icons. See how to list installed apps using the terminal.
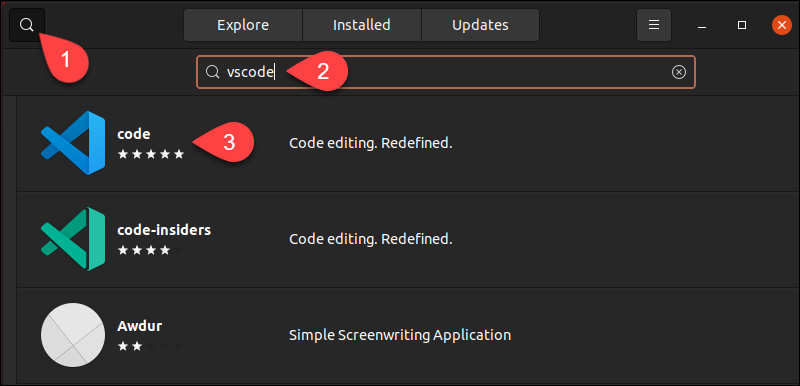
2. Find Visual Studio Code
Click the Search button, and type vscode in the search bar. Click code on the list to open the app page.
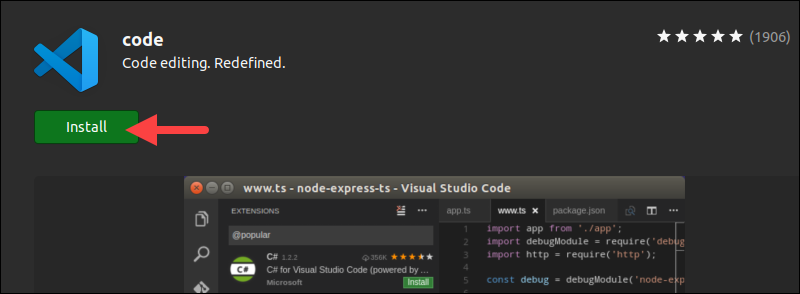
3. Install vscode
Click the Install button and, when prompted, type in your administrator password to start the installation.
How to Start vscode on Ubuntu?
Click the Show Applications button and locate Visual Studio Code in the app list.
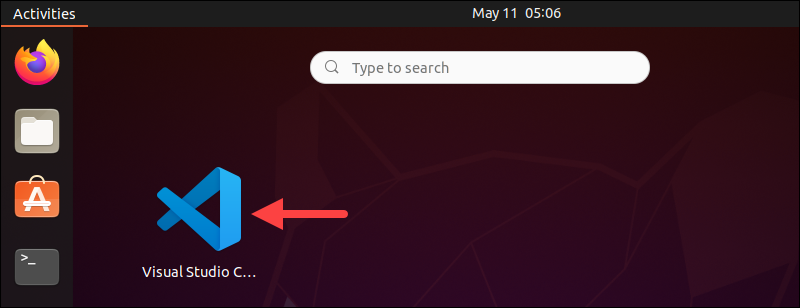
Click the app to open it and start customizing the appearance, adding extensions for the programming languages you need, etc.
Uninstall vscode
Depending on the installation method, use on of three ways to uninstall vscode:
1. For vscode installations using snap (method 1):
Remove the vscode snap app by running the following command:

The command removes vscode and notifies you of the result.
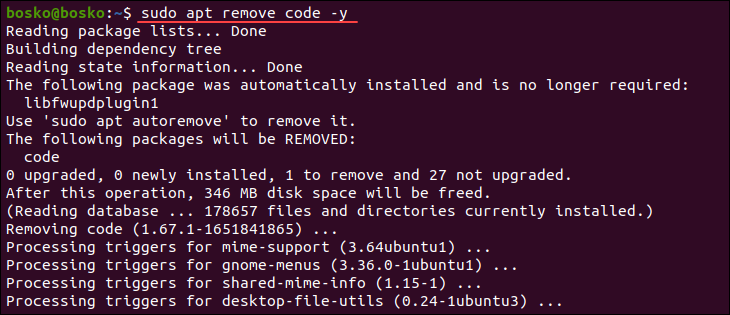
2. For vscode installations using apt package manager (method 2):
if you installed vscode via apt, uninstall the program by running:
3. For vscode installations using the GUI (method 3):
If you installed vscode via the Ubuntu Software Center, follow the steps below uninstall the app:
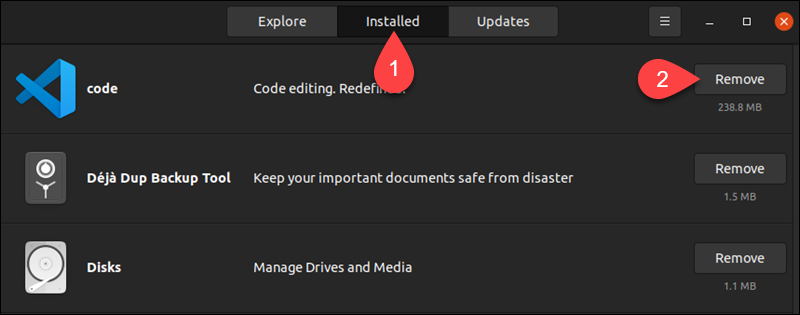
1. Open the Ubuntu Software Center and click the Installed tab to see all installed apps.
2. Locate the code app on the list and click the Remove button.
4. When prompted, click Remove one more time to uninstall vscode from the system. Provide the admin password to confirm you want to uninstall the app.
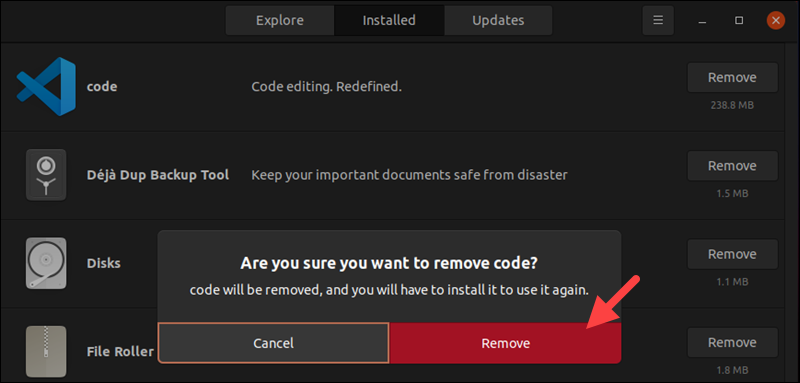
The app has been successfully removed from your system.
This guide showed you how to install and uninstall vscode on Ubuntu using three methods. Choose your preferred installation method and start creating and editing code easily with vscode.
How to Install Visual Studio Code on Linux
Developed by Microsoft, Visual Studio Code is a free and open-source, cross-platform IDE or code editor that enables developers to develop applications and write code using a myriad of programming languages such as C, C++, Python, Go and Java to mention a few.
In this guide, we will walk you through the installation of the Visual Studio Code on Linux. To be more specific, you will learn how to install the Visual Studio Code on both Debian-based and RedHat-based Linux distributions.
On this page:
How to Install Visual Studio Code on Debian, Ubuntu and Linux Mint
The most preferred method of installing Visual Code Studio on Debian based systems is by enabling the VS code repository and installing the Visual Studio Code package using the apt package manager.
Once updated, proceed and install dependencies required by executing.
$ sudo apt install software-properties-common apt-transport-https
Next, using the wget command, download the repository and import Microsoft’s GPG key as shown:
$ wget -qO- https://packages.microsoft.com/keys/microsoft.asc | gpg --dearmor > packages.microsoft.gpg $ sudo install -o root -g root -m 644 packages.microsoft.gpg /etc/apt/trusted.gpg.d/ $ sudo sh -c 'echo "deb [arch=amd64 signed-by=/etc/apt/trusted.gpg.d/packages.microsoft.gpg] https://packages.microsoft.com/repos/vscode stable main" > /etc/apt/sources.list.d/vscode.list'
Once you’ve enabled the repository, update the system and install Visual Studio Code by running the command:
$ sudo apt update $ sudo apt install code
Due to its size, the installation takes approximately 5 minutes. Once installed, use the application manager to search Visual Code Studio and launch it as shown.
How to Install Visual Studio Code on CentOS, RHEL, and Fedora
The procedure of installing Visual Studio Code on RedHat based distributions is pretty much like Ubuntu. Right off the bat, launch your terminal and update your system:
Next, import Microsoft’s GPG key using the rpm command below:
$ sudo rpm --import https://packages.microsoft.com/keys/microsoft.asc
With Microsoft’s GPG key in place, proceed and create the repository file for Visual Studio Code:
$ sudo vim /etc/yum.repos.d/vstudio_code.repo
Next, append the code below and save the file:
[code] name=Visual Studio Code baseurl=https://packages.microsoft.com/yumrepos/vscode enabled=1 gpgcheck=1 gpgkey=https://packages.microsoft.com/keys/microsoft.asc
To install Visual Studio code, run the command:
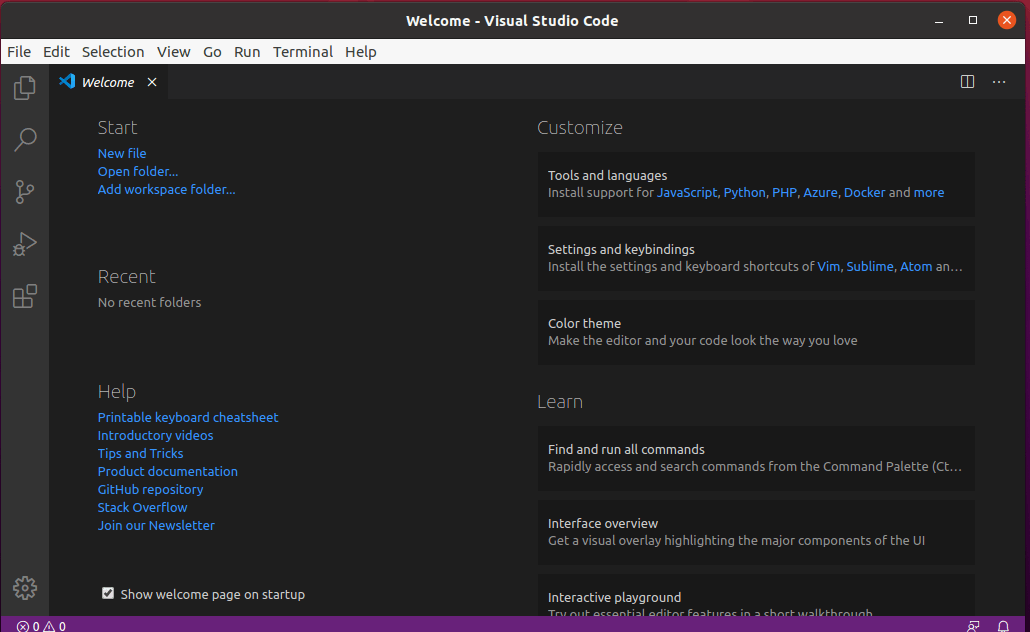
To use it, use the Application manager to search the Visual Studio Code and launch it, you will get a window as shown below.
You can now proceed and start writing your code and installing your preferred extensions.
Conclusion
Visual Studio Code is a powerful and feature-rich code editor that allows you to develop applications in a diverse array of programming languages. It’s especially popular with Python and C programmers. In this topic, we walked you through the installation of the Visual Studio Code on Linux.
Как установить Visual Studio Code на Ubuntu
Visual Studio Code — это современная и очень удобная интегрированная среда разработки от Microsoft написанная на основе платформы Electron и NodeJS. Здесь есть встроенный отладчик кода, поддержка контроля версий с помощью Git, подсветка синтаксиса для множества языков, автодополнение кода, интегрированный терминал, поддержка рефракторинга и сниппеты.
В этой статье мы рассмотрим, как установить Visual Studio Code на Ubuntu 18.04 или более поздних версий. Для этого лучше всего использовать официальный репозиторий от Microsoft. Однако можно также воспользоваться snap-пакетом или центром приложений Ubuntu.
Установка Visual Studio Code на Ubuntu
Для работы репозитория нужно установить несколько пакетов. Для этого выполните команду:
sudo apt install software-properties-common apt-transport-https wget
Затем установите ключ репозитория:
wget -q https://packages.microsoft.com/keys/microsoft.asc -O- | sudo apt-key add —
И добавьте сам репозиторий:
sudo add-apt-repository «deb [arch=amd64] https://packages.microsoft.com/repos/vscode stable main»
После этого остается обновить списки пакетов и установить VS Code:
sudo apt update
sudo apt install code
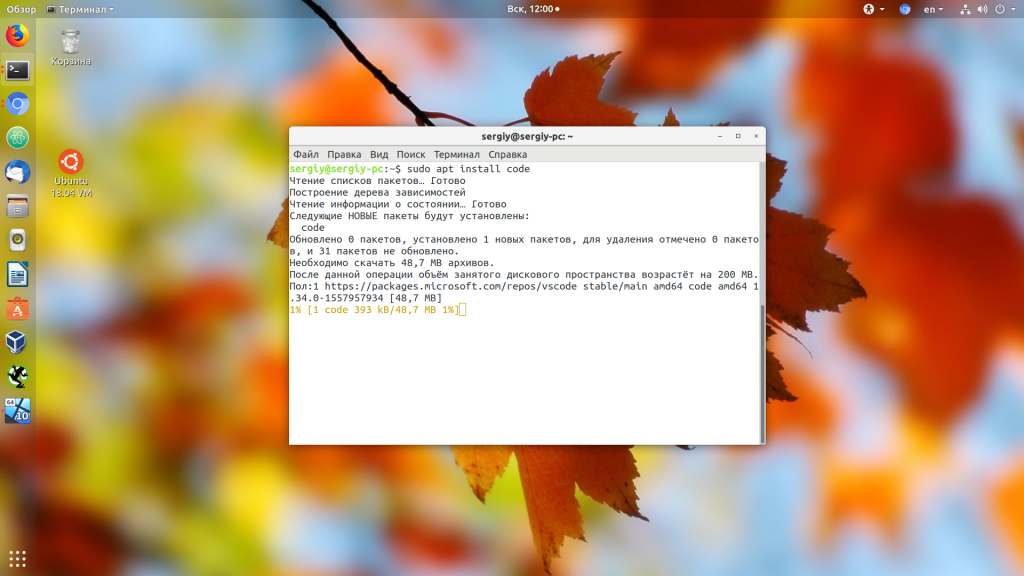
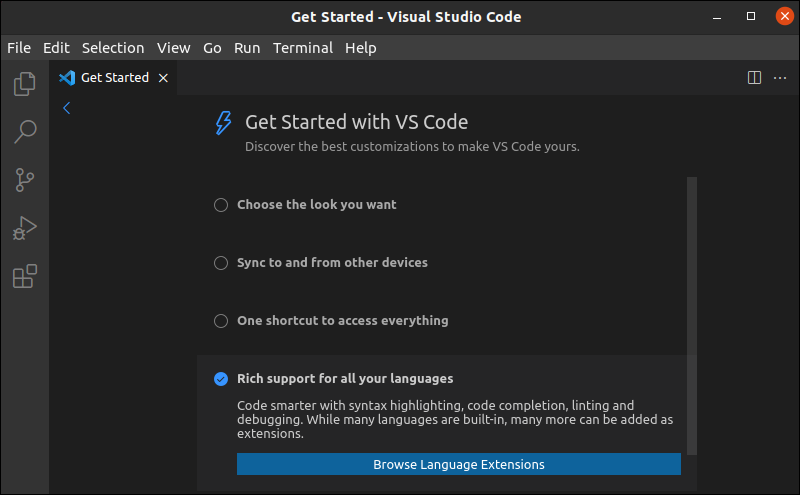
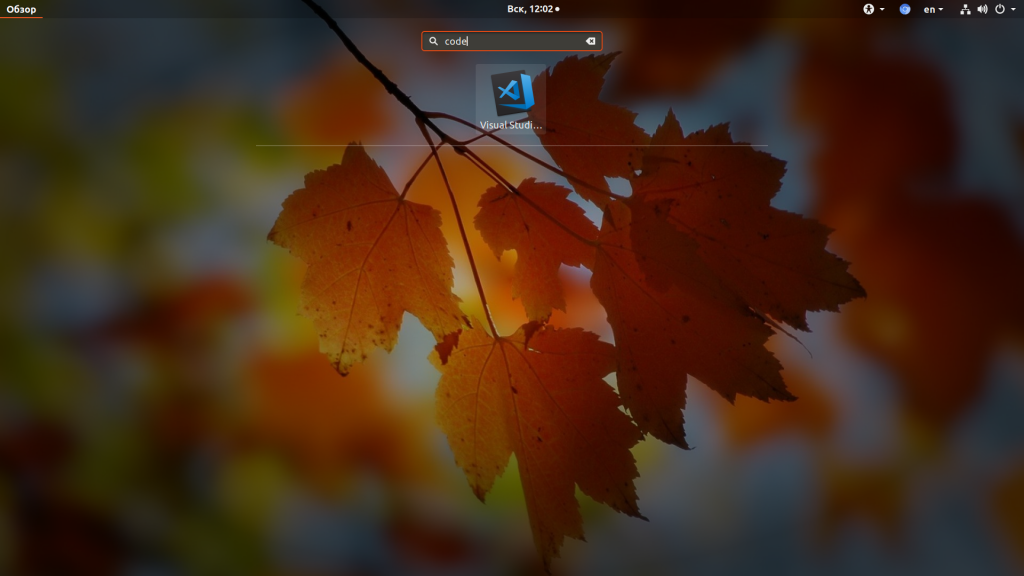
После завершения установки вы можете запустить программу, выполнив в терминале команду code, или через главное меню системы:
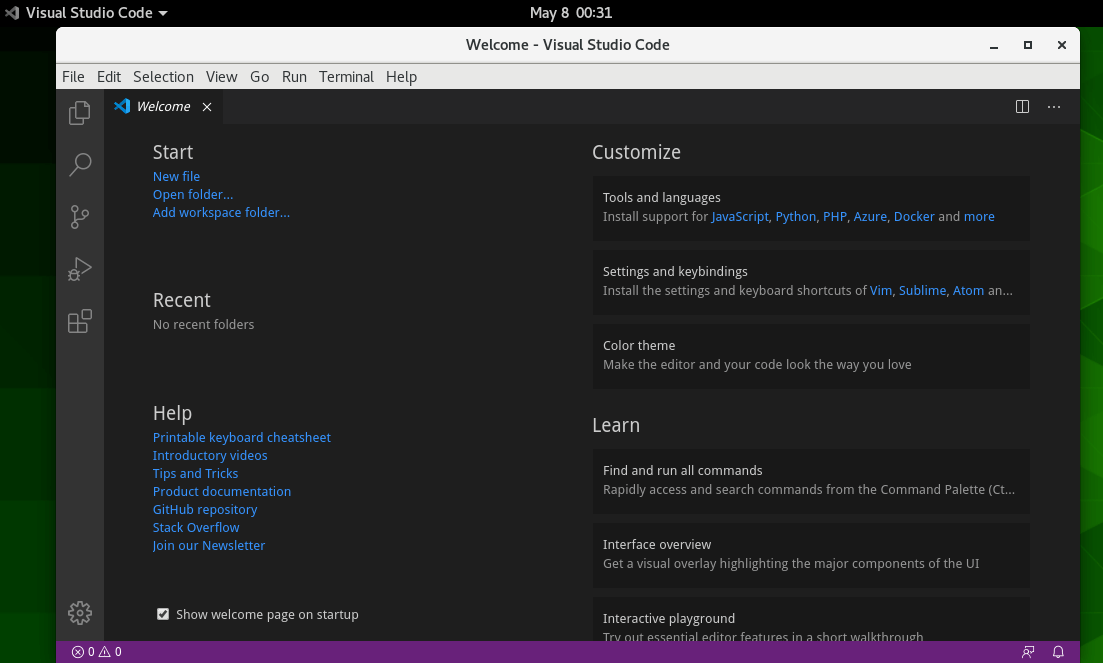
Главное окно программы будет выглядеть вот так:

В левой части окна вертикально расположены несколько вкладок для ориентации в интерфейсе программы. На первой вкладке выполняется работа с проектами и файлами. Вторая вкладка позволяет выполнять поиск по открытым проектам. Третья вкладка — система контроля версий. Четвёртая — отладчик, а пятая — установка дополнений.
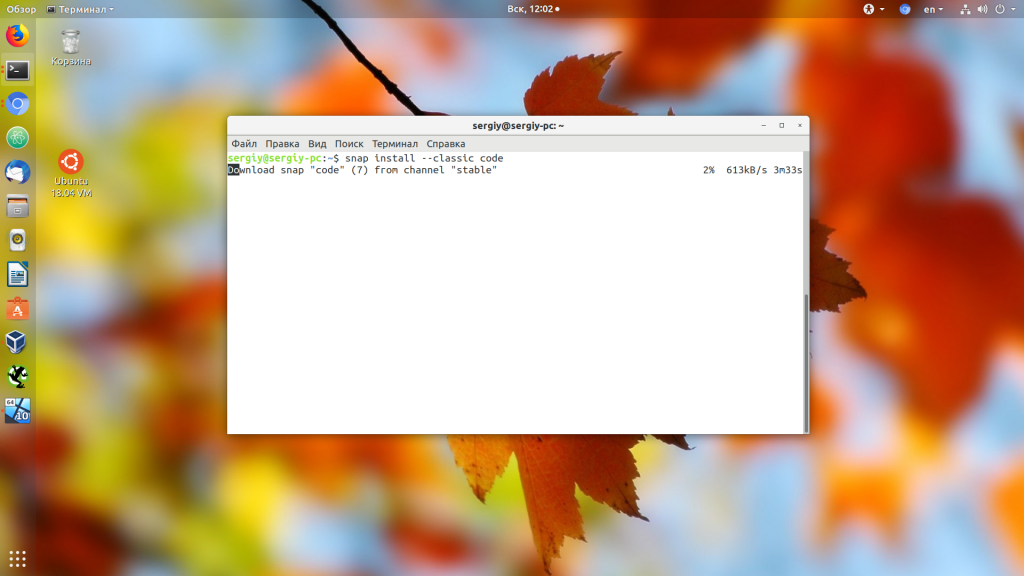
Также можно установить программу с помощью менеджера пакетов snap. Для этого выполните:
sudo snap install —classic code
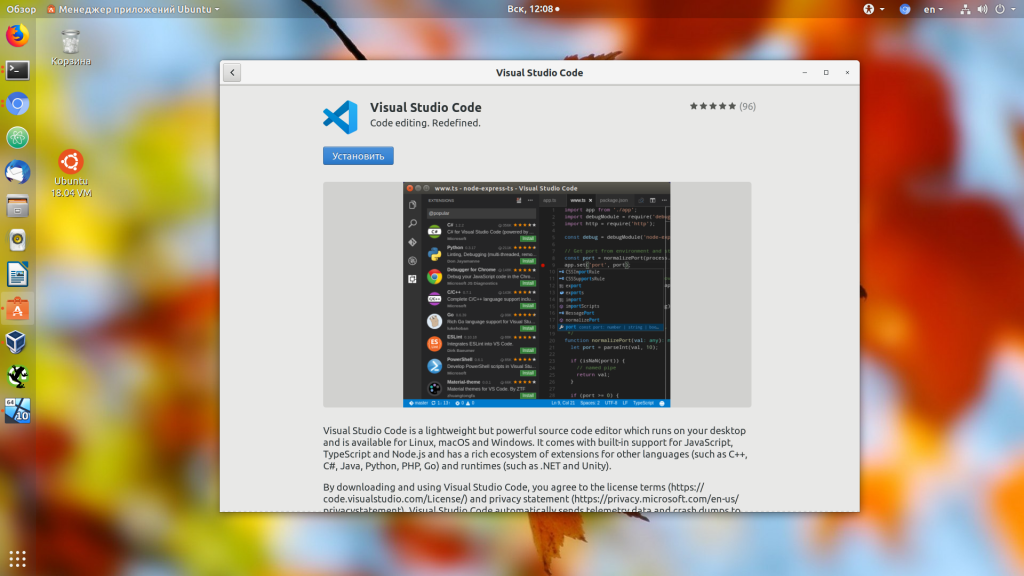
А ещё программа есть в центре приложений Ubuntu:
Удаление Visual Studio Code в Ubuntu
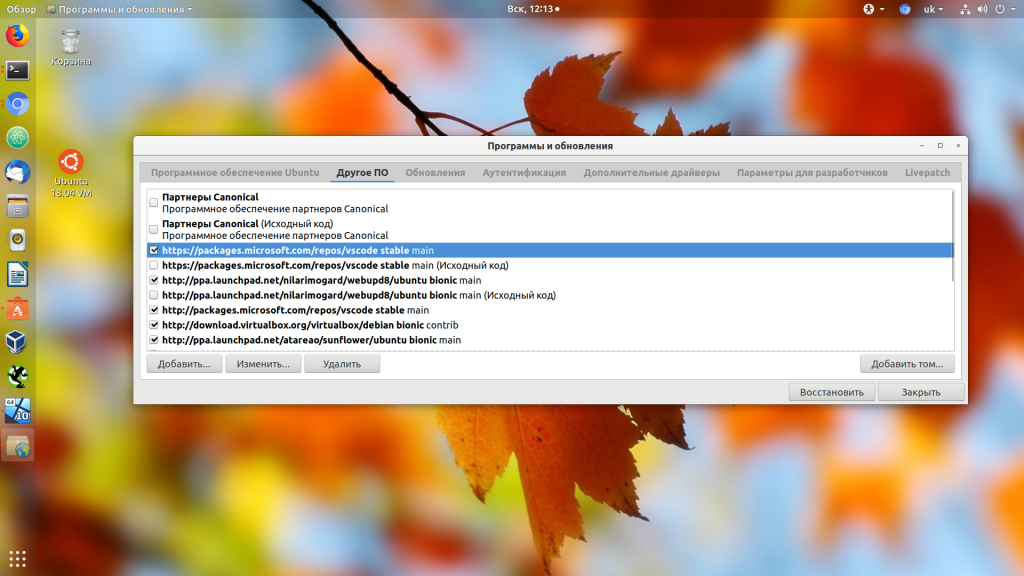
Удалять программу надо так, как вы её устанавливали. Если установка Visual Studio Code Ubuntu 18.04 выполнялась из репозитория Microsoft, то для удаления выполните:
Затем можно отключить репозиторий с помощью утилиты Программы и обновления:
А если установка выполнялась через менеджер пакетов snap или центр приложений, то для удаления достаточно выполнить:
Выводы
Теперь у вас есть успешно установленная VS Code Ubuntu 18.04, и вы можете переходить к её настройке, а затем к программированию. Далее вам нужно настроить внешний вид среды, а также установить необходимые дополнения. Но об этом поговорим в следующих статьях.
Обнаружили ошибку в тексте? Сообщите мне об этом. Выделите текст с ошибкой и нажмите Ctrl+Enter.