- Установка Webmin на Linux
- Настройка системы
- Установка и запуск Webmin
- Настройка репозитория
- Установка Webmin
- Смена сертификата для https
- Если webmin не работает
- Webmin не открывается
- ERR_SSL_PROTOCOL_ERROR
- How to Install Webmin on Ubuntu 20.04
- Step 1: Update the System and Install Requisites Packages
- Step 2: Import Webmin Repository Key
- Step 3: Install Webmin in Ubuntu
- Step 4: Open Webmin Port on Ubuntu Firewall
- Step 5: Access Webmin on Ubuntu
- How to Install Webmin on Ubuntu 20.04/22.04
- Prerequisite
- Installing Webmin in Ubuntu
- Using Webmin on Ubuntu
- System Information
- Stats History
- System Activity
Установка Webmin на Linux

Обновлено: 01.07.2023 Опубликовано: 16.08.2019
Webmin — веб-портал для управления системой Linux. С его помощью можно выполнять повседневные обязанности системного администрирования без необходимости вводить команды в строке unix shell. Его работа поддерживается во многих дистрибутивах Linux — в данной статье мы разберем установку и настройку на CentOS и Ubuntu / Debian.
Настройка системы
По умолчанию, Webmin работает на порту 10000, поэтому его нужно открыть в брандмауэре. а) если используем firewalld (по умолчанию, в CentOS 7):
Установка и запуск Webmin
В стандартных репозиториях Linux Webmin отсутствует, поэтому сначала добавим новый, после чего, выполним саму установку.
Настройка репозитория
В зависимости от операционной системы, наши действия будут отличаться. а) Для CentOS. Создадим файл со следующим содержимым:
- name — произвольное название для репозитория;
- baseurl — путь со списком пакетов для установки;
- enabled — разрешает или запрещает использование репозитория (в данном примере разрешено);
- gpgcheck — задает требование проверки ключа (в нашем случае ключ не требуется проверять).
б) Для Ubuntu и Debian.
Создадим файл со следующим содержимым:
deb http://download.webmin.com/download/repository sarge contrib
Добавим ключ для доверия к новому репозиторию:
apt-key add jcameron-key.asc
Установка Webmin
Команда для установки зависит от дистрибутива Linux.
Установка выполнена. Переходим к запуску.
Запускаем службу и разрешаем ее автозапуск:
systemctl enable webmin —now
В старых системах служба запускается командой:
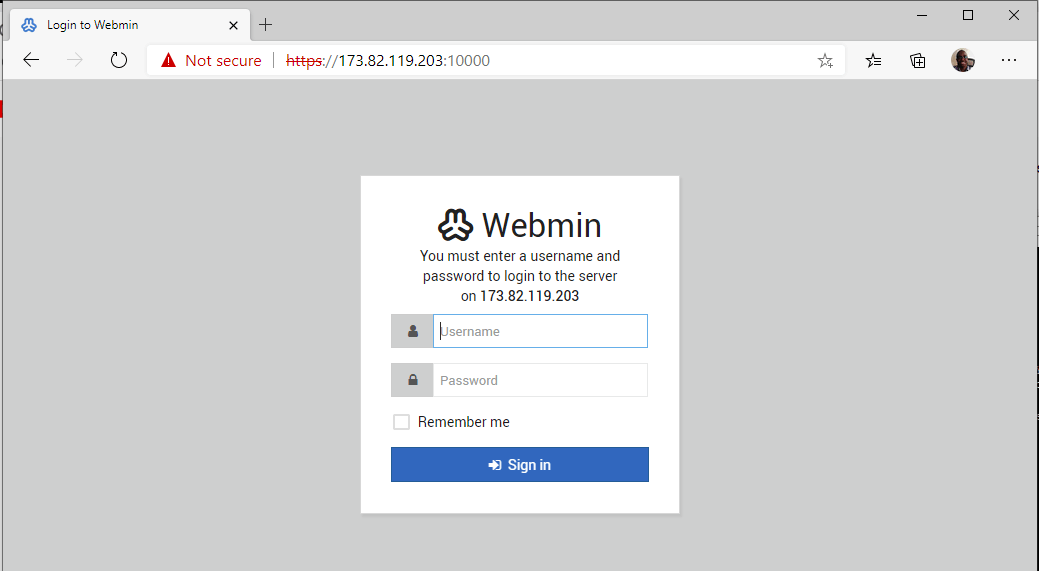
Открываем браузер и переходим по ссылке https://:10000/ — откроется предупреждение, что соединение не может быть безопасным. Это происходит из-за использования самоподписного сертификата. Игнорируем предупреждение и переходим на наш сайт управления. Откроется окно ввода логина и пароля — вводим root и его пароль на сервере:

В Ubuntu. по умолчанию, не установлен пароль для пользователя root. Это можно сделать командой:
Смена сертификата для https
Если мы хотим использовать купленный или полученный у Let’s Encrypt сертификат, необходимо отредактировать ключ:
——BEGIN CERTIFICATE——
.
——END CERTIFICATE——
——BEGIN PRIVATE KEY——
.
——END PRIVATE KEY——
* в секцию BEGIN CERTIFICATE вставляем последовательность для открытого ключа; в BEGIN PRIVATE KEY — закрытого.
После перезапускаем webmin:
Если webmin не работает
Webmin не открывается
1) проверяем, что система слушает запросы на порту 10000:
2) проверяем, что сервис работает:
. мы должны увидеть, что-то на подобие:
Webmin (pid 3303) is running
3) проверяем, что мы добавили порт 10000 в брандмауэр:
ERR_SSL_PROTOCOL_ERROR
Ошибка появляется при попытке открыть webmin в браузере.
Причина: мы пытаемся зайти на веб-страницу по протоколу https, но webmin не может принять запросы данного типа — из-за отсутствующего сертификата или отключенной опции ssl.
Решение: открываем конфигурационный файл:
Проверяем, что у нас есть опции:
* если опция ssl имеет значение 0, меняем ее на 1. Для опции certfile смотрим путь до файла сертификата и проверяем, что он есть в системе.
Как правило, ошибка появляется из-за опции ssl или отсутствующего сертификата. Исправляем настройку и перезапускаем сервис:
How to Install Webmin on Ubuntu 20.04
Most system administration tasks are usually carried out on the terminal. They involve creating users, running updates and changing configuration files and so much more. It can be rather boring to work perpetually on the terminal. Webmin is an opensource web administration tool that allows users to easily monitor and manage servers.
Some of the tasks that you can accomplish with Webmin include:
- Adding and removing users on the system
- Changing users’ passwords.
- Installing, updating, and removing software packages.
- Setting up a firewall.
- Configuring disk quotas to manage the space used by other users.
- Creating virtual hosts (If a web server is installed).
In this article, we take a look at how you can install Webmin on Ubuntu 20.04 and Ubuntu 18.04 so that you can seamlessly manage your system.
Step 1: Update the System and Install Requisites Packages
To get started with installing Webmin, it’s advisable to update your package lists as follows:
Additionally, install the prerequisites packages as shown.
$ sudo apt install wget apt-transport-https software-properties-common
Step 2: Import Webmin Repository Key
Having updated the system and installed the packages, we are then going to append the Webmin GPG key as shown.
$ wget -q http://www.webmin.com/jcameron-key.asc -O- | sudo apt-key add -
Next, add the Webmin repository to the sources list file as shown.
$ sudo add-apt-repository "deb [arch=amd64] http://download.webmin.com/download/repository sarge contrib"
The above command also updates the system package lists.
Step 3: Install Webmin in Ubuntu
At this point, we shall install Webmin using the APT package manager. Proceed and run the following command:
When prompted, hit ‘Y’ to proceed with Webmin’s installation.
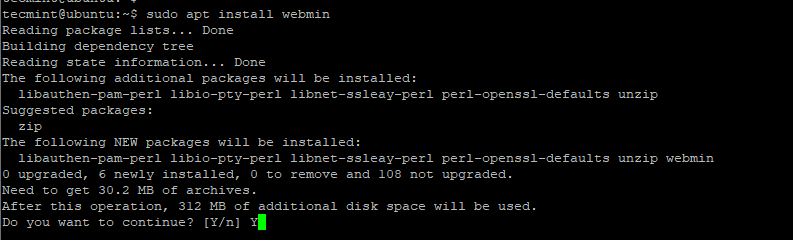
The output below confirms that the Webmin installation has been successful.

Upon installation, the Webmin service starts automatically. This can be confirmed by running the command.
$ sudo systemctl status webmin
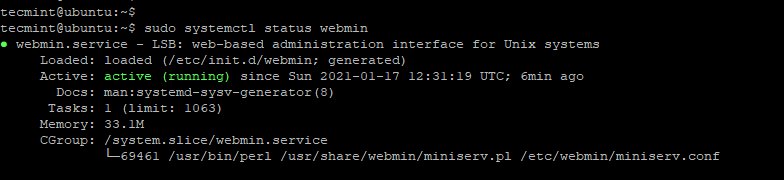
The output above confirms that Webmin is up and running.
Step 4: Open Webmin Port on Ubuntu Firewall
By default, Webmin listens on TCP port 10000. If the UFW firewall is enabled, then you need to open this port. To do so, execute the command:
Next, be sure to reload the firewall.

Step 5: Access Webmin on Ubuntu
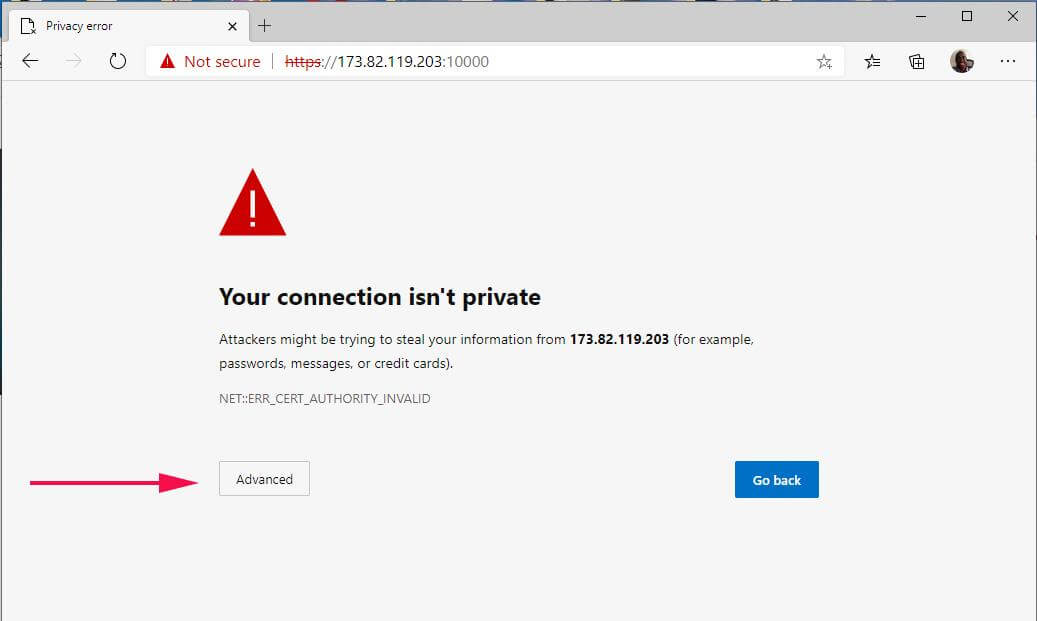
Finally, to access Webmin, launch your browser and browse the address:
You will encounter a warning message that the connection is not private, but don’t worry. This is because Webmin comes with a self-signed SSL certificate which is not validated by CA. To navigate this warning, simply click on the ‘Advanced’ button.
Next, click on the link ‘Continue to server-IP’ as shown.
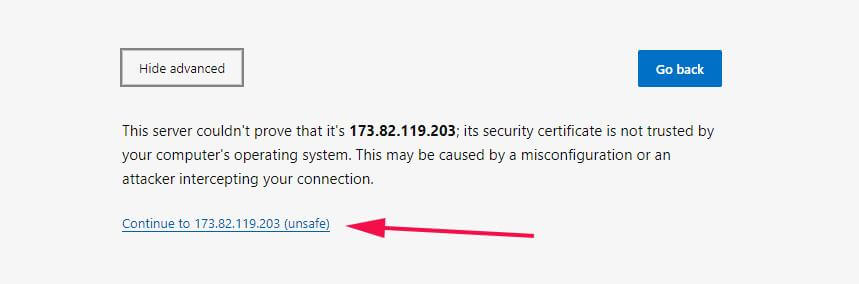
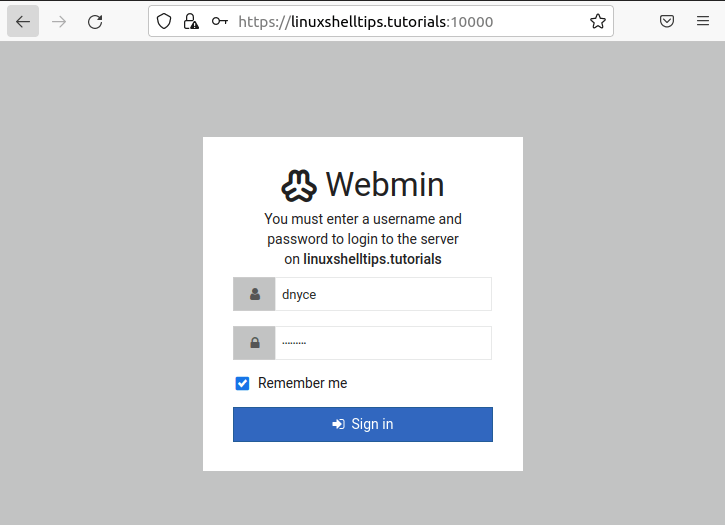
This presents you with a login page shown below. Provide your details and click the ‘Sign In’ button.
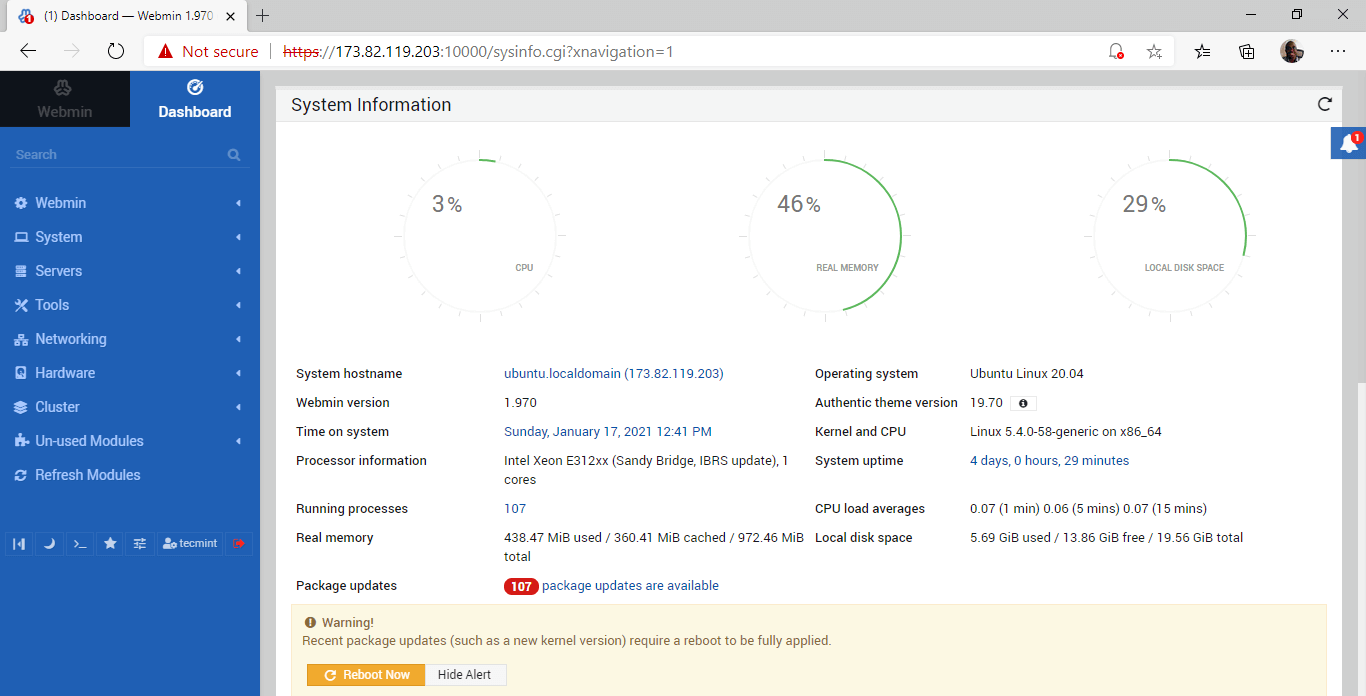
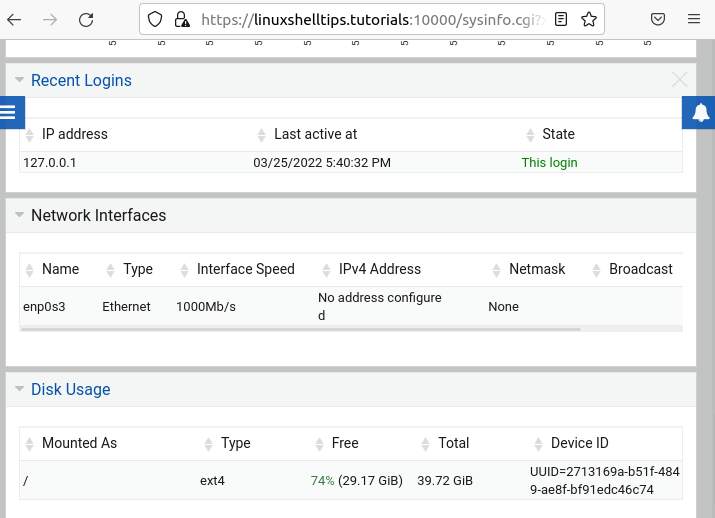
You will be presented with a dashboard shown below that gives an overview of key system metrics such as CPU & RAM utilization, as well as other system details such as hostname, Operating system, system uptime, etc.
On the left pane is a list of options that give you access to various server functionalities. From here you can perform a list of system administration tasks as discussed earlier in the introduction.
We have successfully installed Webmin on Ubuntu 20.04.
How to Install Webmin on Ubuntu 20.04/22.04
Server management is an exciting concept for all Linux users whether they are beginners, still learning their ways around the Linux OS architecture, or expert users that can manage and administer different Linux operating system distributions. However, as time goes by, you will start to feel the urge/need for a flexible and less time-consuming approach to managing your Linux server.
This article introduces Webmin as a reputable web-based admin tool, that makes the life of a Linux administrator much easier as it lessens the user footprints needed to effectively manage a targeted Linux system/server.
Prerequisite
Be a sudoer/root user on the Ubuntu system you intend to install and configure Webmin database administration software.
Installing Webmin in Ubuntu
Your Ubuntu system should be up-to-date to be optimized for the best performance of any software post-installation.
$ sudo apt update && sudo apt upgrade -y
Next, make sure the following software packages are installed on your Ubuntu system for effective management of software repositories.
$ sudo apt install software-properties-common apt-transport-https
Next, add and enable the Webmin repository to sources.list file, so that it will be easier to update it with a normal system update command.
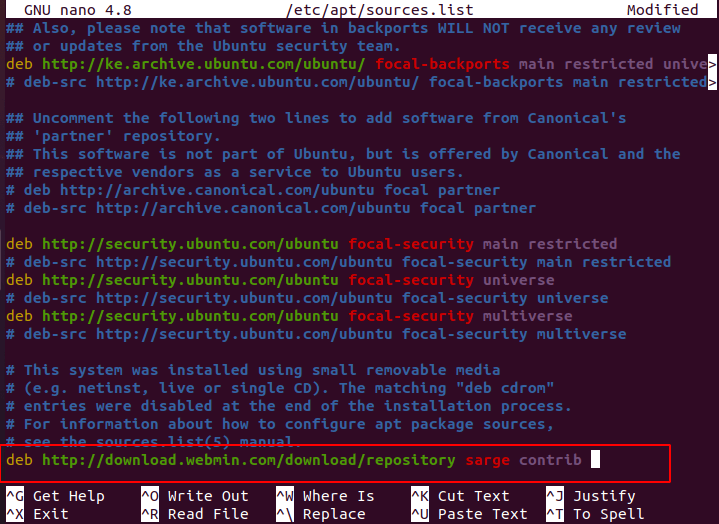
$ sudo nano /etc/apt/sources.list
Add the Webmin repository at the bottom of the file.
deb http://download.webmin.com/download/repository sarge contrib
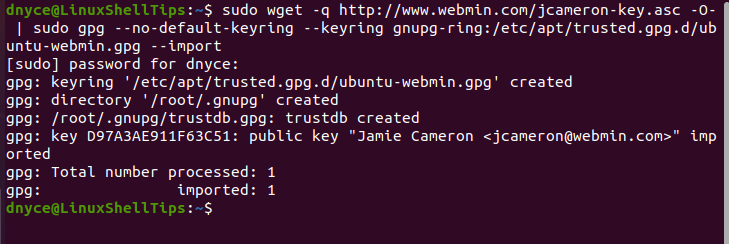
Next, the following command adds Webmin’s associated GPG key to your Ubuntu system and makes the key file readable.
$ sudo wget -q http://www.webmin.com/jcameron-key.asc -O- | sudo gpg --no-default-keyring --keyring gnupg-ring:/etc/apt/trusted.gpg.d/ubuntu-webmin.gpg --import $ sudo chmod 644 /etc/apt/trusted.gpg.d/ubuntu-webmin.gpg
For this Webmin repository to be included on our Ubuntu system, we need to run another system update.
$ sudo apt update && sudo apt upgrade -y
Now your Ubuntu system is ready for the installation of the Webmin server management software. Proceed to its installation by executing the following command:
$ sudo apt install webmin -y
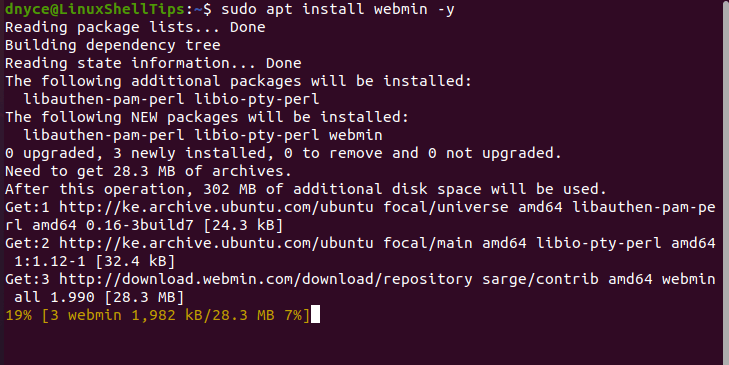
Webmin installation process might take some time to complete, therefore, be patient and restrain from interrupting the installation process.
Once installed, you can check on Webmin’s installed version:

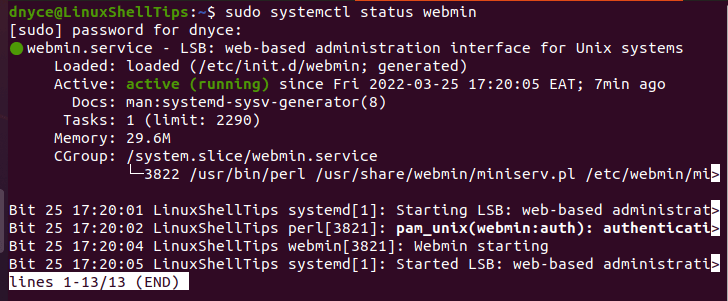
Check on Webmin’s running status:
$ sudo systemctl status webmin
If you have a firewall enabled on your Ubuntu system, you will need to grant Webmin access through it, which uses TCP port 10000.
$ sudo ufw allow 10000/tcp $ sudo ufw reload $ sudo ufw status
Using Webmin on Ubuntu
To access Webmin, adhere to the syntax:
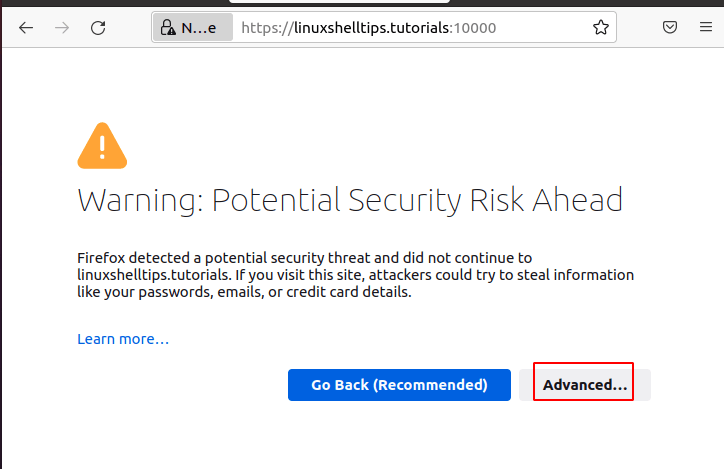
https://[Your Server IP or Domain Name]:10000/
Click the Advanced tab.
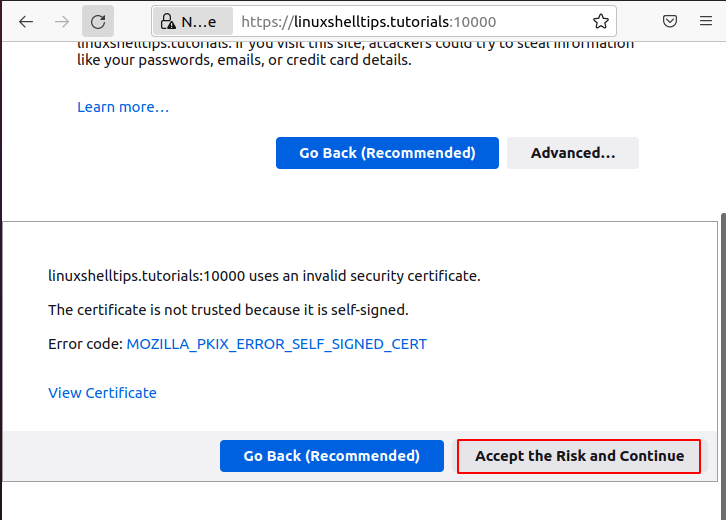
Click on Accept the Risk and Continue.
You will be presented with the following Login screen. Use your Ubuntu sudoer/root user credentials to log in.
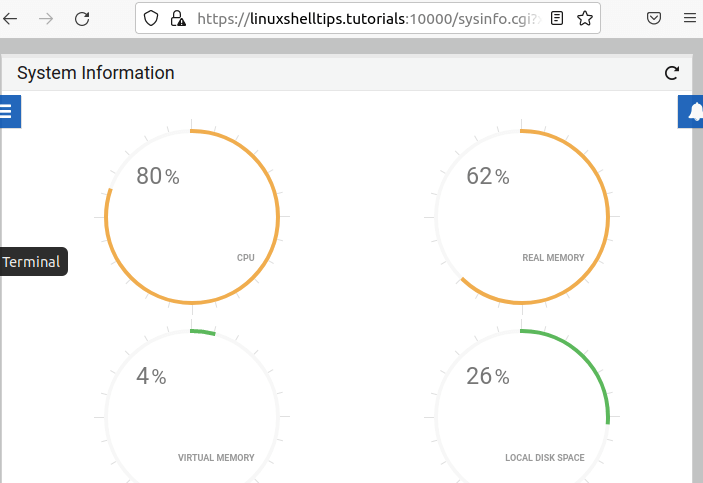
Your will be presented with Webmin main dashboard with your Ubuntu data at:
System Information
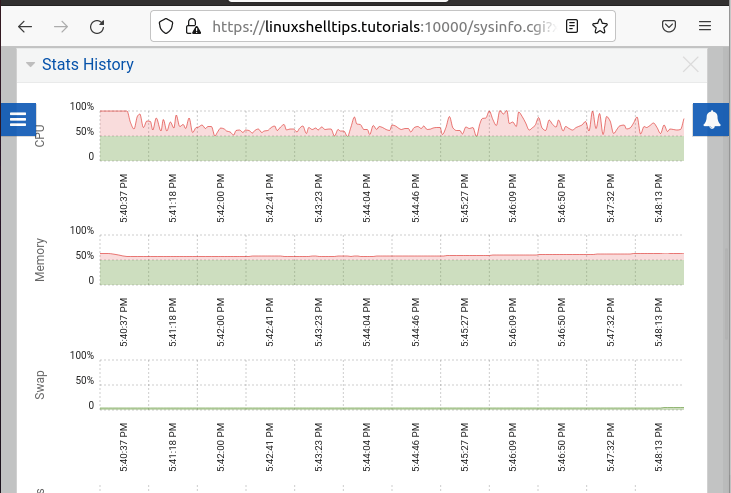
Stats History
System Activity
You are now free to further explore what Webmin has to offer on your Ubuntu system.